Scratchbuilt PC: More water-cooling and the roof section
November 2, 2012 | 11:04
Companies: #bit-tech
Scratchbuilt PC: More water-cooling and the roof section
This is the latest part of our scratchbuilt PC guide - a start-to-finish diary filled with advice of our attempt to build a small form-factor case from scratch that's suitable for water-cooling. So far we've looked at bending, cutting and sanding acrylic, designing your case and how to make sure it all comes together. We've also limited the tools we've used to inexpensive items, namely a Dremel and the usual hand tools.
If you missed the previous parts and fancy reading from the start about how to make your own PC, here are the links to Part Six, Part Five, Part Four, Part Three, Part Two and Part One.
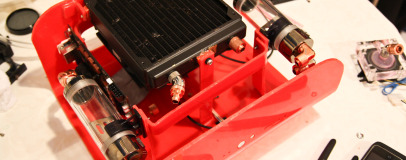
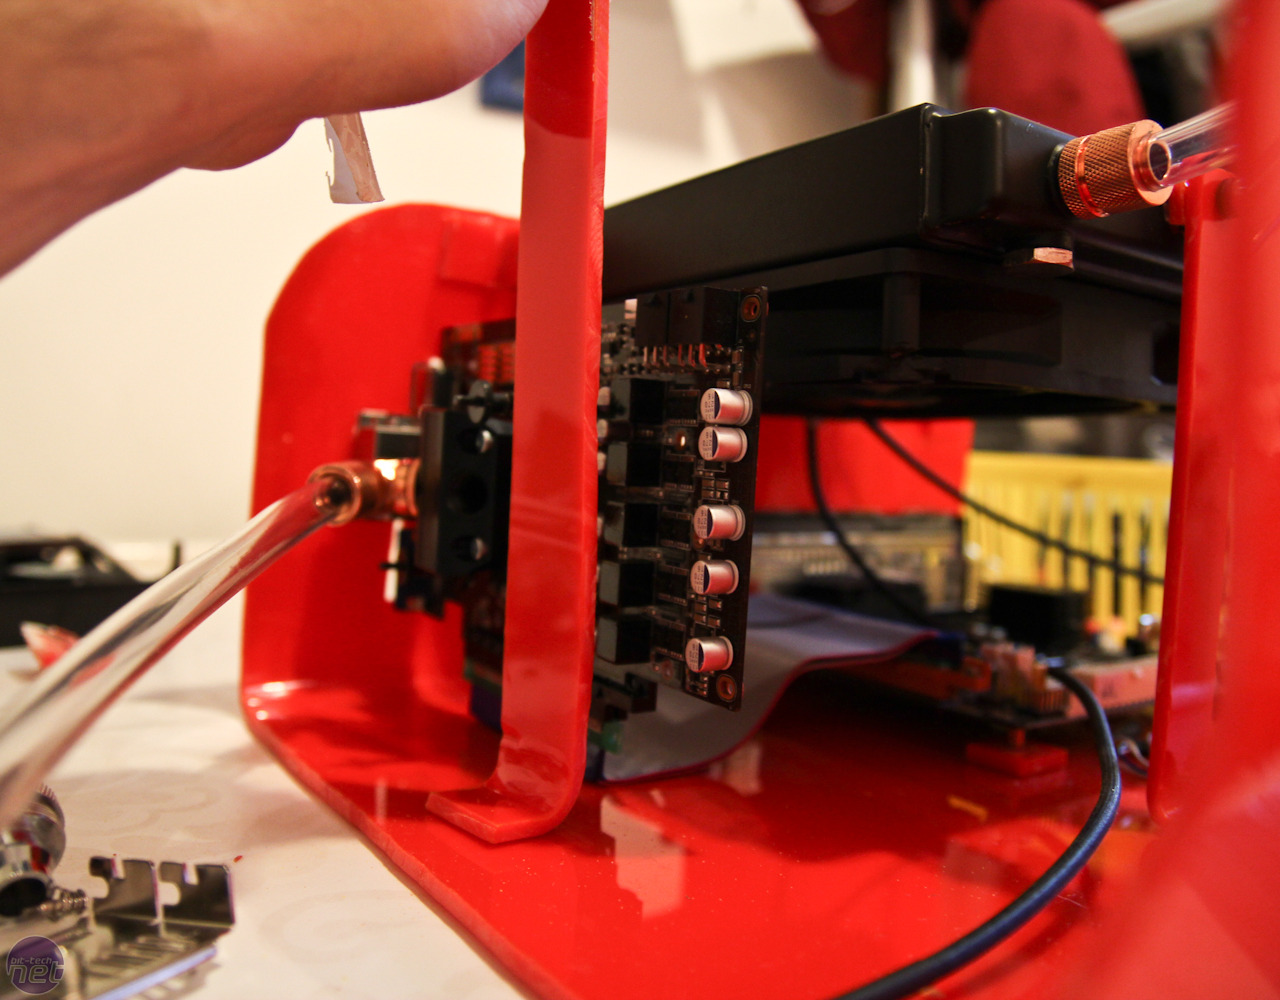
Last time we were just getting to grips with the water-cooling side of things, but since then we hit a few snags as well as changing our ideas for the project as a whole. The EK reservoir we used was persistently leaking, and unfortunately, the thread sealant we used decided to crack the acrylic transparent section. We also found the tubing we used started to go cloudy, which meant the side-mounted reservoirs lost nearly all of their pizazz.
We've also decided to spray the case once we've manufactured all the acrylic parts - red wasn't doing it for us any more. We'll be looking at how to spray acrylic in a future guide. In this part of our scratchbuild diary we'll showing you how we bent the roof sections to fit the case, and how we made a custom adjustable mount for our two reservoirs.

Click to enlarge
Click to enlarge
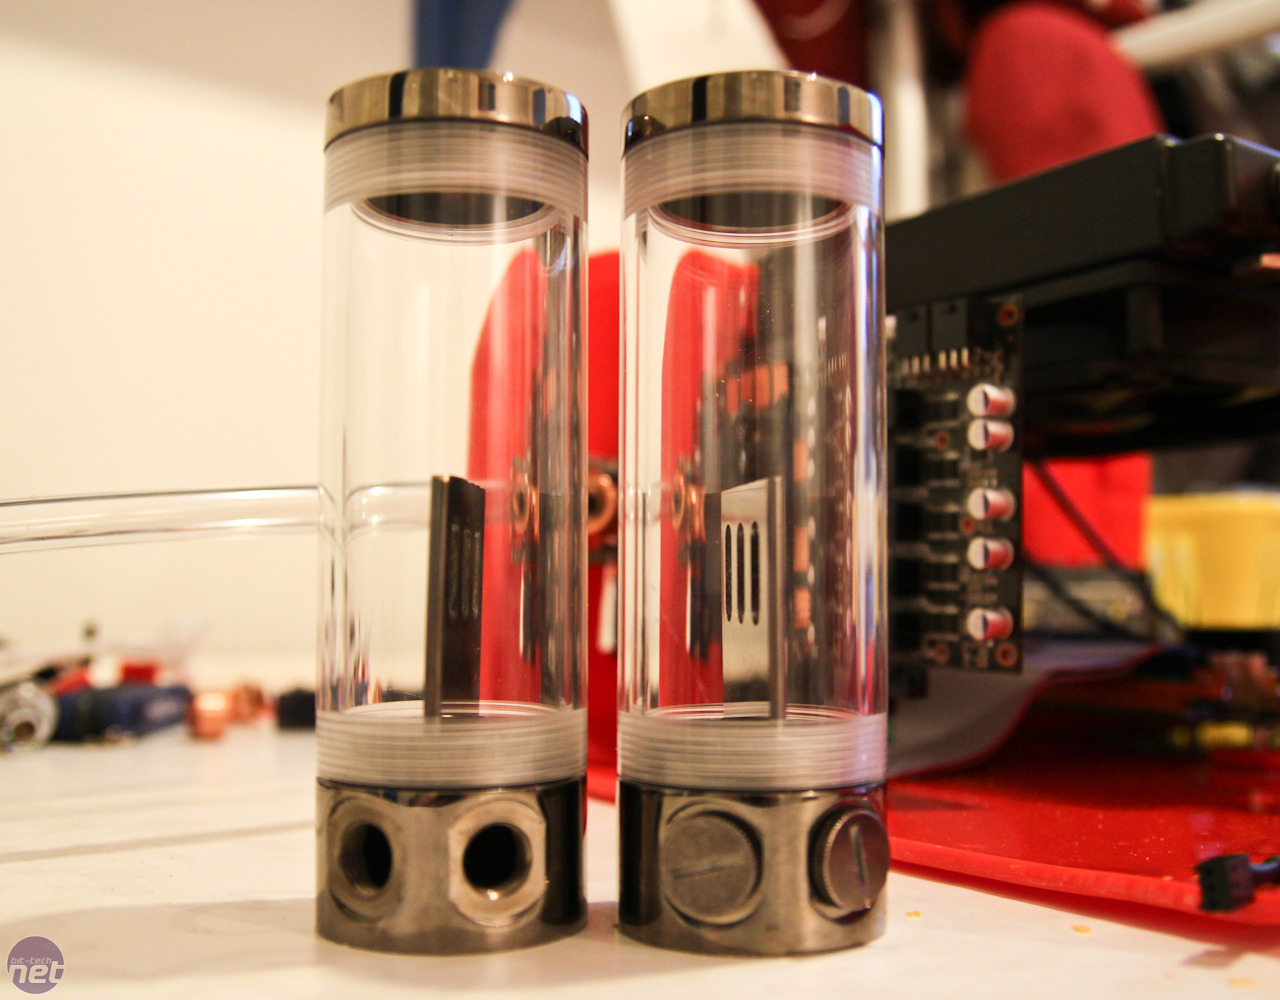
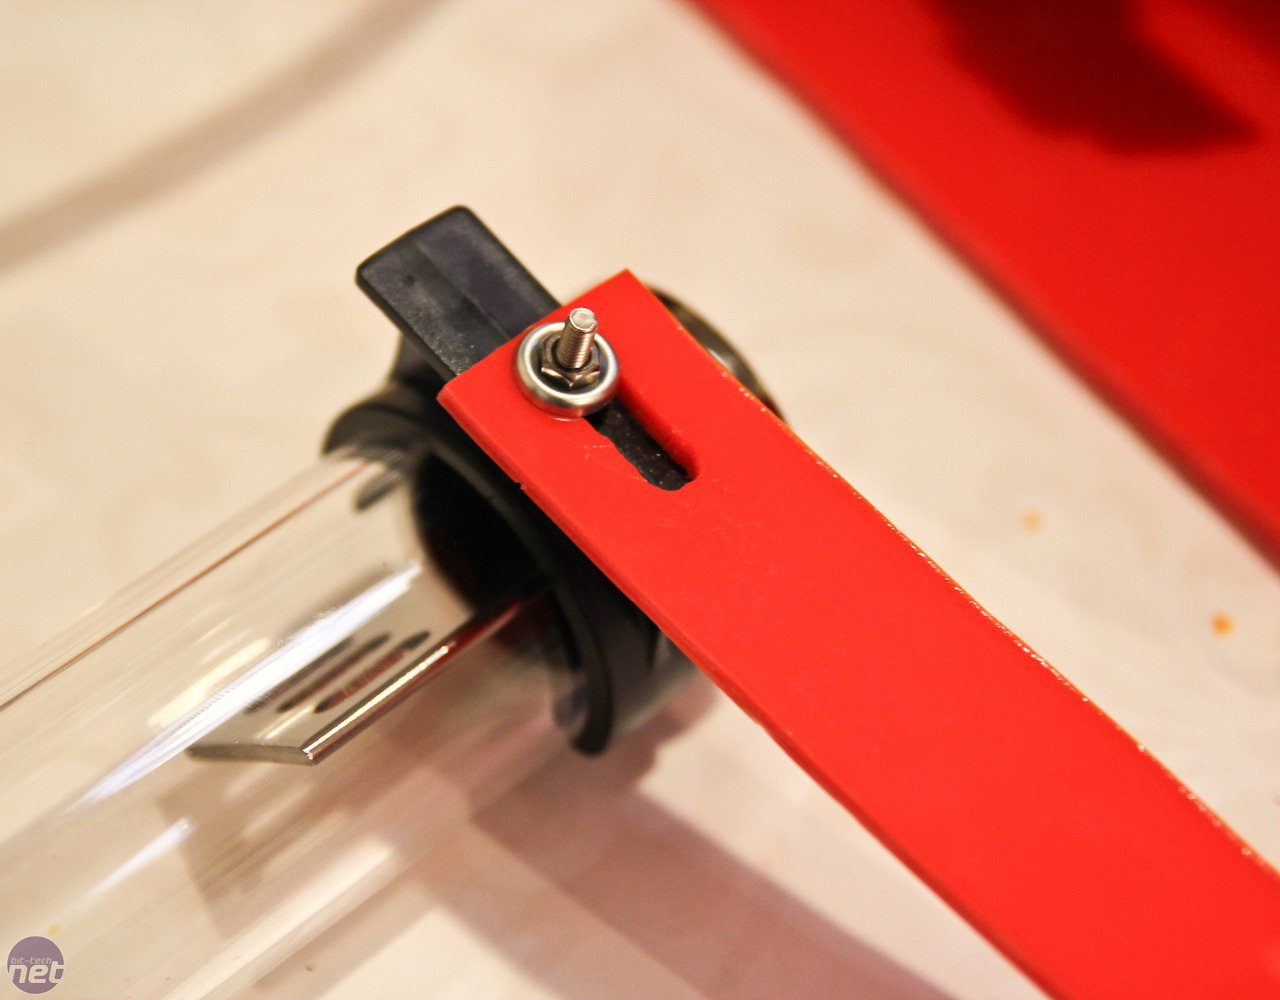
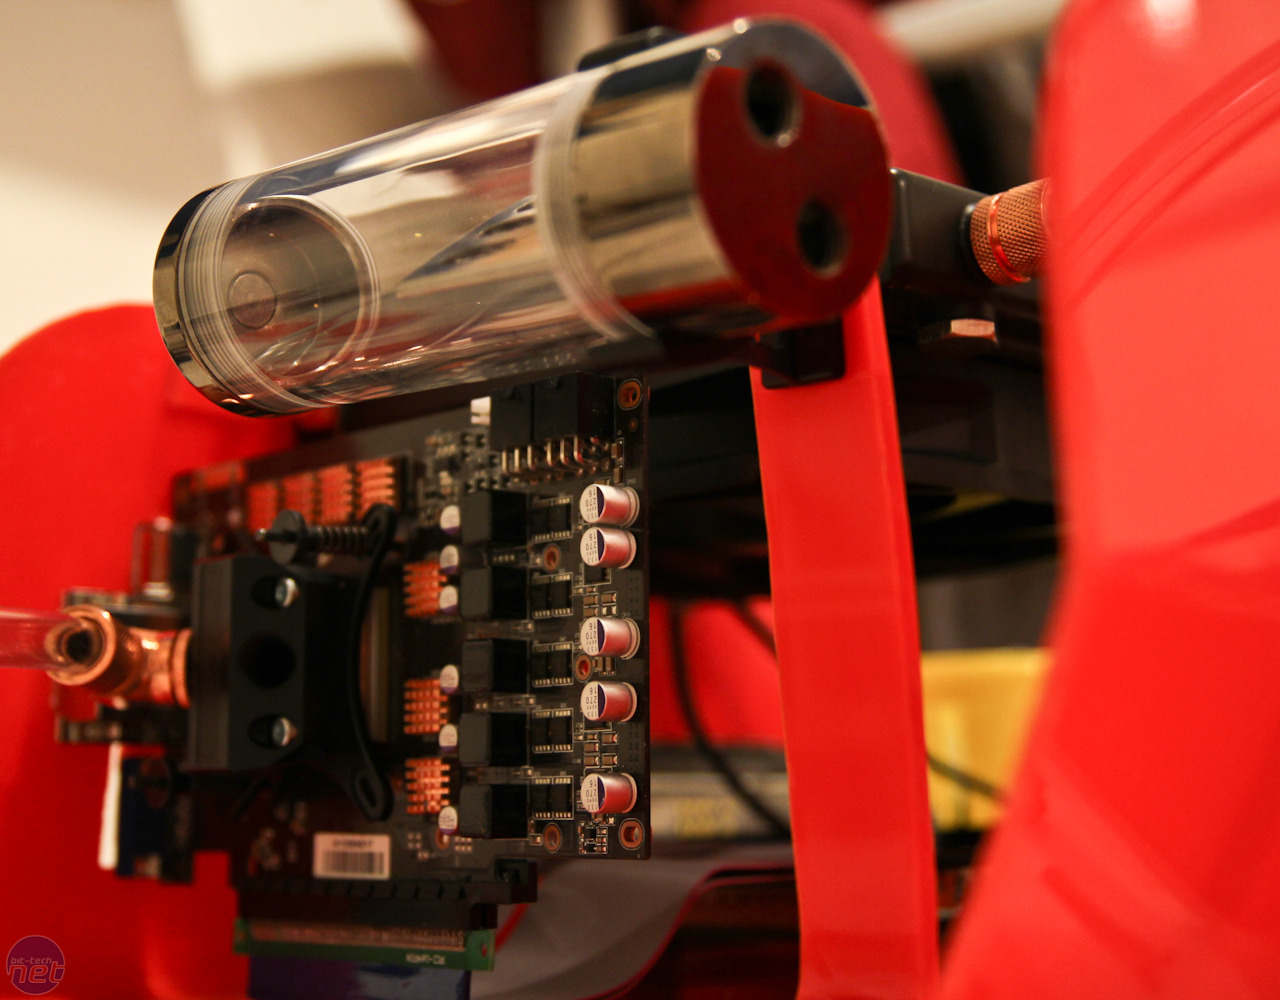
We chose two Phobya Balancer 150 reservoirs as the replacements for our custom-made side features - these shouldn't cloud up like the tubing we were going to use so should look the business with some Mayhem's coolant illuminated from below.

Click to enlarge

Click to enlarge
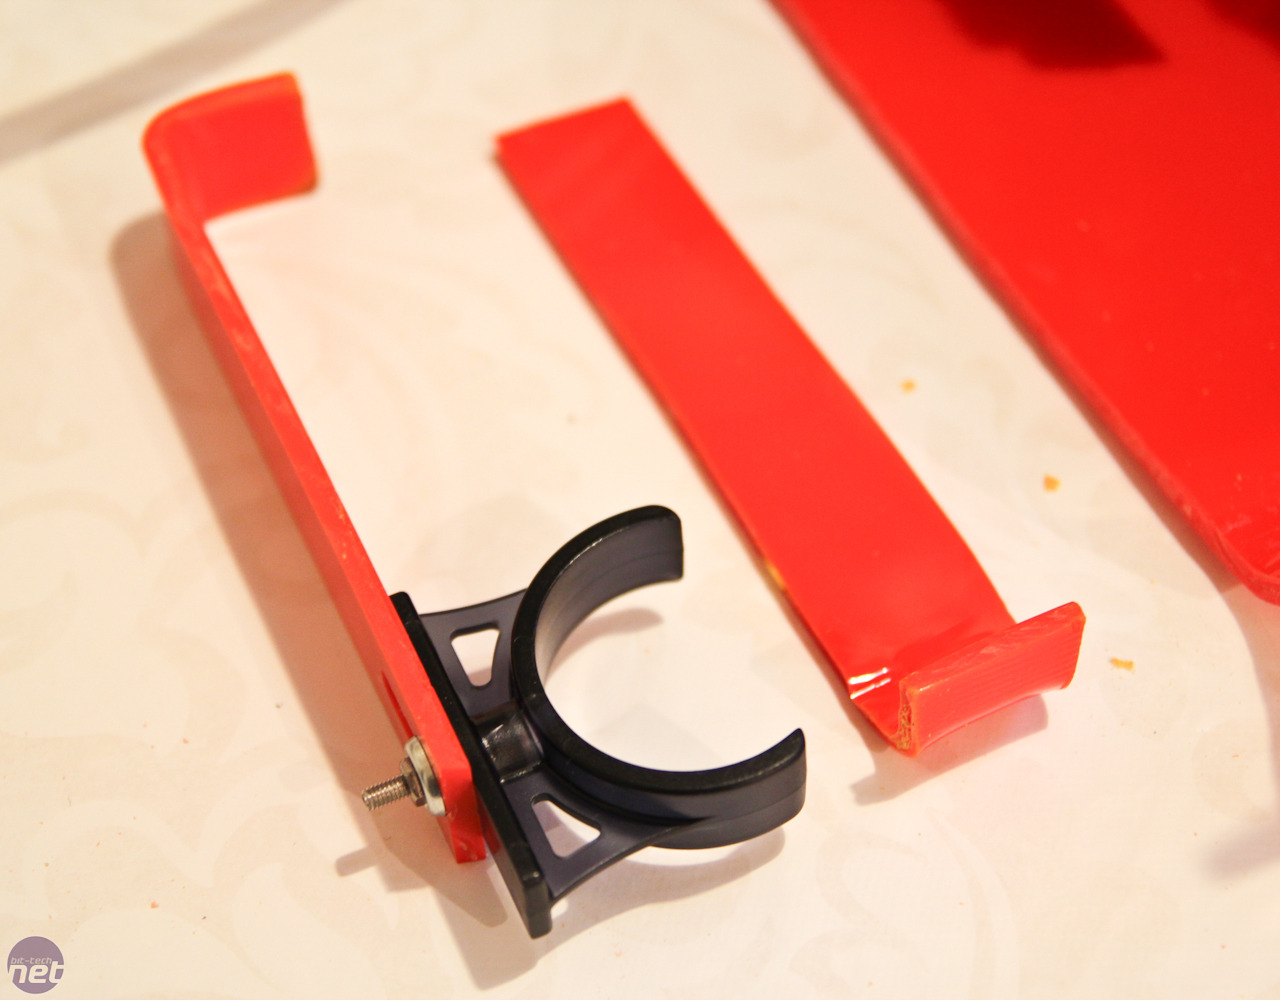
The reservoirs weigh an absolute ton, with solid metal end pieces. As such, the tubing alone wasn't going to be enough to hold them in place. So, more acrylic cutting and bending later, we had two mounts that we'd mount in the side of the case to suspend each reservoir. Thankfully, the reservoir mounts included with the Phobya reservoirs are awesome. We've lost count of how many EK reservoir clips that have snapped on us. These are much more heavy-duty.
RELATED ARTICLES


MSI MPG Velox 100R Chassis Review
October 14 2021 | 15:04

Want to comment? Please log in.