Scratchbuilt PC Part 3 - Acrylic work and water cooling
In Part 2 of our scratchbuilt PC diary, we looked at the various materials you can use to make your own PC case. We settled on acrylic for our project - it's cheap, easy to bend and shape and ideal for your first scratchbuild, even if you've got a limited array of tools.
In fact, all we needed to cut and bend our sheet of acrylic to size was a Dremel, an industrial heater/paint stripper, a sheet of MDF and some clamps. With our hardware test-fitted in the new shell, and the front and rear ports fitted, we can now begin to shape the edges and start thinking about how to install our water-cooling system.
See Part 1 and Part 2 of our Scratchbuilt PC guide.
Shaping Acrylic
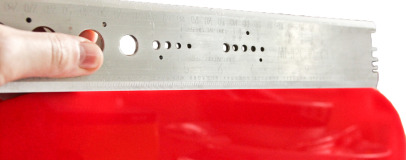
Chances are your acrylic sheet won't look quite how you need it too, even after bending it. With our project, we had to add some curves to the corners, making sure they all lined up to allow the eventual lid to sit flush and level. Thankfully, this is one of the easier ways of working with acrylic, and again, it's down to how soft a material it is.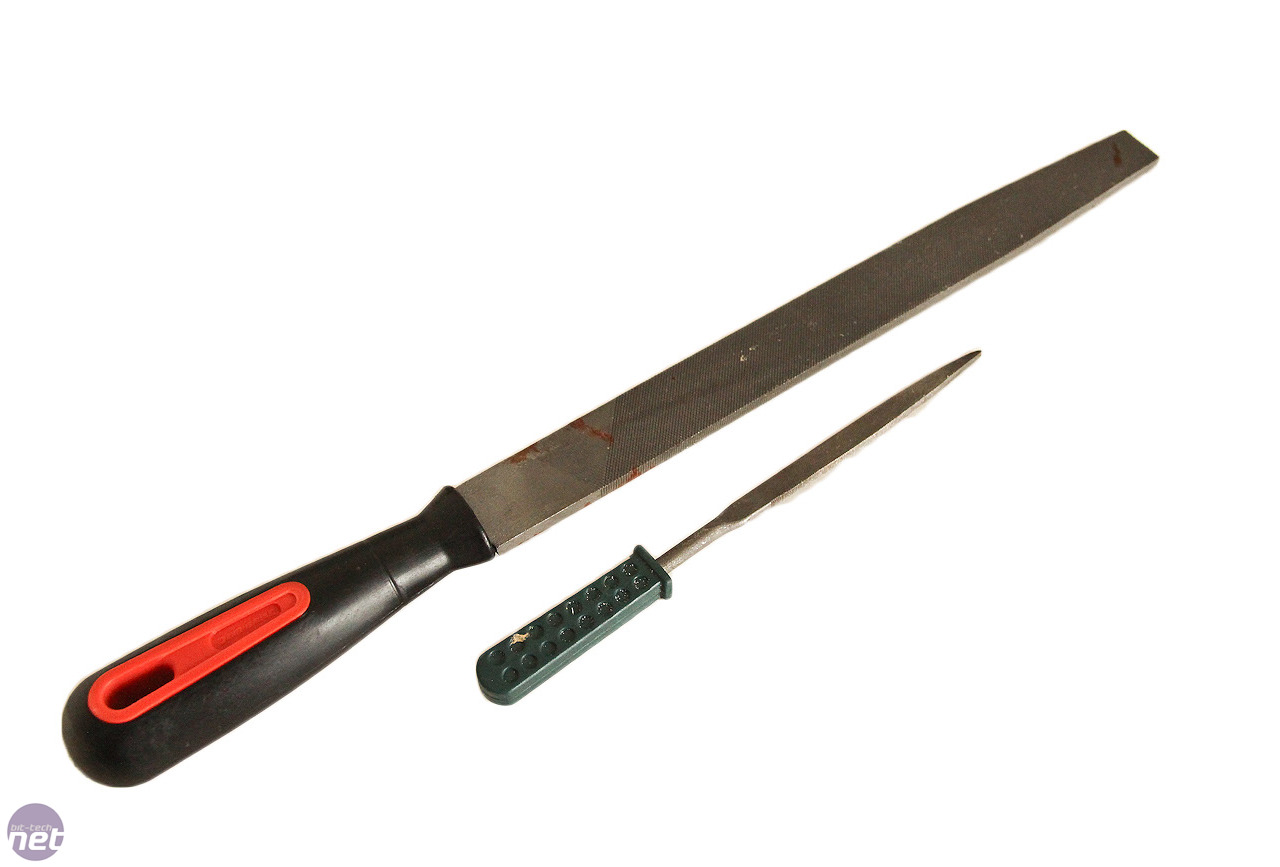
Click to enlarge
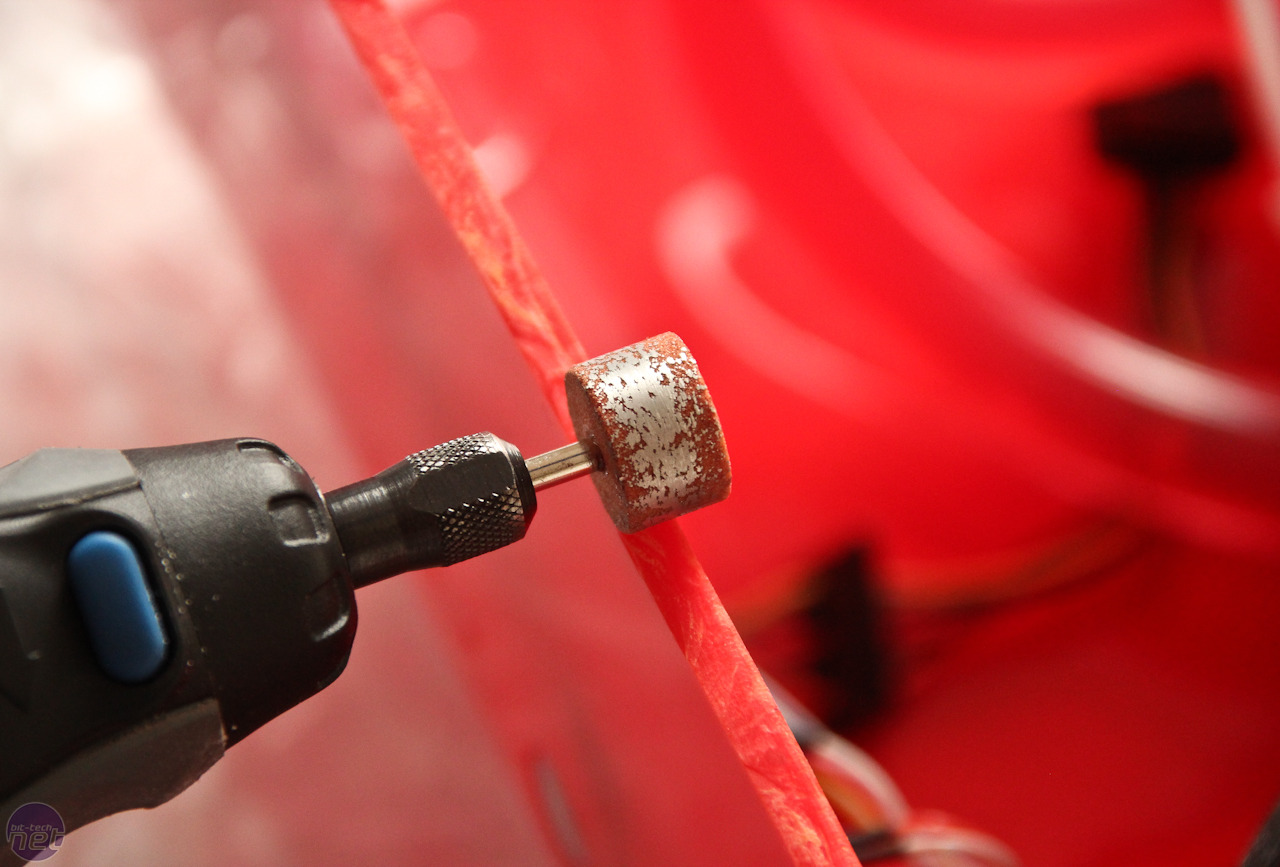
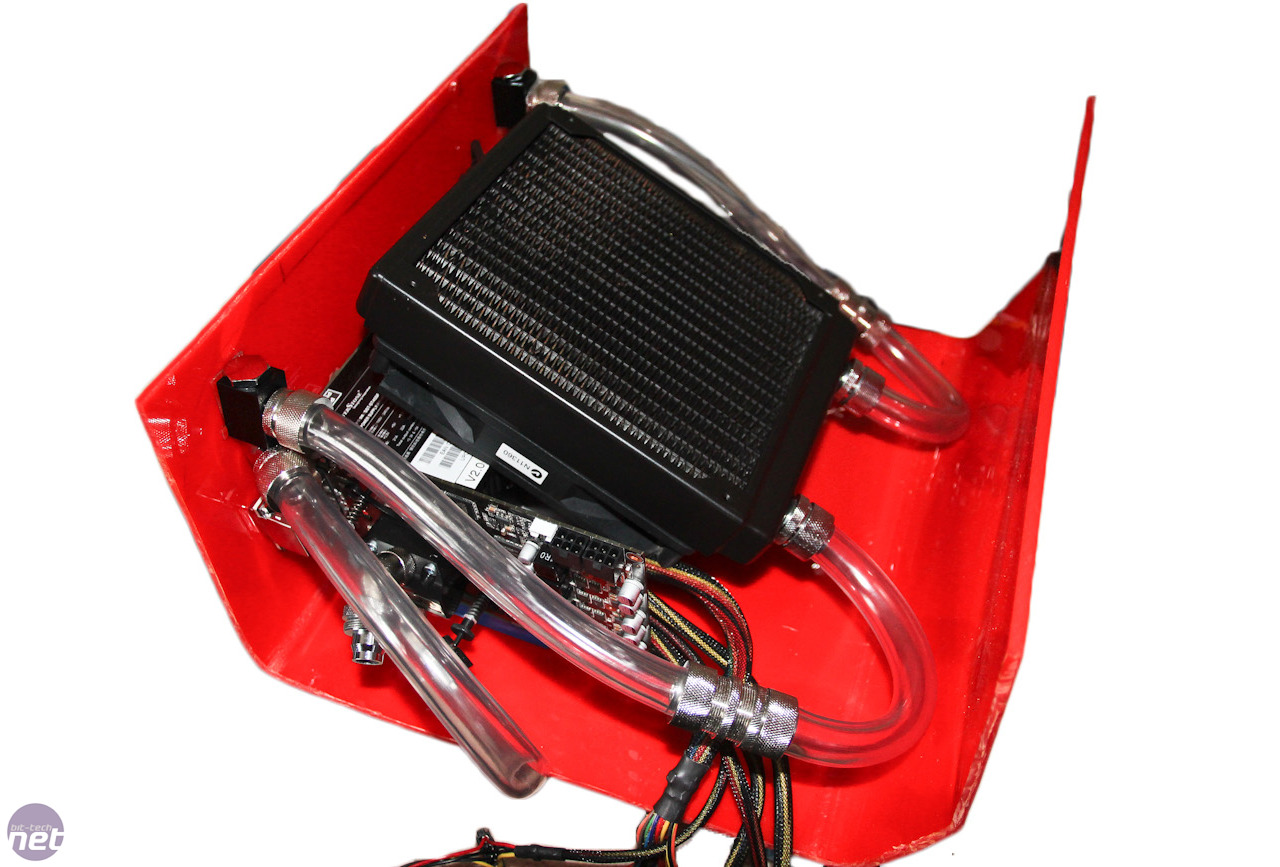
Essential tools for the job are files (above you can see both full size and finger or mini files) or a grinding attachment for your Dremel, plus a cutting disc if you're needing to deal with large sections (it's easier and far less messy to cut lumps off than sand huge sections away). Measuring up is essential too, to make sure we had room for other planned features near the roof, and for the radiator to sit above the rest of the hardware in the roof while making sure we kept things to a bare minimum space-wise. We installed the hardware again to see what space we had to work with and to mark up the curves on the edges of our case.
Click to enlarge
Biro or pencil usually works to mark acrylic. It's essential to mark up as accurately as you can as some tools can eat into the acrylic rapidly, meaning cutting by eye alone will probably result in tears, especially if you just spend hours cutting and bending your case.
RELATED ARTICLES


MSI MPG Velox 100R Chassis Review
October 14 2021 | 15:04

Want to comment? Please log in.