Scratchbuilt PC - Water-cooling feature
We're finally ready with another update to our ongoing attempt at building a PC case from scratch. This is part six of our scratchbuilt PC guide - a zero to hero diary of the planning, building and finishing of our very own small form factor PC case. We've shown you tips and tricks as well as the problems we've encountered ourselves along the way. If you're thinking about making your own PC case, make sure you check out the previous installments using the links below.
Part Five, Part Four, Part Three, Part Two and Part One.
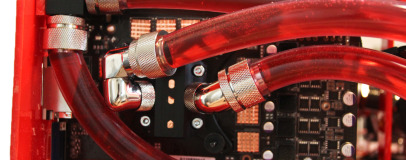
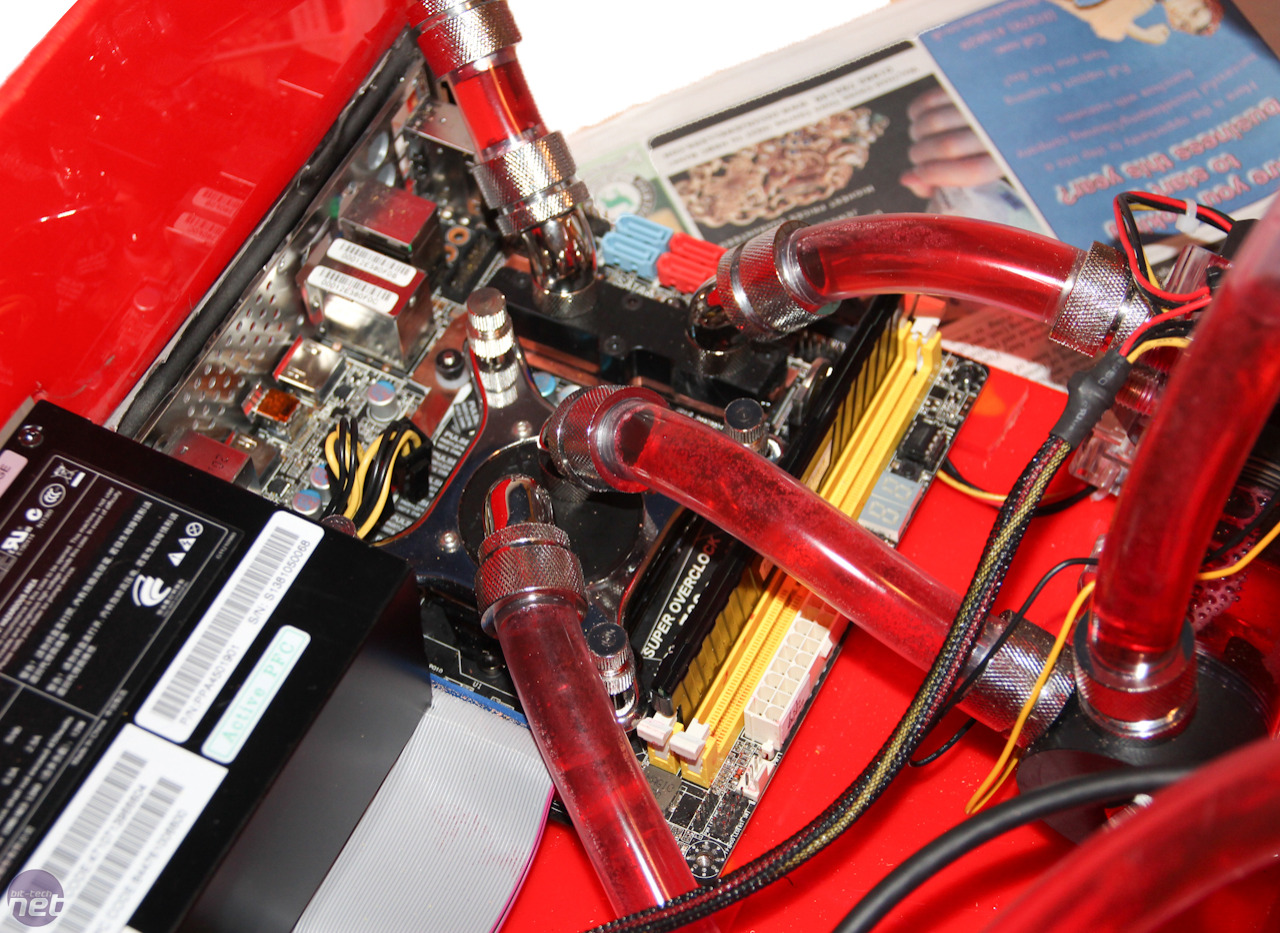
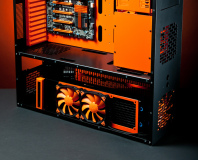
Our system uses a Zotac Z68 mini-ITX motherboard along with a custom-made motherboard waterblock we made in a previous installment. We're also rocking with an Nvidia GeForce GTX 560 Ti and SilverStone's dinky SST-ST45SF 450W SFX PSU to keep the case as small as possible. However, we also wanted to have the CPU, motherboard and graphics card water-cooled. To this end we chose a 180mm radiator equipped with one of SilverStone's awesome 180mm Air Penetrator fans, along with a Laing DDC pump, XSPC Rasa CPU block and Alphacool GPU block.
Click to enlarge
We've finally got all the gear installed in our newly cut, bent and shaped acrylic case, and we're now working on some of the details, mainly a water-cooling feature. We're planning on routing sections of our half-inch tubing round the sides of our case with a view to making them visible through the shell which we'll be working on next time. With some added lighting, a fancy coolant and the parts we'll be making in this episode, it should look rather neat.
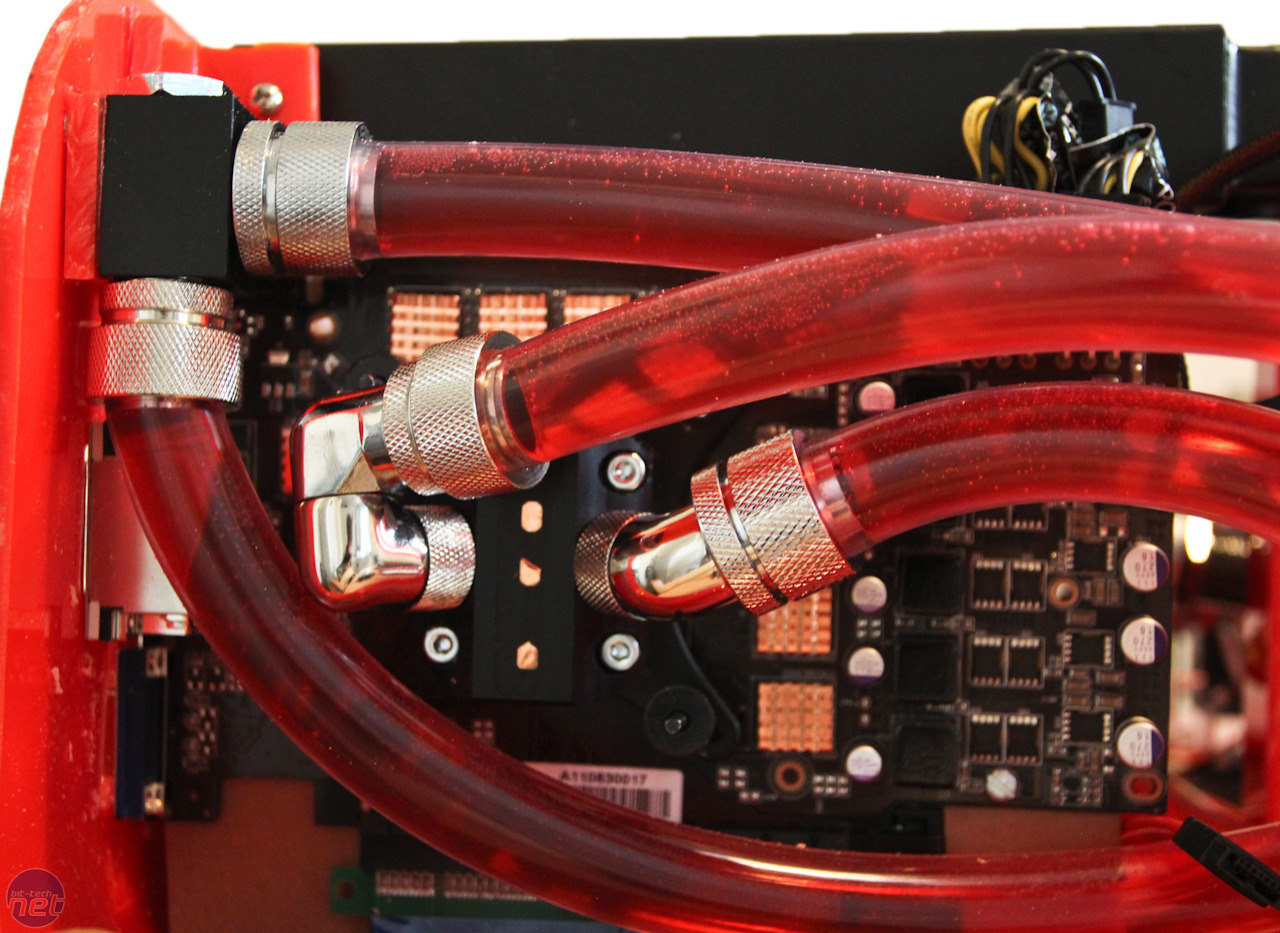
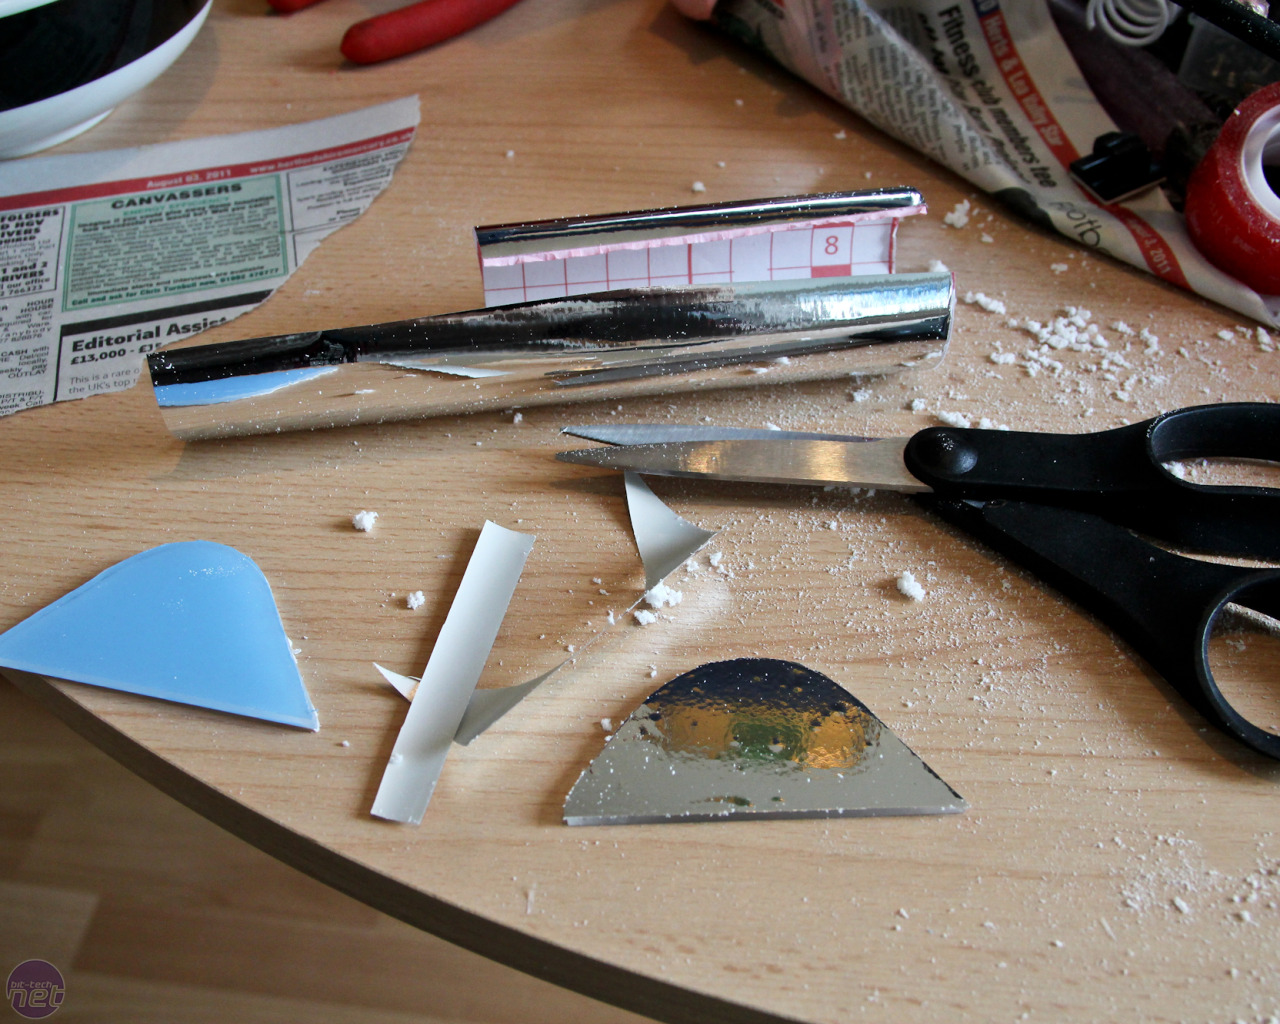
In Part Five, we got as far as creating two half-pipe sections of acrylic by cutting two square sections of clear acrylic and bending them. We could have used drain guttering or something like that but, where's the fun in that? As it turned out, we actually needed them to be slightly asymmetric to fit into the tight confines of our SFF case, while still allowing the future case lid to fit properly. We now need to make the ends of the half-pipes which will house the compression fittings and hide the innards of our case.
Click to enlarge
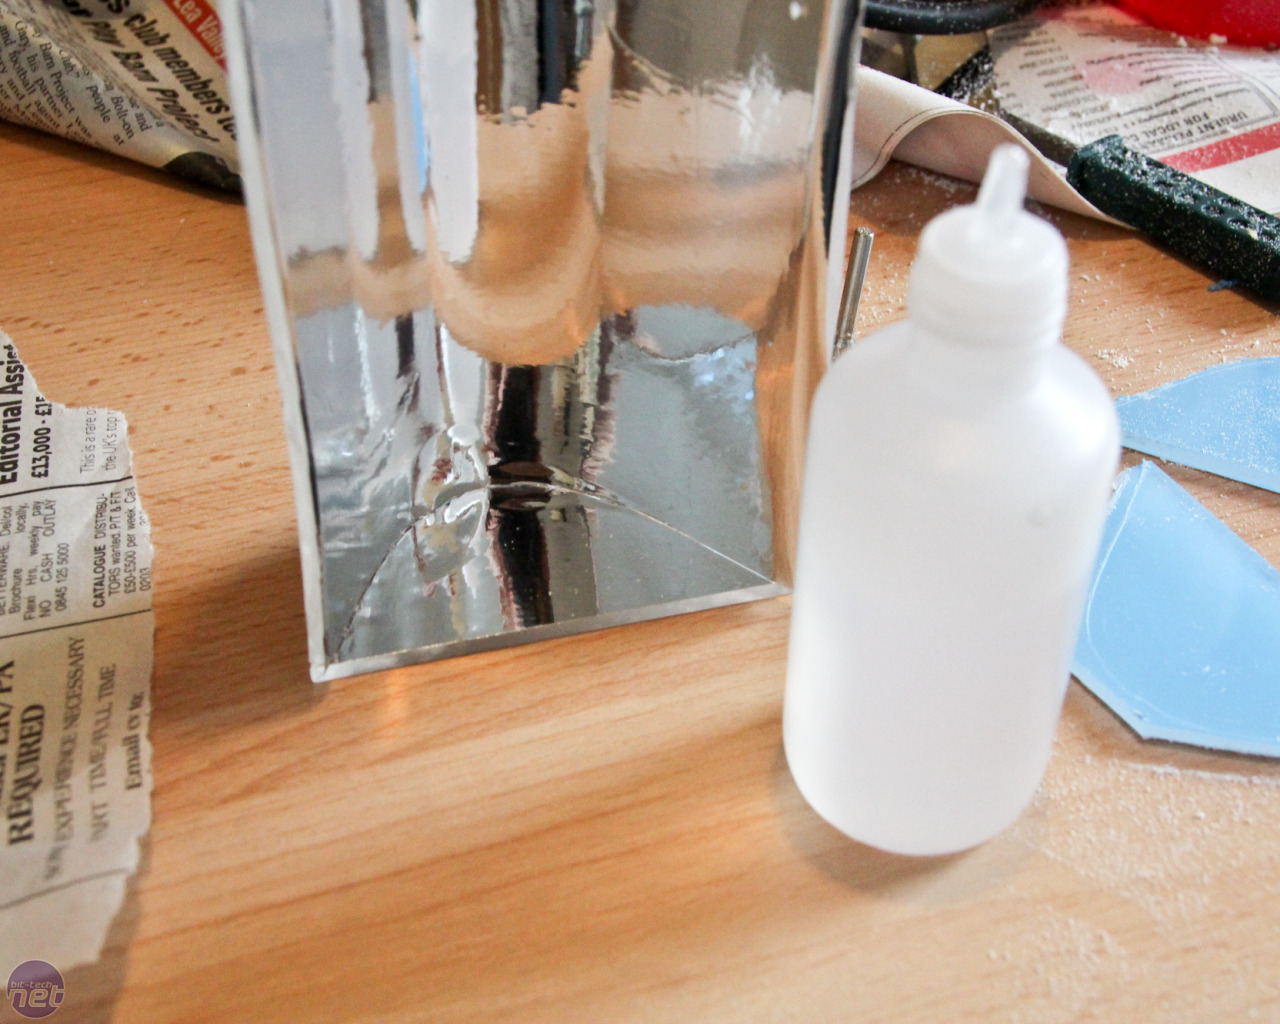
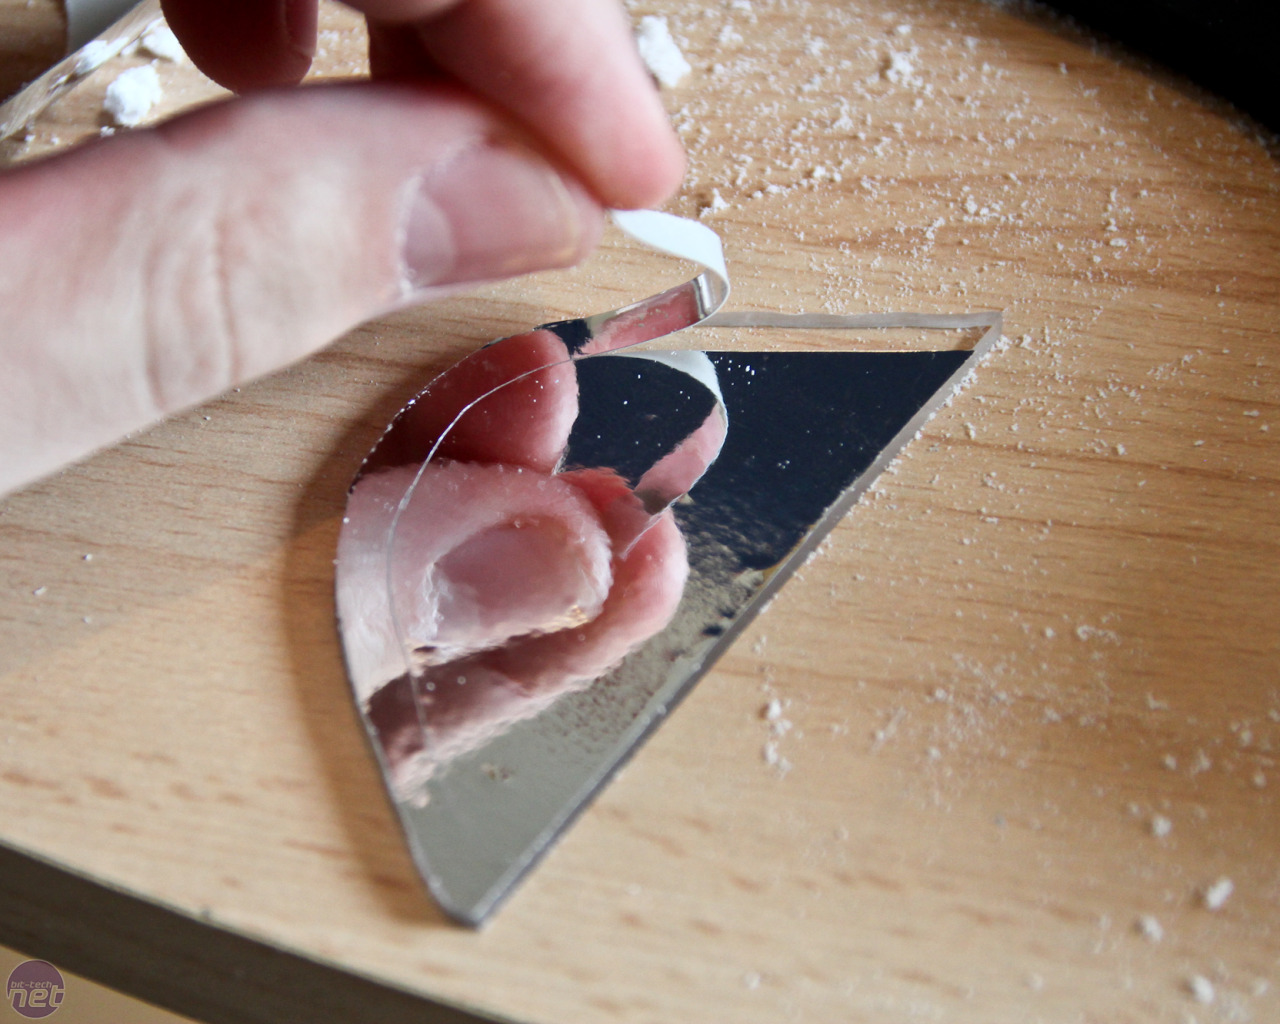
Having cut these out of acrylic using the ends of the half-pipes as templates for a good fit, we then applied our silver chrome film and after a test-fit, cut away a few millimeters at the edges. This allows us to apply some acrylic cement to secure them to the half-pipes with a clean fit. you can see how mirror-like the chrome film is - combined with the film already applied to the half-pipes, the reflection from the tubing should look good.

Click to enlarge
Acrylic cement is fairly easy to use but unlike PVA or epoxy glue, you need an excellent contact between the two sections you're cementing together. Any gaps between them due to ragged edges will drastically reduce the strength of the bond, so filing them flat is essential.
RELATED ARTICLES


MSI MPG Velox 100R Chassis Review
October 14 2021 | 15:04

Want to comment? Please log in.