Scratchbuilt PC - Cooling system and water-cooling feature
Our scratchbuilt PC, which we've been covering for a few weeks, is really coming along now but we have to admit, it's been more of a challenge than we thought it would be. Our efforts are small compared to other projects out there, but the amount of work and time involved in building a PC case from scratch should never be underestimated. In fact we've found a whole new appreciation for anyone who attempts to build their own PC case.
This is now Part Five of our project update, where we show you how to build a PC case from scratch. Not only that, but we've decided to make a small form factor, water-cooled PC too - a tall order for our first scratchbuild but thankfully we know our hardware and water cooling and we're slowly but surely getting there.
If you missed the previous parts and fancy reading from the start about how to make your own PC, here are the links to Part Four, Part Three, Part Two and Part One.
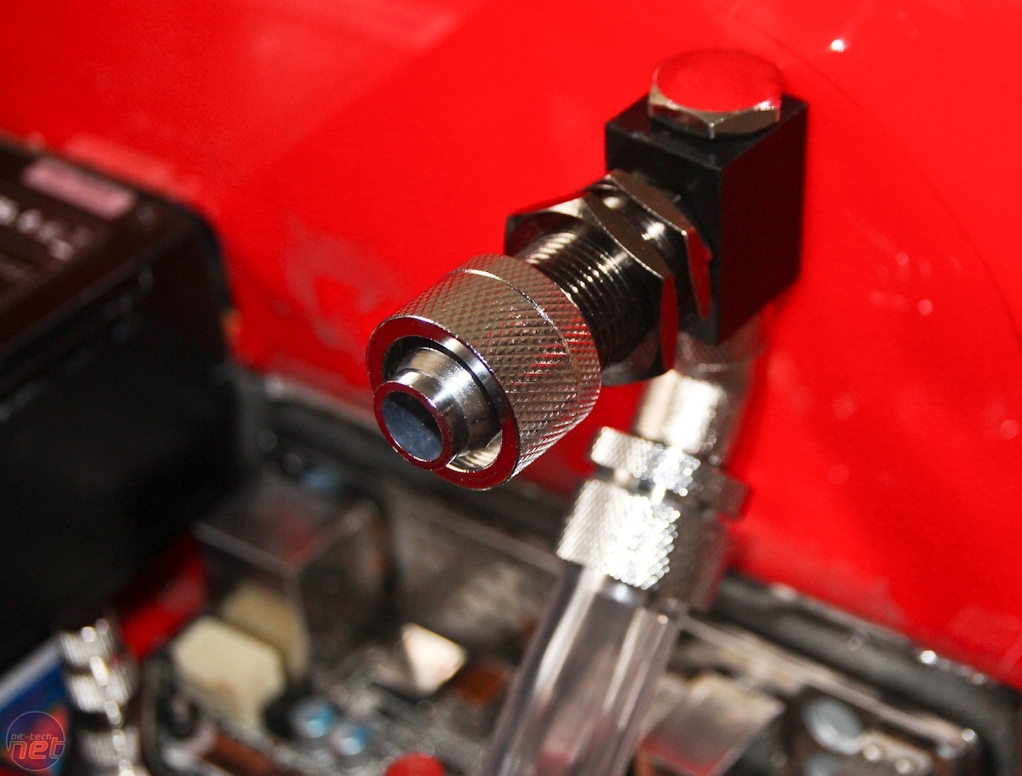

Click to enlarge
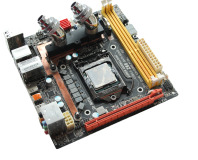
In Part Five of our Scratchbuilt PC guide, we'll be finishing off working out how to mount all our hardware in the case. This includes the final and most important component - the 180mm radiator - which needs to be located in the roof, but not attached to the top section as this needs to be removable (plus we haven't made it yet...).
It also needs to be easily removed as it sits above the motherboard, obstructing an attempt to get at the core hardware, should we need to if we run into hardware failure or stability issues. Anyone who's build a water-cooled PC before will know that it generally takes a lot longer to problem-shoot or remove hardware due to the fact you usually need to drain the system of coolant first. Small form factor water-cooling usually exacerbates this situation but we were determined to make the PC as easy as possible to live with.
Click to enlarge
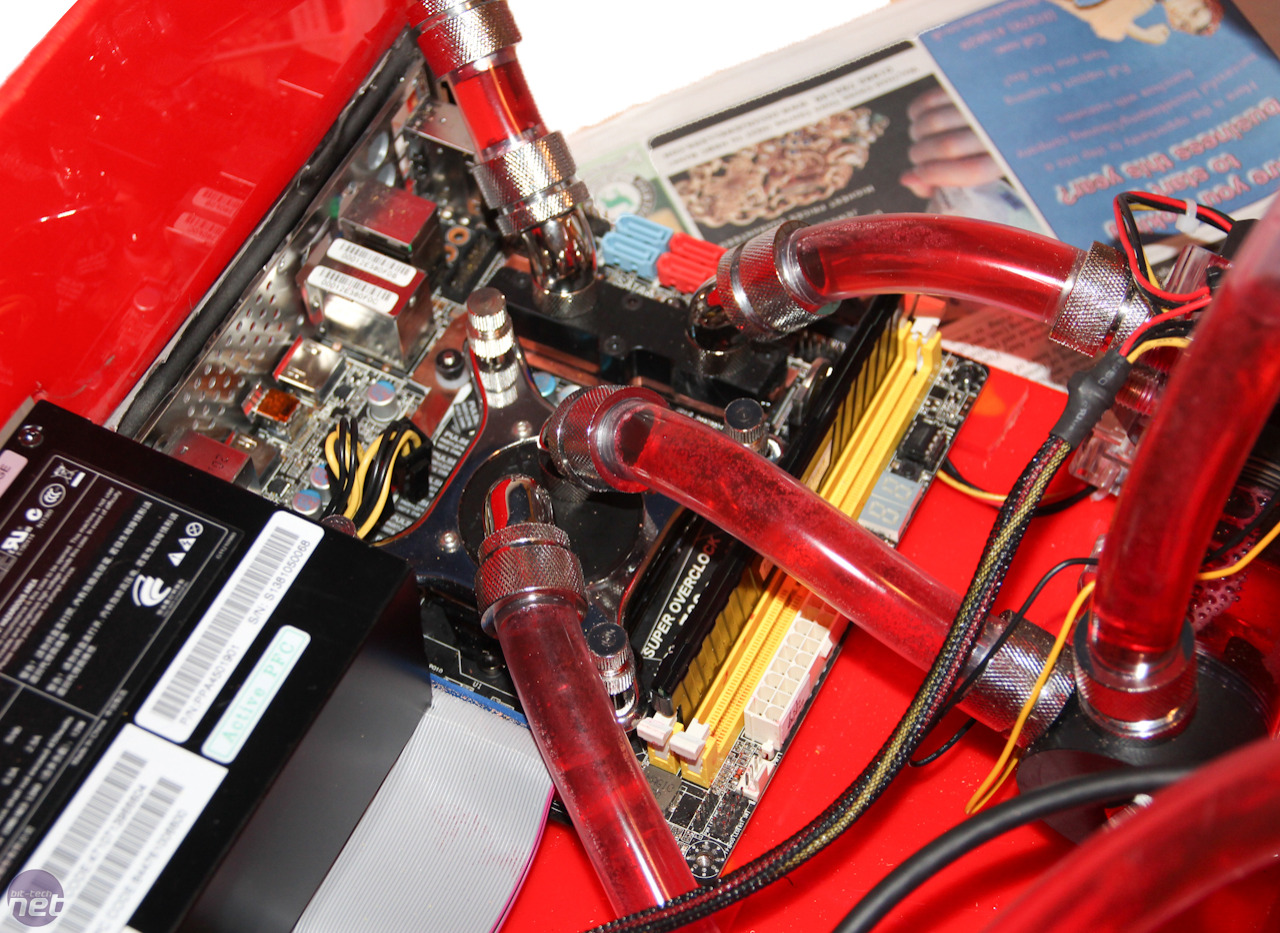
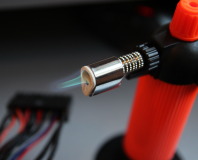
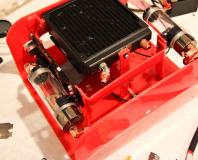
This meant enlarging it a little from the start, although it's still smaller than many A4 printers, or one and a half shoeboxes. We also decided to mount the radiator to the base of the case using three mounting points. To start with we added three acrylic tabs to the radiator using 3M mounting tape. Into these we inserted nuts so that we could secure the radiator in place with screws - we made the first of these in Part Four.


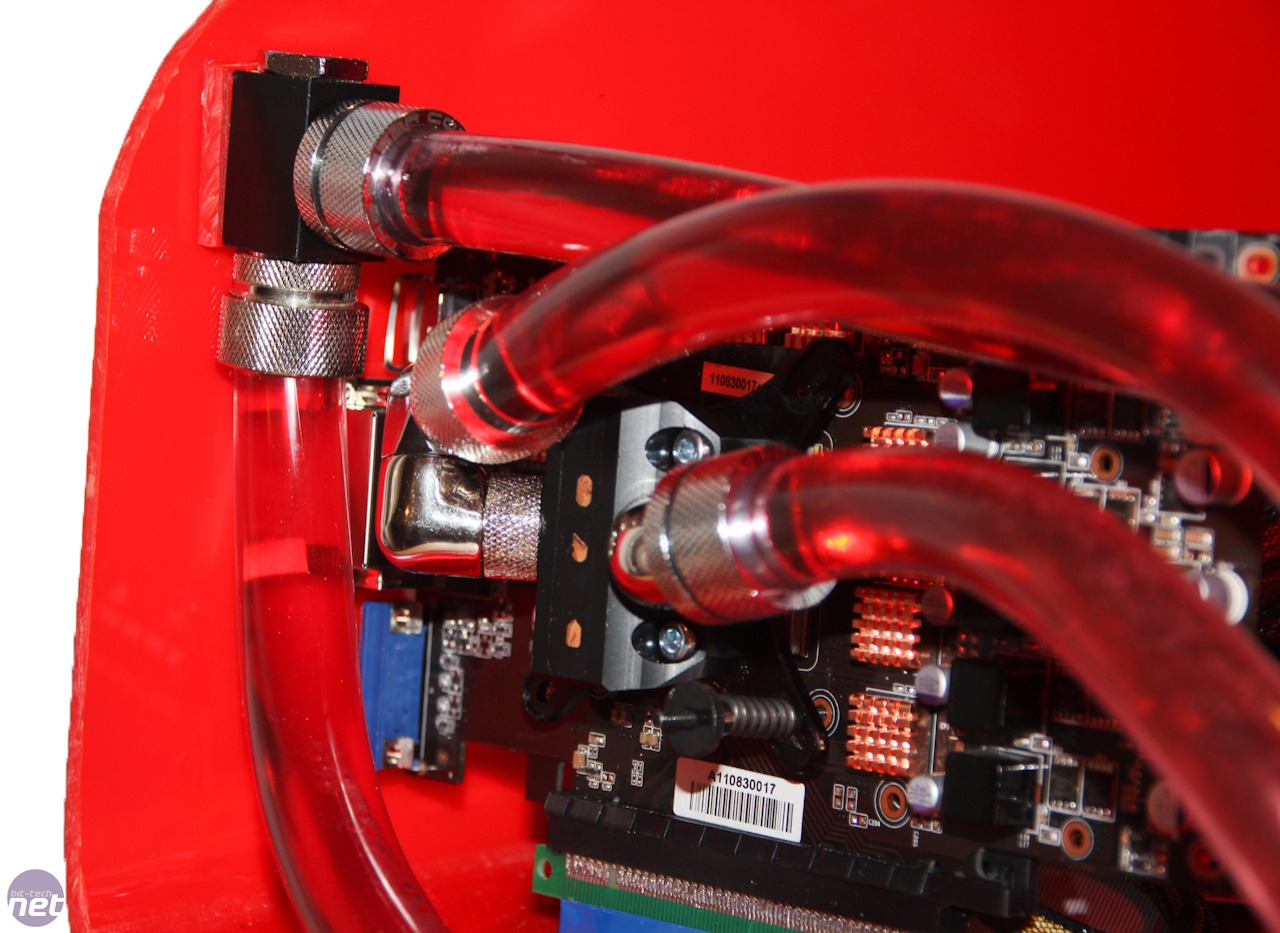
Click to enlarge
A special water-cooling feature will mean there's plenty of slack in the tubing around the outsides of the PC (more in this later) so all we had to do was to make a mount for the radiator. To do this, we made a vertical stand that would be secured to the base of the PC in front of the motherboard.
RELATED ARTICLES


MSI MPG Velox 100R Chassis Review
October 14 2021 | 15:04

Want to comment? Please log in.