Corsair 1000D Mega-Build Update 2: Make It Shiny!
July 19, 2018 | 09:00
Companies: #amd #corsair #msi #watercool
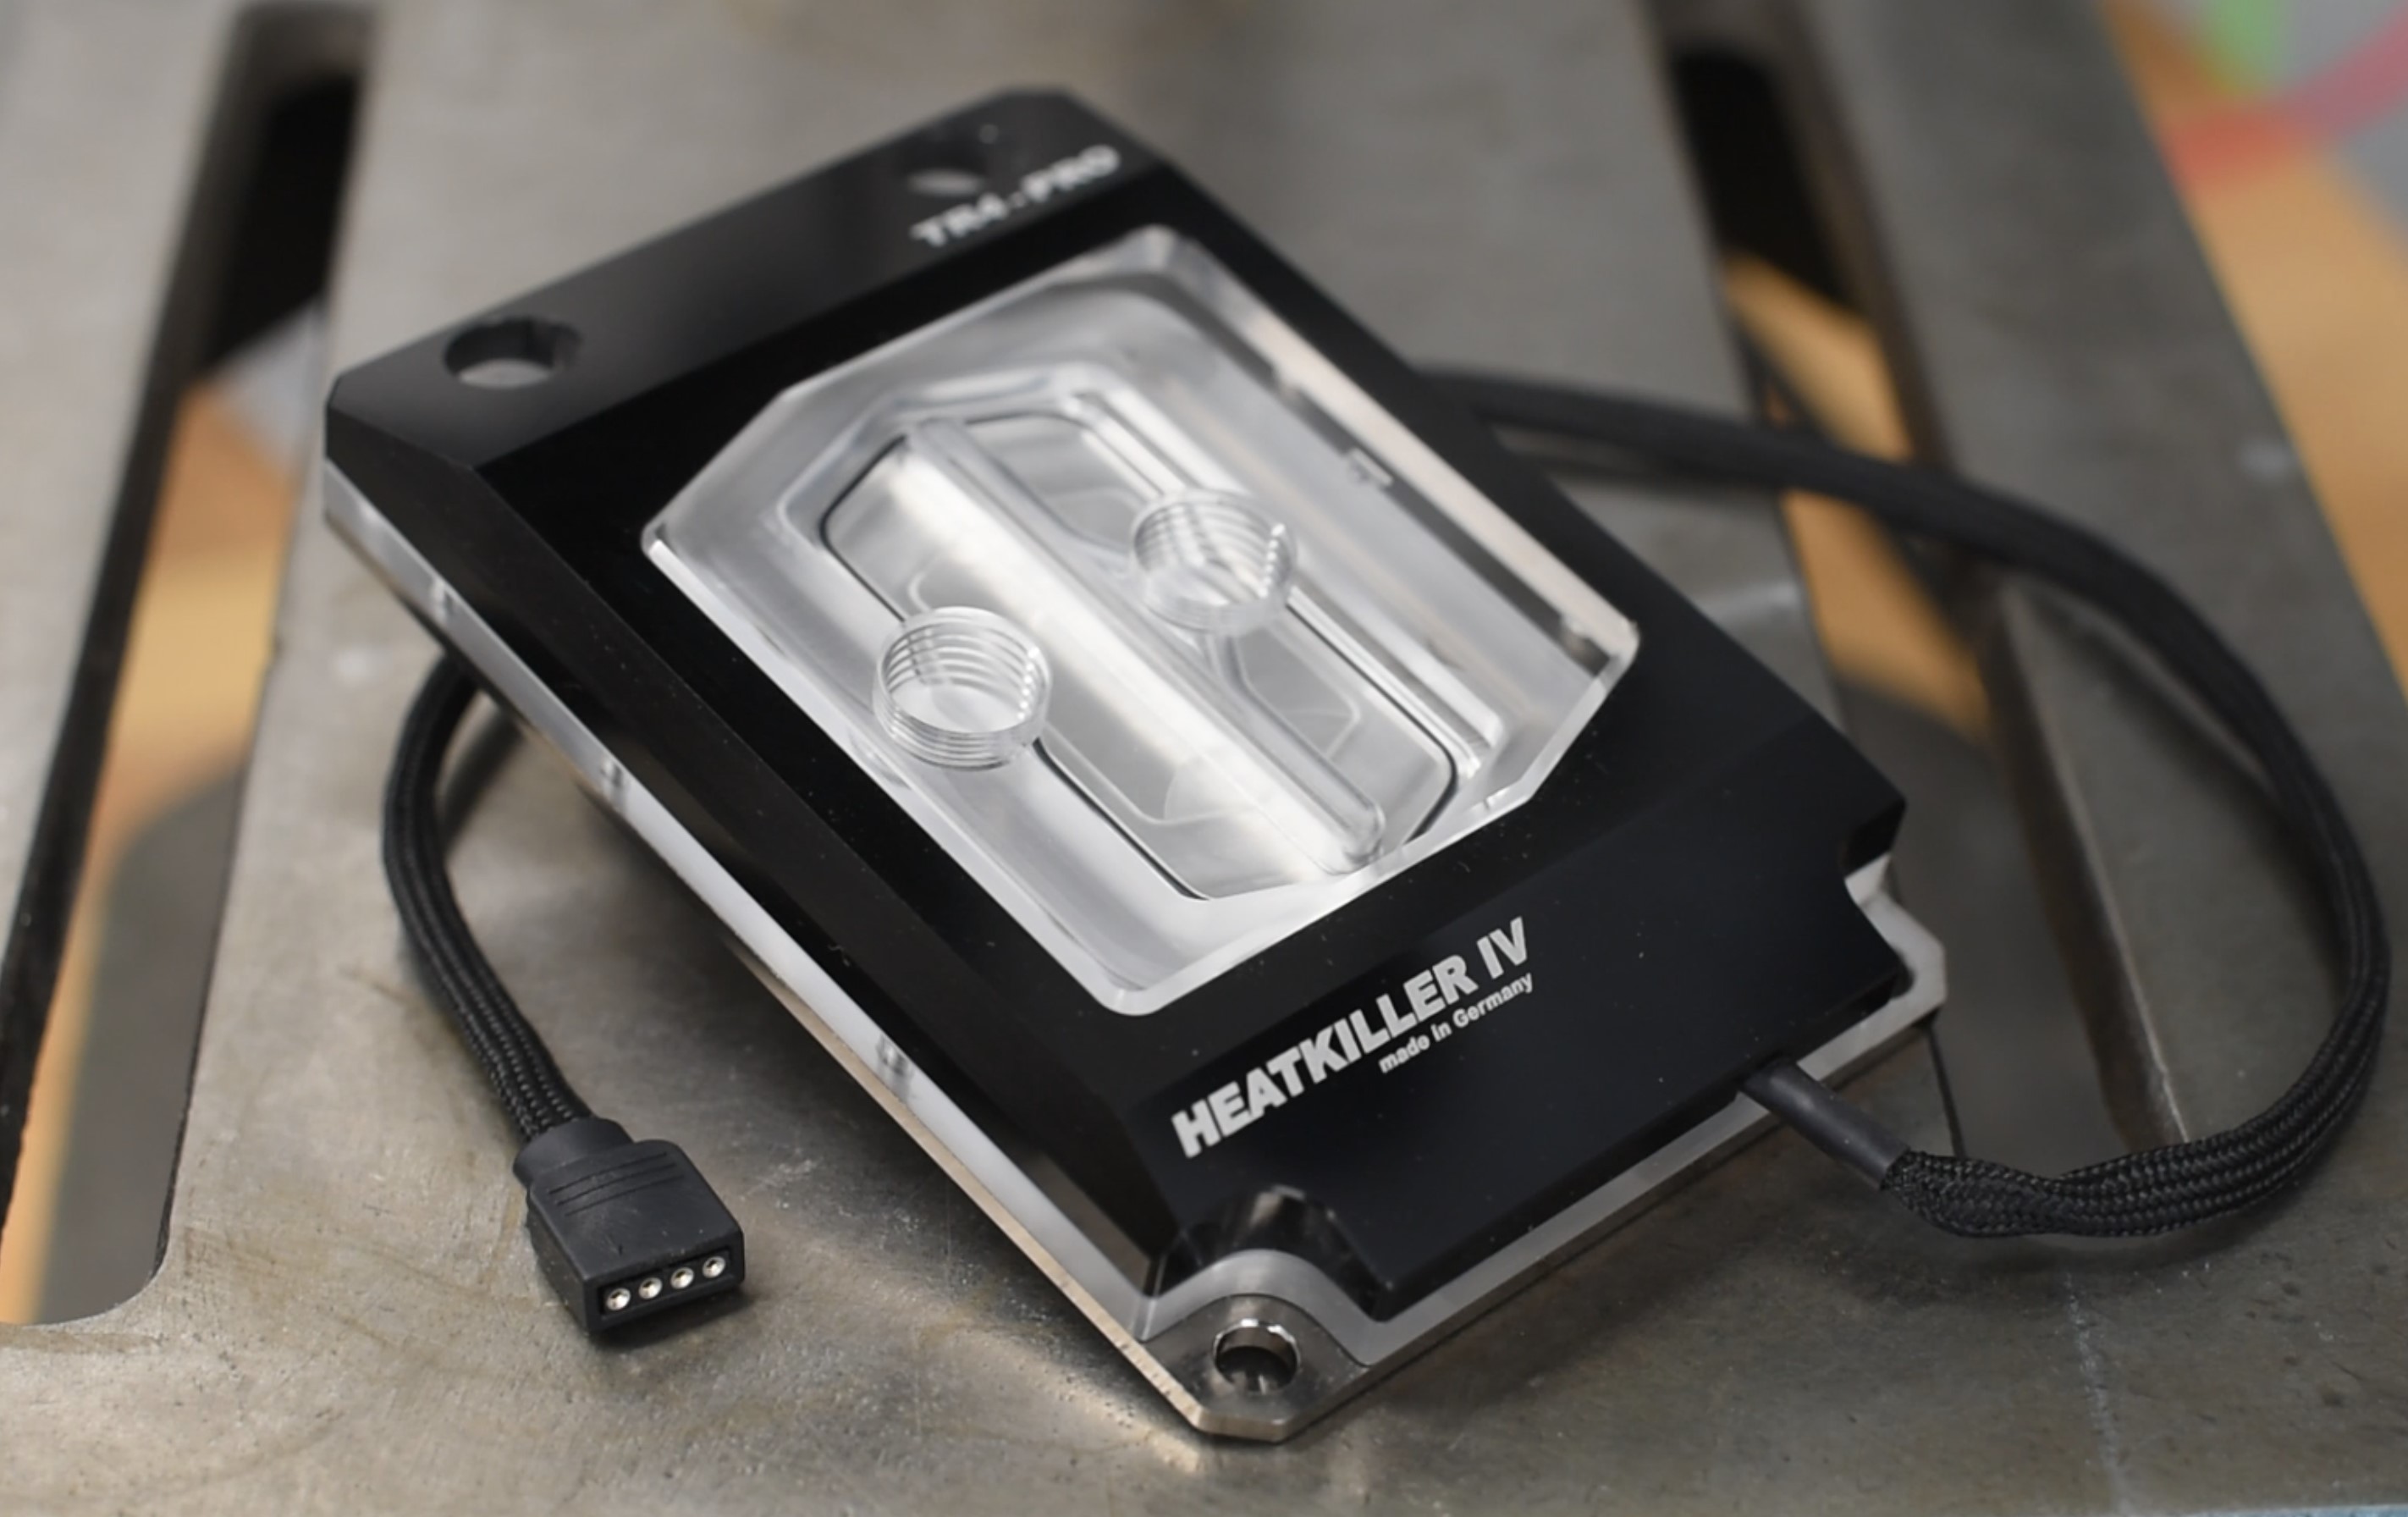
A proper project log has layers to it, elements like the design phase, assembly and of course modding individual components that are going to be going into it. Well, this build's no different, thankfully, and one step I was quite looking forward to was modding the retention cap used in our Heatkiller TR4 CPU block from Watercool.
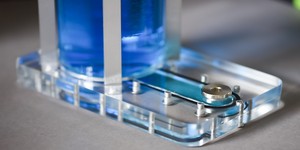
Stock, the block comes in a number of finishes, including polished full copper/nickel and an acrylic topped one with either a black or red anodised retention bracket. I'm a big fan of the all-metal blocks, but for this build we figured it would be nice to get some colour in from the coolant, so we opted for the acrylic one. A handy thing about Watercool is that whilst they do have a number of stock options, they're also able to customise parts for you, assuming you have the time and funds for it. The components are made in-house at their production facility in Germany, meaning there's a fair bit of potential flexibility.
We had originally asked for a raw bracket with no anodising, to which we were told it was of course completely possible. There was a small snag though in that the project deadline was beginning to loom a bit and a new bracket would mean timing it with the next production run for that particular part. So instead it seemed like a better idea to use a normal one and mod it instead!
Strip it down and give it a good rub
Since a number of other parts in this build will be sporting a polished raw aluminium look, it made sense to do the same to the block. The first step though was removing the anodising. Now originally I had figured it would be best to do this chemically, since it would get inside the mounting pockets and other hard to reach areas. If you want to try this yourself, using something like a strong oven cleaner (basically a weakened sodium hydroxide solution) can do you proud. The thing is, after I took the block apart to get a closer look, I wasn't so sure that would be a great idea.
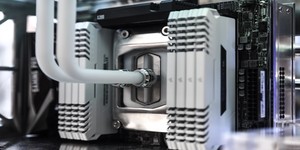
The way this particular block is constructed means the screws pass through the copper base plate, up through the acrylic section and then terminate in the aluminium bracket. This means that the screw threads in the aluminium are quite important as they do all the work keeping the o-rings compressed. I was worried that since the anodising layer is pretty thick on these blocks, the NaOH solution might also eat into those threads (since they'll have muchas surface area compared with the flat sides). Aluminium is pretty soft and small threads can strip if you're not careful, it didn't seem wise to risk that.


Instead, I decided to use the ol' fashioned elbow grease method, albeit with most of the grease replaced by a machine haha. One convenient part about the block is that it's all flat surfaces, meaning it's very sanding-friendly. I mounted the top in the vise and went at it with the random orbital sander, moving from 180 through 320, 500, 500 soft, 1000 soft and 2000 soft grit pads. I didn't want the crisp edges to completely disappear, so used the pretty low 180 starting point as that removes the anodising past enough so as not to warp the surface as much.
It's worth mentioning that if you want to do this yourself and want to maintain the crisp-machined lines, don't use a machine to sand. Instead you can affix your sand paper to a flat surface such as a glass plate or hard kitchen counter top, then carefully move the block around on top. You have to be careful with the chamfered sides, but you'll find it easier that trying to use a machine, perhaps a large disc sander with a guide would work though. I wanted some slightly rounded corners, so used the "hard pad" on my sander and light pressure.
In the buff


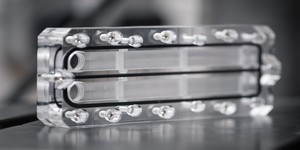
With the anodising now stripped and the surface smooth, I took the block over to the buffing wheel to bring out a nice shine. Previously I would have done this by hand but since so many items need polishing nowadays it seems, it felt like a good idea finally to get a small one. One of the handy things about machining grade aluminium alloys is that they do finish up rather spectacularly. It only took a few minutes at the wheels to get a really deep shine coming through.


The surface of the block, as expected, is much softer looking now, which I think plays with the light in a rather cool way. Hopefully with the coolant in and lighting everywhere it should stand out pretty well!
RELATED ARTICLES


MSI MPG Velox 100R Chassis Review
October 14 2021 | 15:04

Want to comment? Please log in.