Corsair 1000D Mega-Build Update 6: Assembly and off to iSeries!
September 7, 2018 | 15:00
Companies: #alphacool #amd #corsair #msi #nvidia #watercool
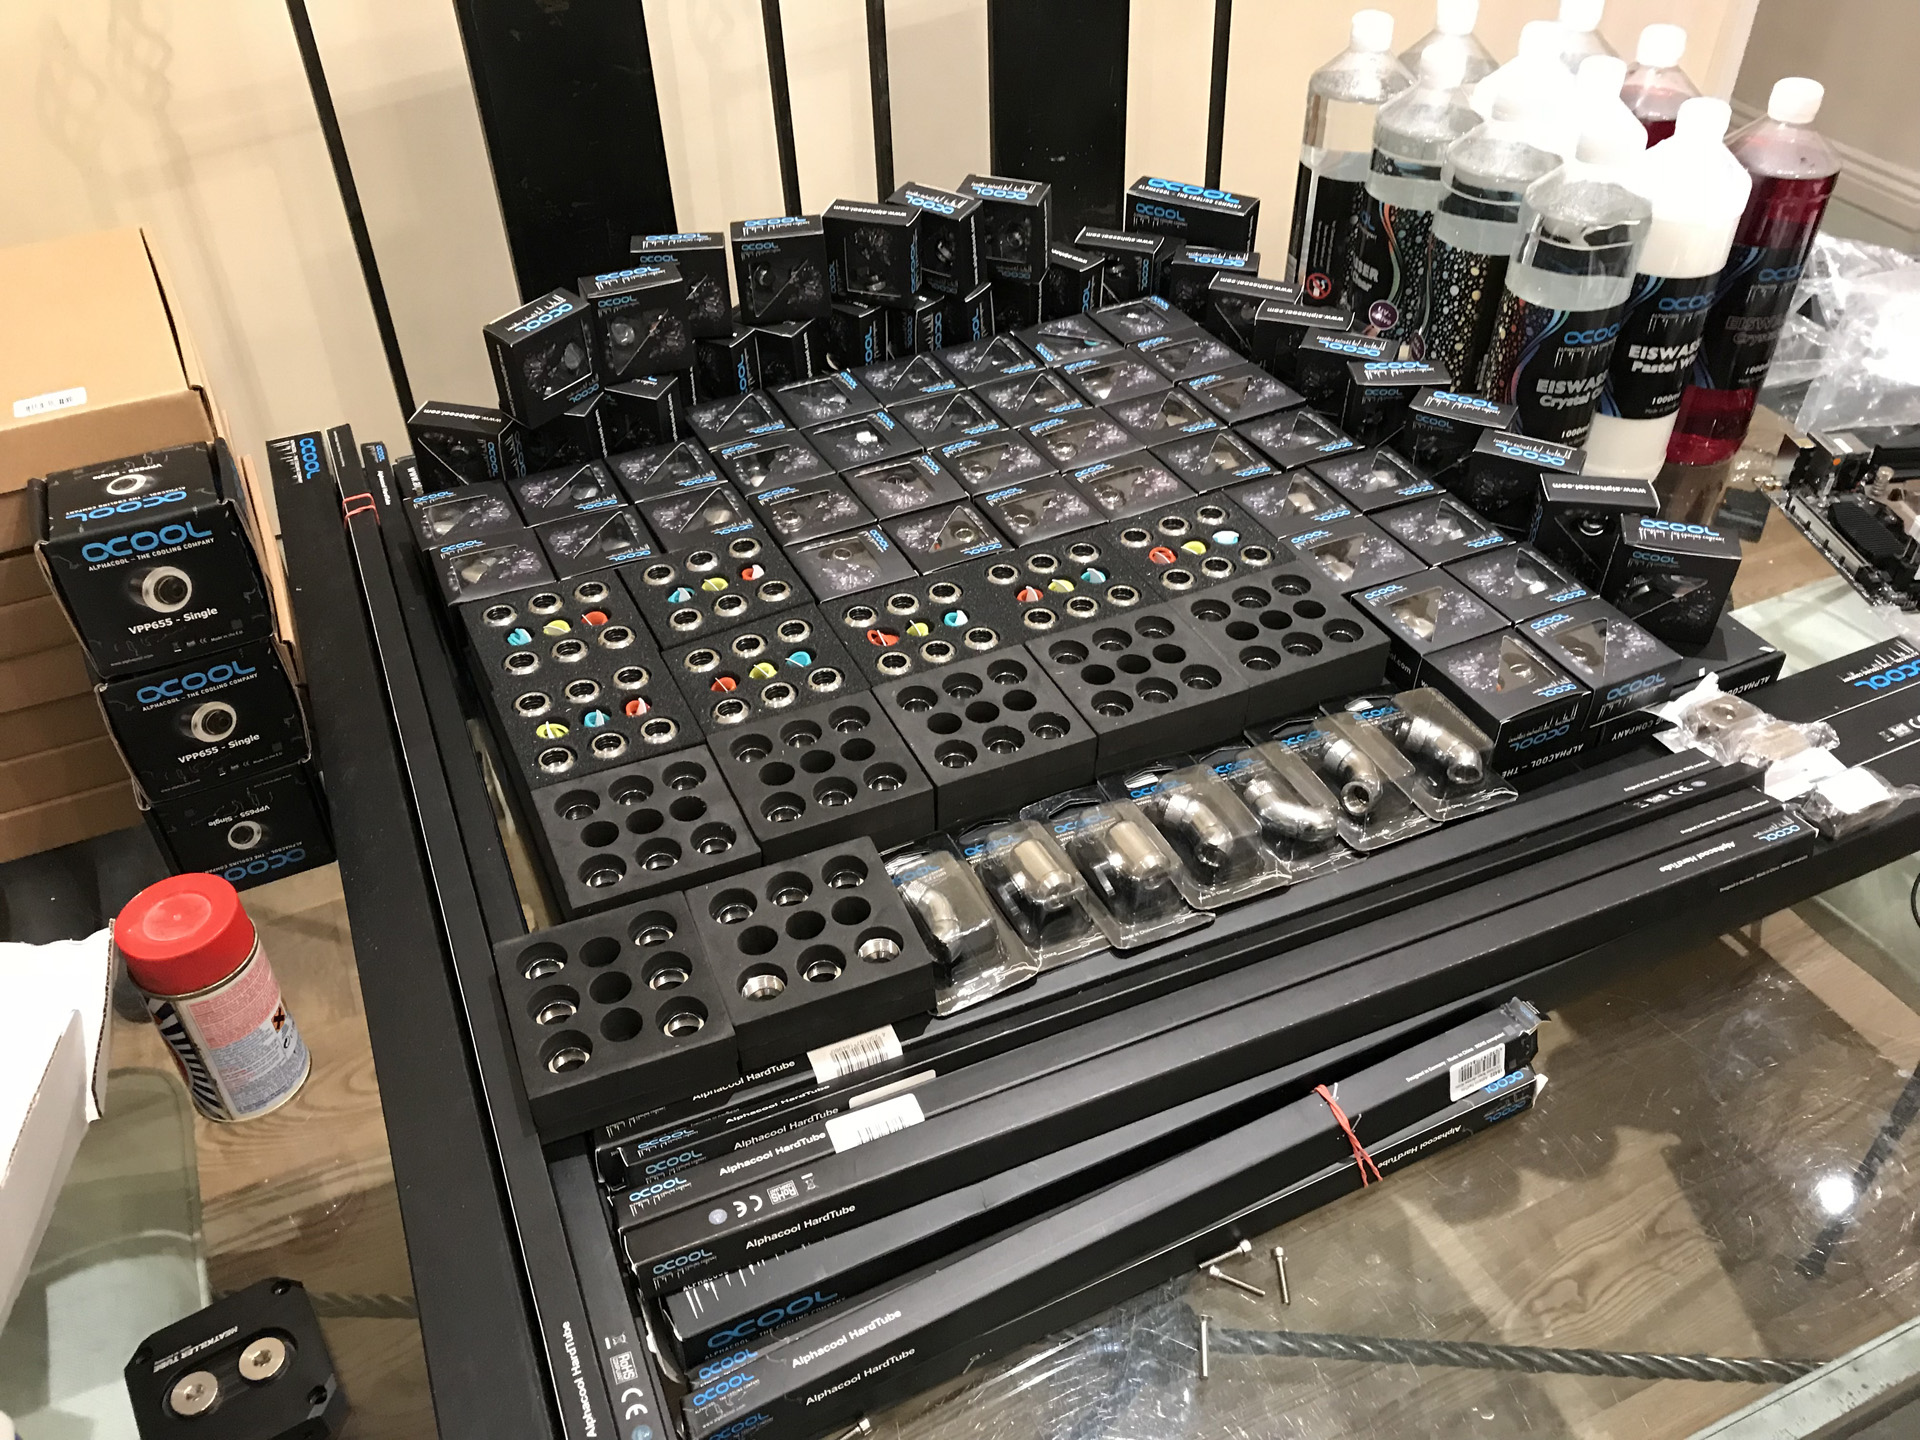
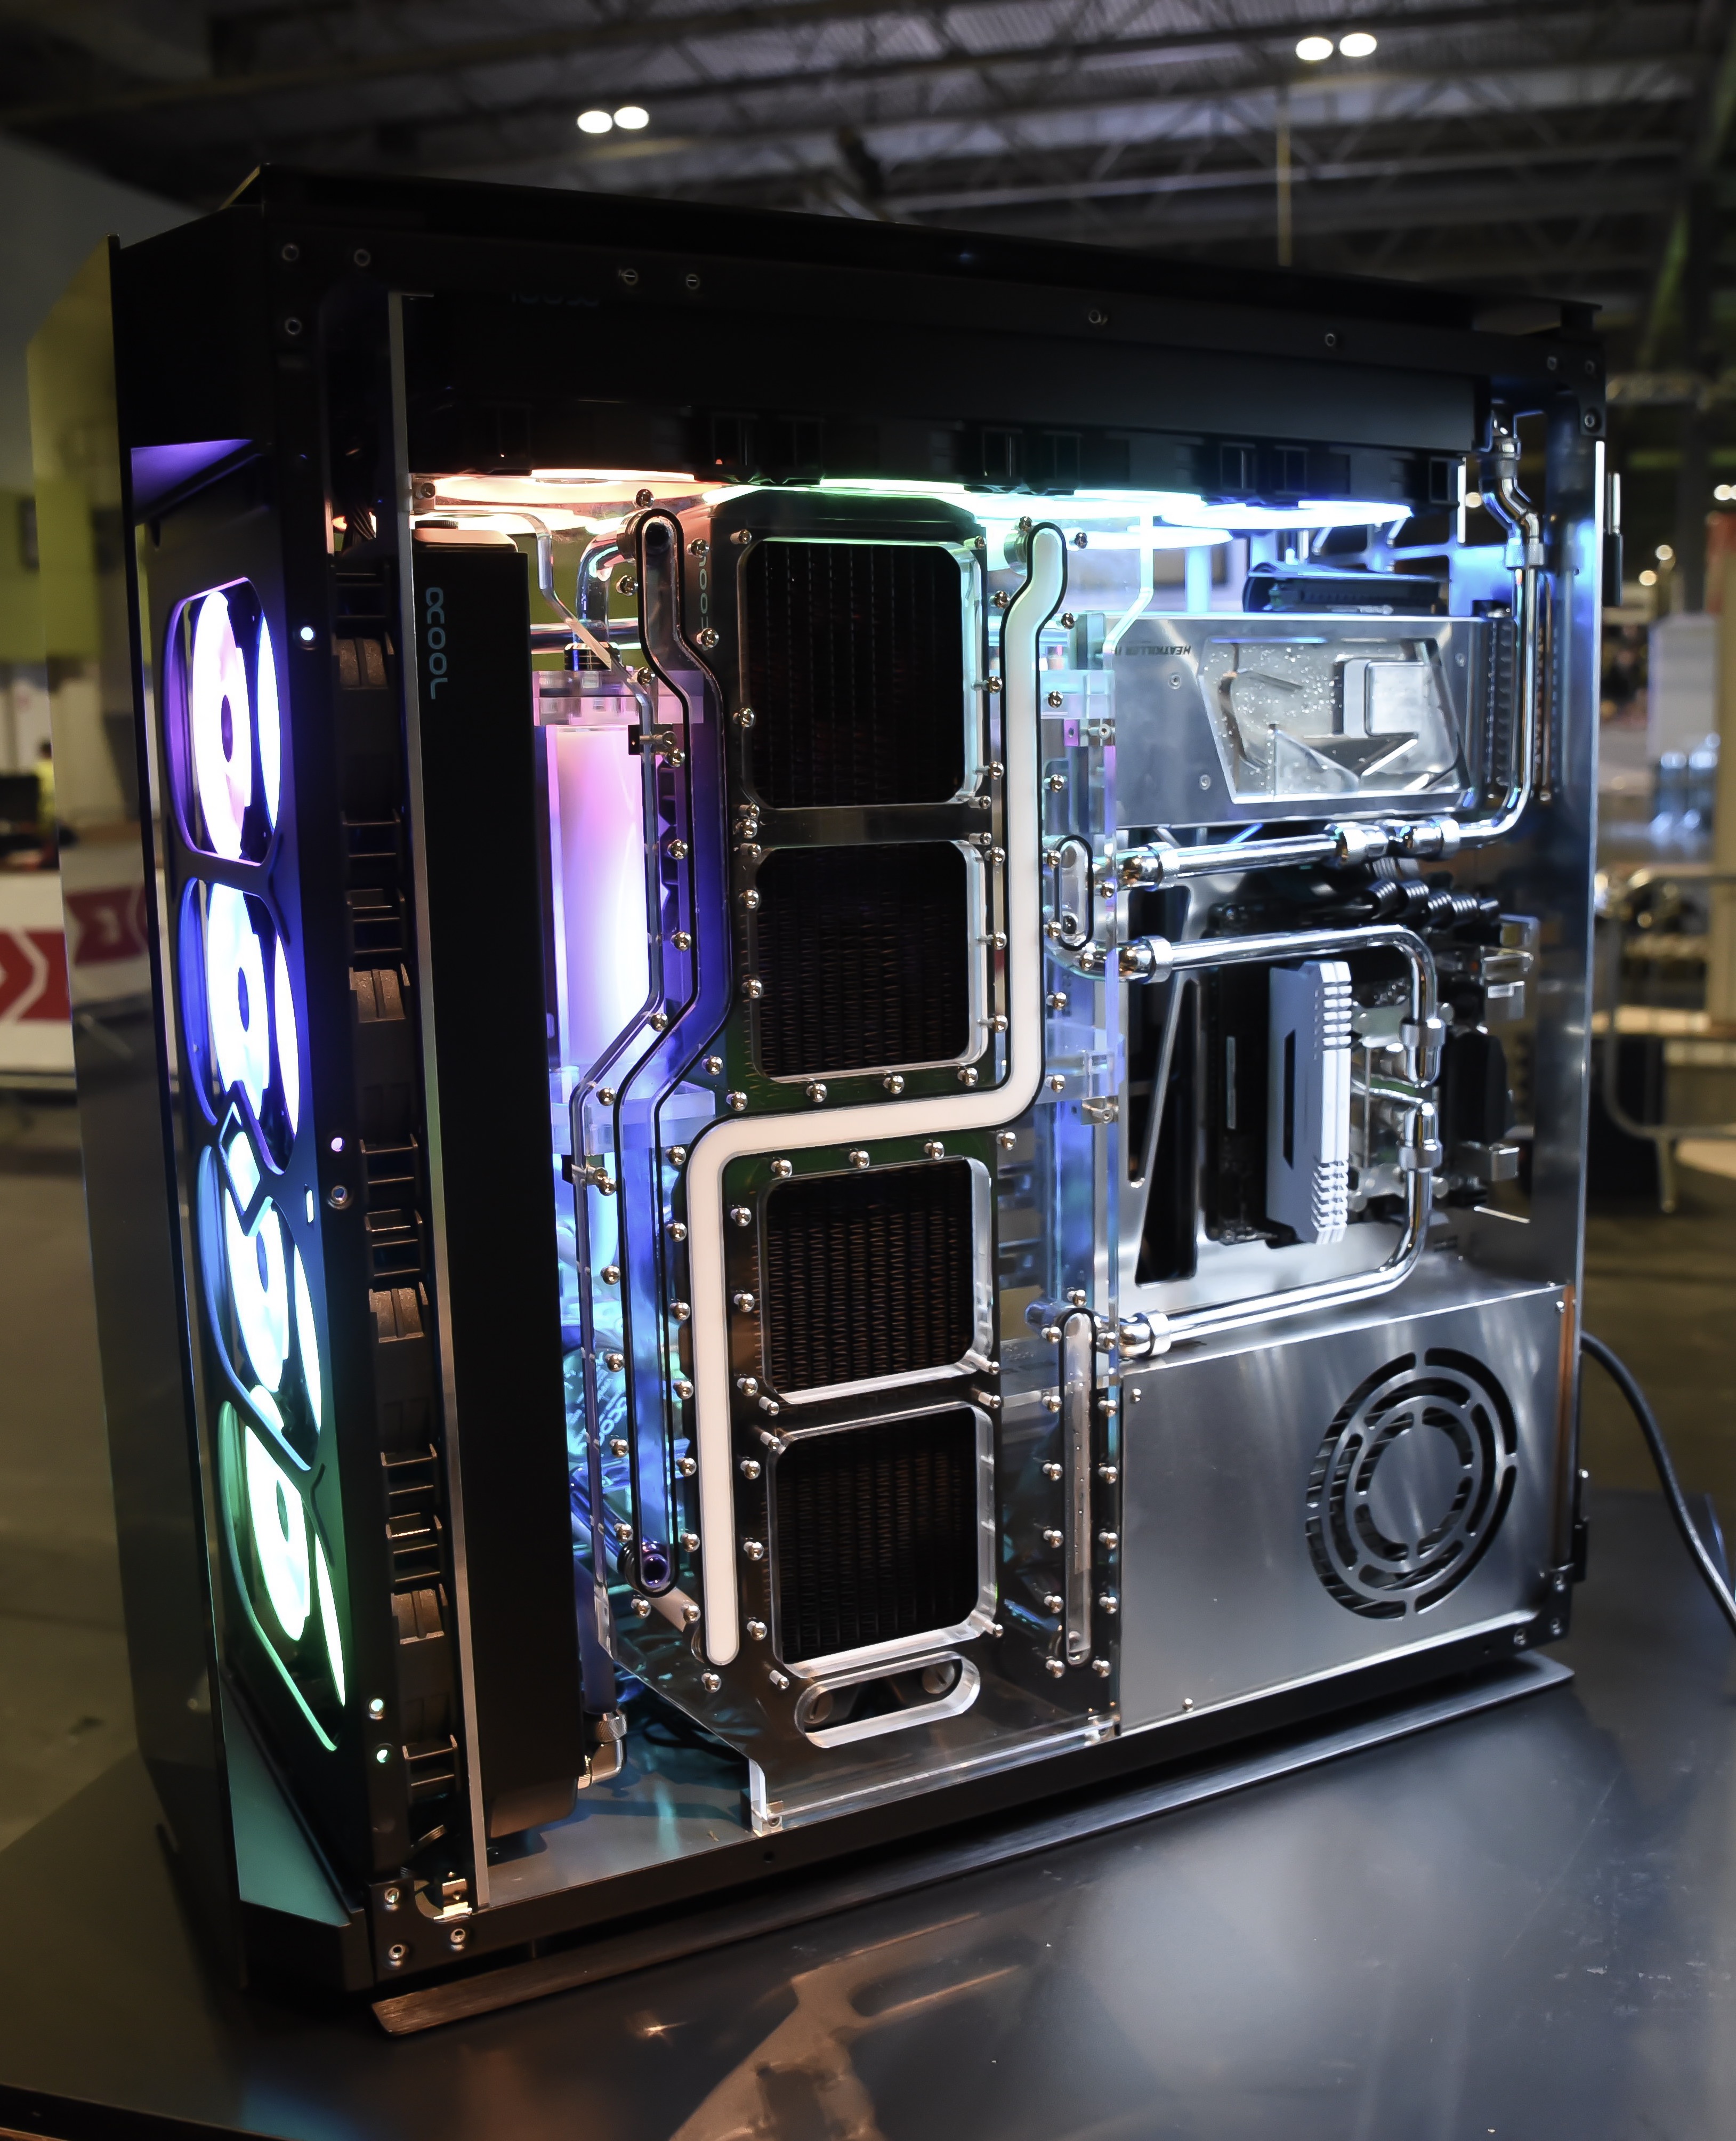
So, here we are, the end... well, no, not quite. Actually, there's a hell of a lot left to do and not much time in which to do it, namely all the major cable work and the custom front panel. That said, there's still a huge amount of work to show off, including the assembly of the main distro plate system, all the interior metal panels, mucho hardware, and last but not least a little too much RGB for any sane individual. Of course, up until this point there's been a distinct lack of fittings, tubing, pumps, radiators, and coolant. Well, thankfully the good folks at Alphacool were happy to step in and provide, and boy did they - look at this pile!
Crunch Time
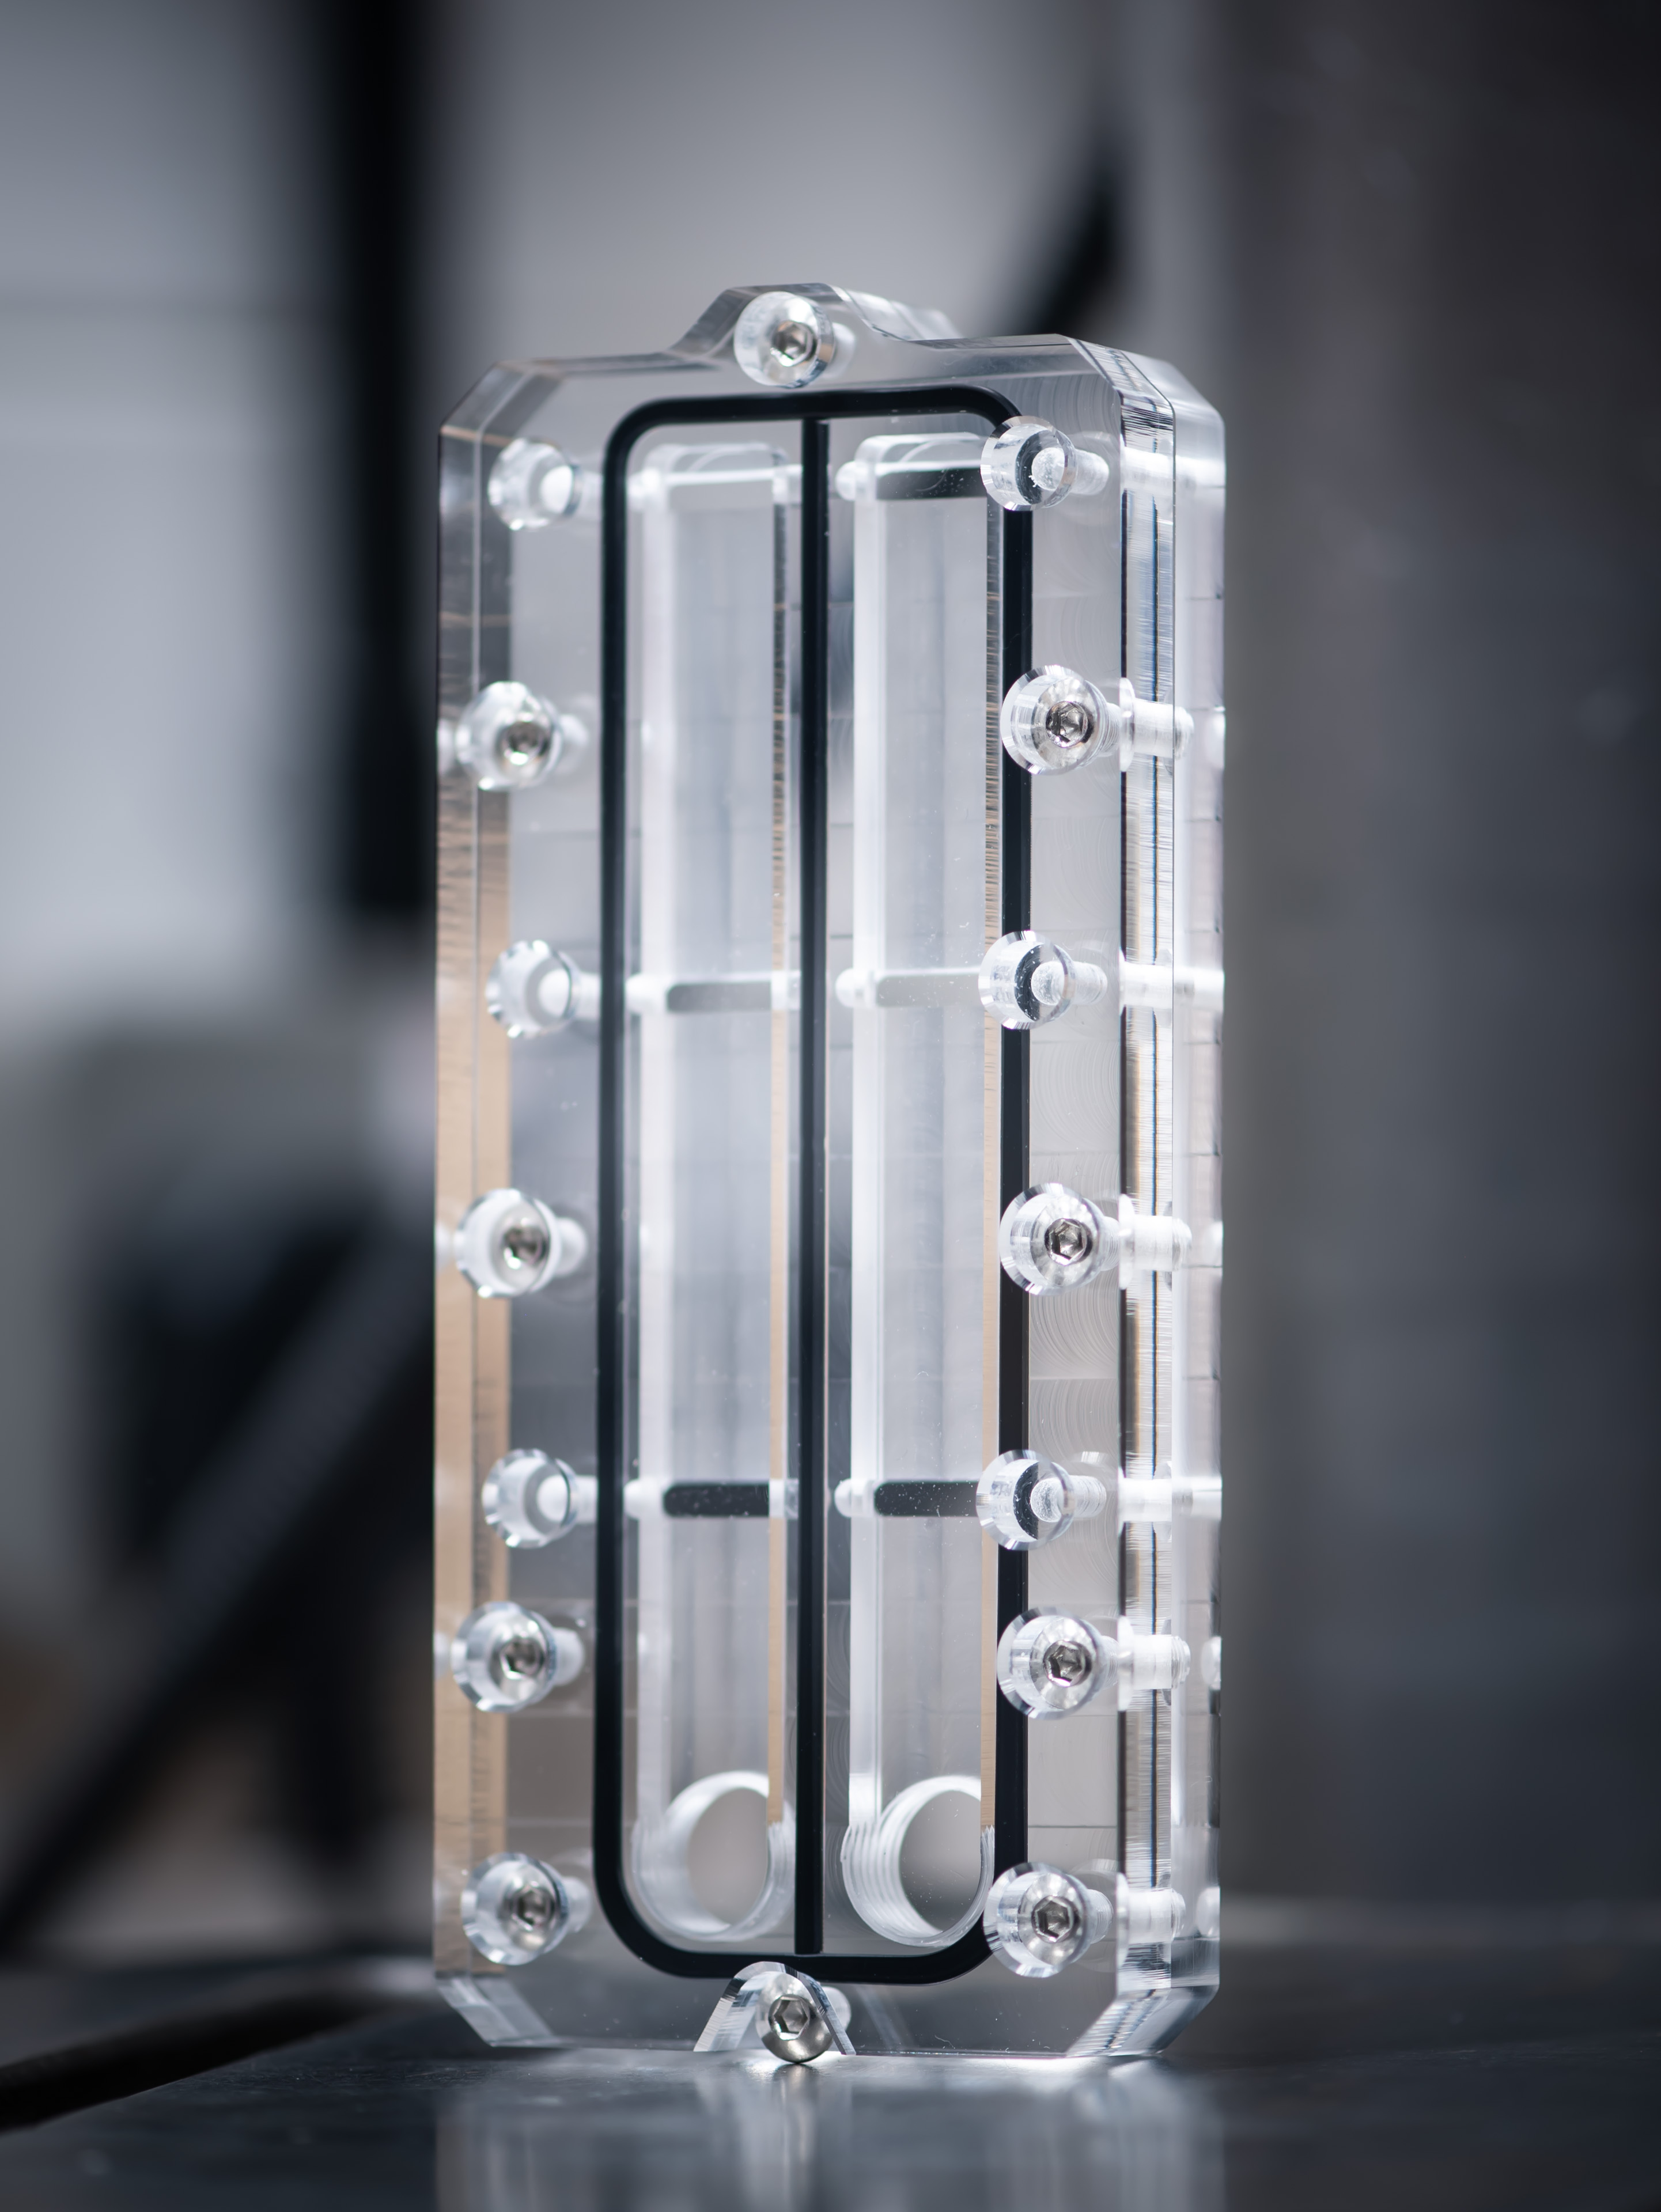
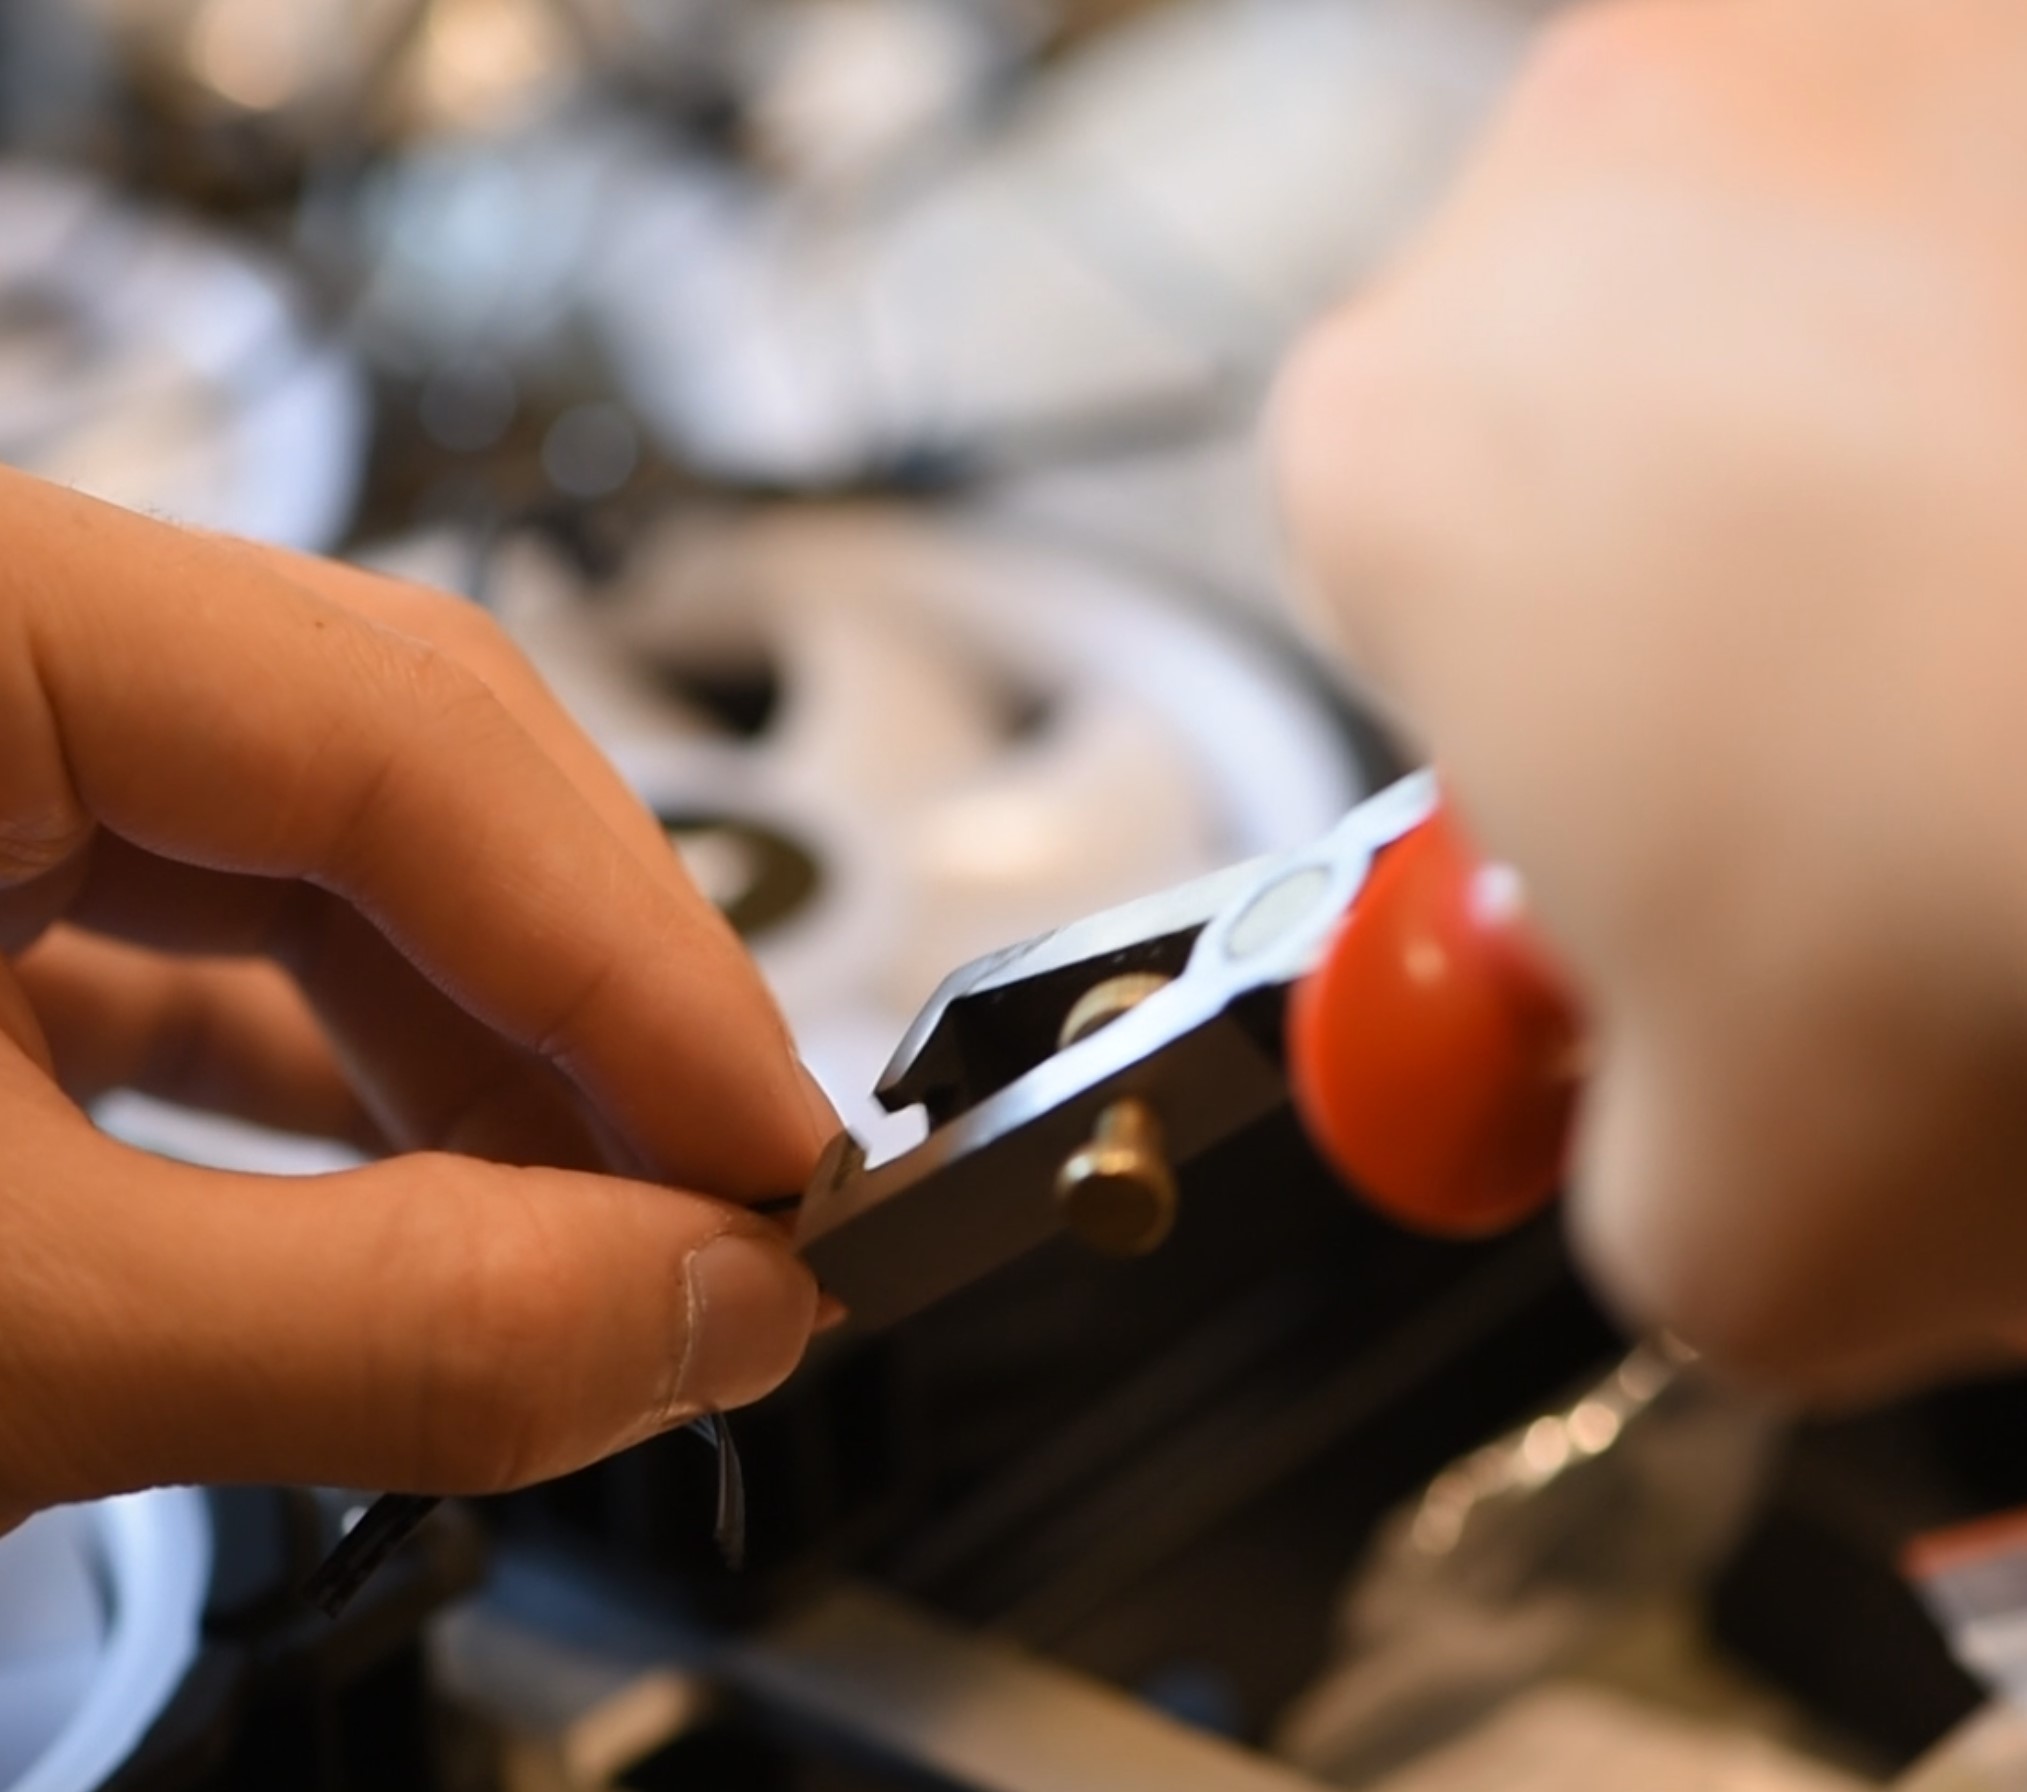
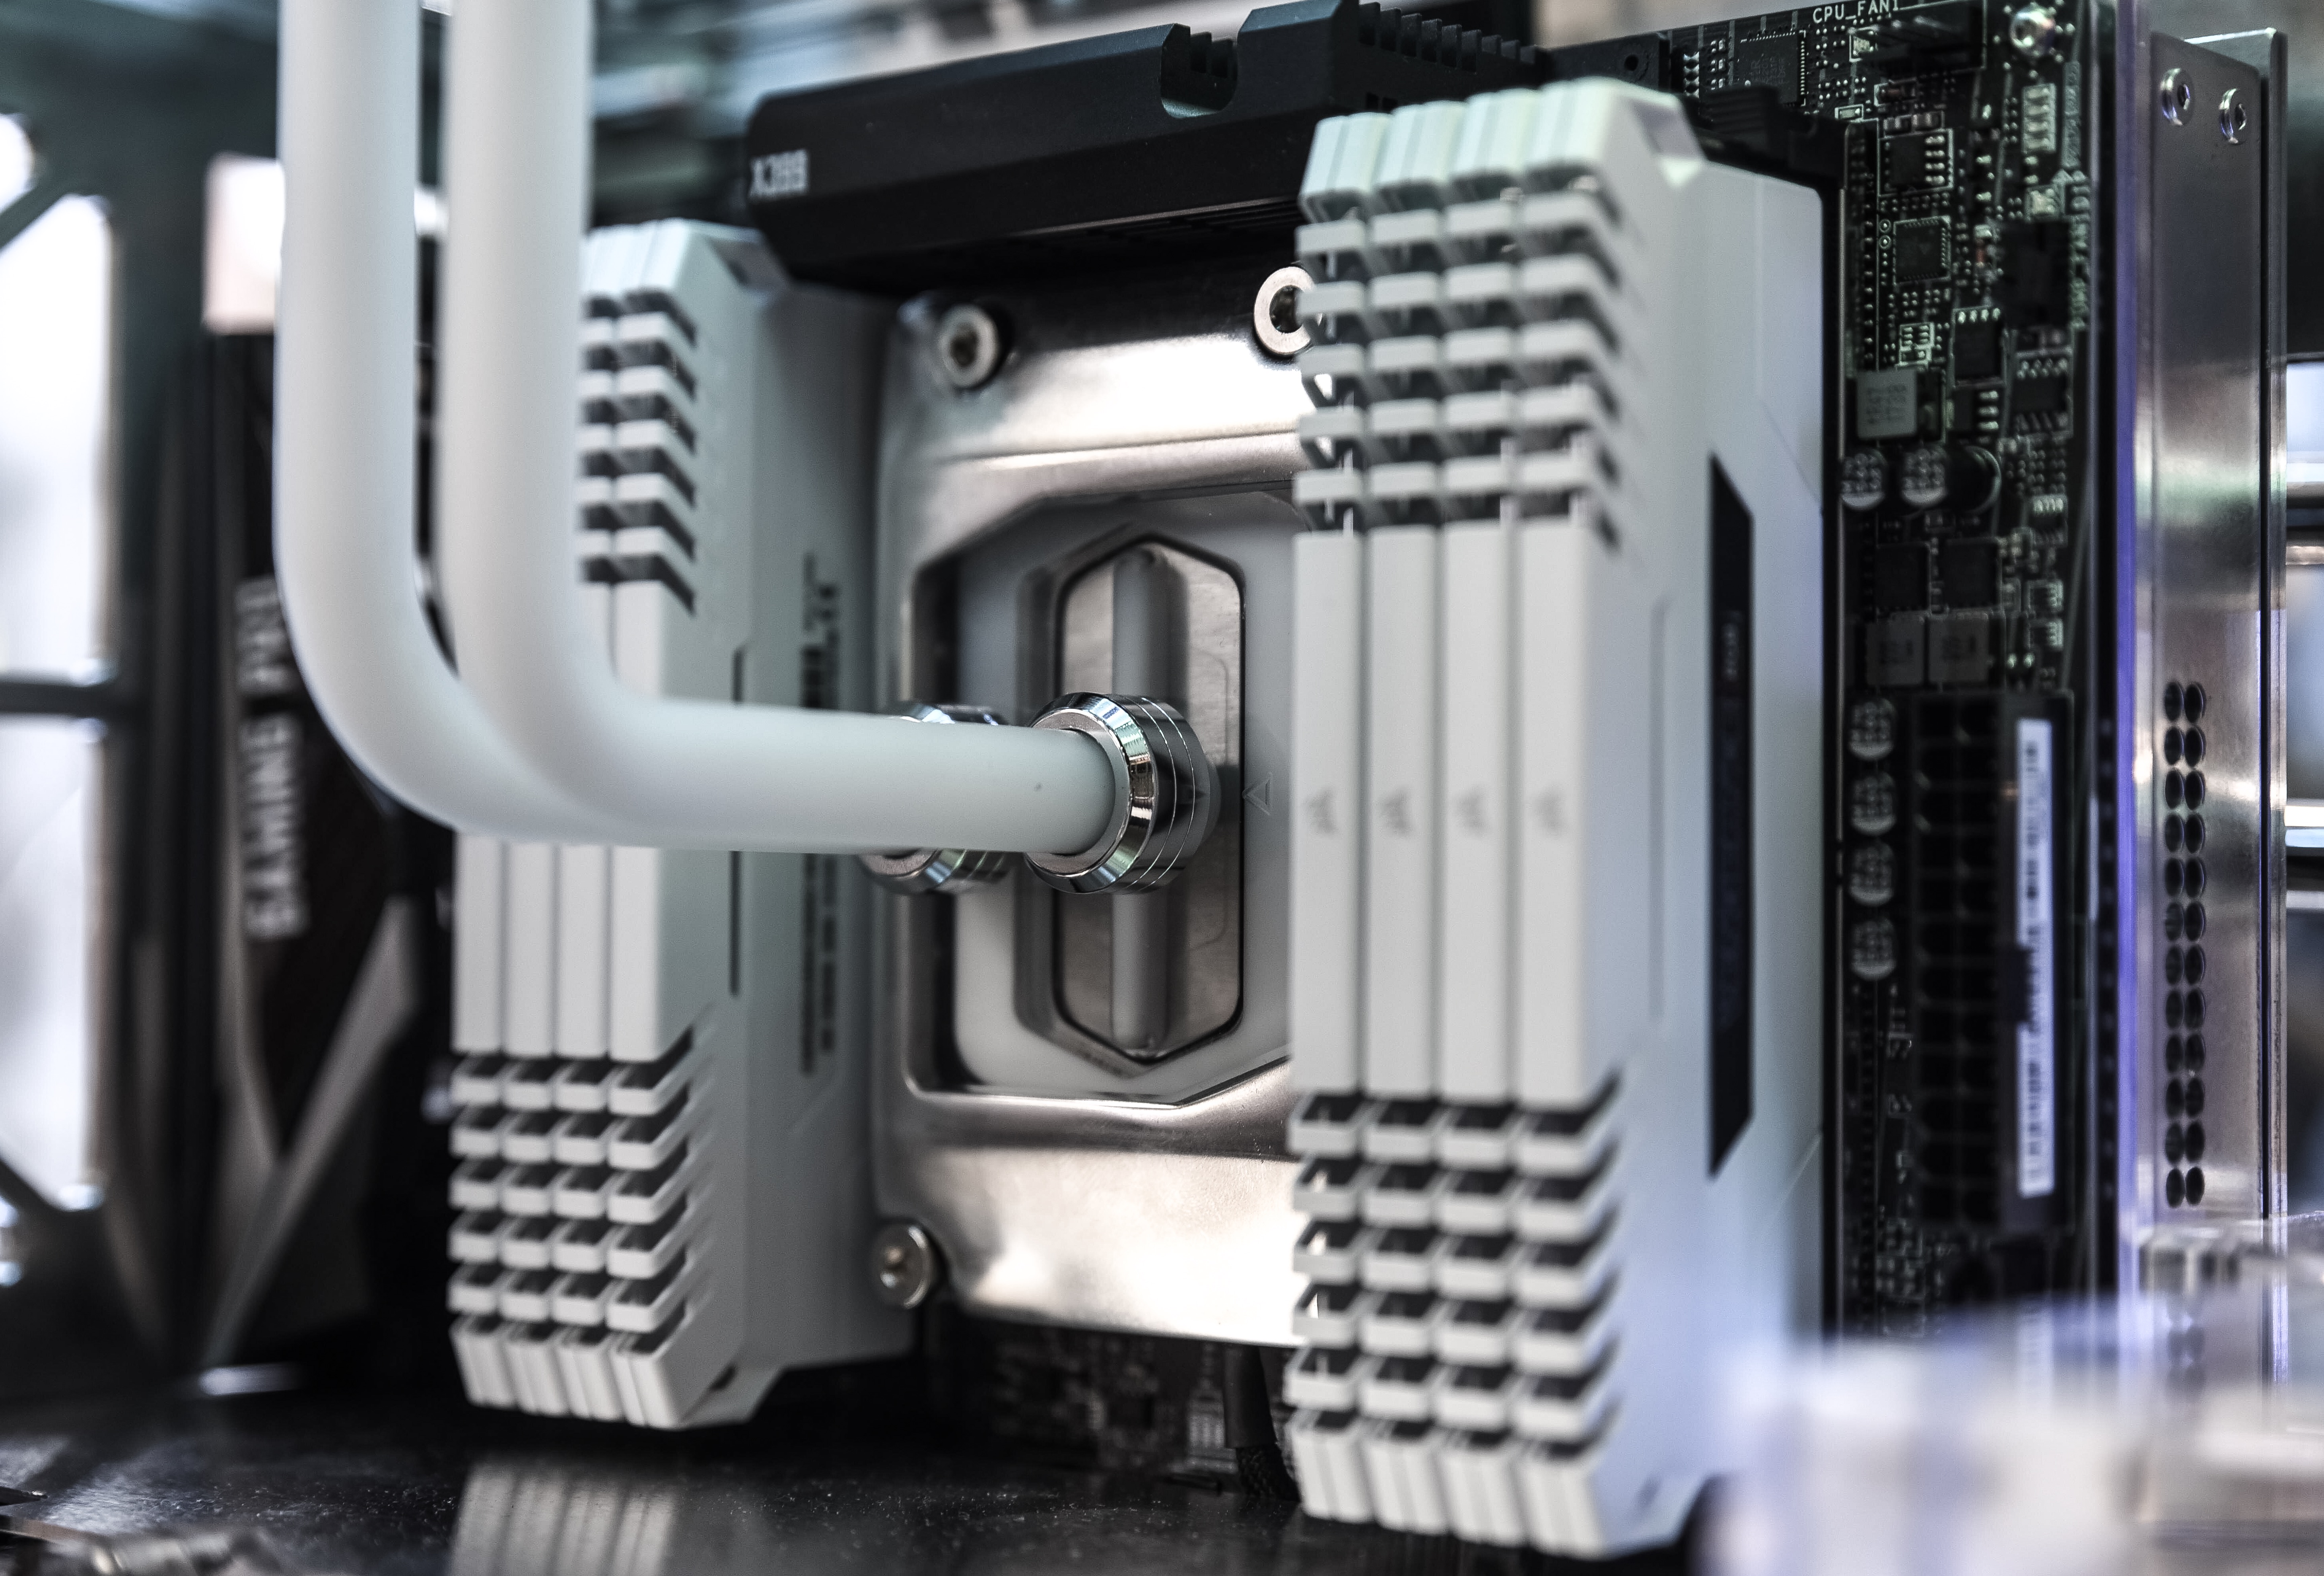
With iSeries fast approaching and a Corsair booth that would be decidedly lacking without a certain 1000D project in place, it was time to button down the hatches and get to it. First on the list of pieces to finish up was a custom GPU SLI terminal to connect the three GTX 1080 Tis going into the TR4 system. I'll be going into more detail about how to create one of these terminals in a future dedicated article, but in essence it replaces the stock acetal one provided by Watercool with an acrylic version (also running parallel), meaning the coolant will be visible within the terminal.
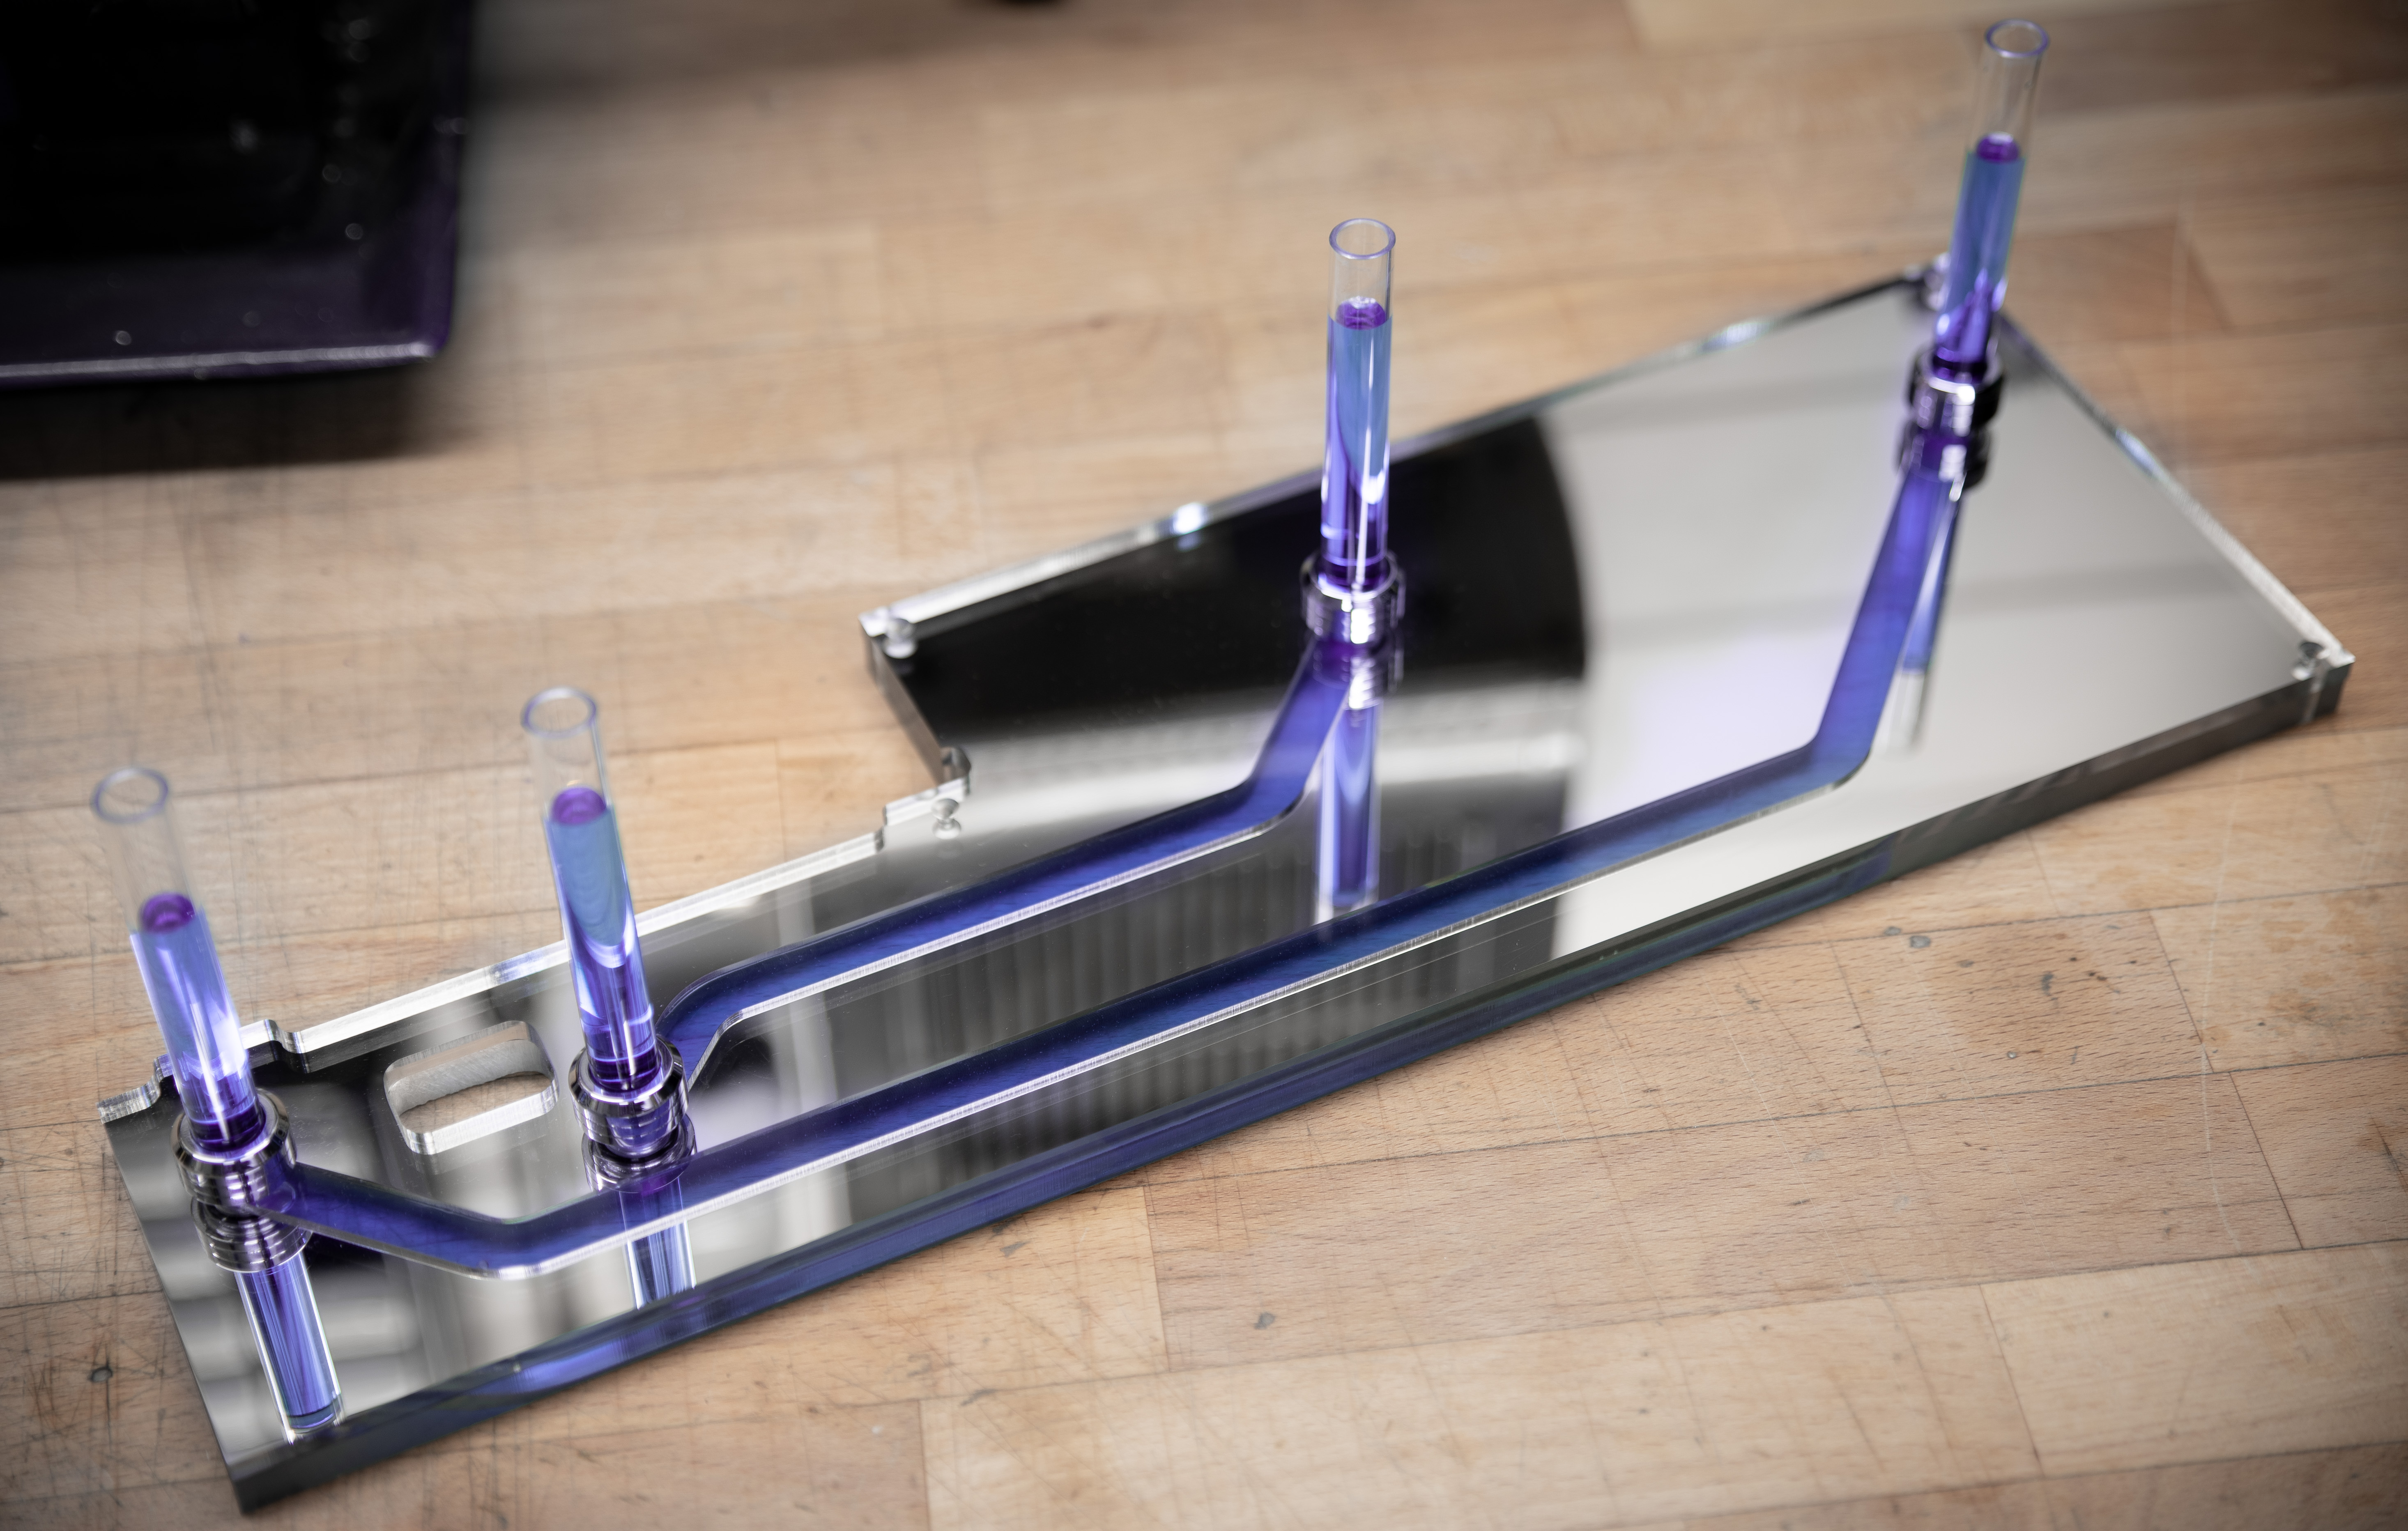
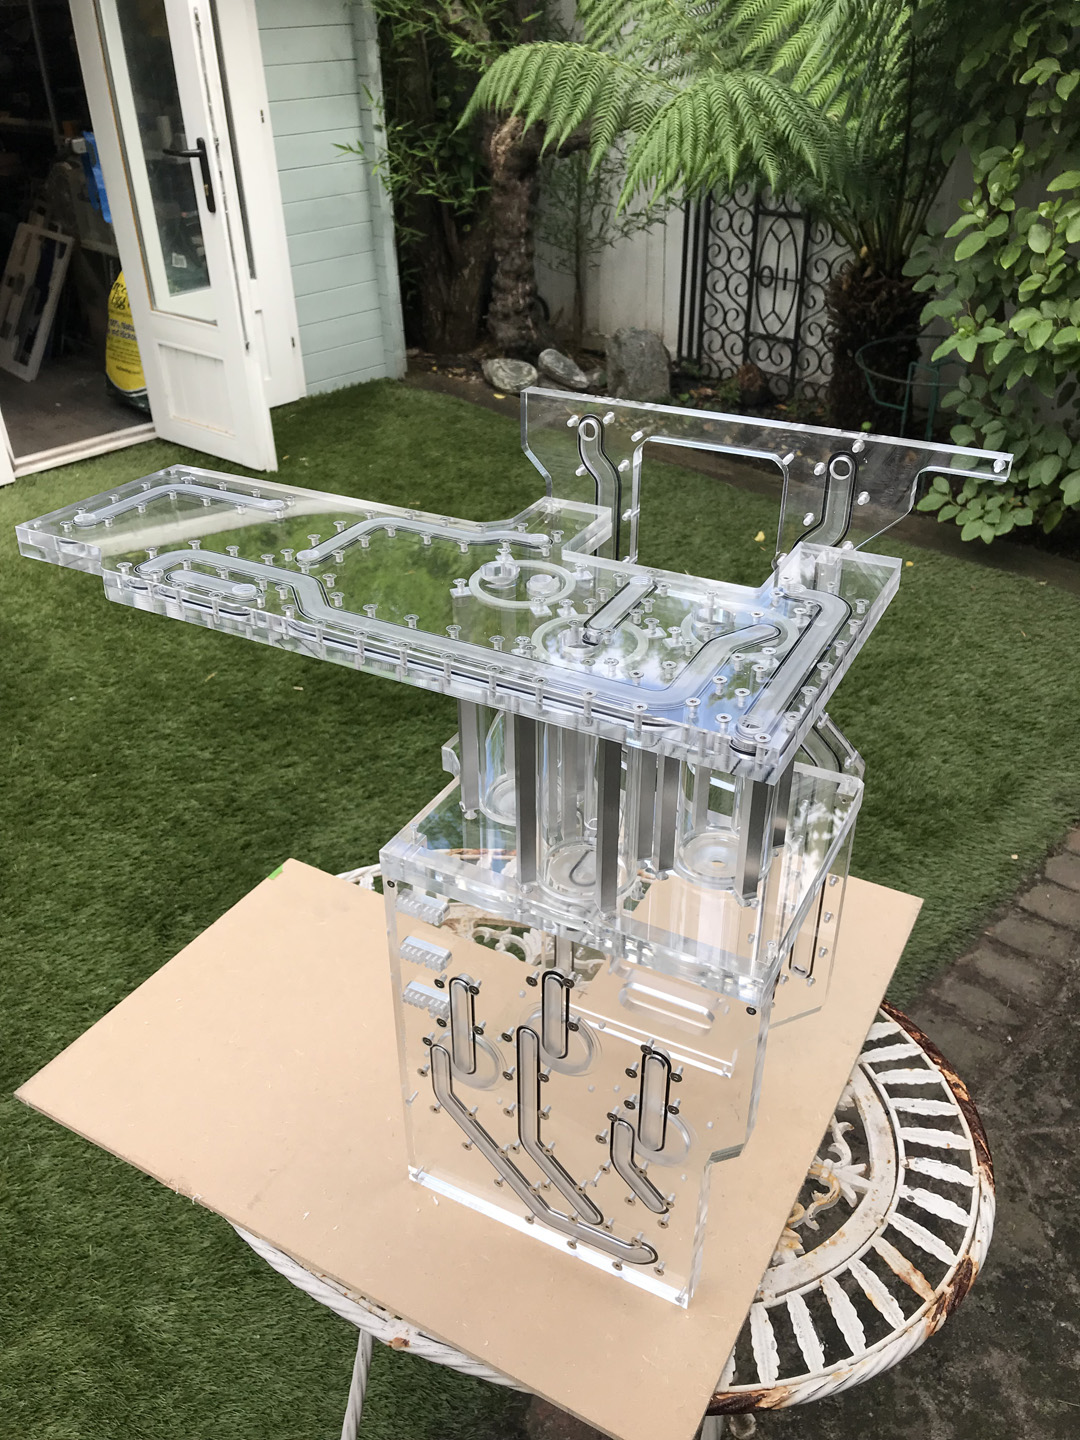
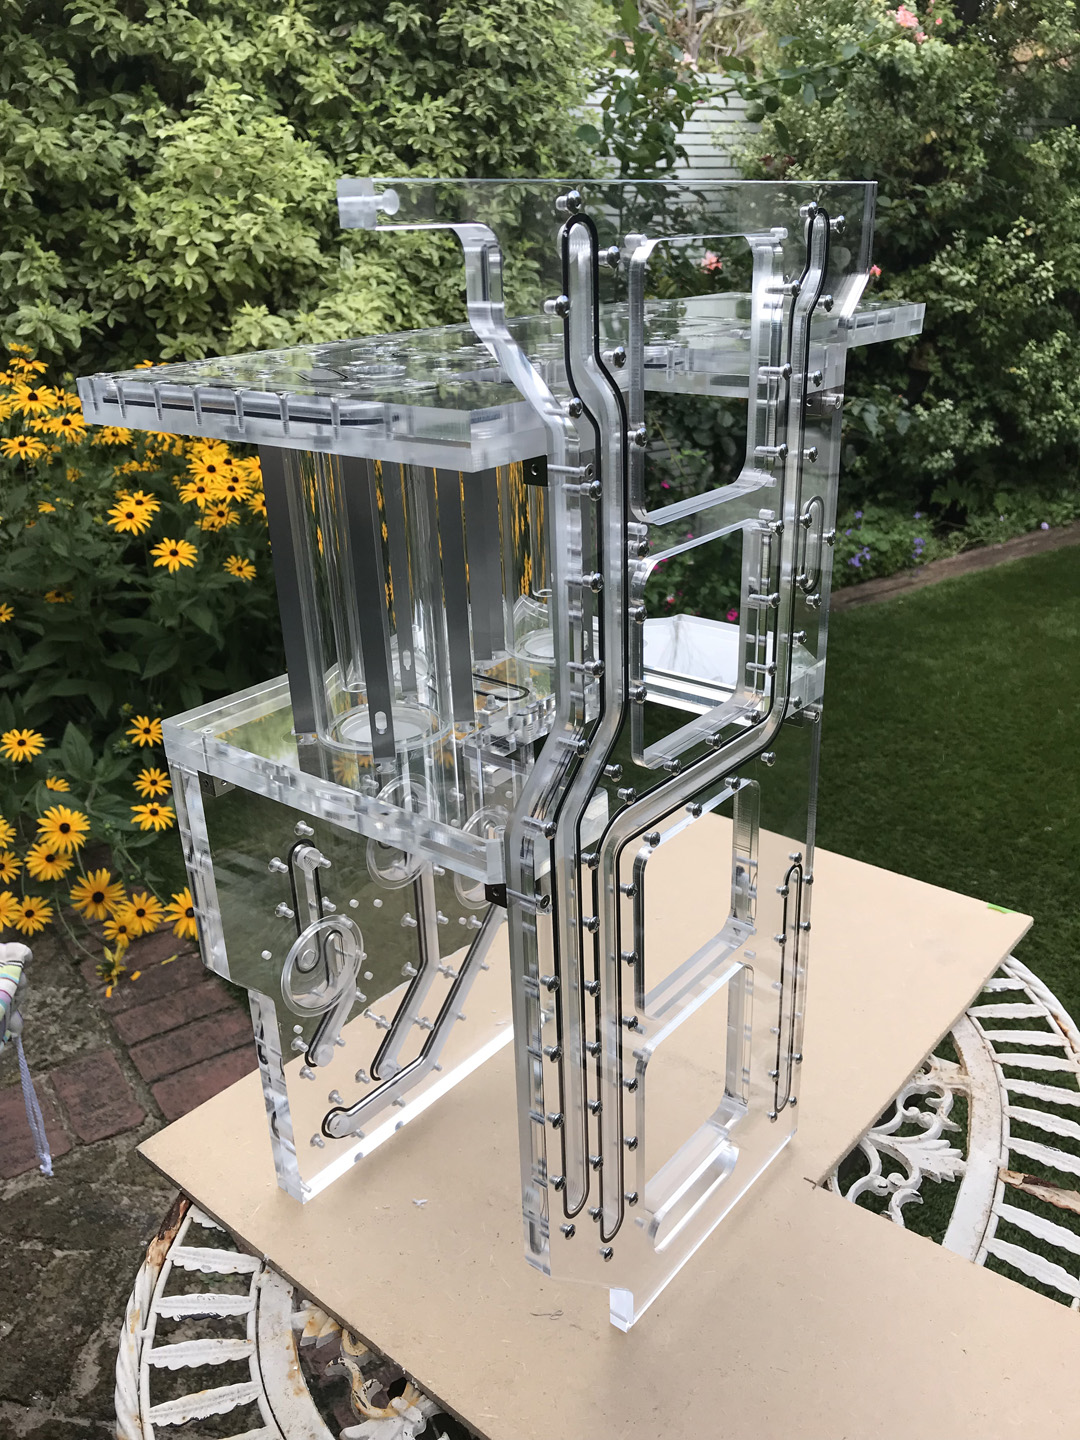
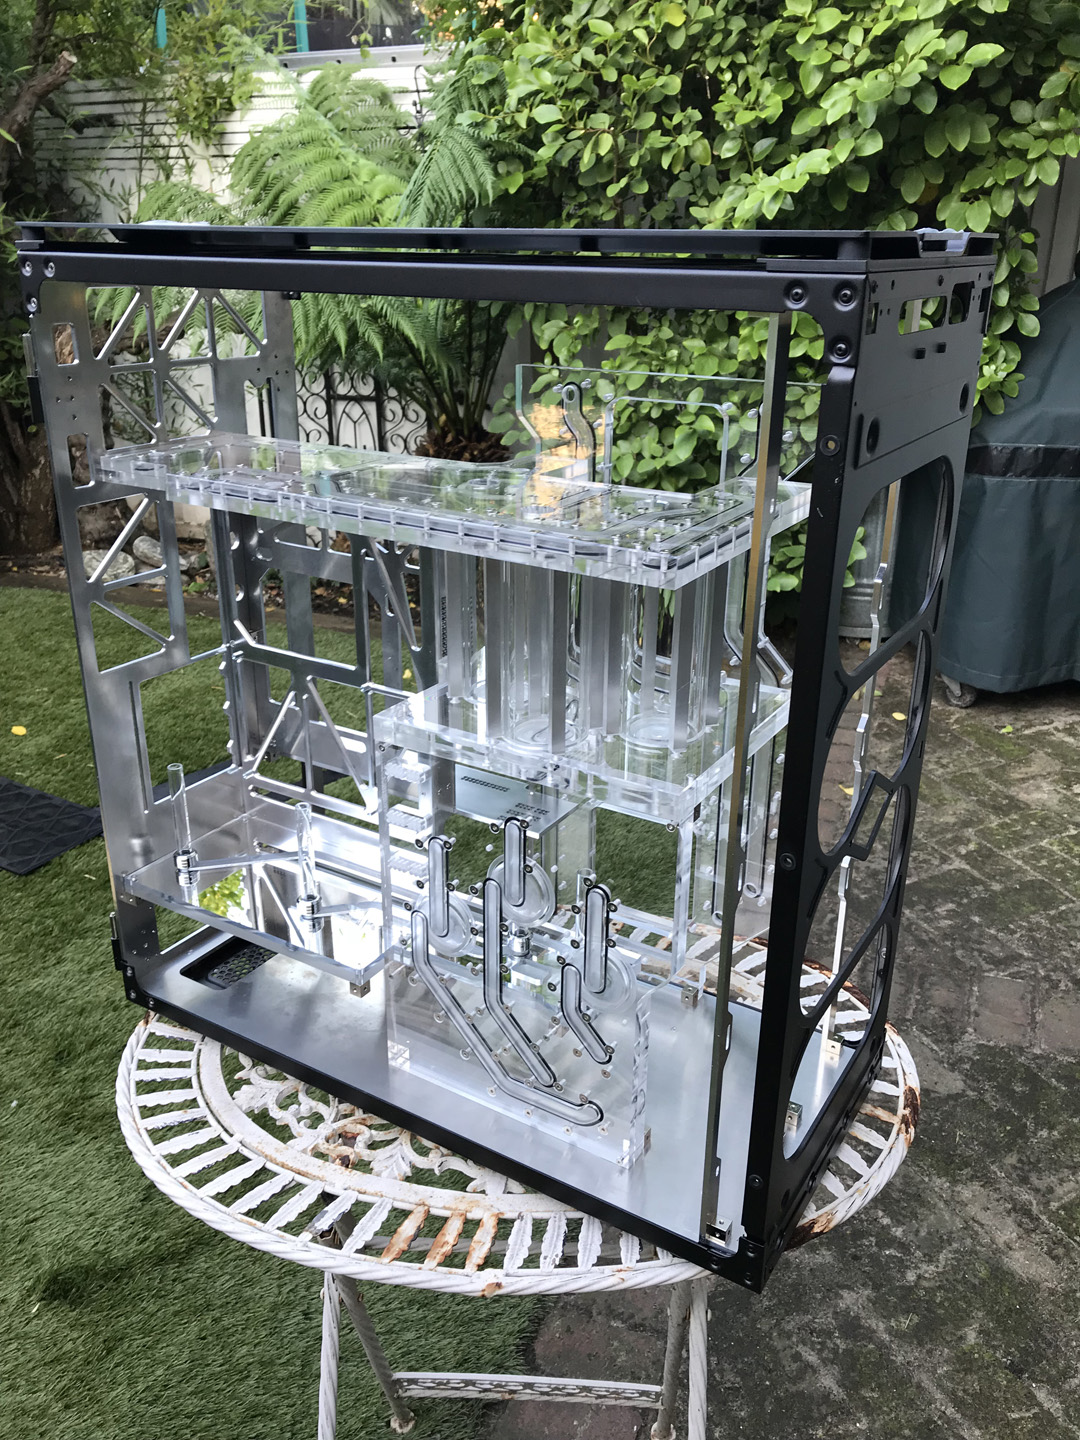
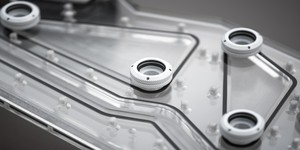
Next up we have a rather special distro plate, which sits below the GPUs. Since there will be so many fan and accessory cables in this build, it made sense to have some some sort of shroud at least so that things can be kept neat. The thing is, I also wanted to make it seem like it wasn't there, most of the build is clear or polished metal, so having a large opaque section would seem out of place. To alleviate that I went with a mirrored panel approach, and that way the coolant channels appear to float on top of the mirrored surface. Similarly when viewed from above, the mirror finish gives the impression that the bottom section is in fact empty! To achieve this I machined an acrylic mirror alongside a thicker 10mm section; these were then chemically bonded together to create a tight seal, as opposed to screws and o-rings like the other panels. This gives the panel a clean finish with no visible fasteners.
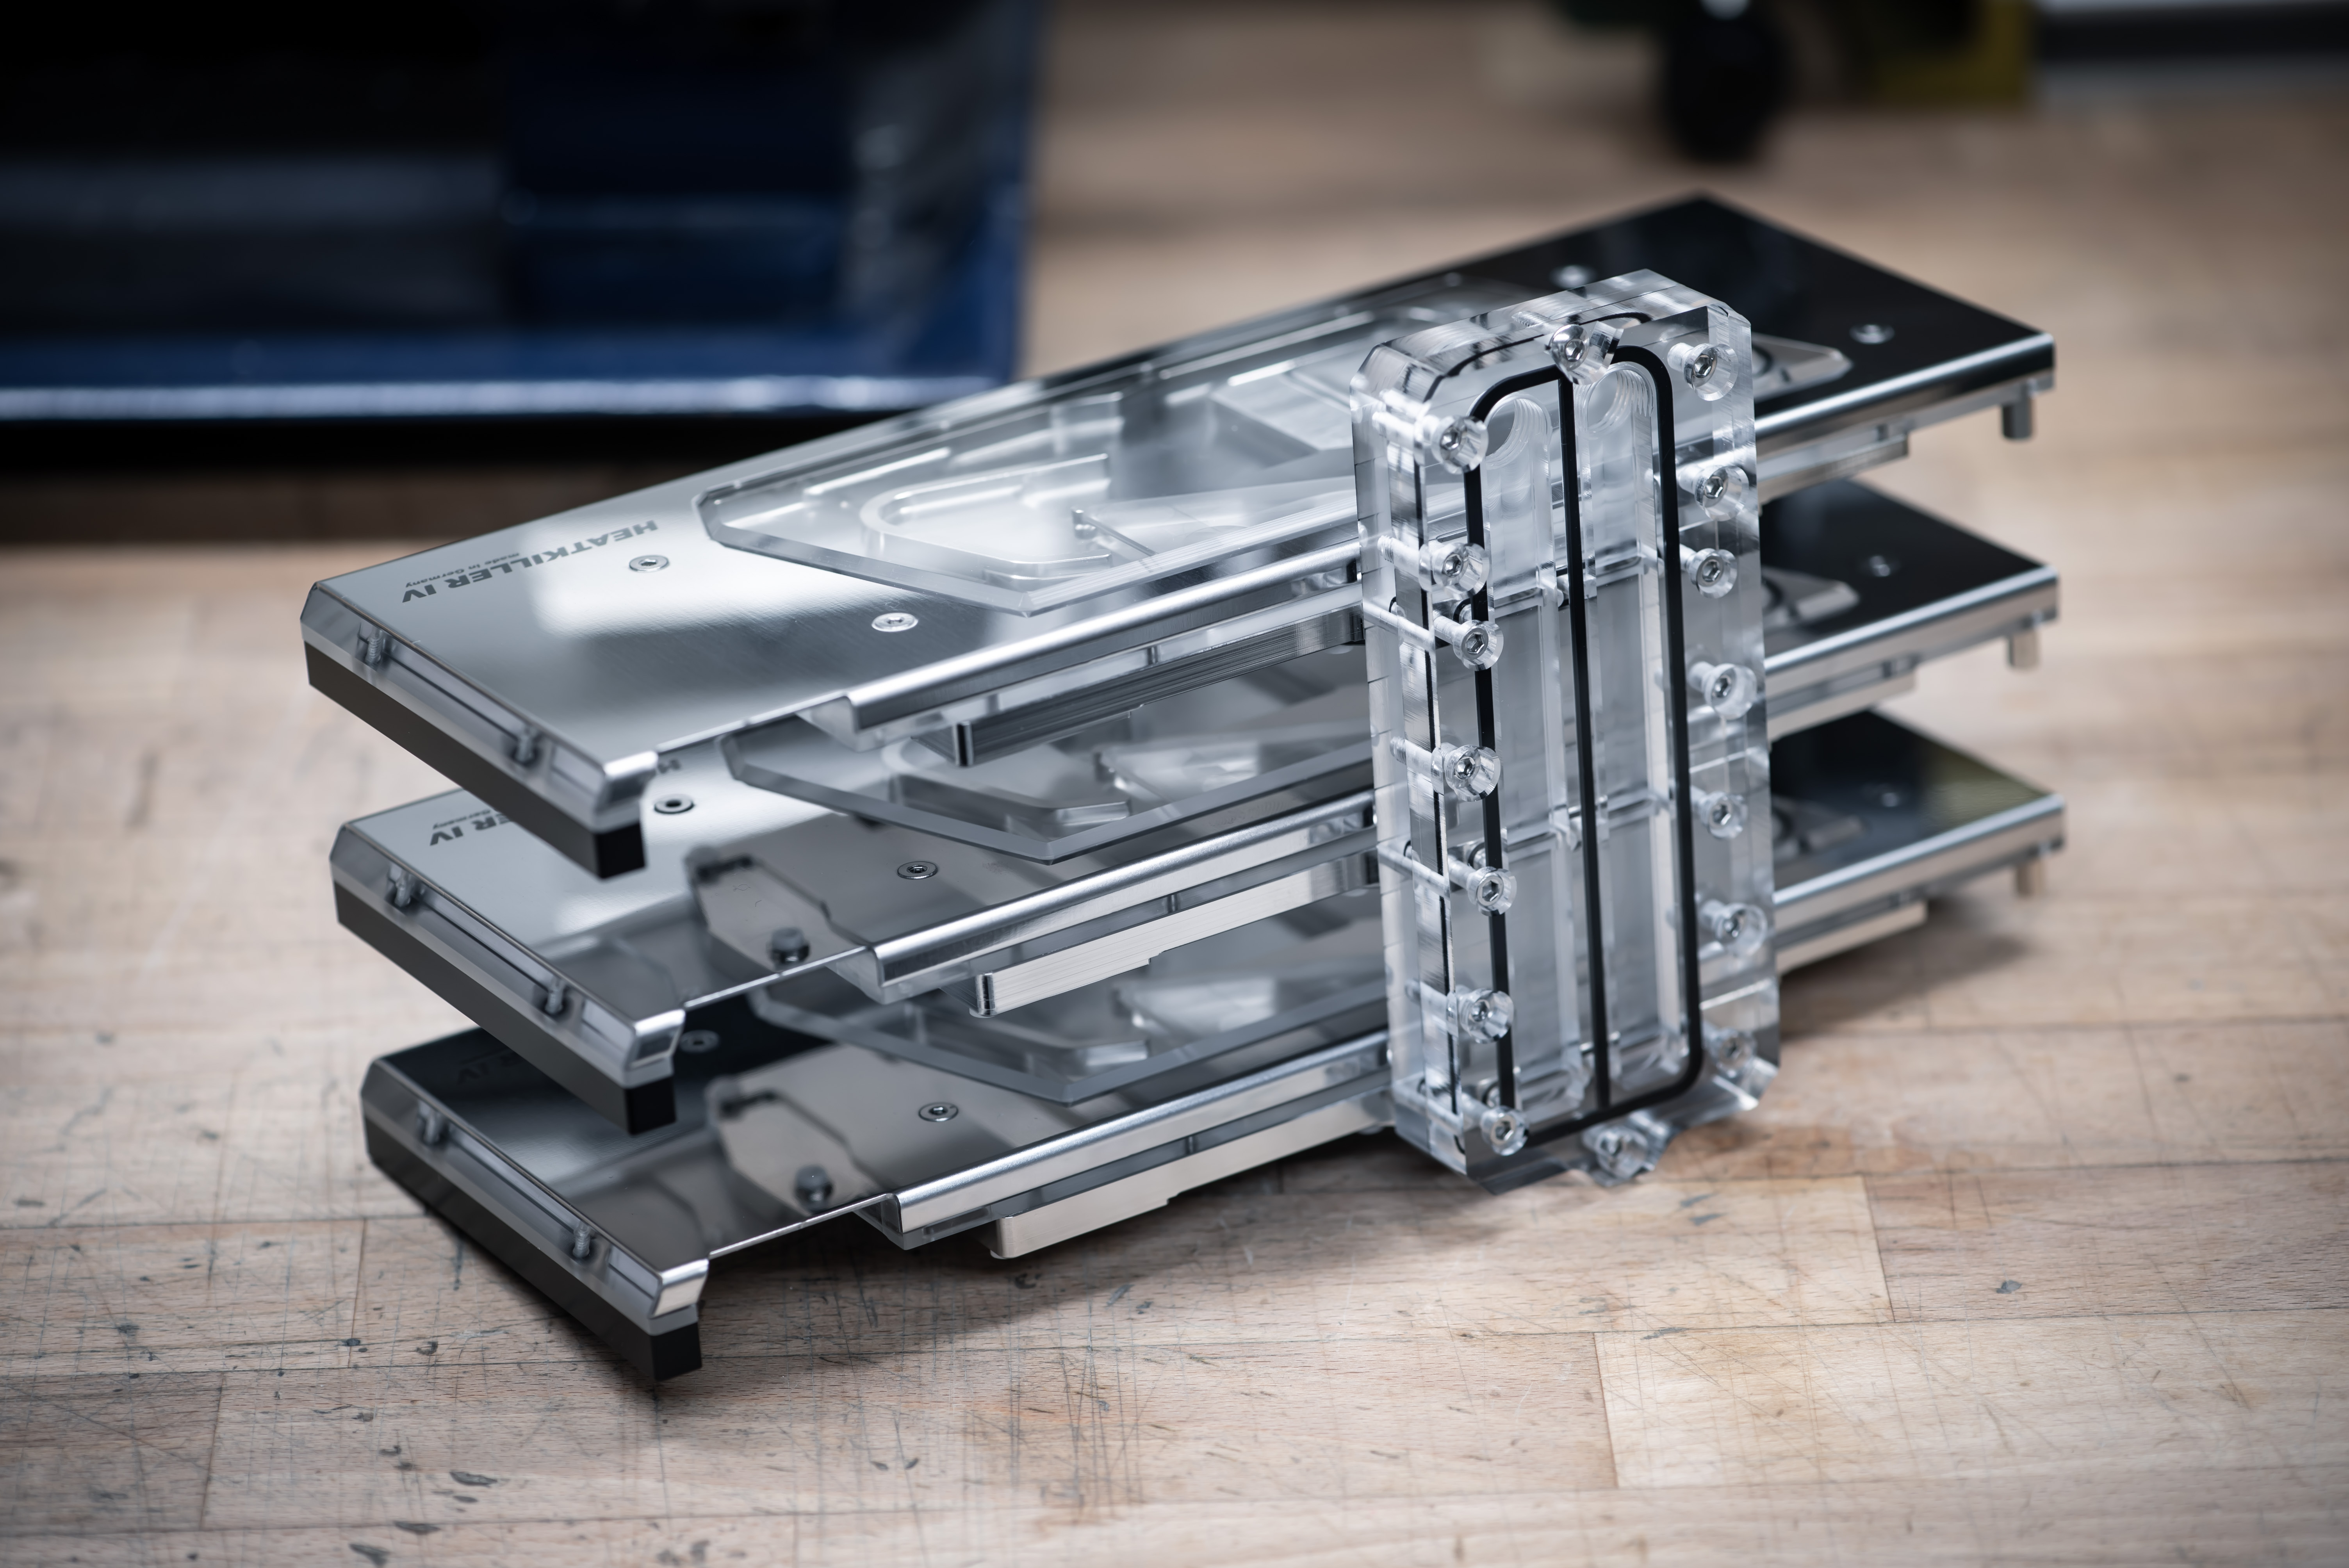
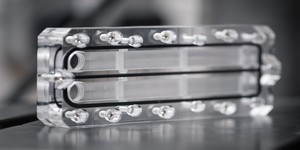
Also on the chopping list was a rather bombastic pump mount, specifically housing three VP655 Vario pumps that lead directly from the reservoirs above and flow into the other distro panels. Additionally, I made a set of matching backplates for the GPUs as well as blanking plates for the front and rear (again to keep those pesky cables in check).

Wires... So Many Wires
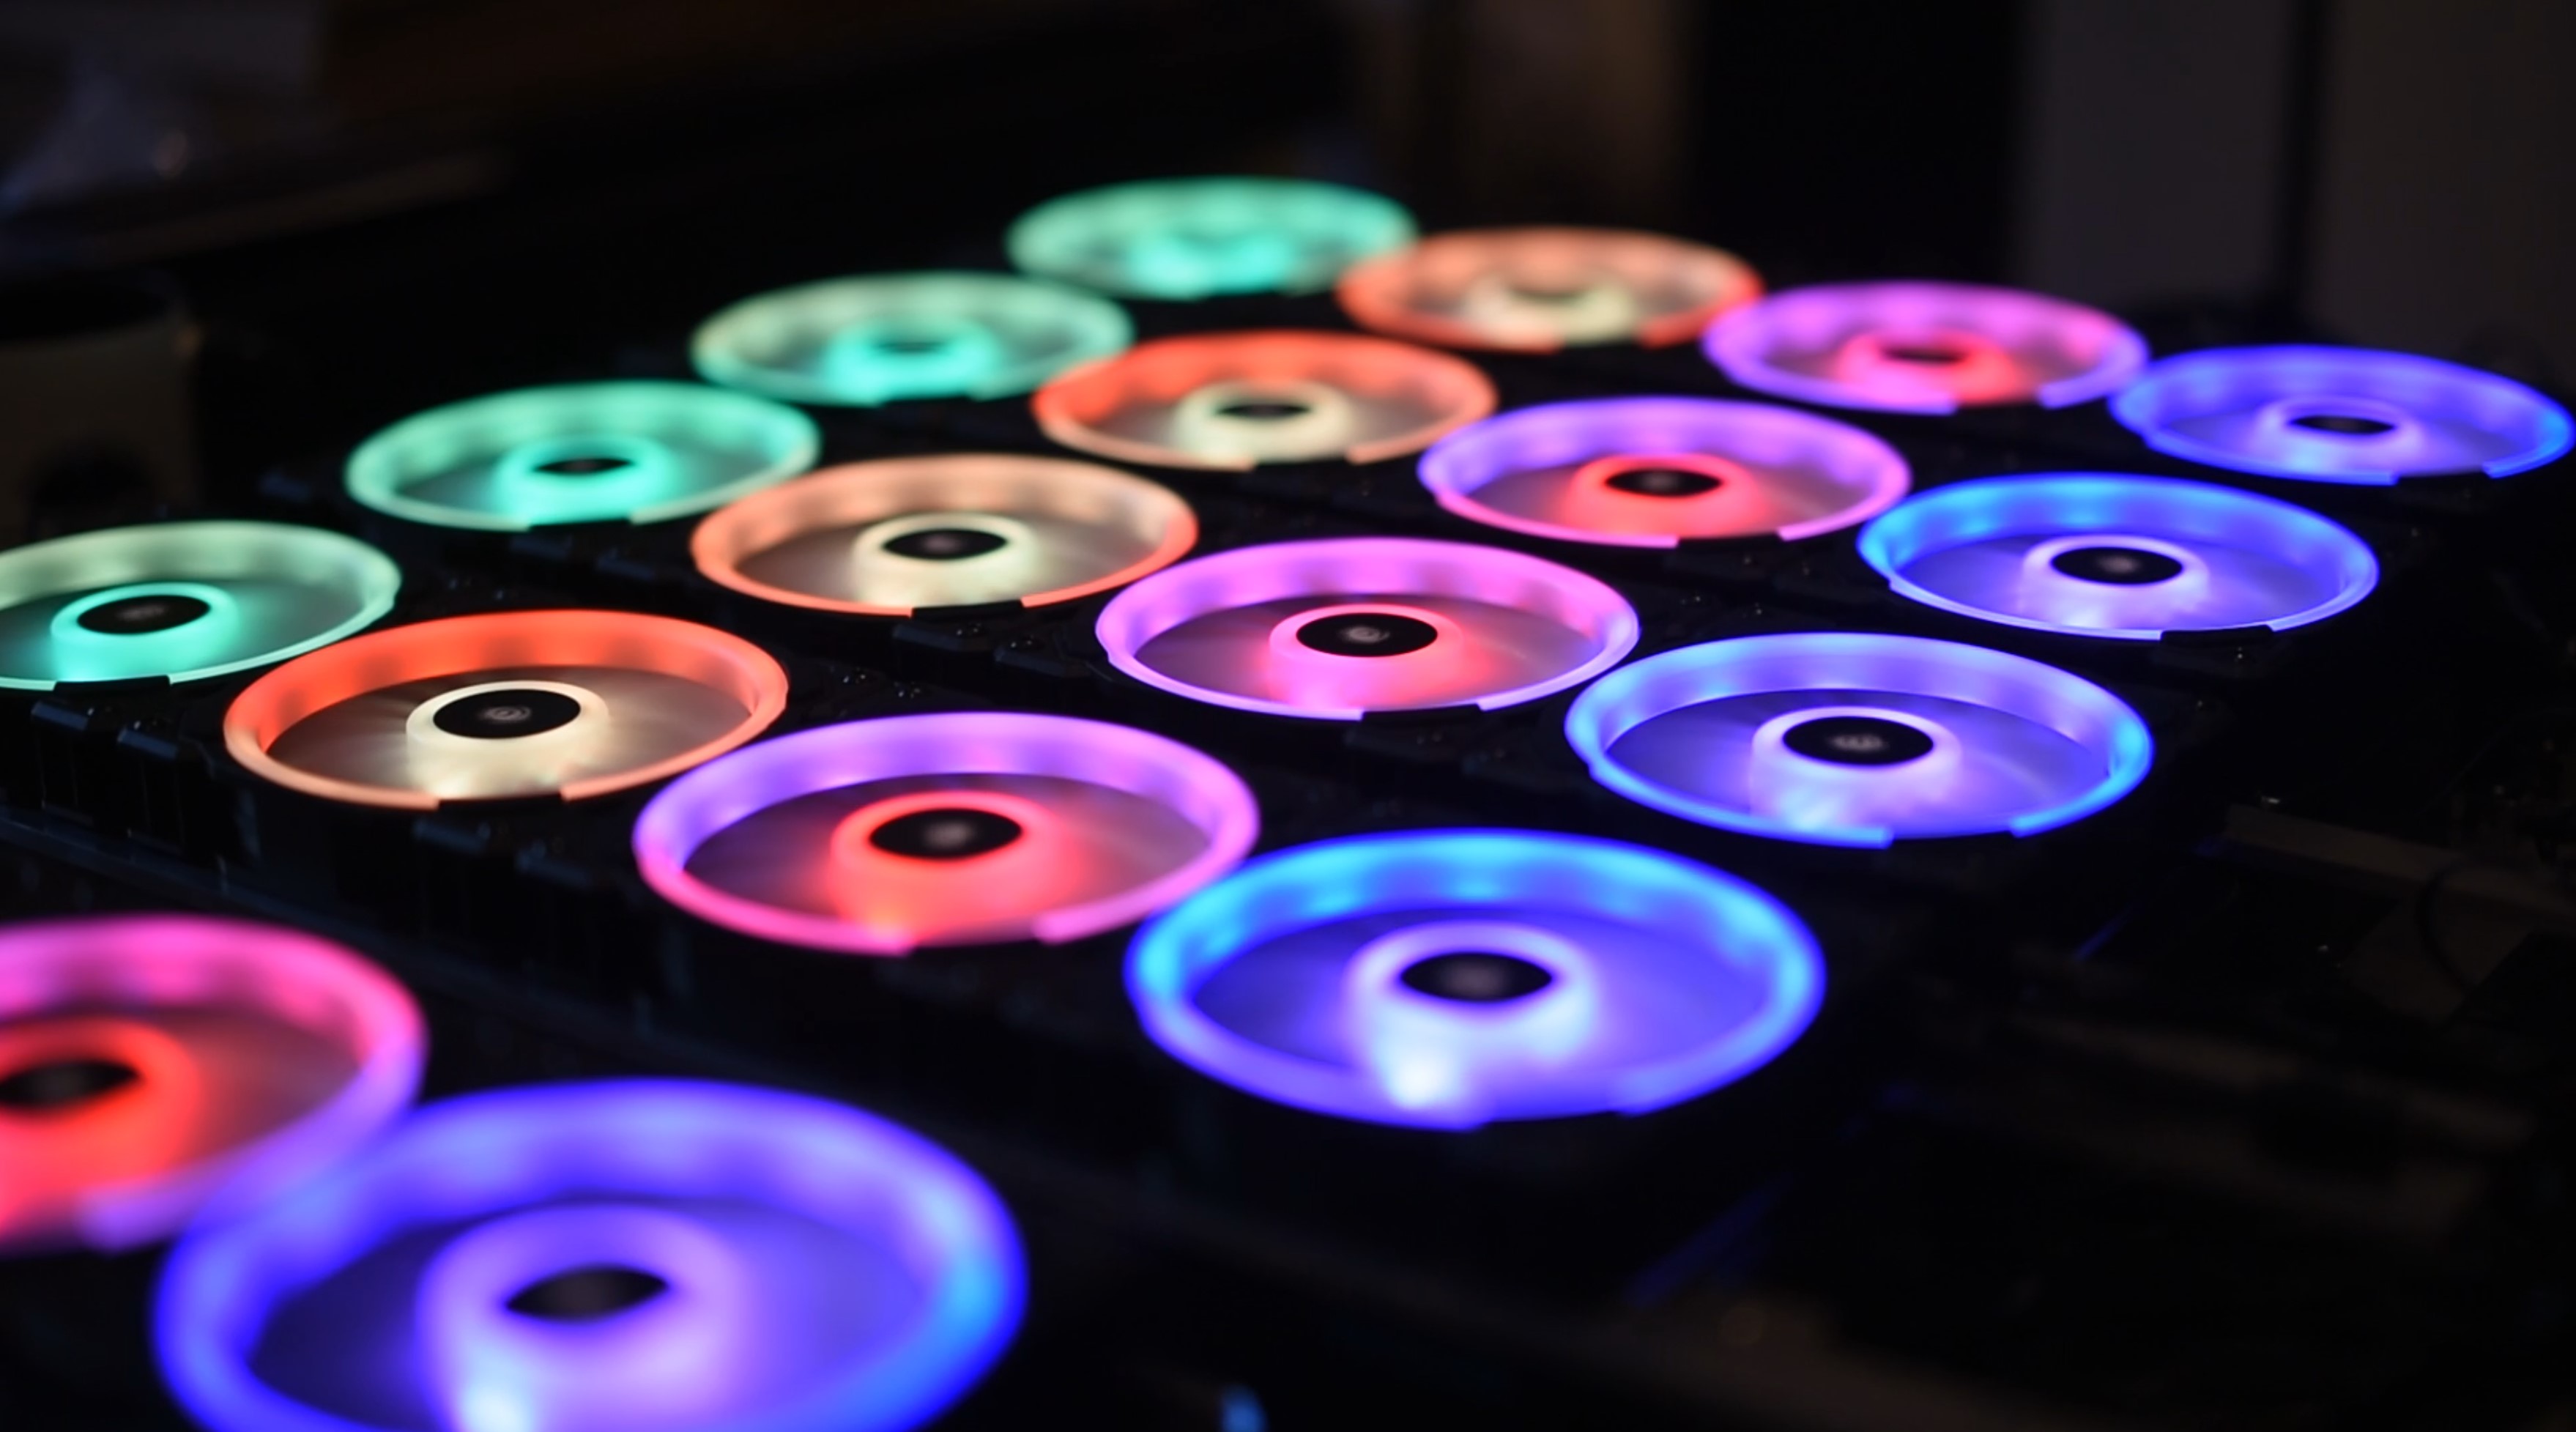
Probably the biggest drawback of any RGB system for a PC builder is the wiring. The LL120 fans we're using come with 2 wires, one for the lighting and one to power the fan motors. The power wires are standard four-pin connectors that you'd typically plug into the motherboard or a fan controller, so no surprises there. The RGB connectors, however, require you to plug into a small controller (which can support up to six fans). You can then optionally plug that controller into a Lighting Node Pro and/or a Commander Pro controller for more advanced software control. Okay, that's fine, but we have 20 fans here! Not only that, but they're all placed in hard to reach locations, and each controller used requires an additional SATA power connection.
I'd be lying if I said it was a simple fix, but it did all work out in the end. The solution I went with was to first combine the power cables into pairs. With four fans on each radiator, that meant there would be two cables coming from each to allow the fans to spin (I used the handy fan cable mod to do this), so 10 cables in total. These then go into the fan power sockets on two Commander Pro controllers. I wanted to do four fans per cable, but since each supposedly draws 0.3A it would have put them above the 1A per channel capability of the controller. Some have had success with this, others have reported less desirable results, so I decided just to play it safe and use more ports instead.
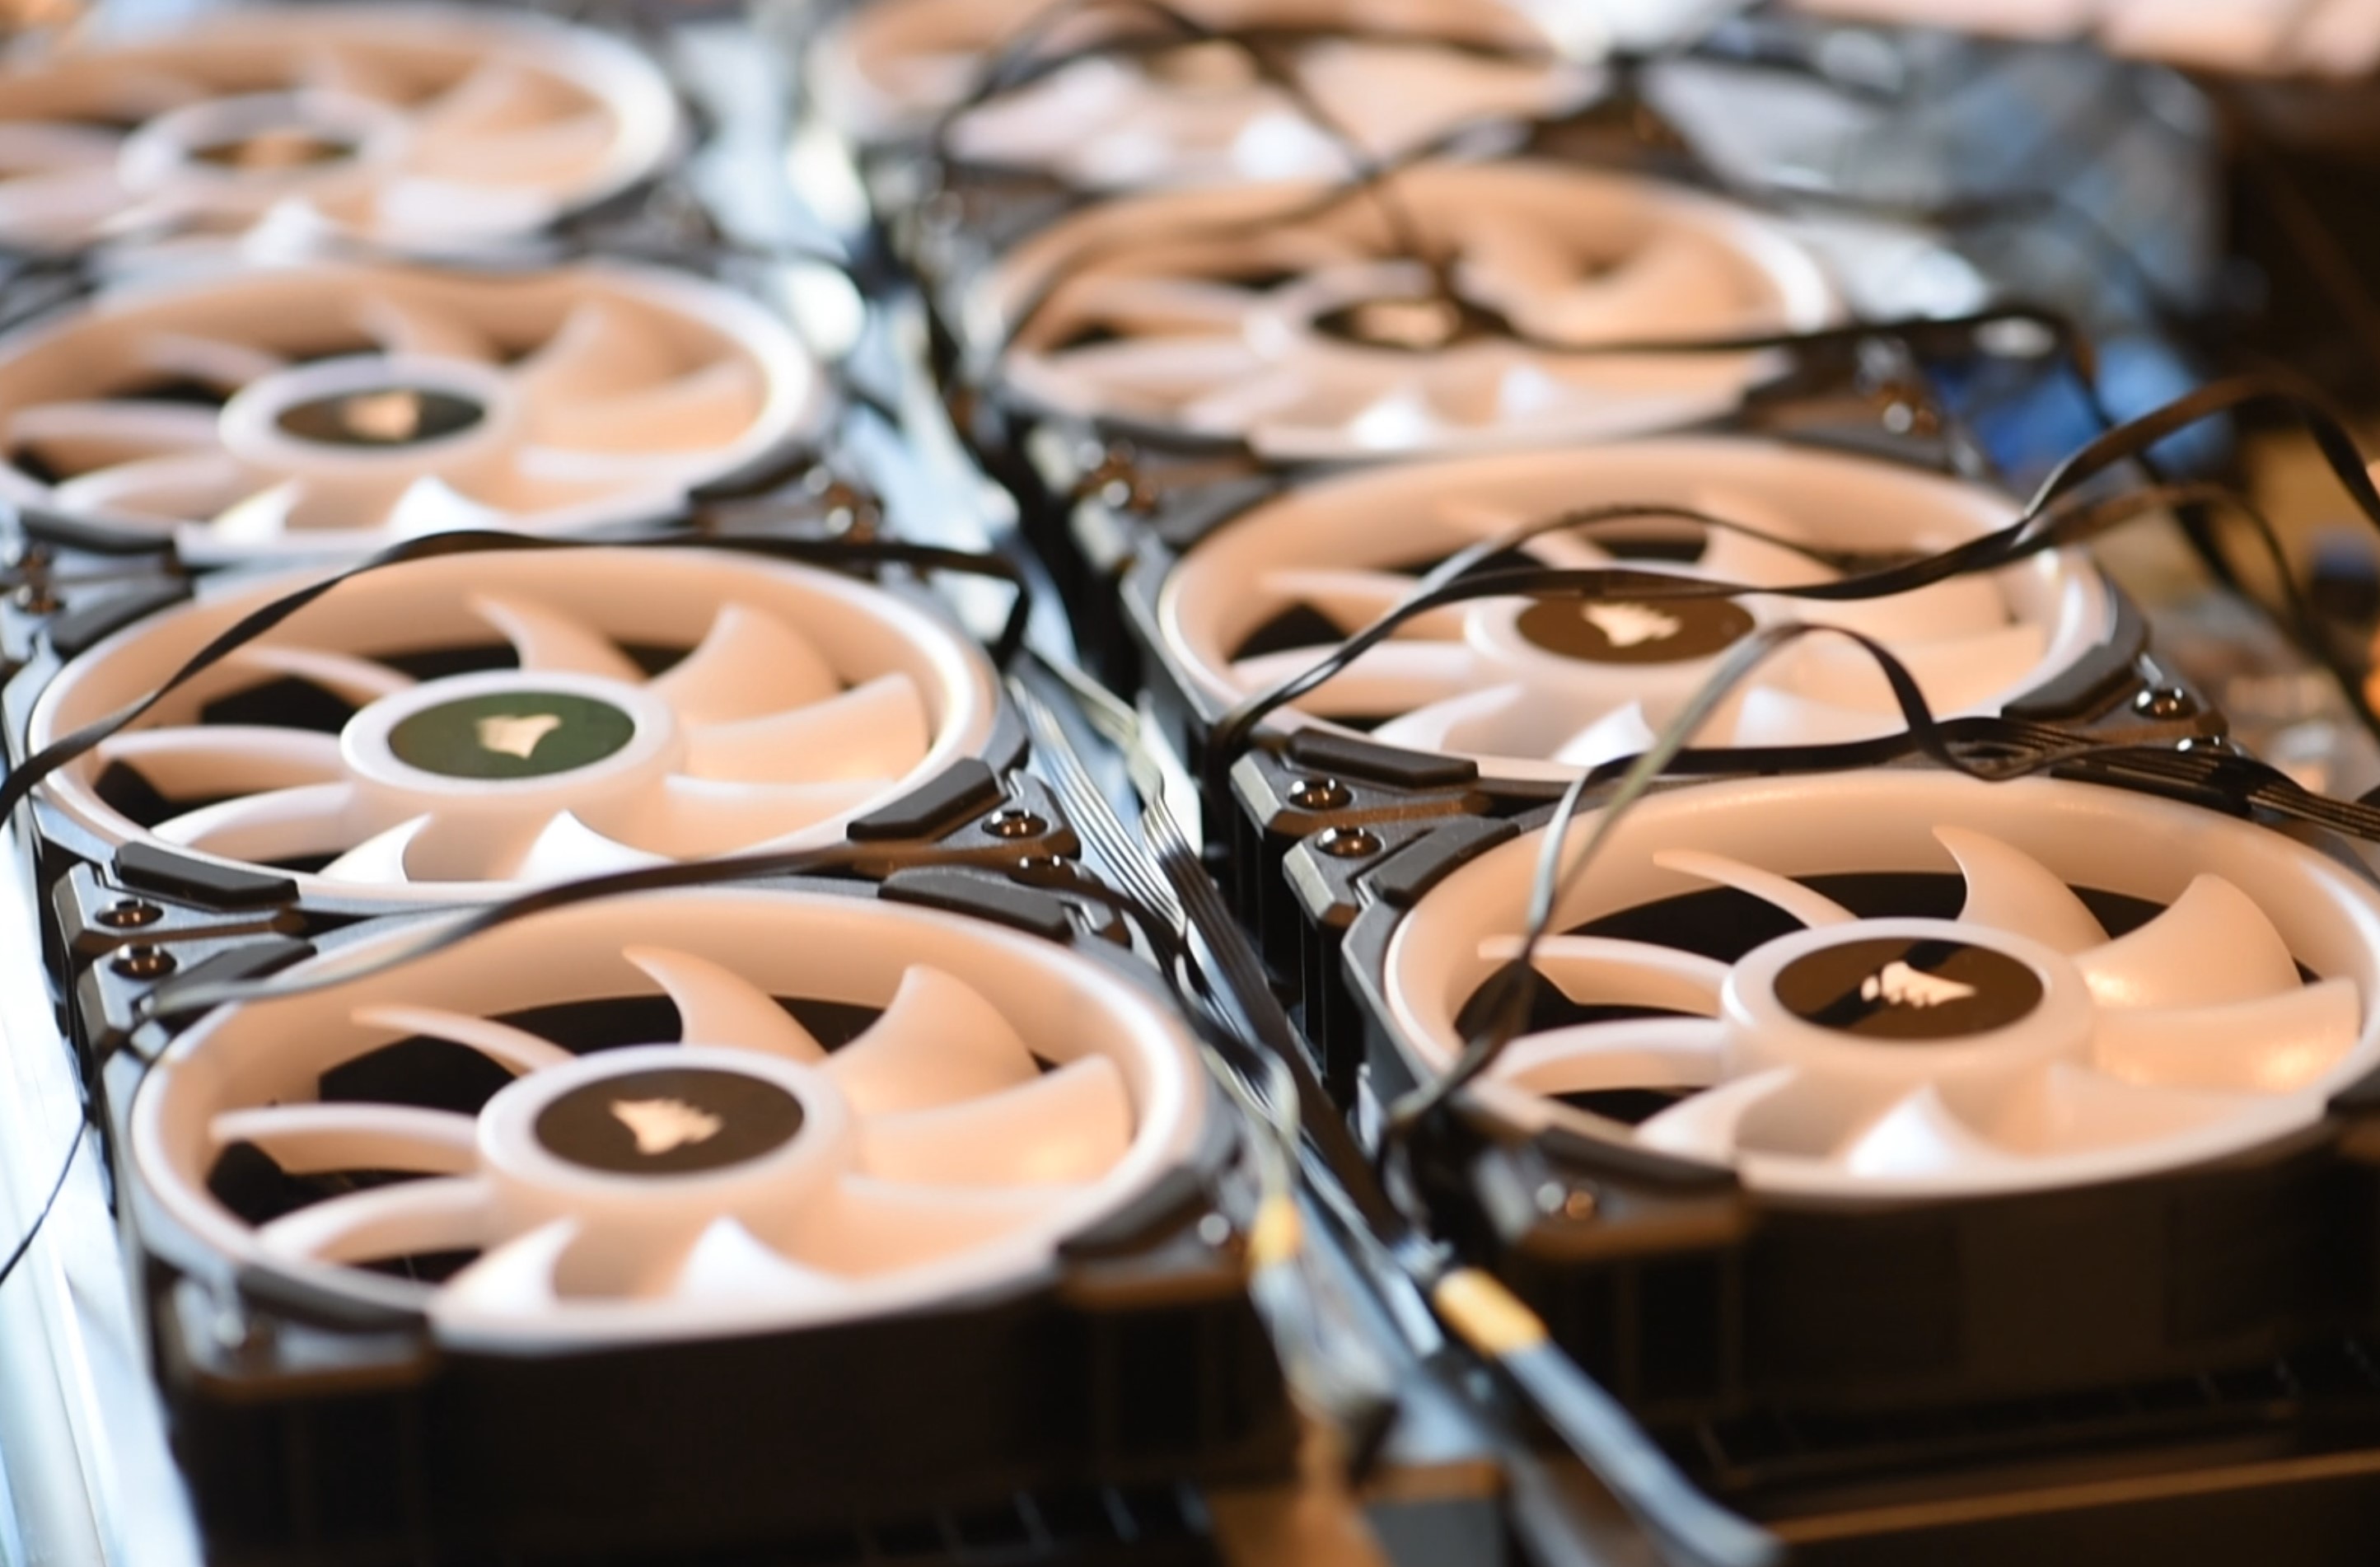
For the RGB, things were a little more complex. I designed the front and top radiator brackets so that they had a suitable gap between them in which to place controllers and wires, to prevent clutter. Each bracket has two RGB controllers, which then feed into a Lighting Node Pro, which in turn is connected via USB to a Commander Pro. To provide power, I made a bunch of SATA power cables that were to length so that they reach from the AX1600i PSU all the way to where they need to go. In total that's two Commander Pros, five RGB controllers, and two Lighting Node Pros.
Loop-d-Loop
With three loops in this beast, that's a fair bit of tubing and A LOT of fittings. I wanted to stick to my 'one bend rule', not only because I like the aesthetic but also because with a build this size it's likely that by adding lots of bends you're just asking for trouble. Using single bends also allows for a consistent aesthetic between the acrylic tubing and the chrome-plated brass. Breaking out the Alphacool Eiskoffer, it was mostly a matter of bending away combined with lots of measuring and adjusting.
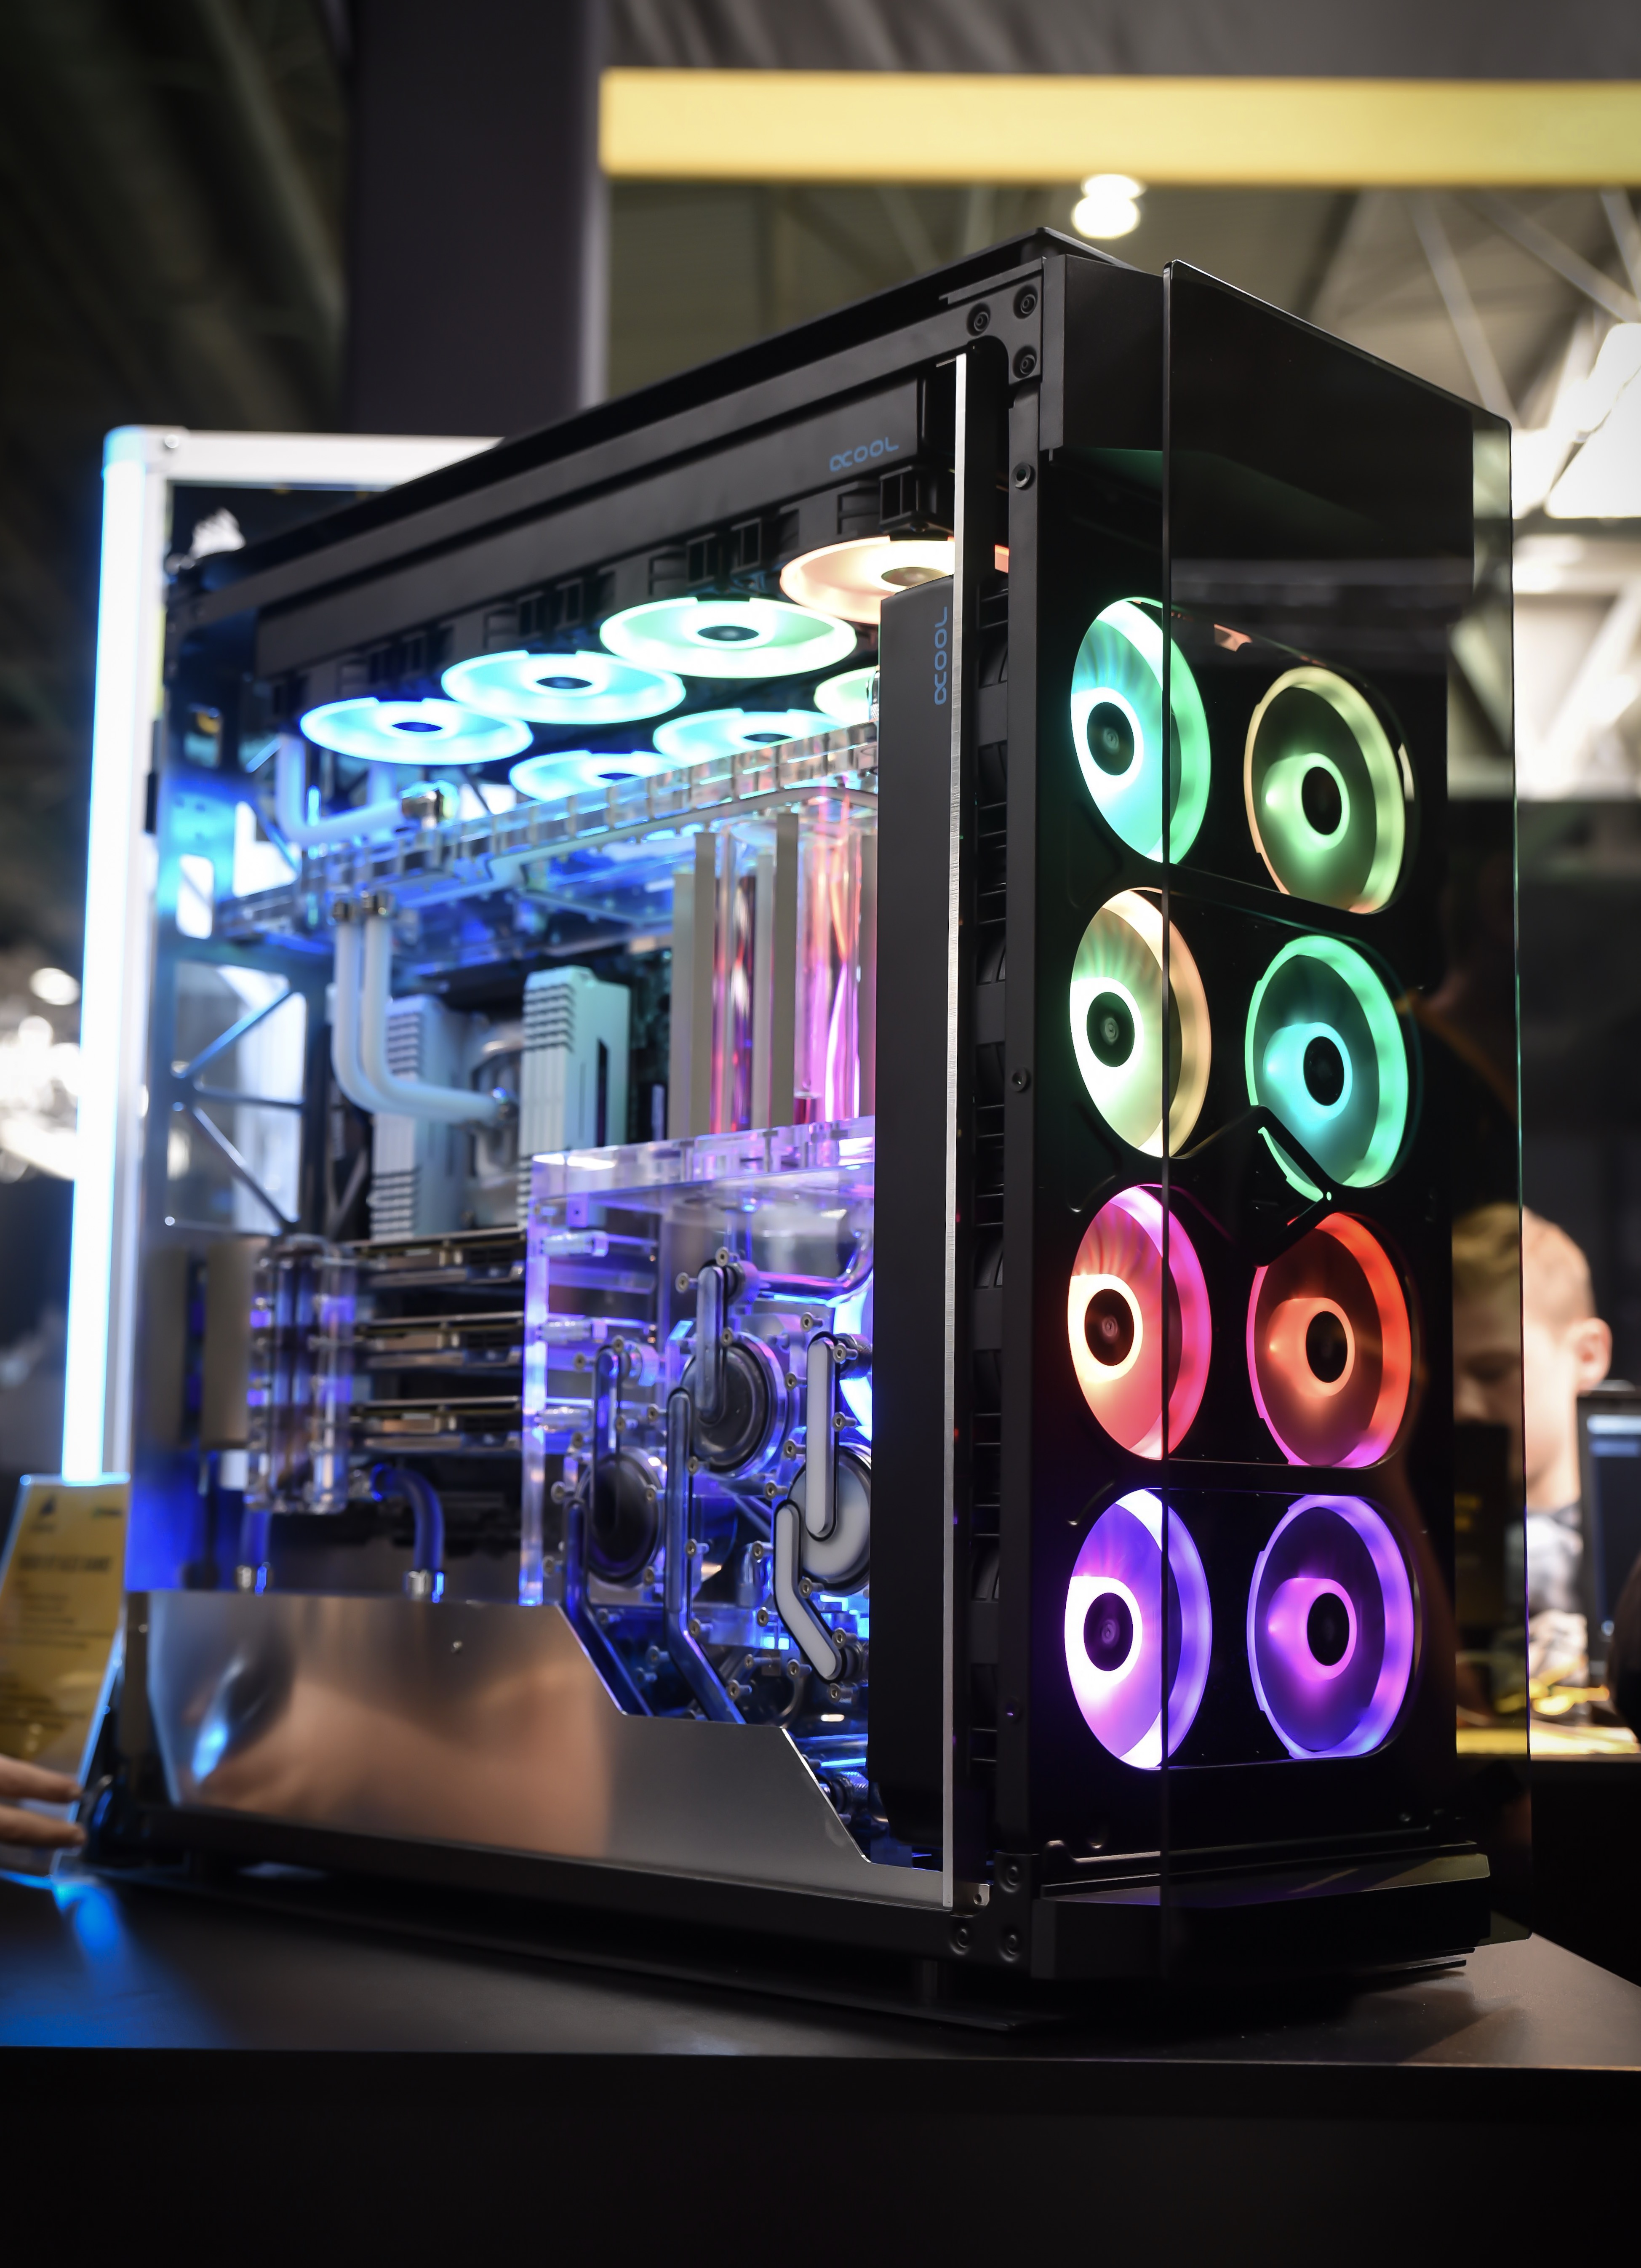
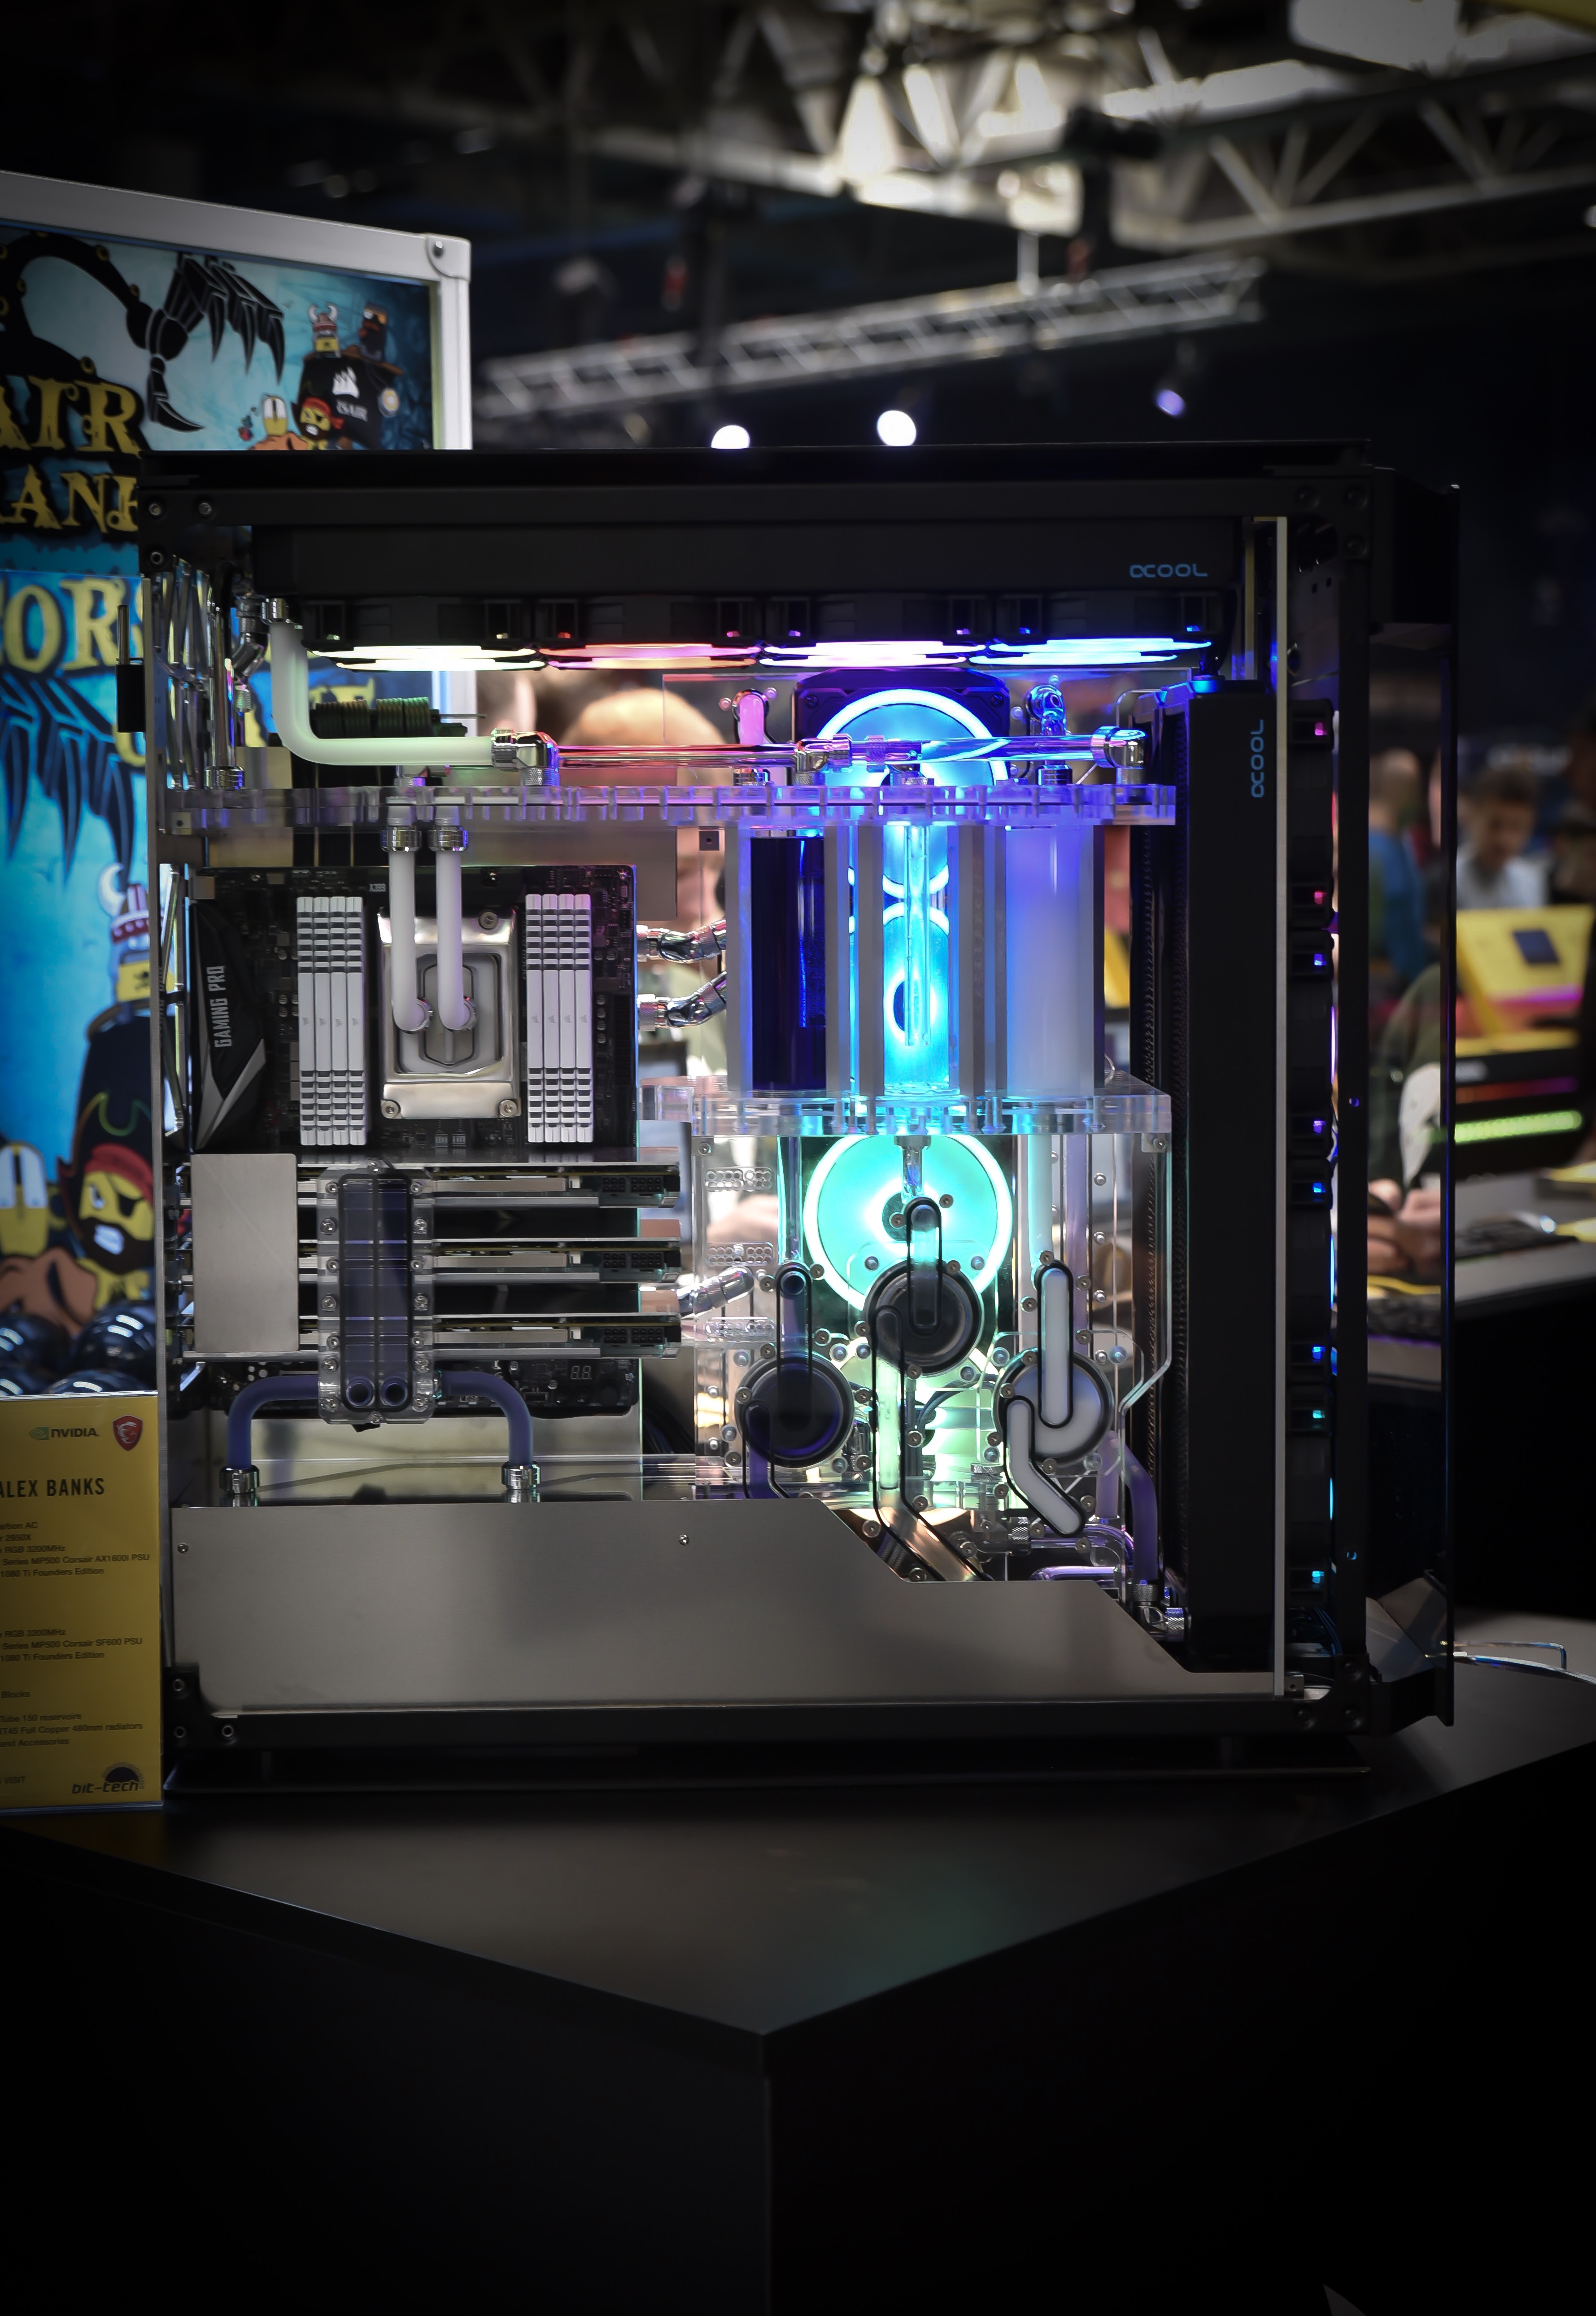
With the loops plumbed, we filled them up via the top reservoir plate, sat back, and had a cuppa. Unfortunately, that same day was when we were scheduled to drive up to the NEC in Birmingham to install the PC at the stand, so we made the executive decision to leave the custom cables to another day. The fans and pumps were all connected to the PSU, so for the sake of the expo the rig would still be eye-catching thanks to the liquid and definitely all the fans going full blast.
Stay tuned for the the completed build!
RELATED ARTICLES


MSI MPG Velox 100R Chassis Review
October 14 2021 | 15:04

Want to comment? Please log in.