Corsair 1000D Mod Focus: Integrating Heatkiller Reservoirs into Distro Plates
September 5, 2018 | 13:00
Companies: #alphacool #amd #corsair #msi #watercool
First up, if you haven't seen the most recent episode in our 1000D mod video series, make sure to rectify that now! On top of all the extraordinarily beefy hardware going into this rig, it features more than a handful unique design elements that I think set it apart from the competition. One such feature is a distribution panel system that creates a 3D stack using two plates and a whole lot of glass Heatkiller tube reservoirs. I wanted to delve in a little to show how this feature was constructed and what it does exactly.
But, why though?
I've been designing and building distribution plates in PCs for the last four years now, and one thing definitely started to bug me: how flat they are. On one hand this is a defining feature that makes many things possible that otherwise wouldn't be, such as routing tubing between slim areas without the need for bulkhead fittings and hidden runs. The flip-side is that when you're working with a large case, they can have the effect of creating excessive empty space, since they don't take much room. I've wanted to try adding some more three-dimensional aspects for a while, but tooling is a real issue.
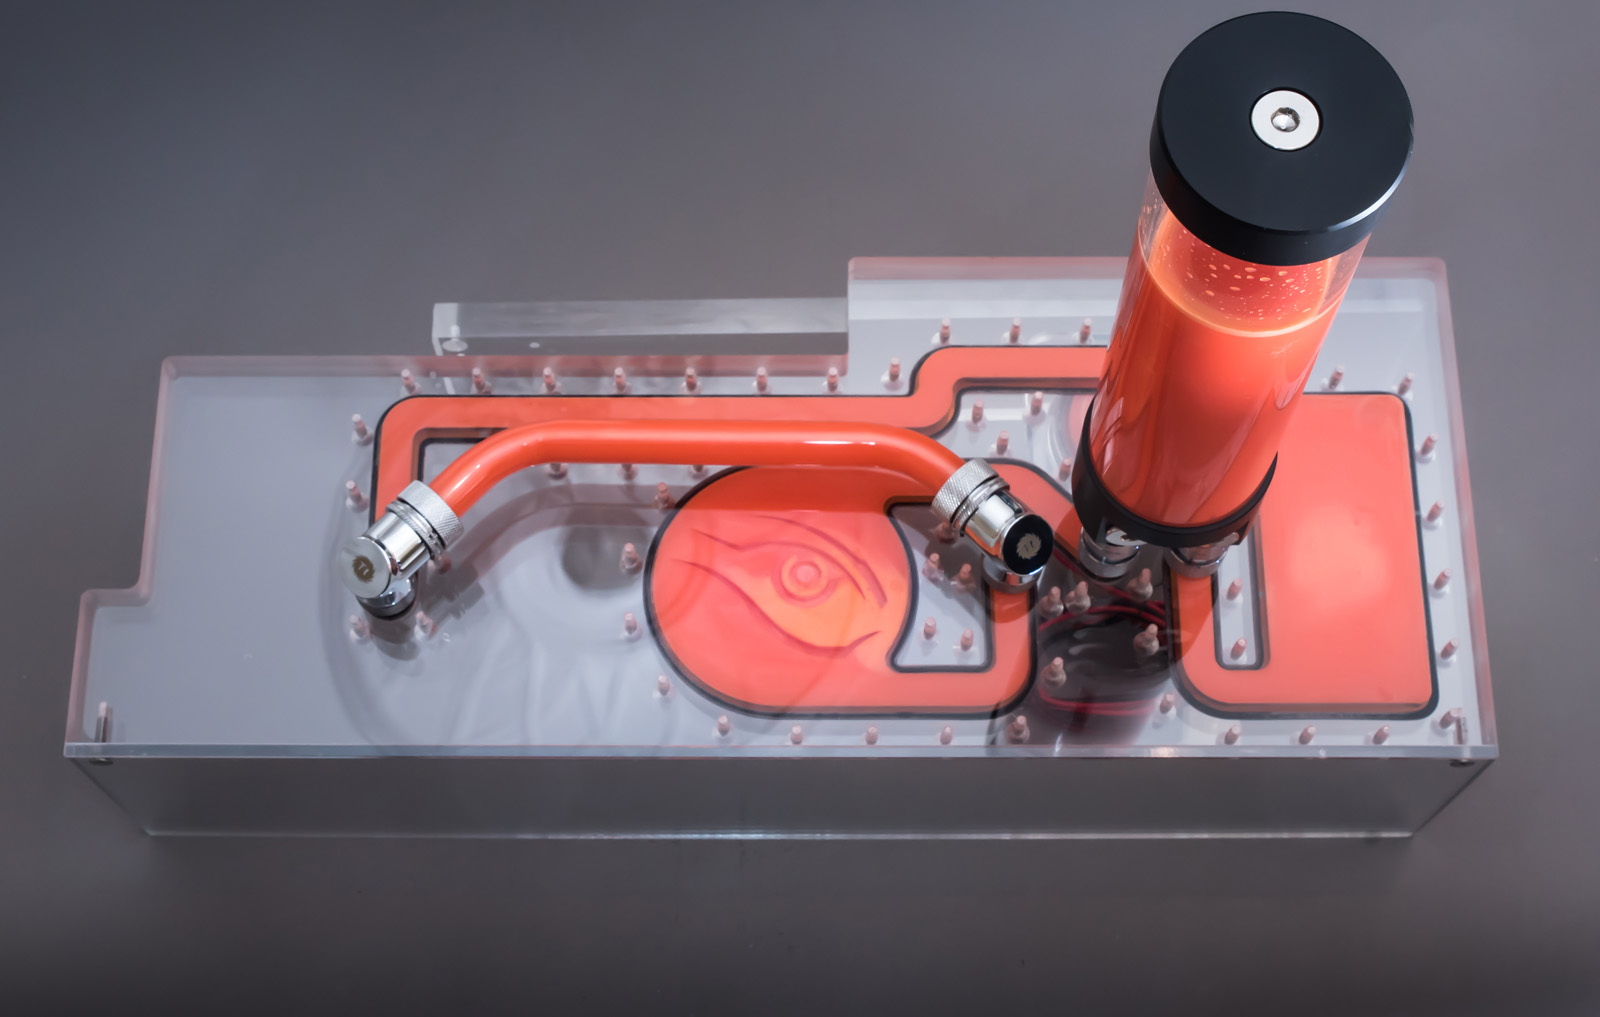
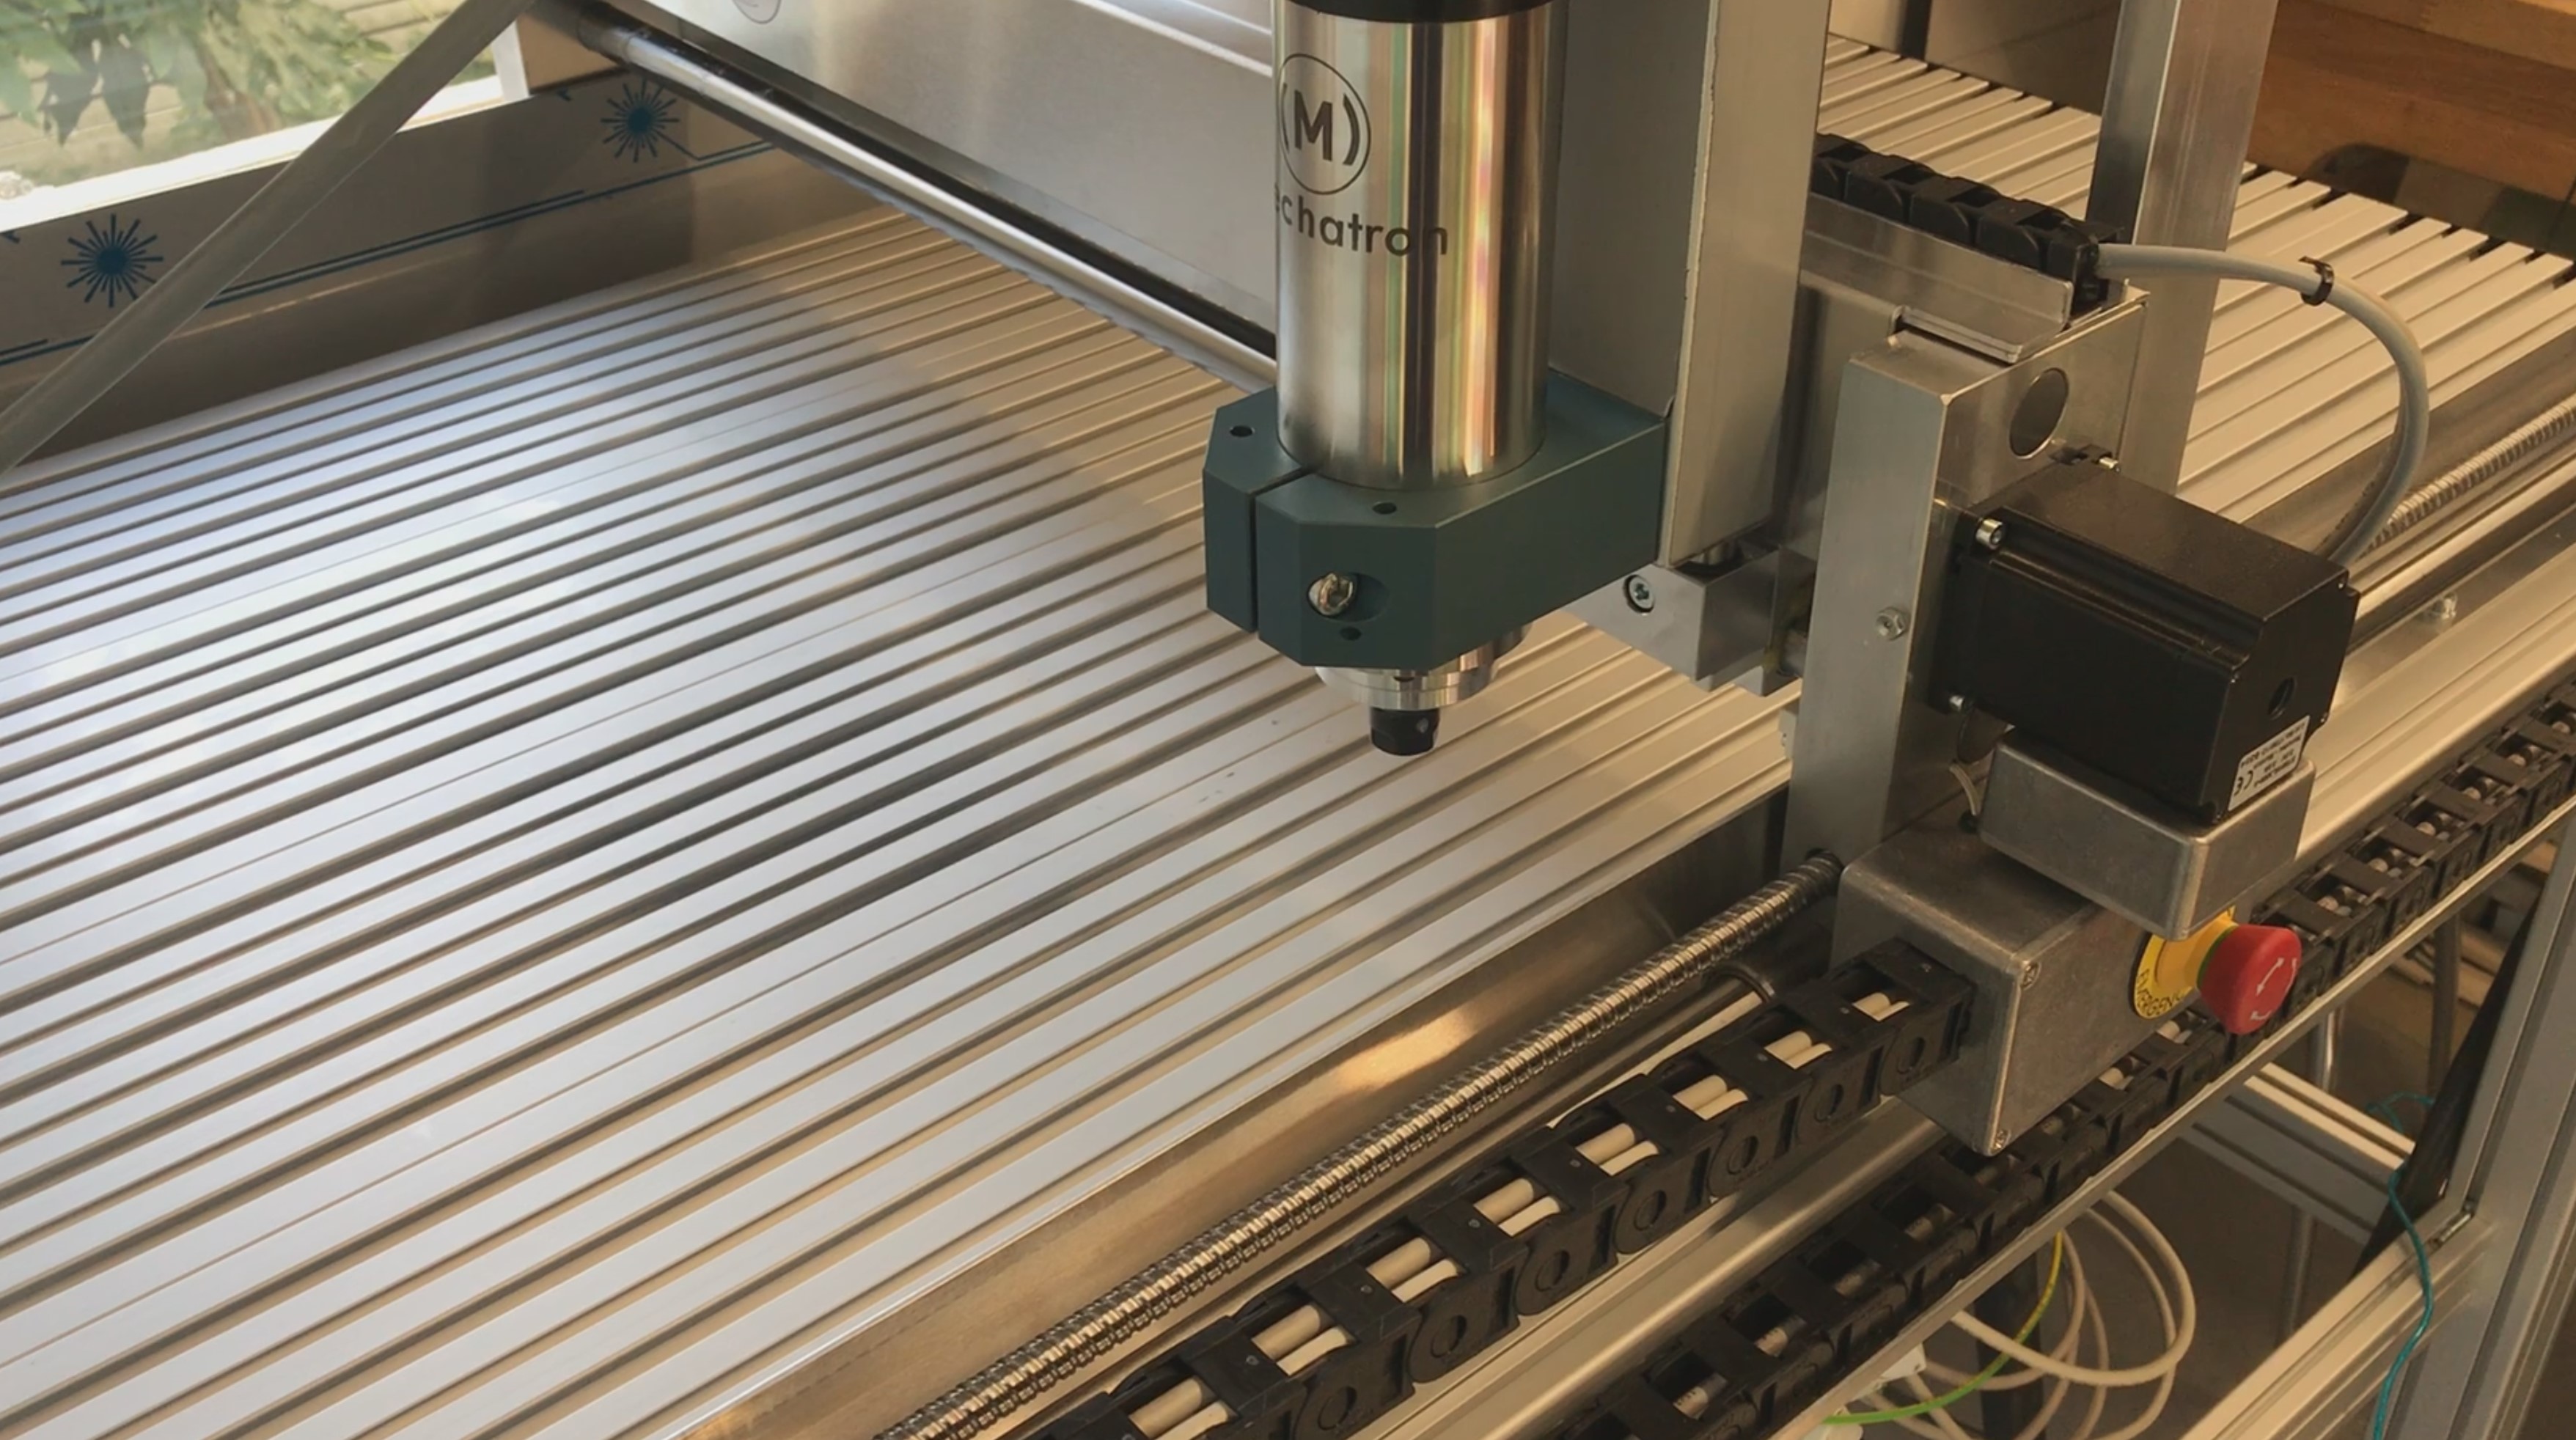
Most of the machines that are ideal for making distro plates are CNC routers, machines with large beds and mobile spindles and usually quite a limited z-axis travel. The issue here is that trying to add ports to the side of a medium-large plate is really challenging since you aren't able to mount such a plate in the machine on its side. Another approach to add some depth is to join plates together with tubing runs: practical, simple, and something that's being used a fair amount in this build. I thought it could be fun, though, to try incorporating some other components directly into a plate much like can be done with pumps, radiators, or fans. If done with tube reservoirs, you could have the effect of having a column of coolant rising out of a thin plate. I've done a limited version of this in the past using reservoirs attached via extension fittings, but it seemed like a logical progression to work the base of the reservoir into the material itself.
How does it work?
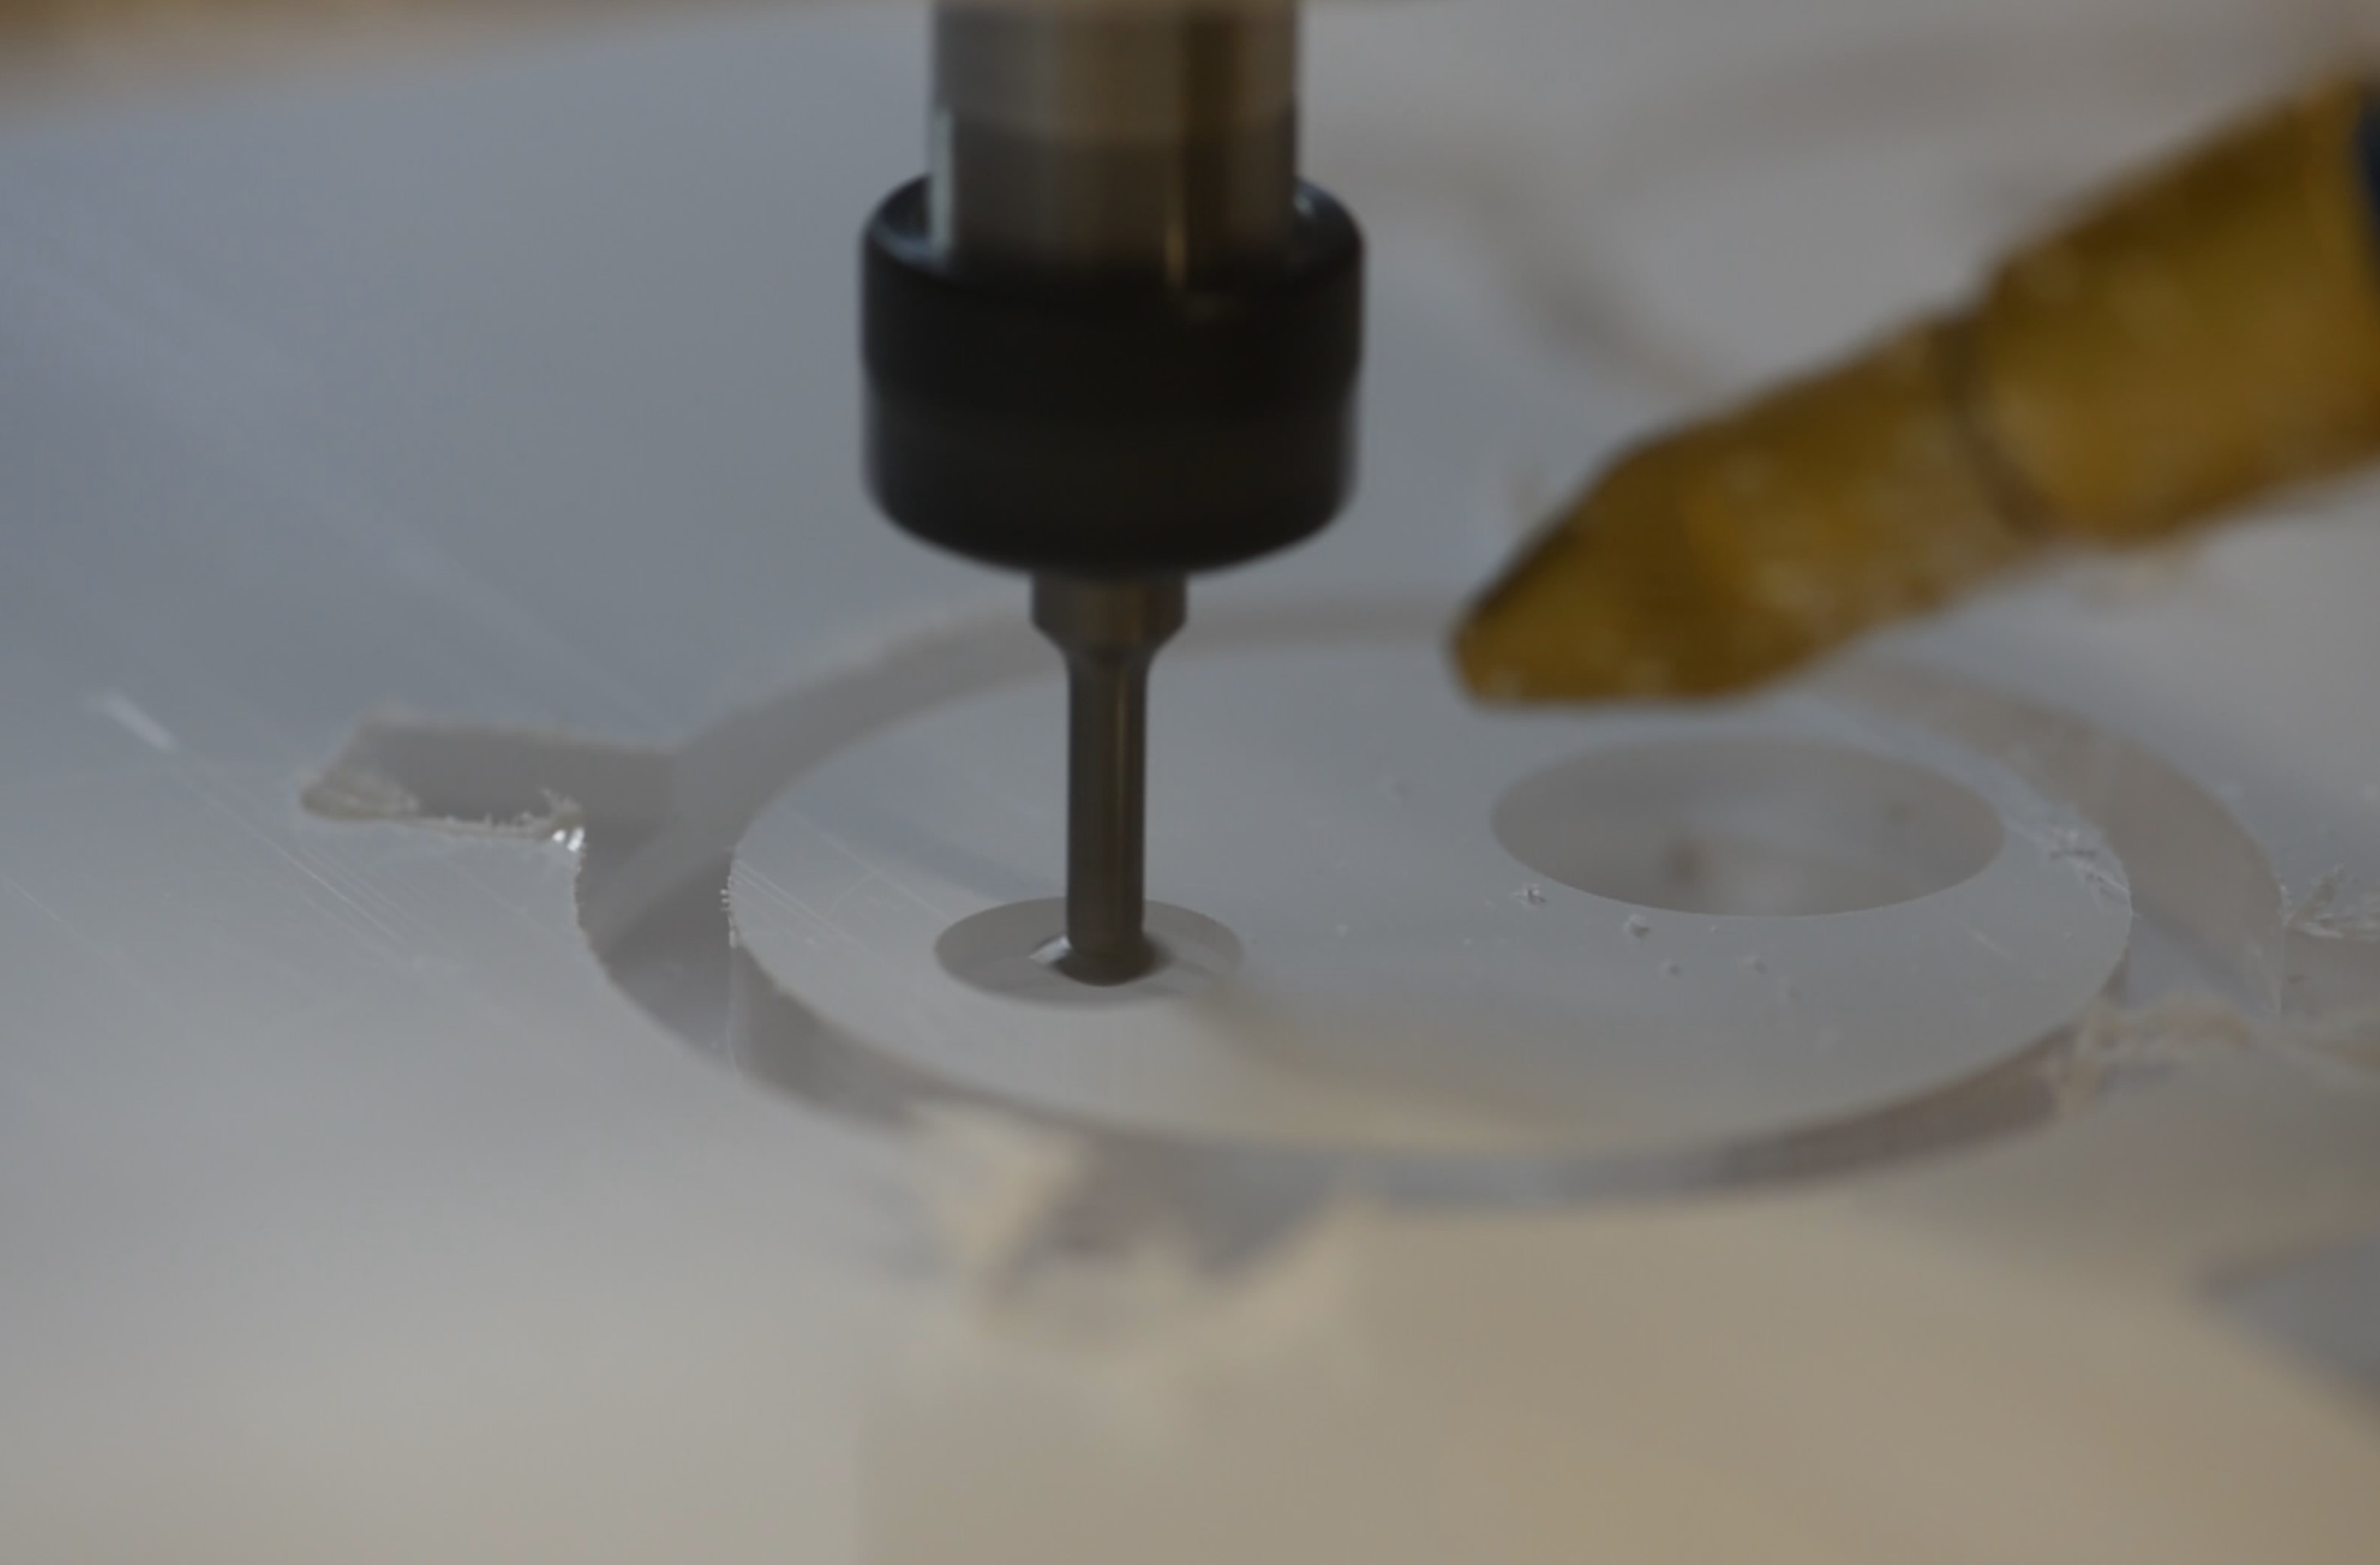
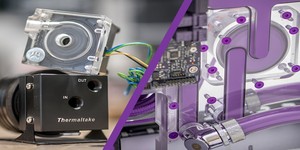
The first hurdle to overcome is how to connect a tube reservoir to an acrylic plate to begin with. Most reservoirs on the market are threaded, i.e. they screw into an appropriately machined cap/base containing a seal. While this method can of course be used for, it's fairly involved and would be woefully inefficient for some reservoir designs (internally threaded tubes would need a lot of material removal for instance).
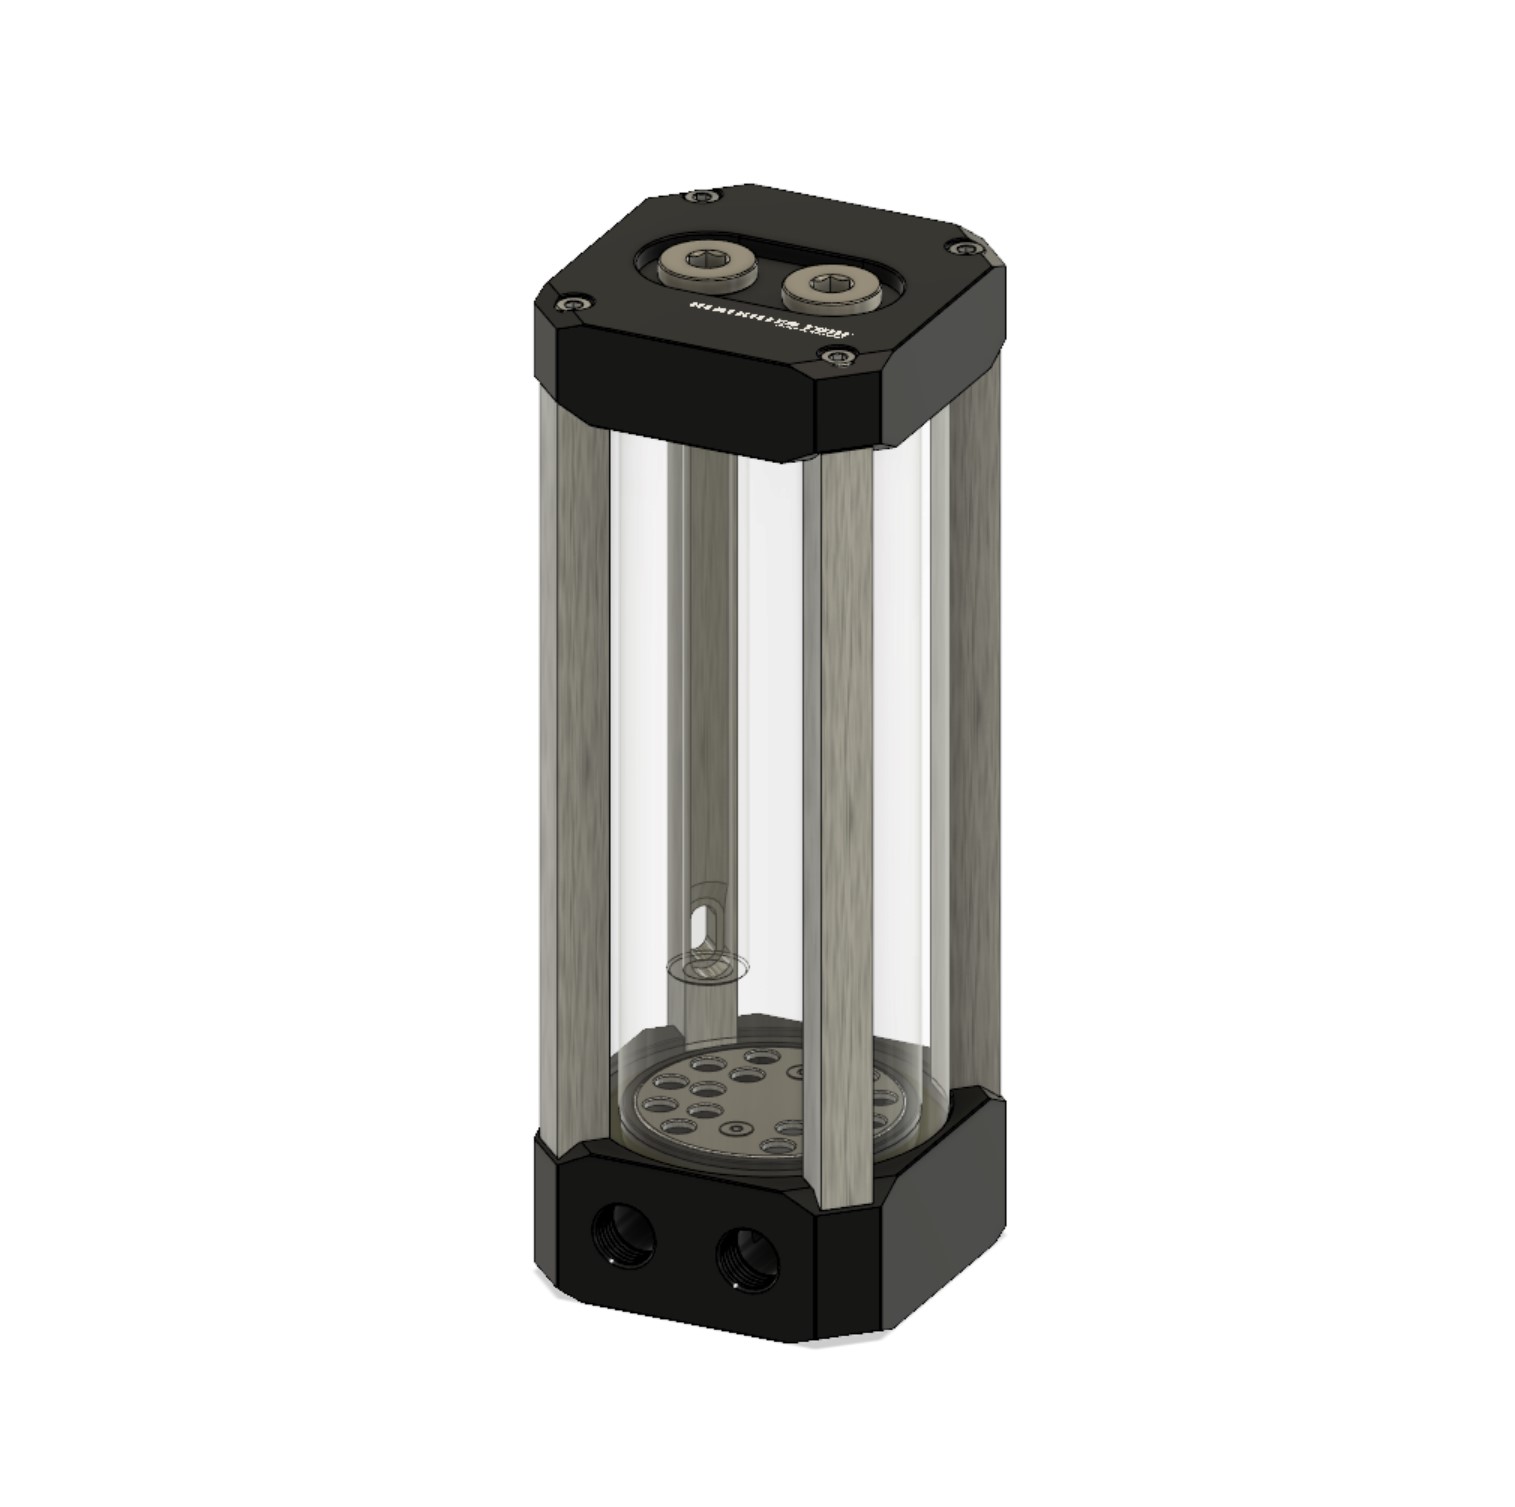
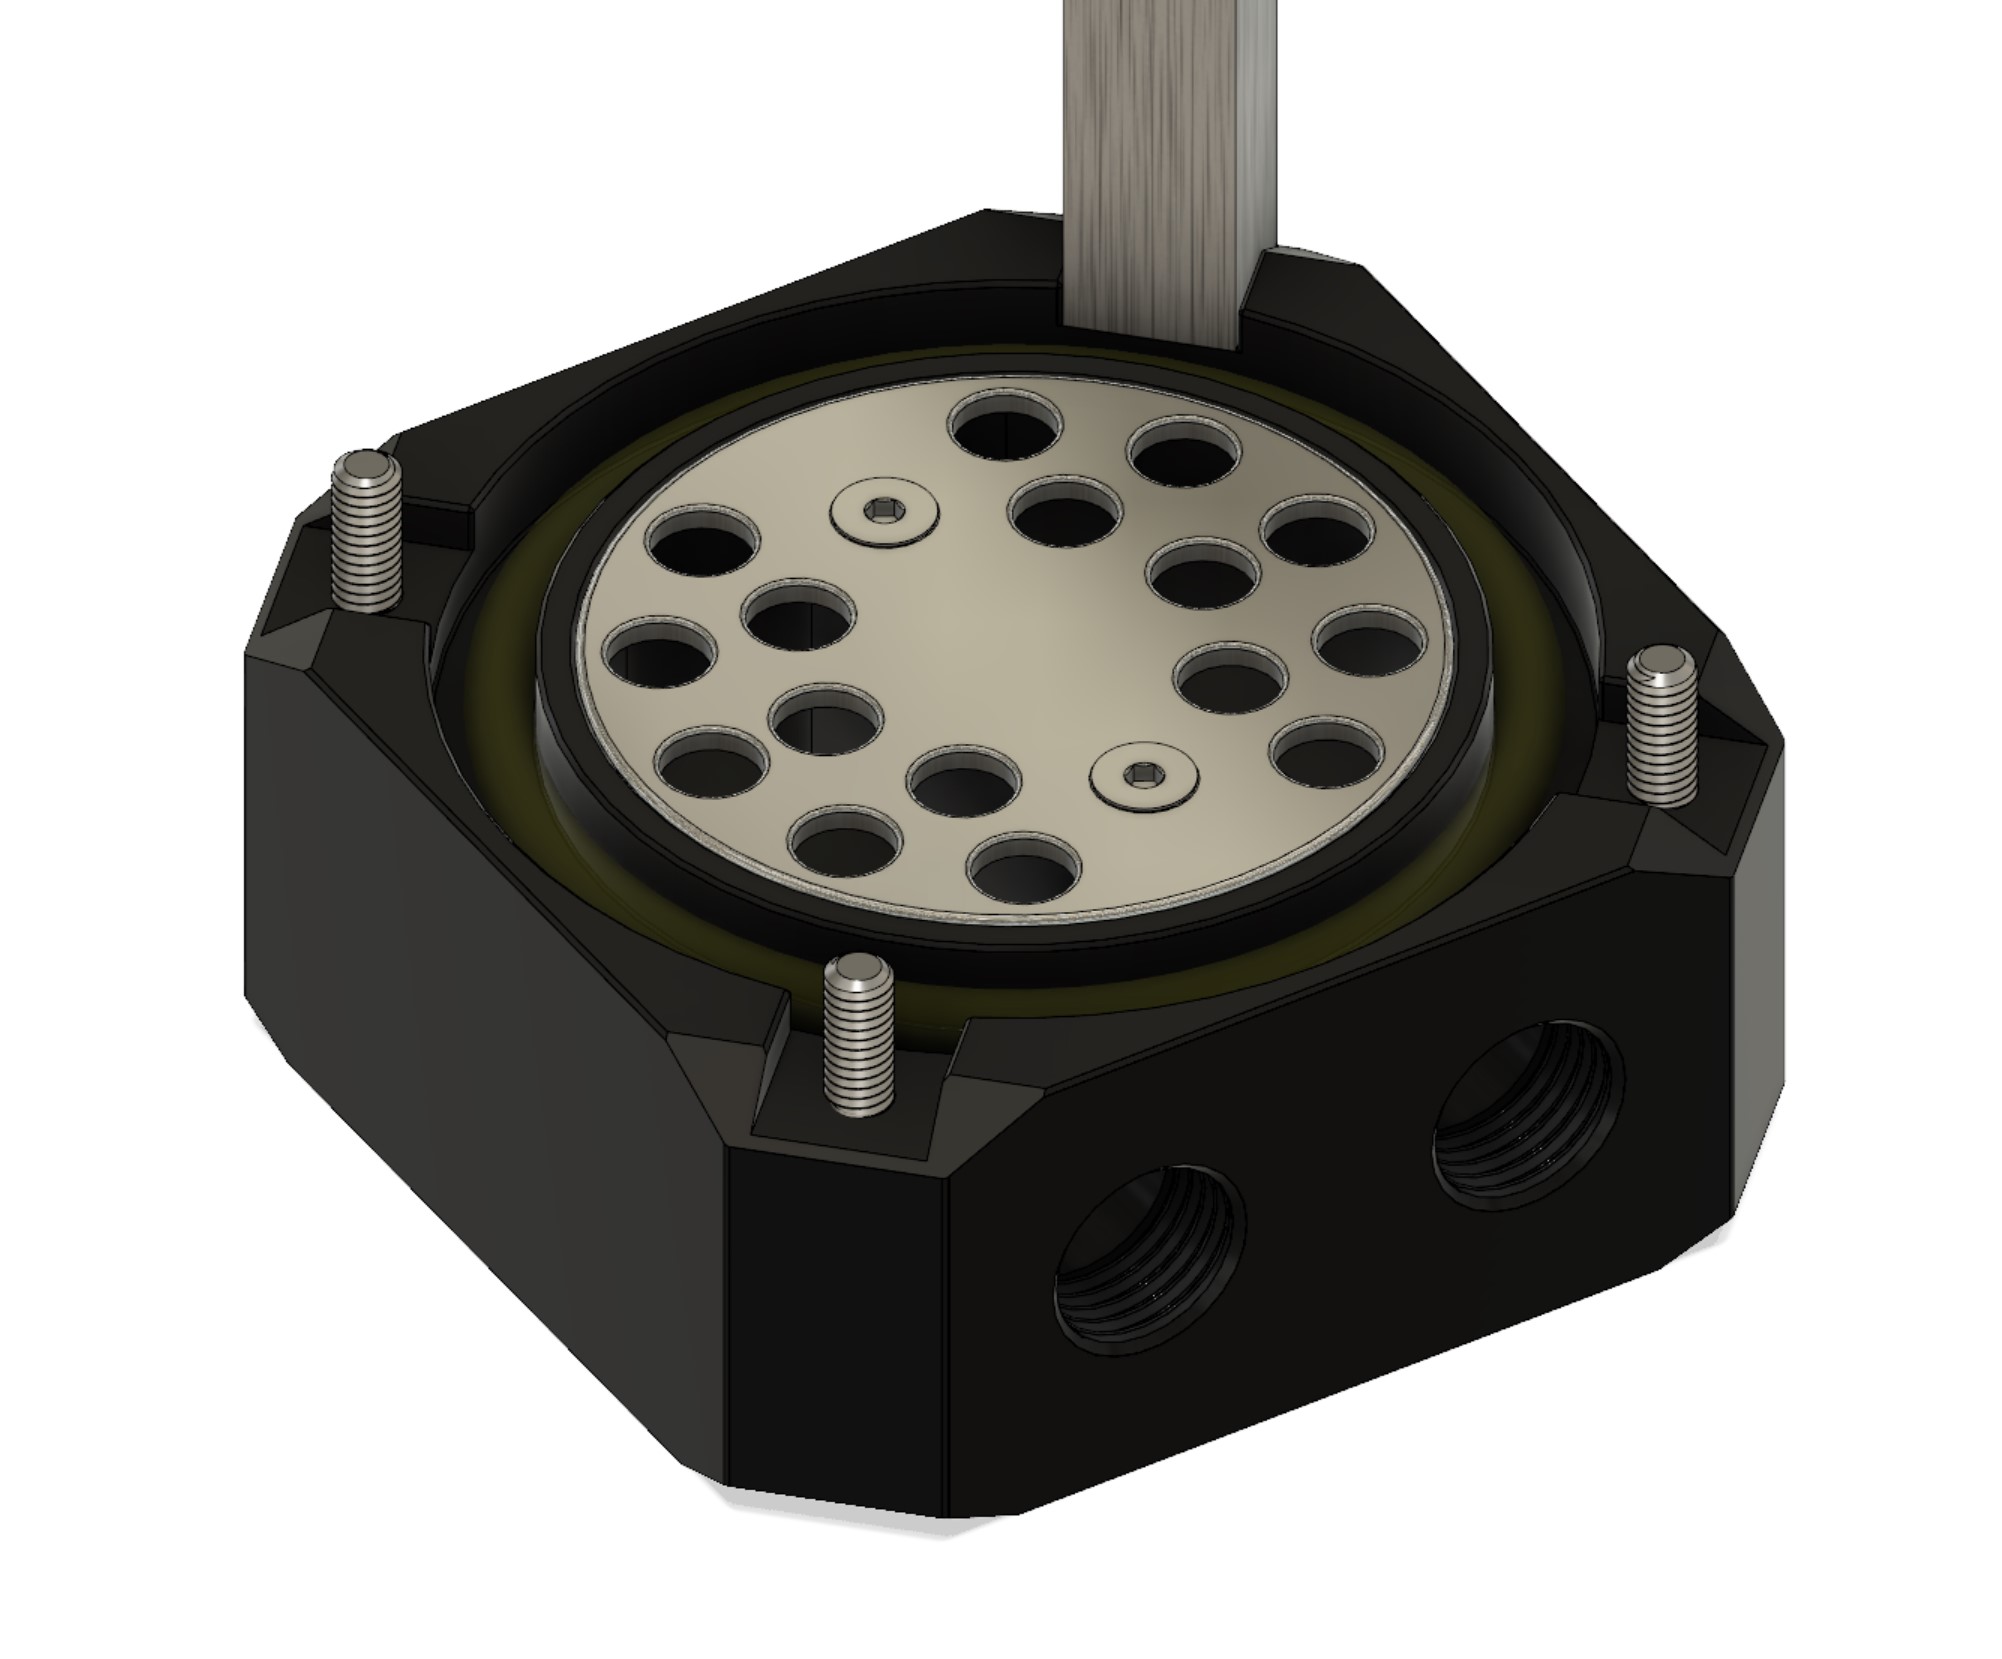
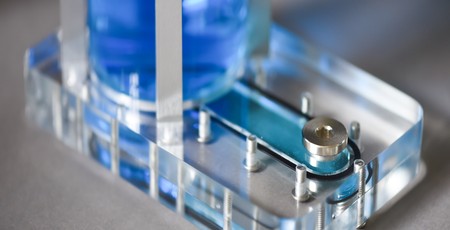
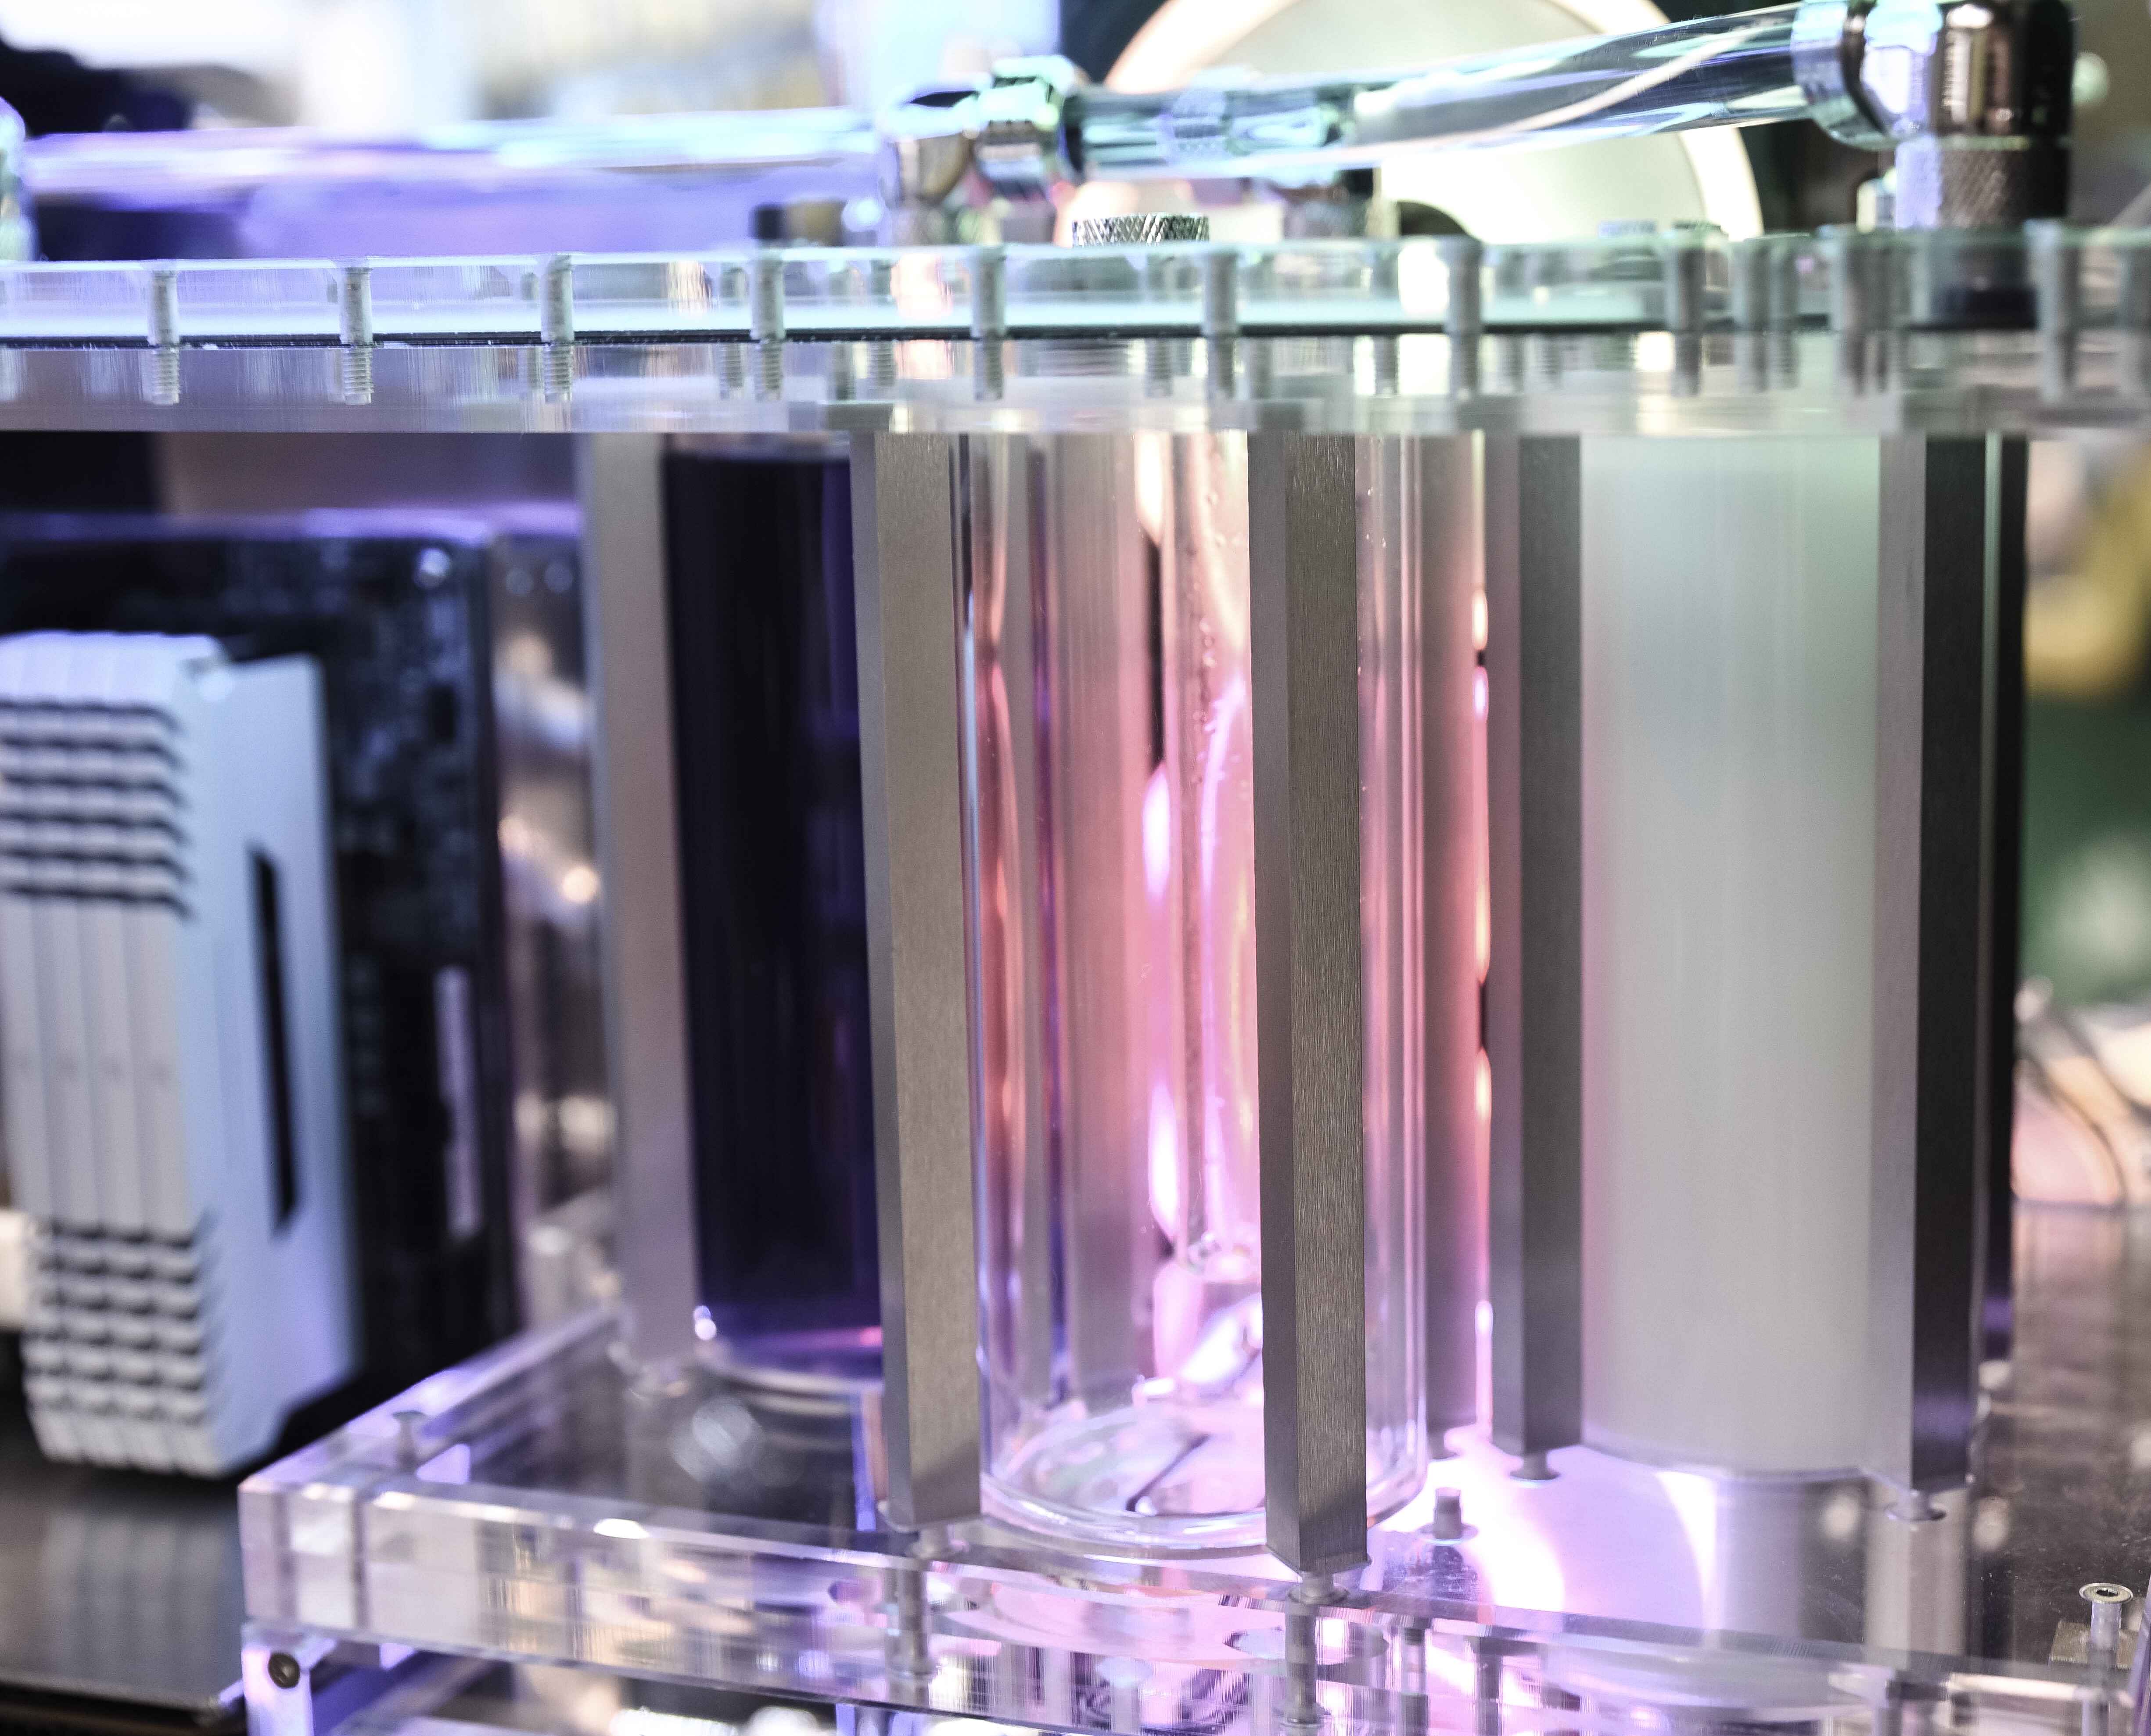
Fortunately though, the reservoirs going into this build are made of solid glass rather than the usual acrylic. Instead of using a screw thread, the base and the cap compress two o-rings against the top and bottom of the thick walls of the tube, creating a watertight seal. Watercool's method for doing this is to have four aluminium bars arranged around the reservoir tube, each with M4 screw threads in the ends. These bars are the same height as the tube, which means they're shorter than the height of the tube + two o-rings, and they then slot into recessed sections in the cap and base. By fastening the screws through the cap/base and into the bars, you compress the o-rings, sealing the fluid.
The convenience of this design is that it's quite simple to incorporate into a plate. All you need to do is ensure you have the correct hole placements and channel depths. Since the threads are in the metal bars rather than the cap/base, there's not a significant risk of cracking the acrylic through over-tightening unless the material is very thin. I'm using two 10mm thick plates sandwiched together in mine, so there's ample strength.
Let's make it!
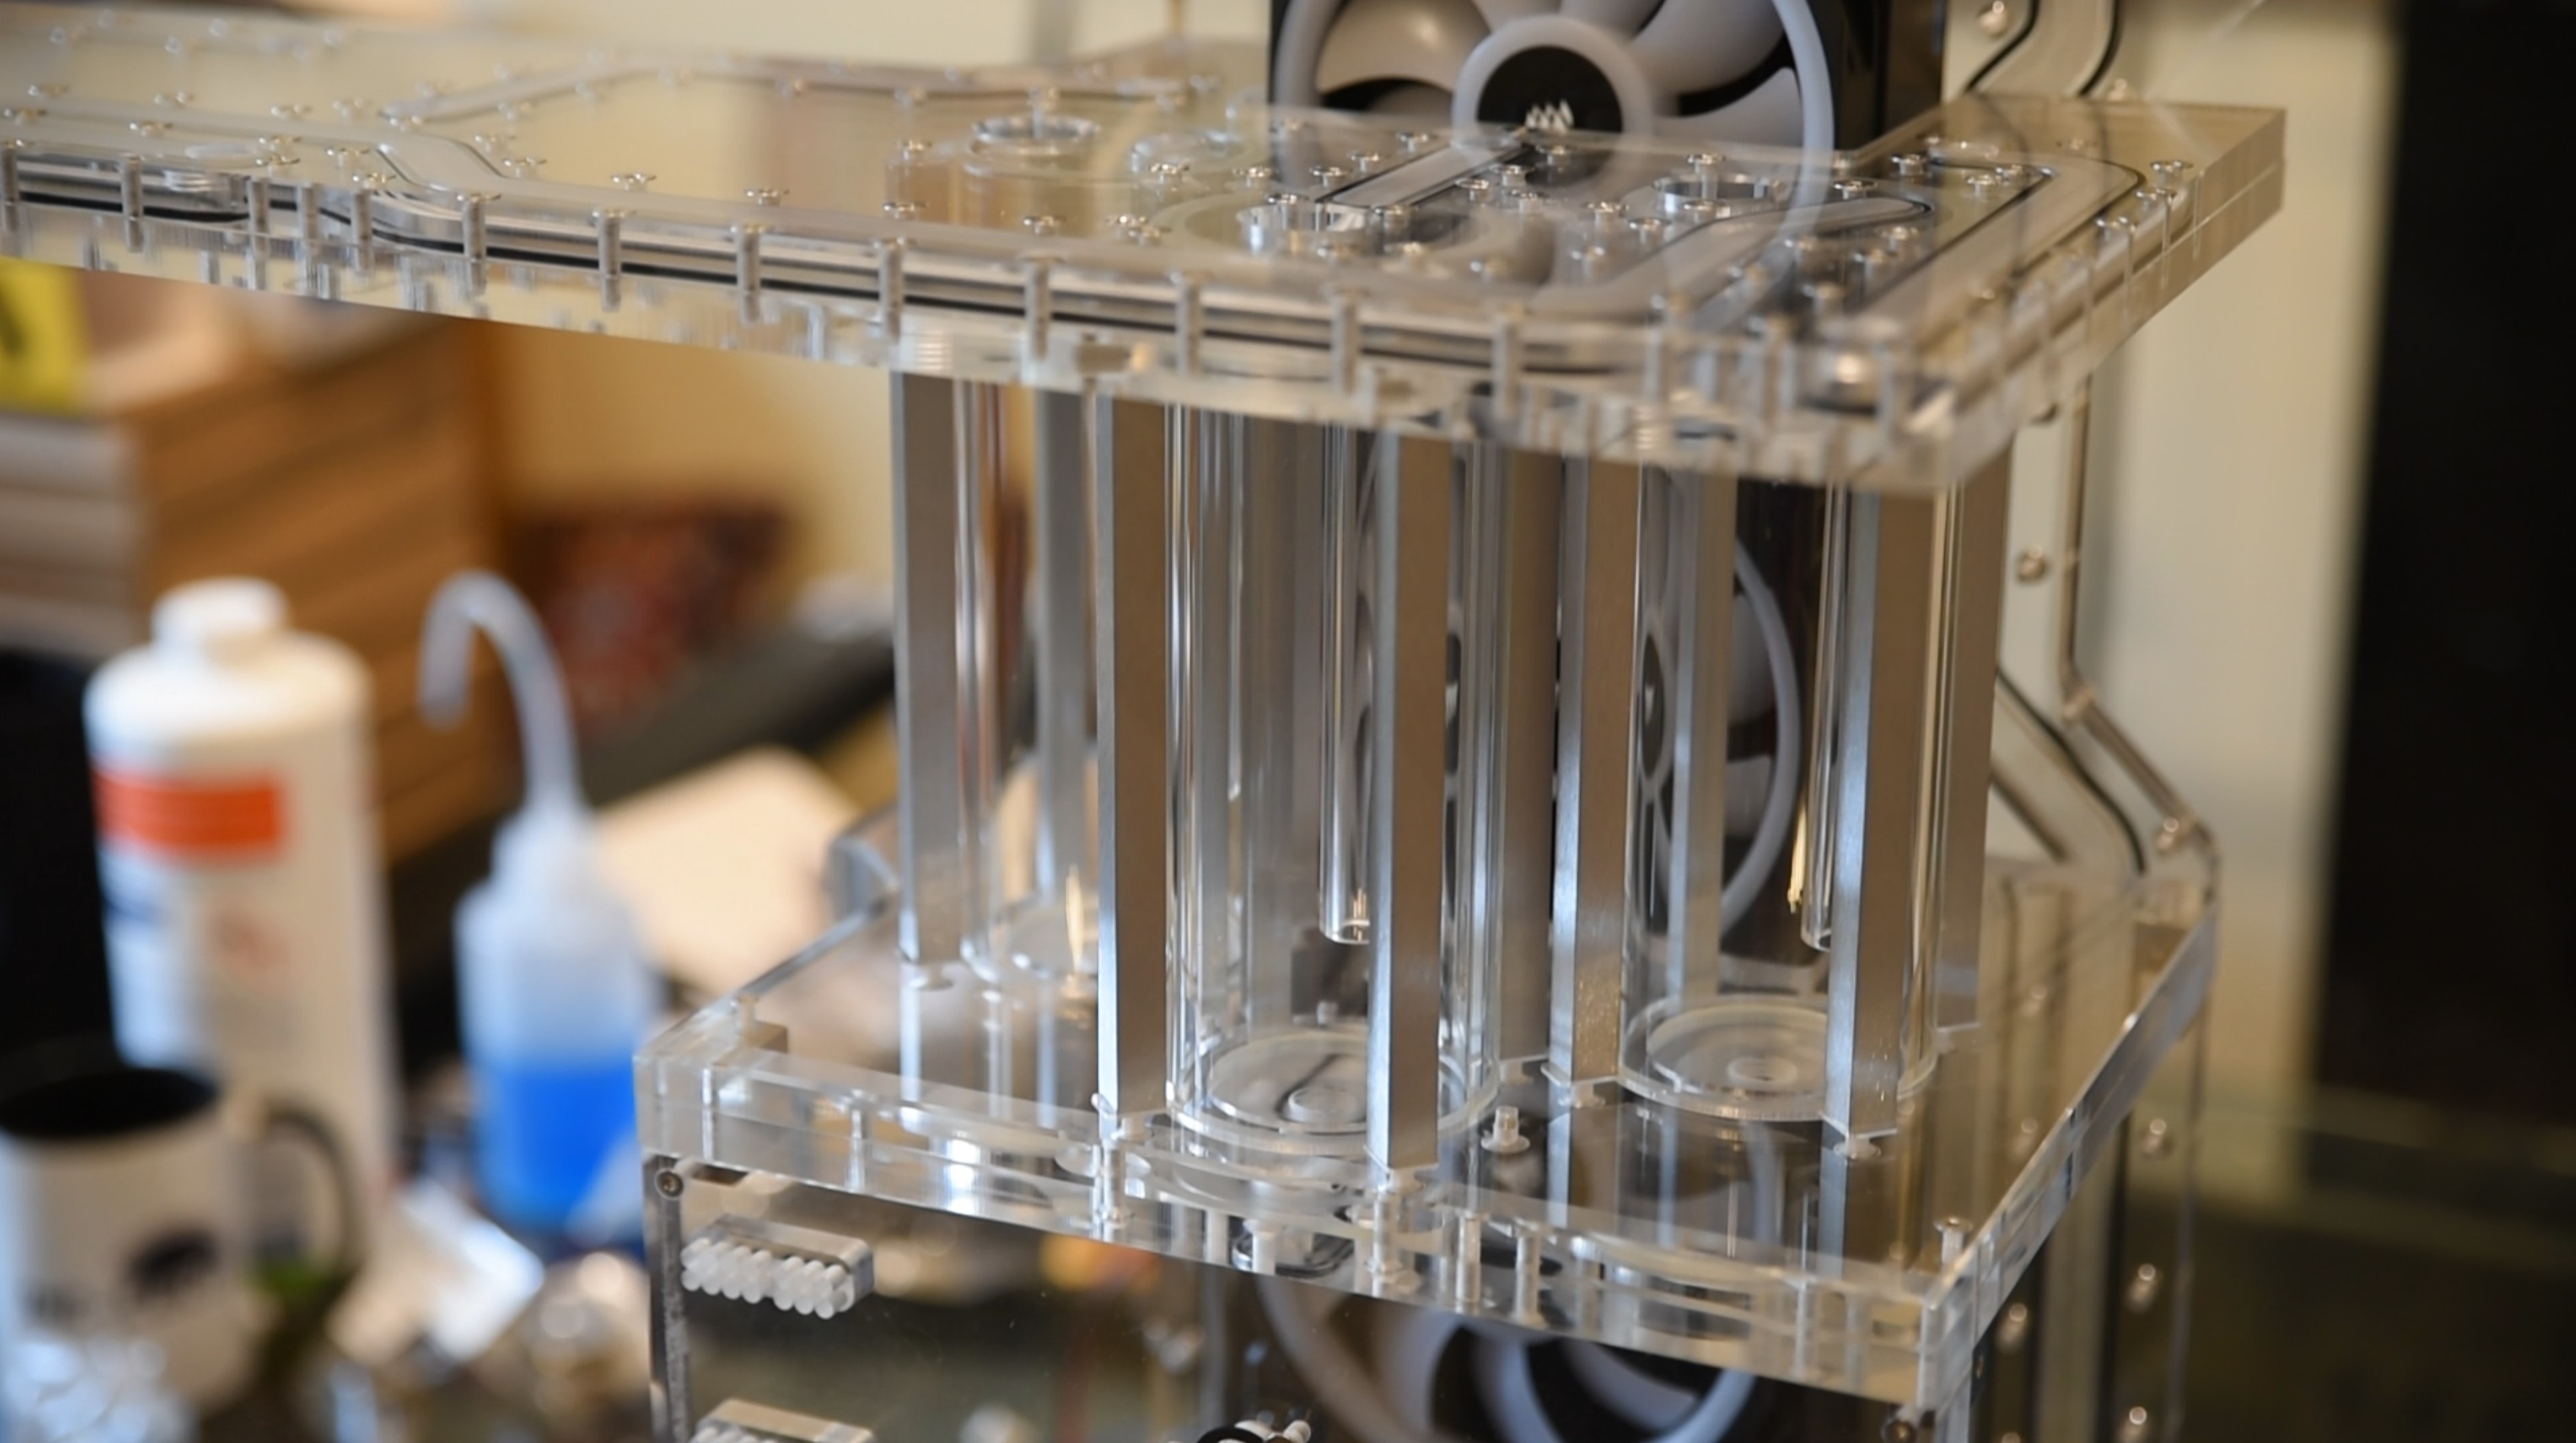
Since there are three separate water loops in this 1000D build, there are three reservoirs going to be incorporated. With the caps and bases being replaced with distro plates, you can actually place the tubes closer to one another than is normally possible. I'm thus overlapping the aluminium struts and giving them a staggered look.
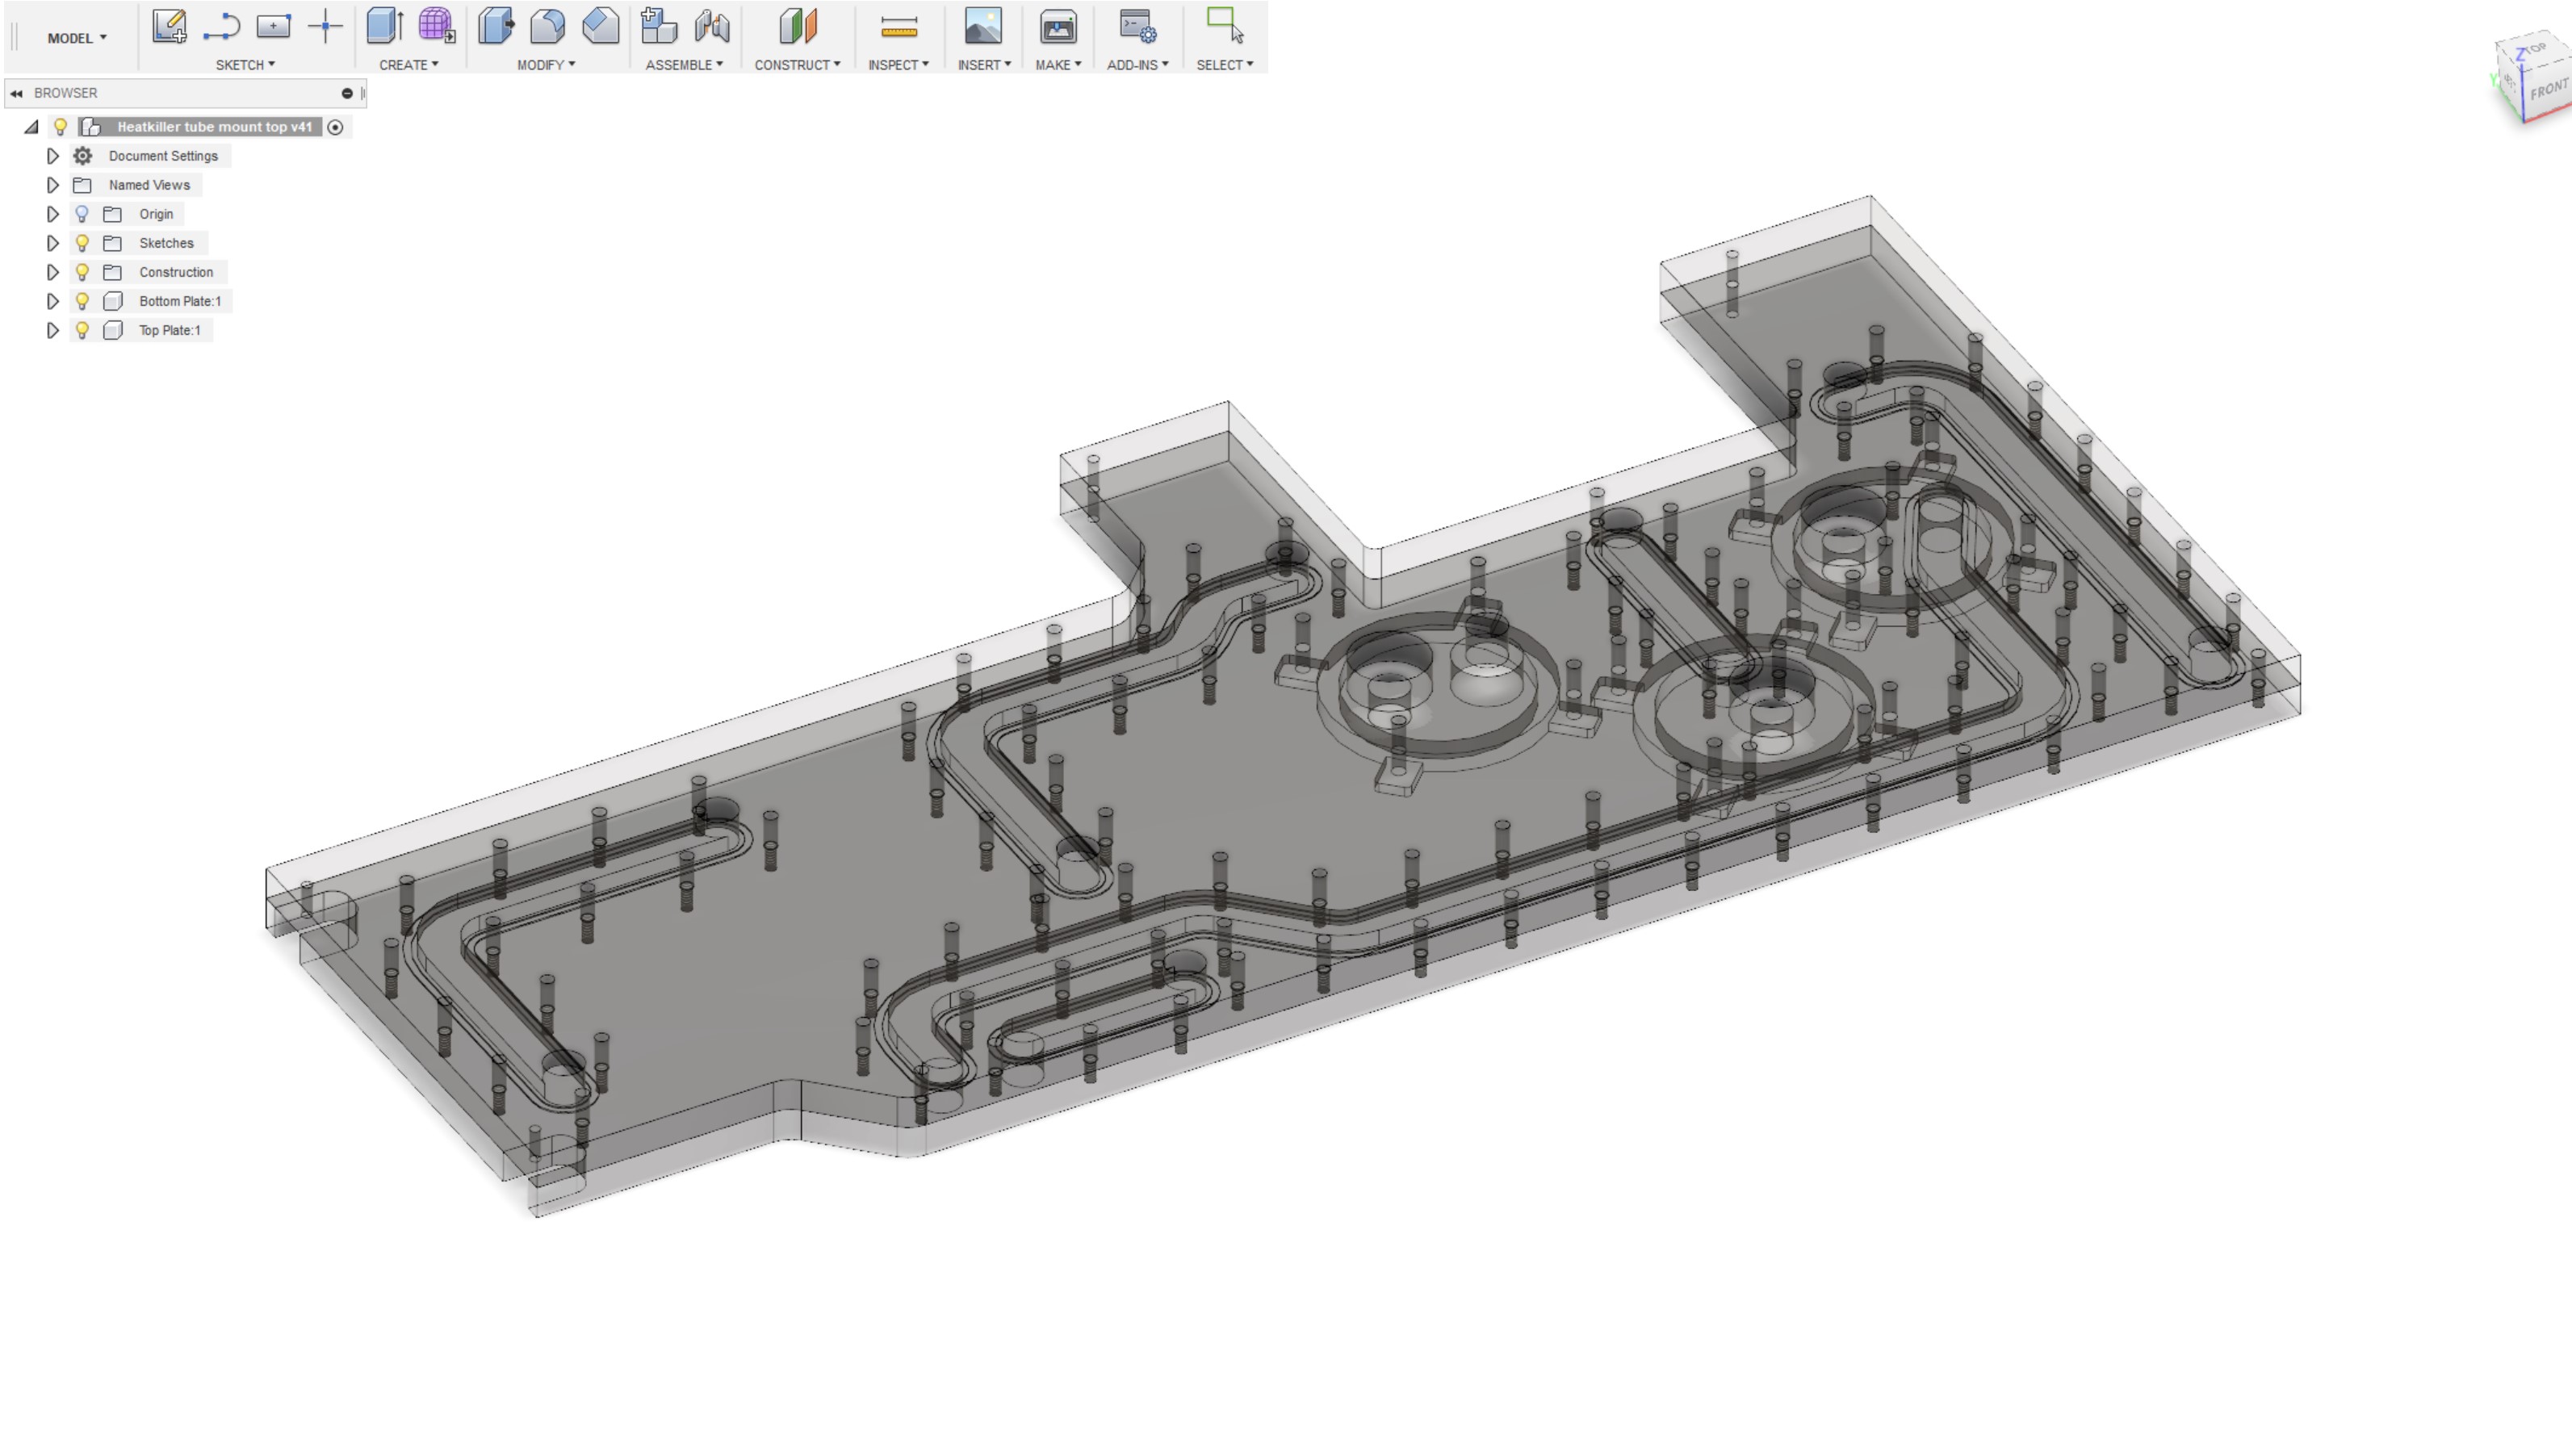
The top plate is quite a significant one in this design, as it contains all the top water channels, connecting the CPU and ITX systems together to their radiators. The tricky part here is that it means there are two double-sided machining jobs. That in itself isn't so troubling, but it's important that all the screws and internal channels line up perfectly else it will leak. Similarly, the mounting holes for the reservoirs need to align for the same reason. Thanks to this, I figured it would make sense to machine all the holes first from one side and reserve the second op cuts for non-essential sections.
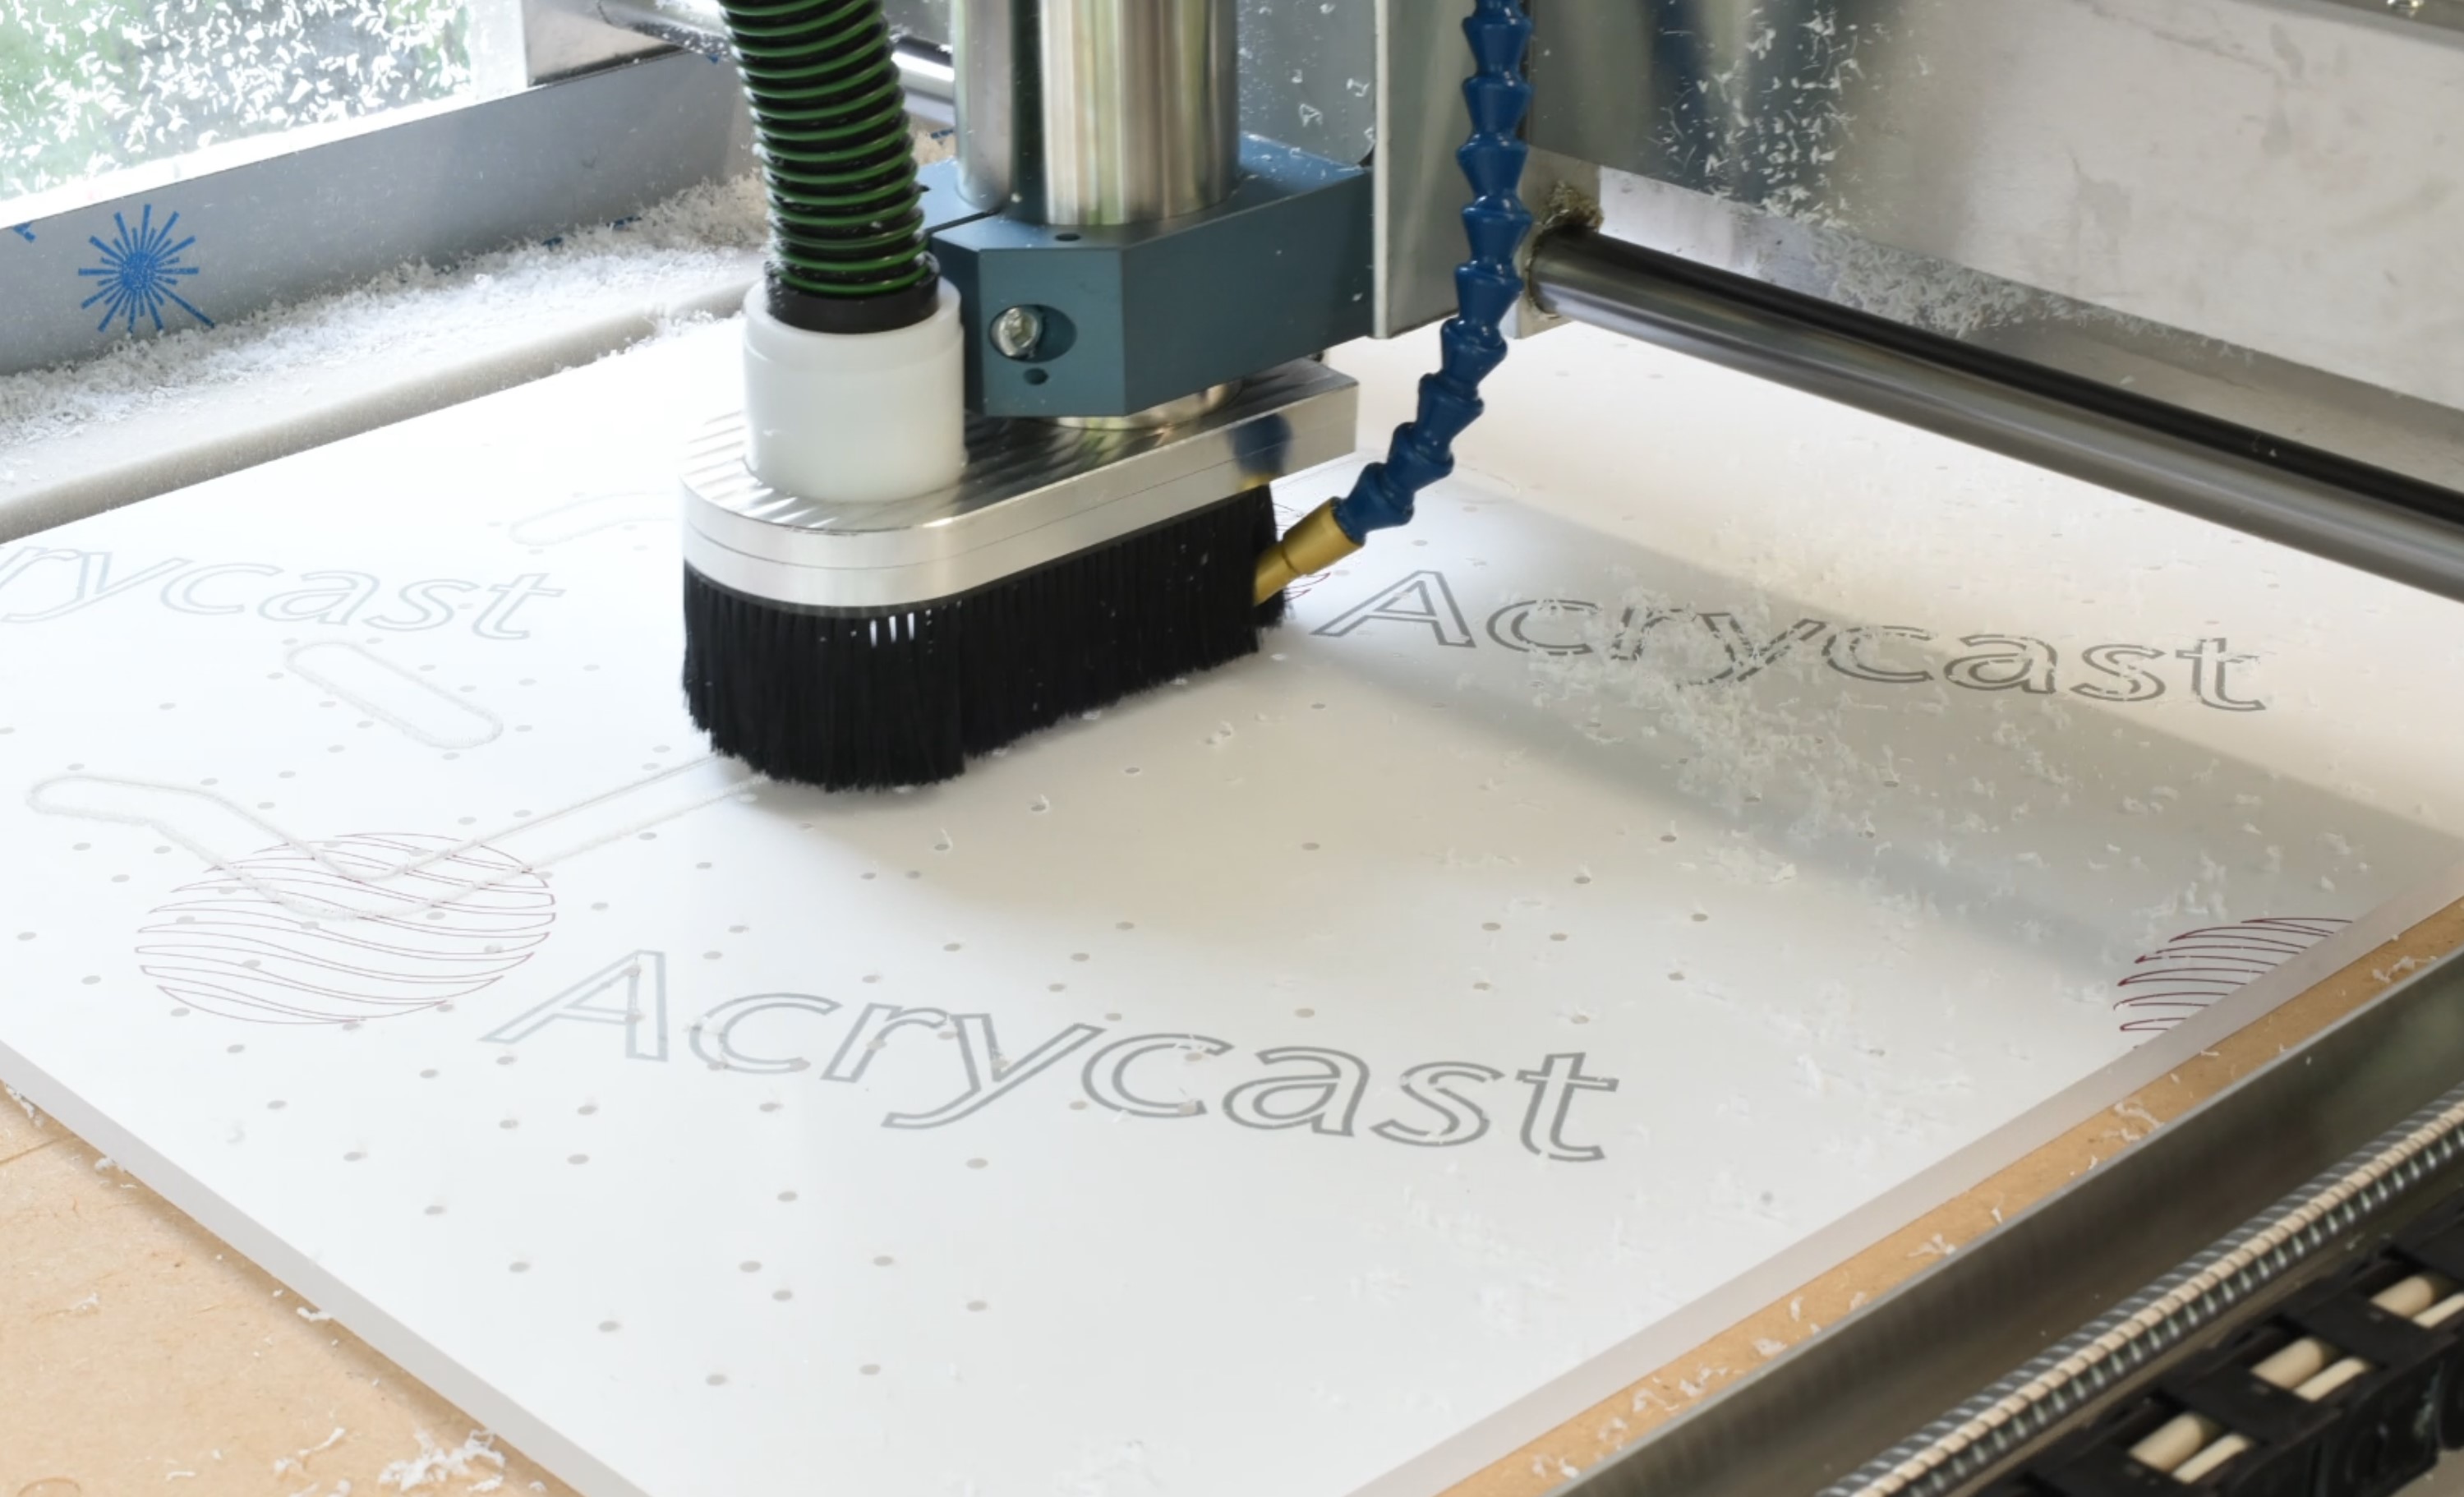
Also, cast acrylic IS NOT FLAT. In fact, once you start heading north of 10mm the tolerances can be way off the mark (as we saw with the Tesoro Gram XS mod where the 15mm material was in fact 13.9mm). This is really important to consider as any o-ring grooves etc. have to be adjusted so that the right compression level can be maintained. 10mm acrylic tends to be fairly reliable, but it can still vary by 0.5mm or more, which could be a killer if using 2mm o-rings and you cut straight to a depth of 1.5mm. The same is true for the reservoir mounts; it's important to ensure that the offset between the base of the o-ring and the strut is 3mm.
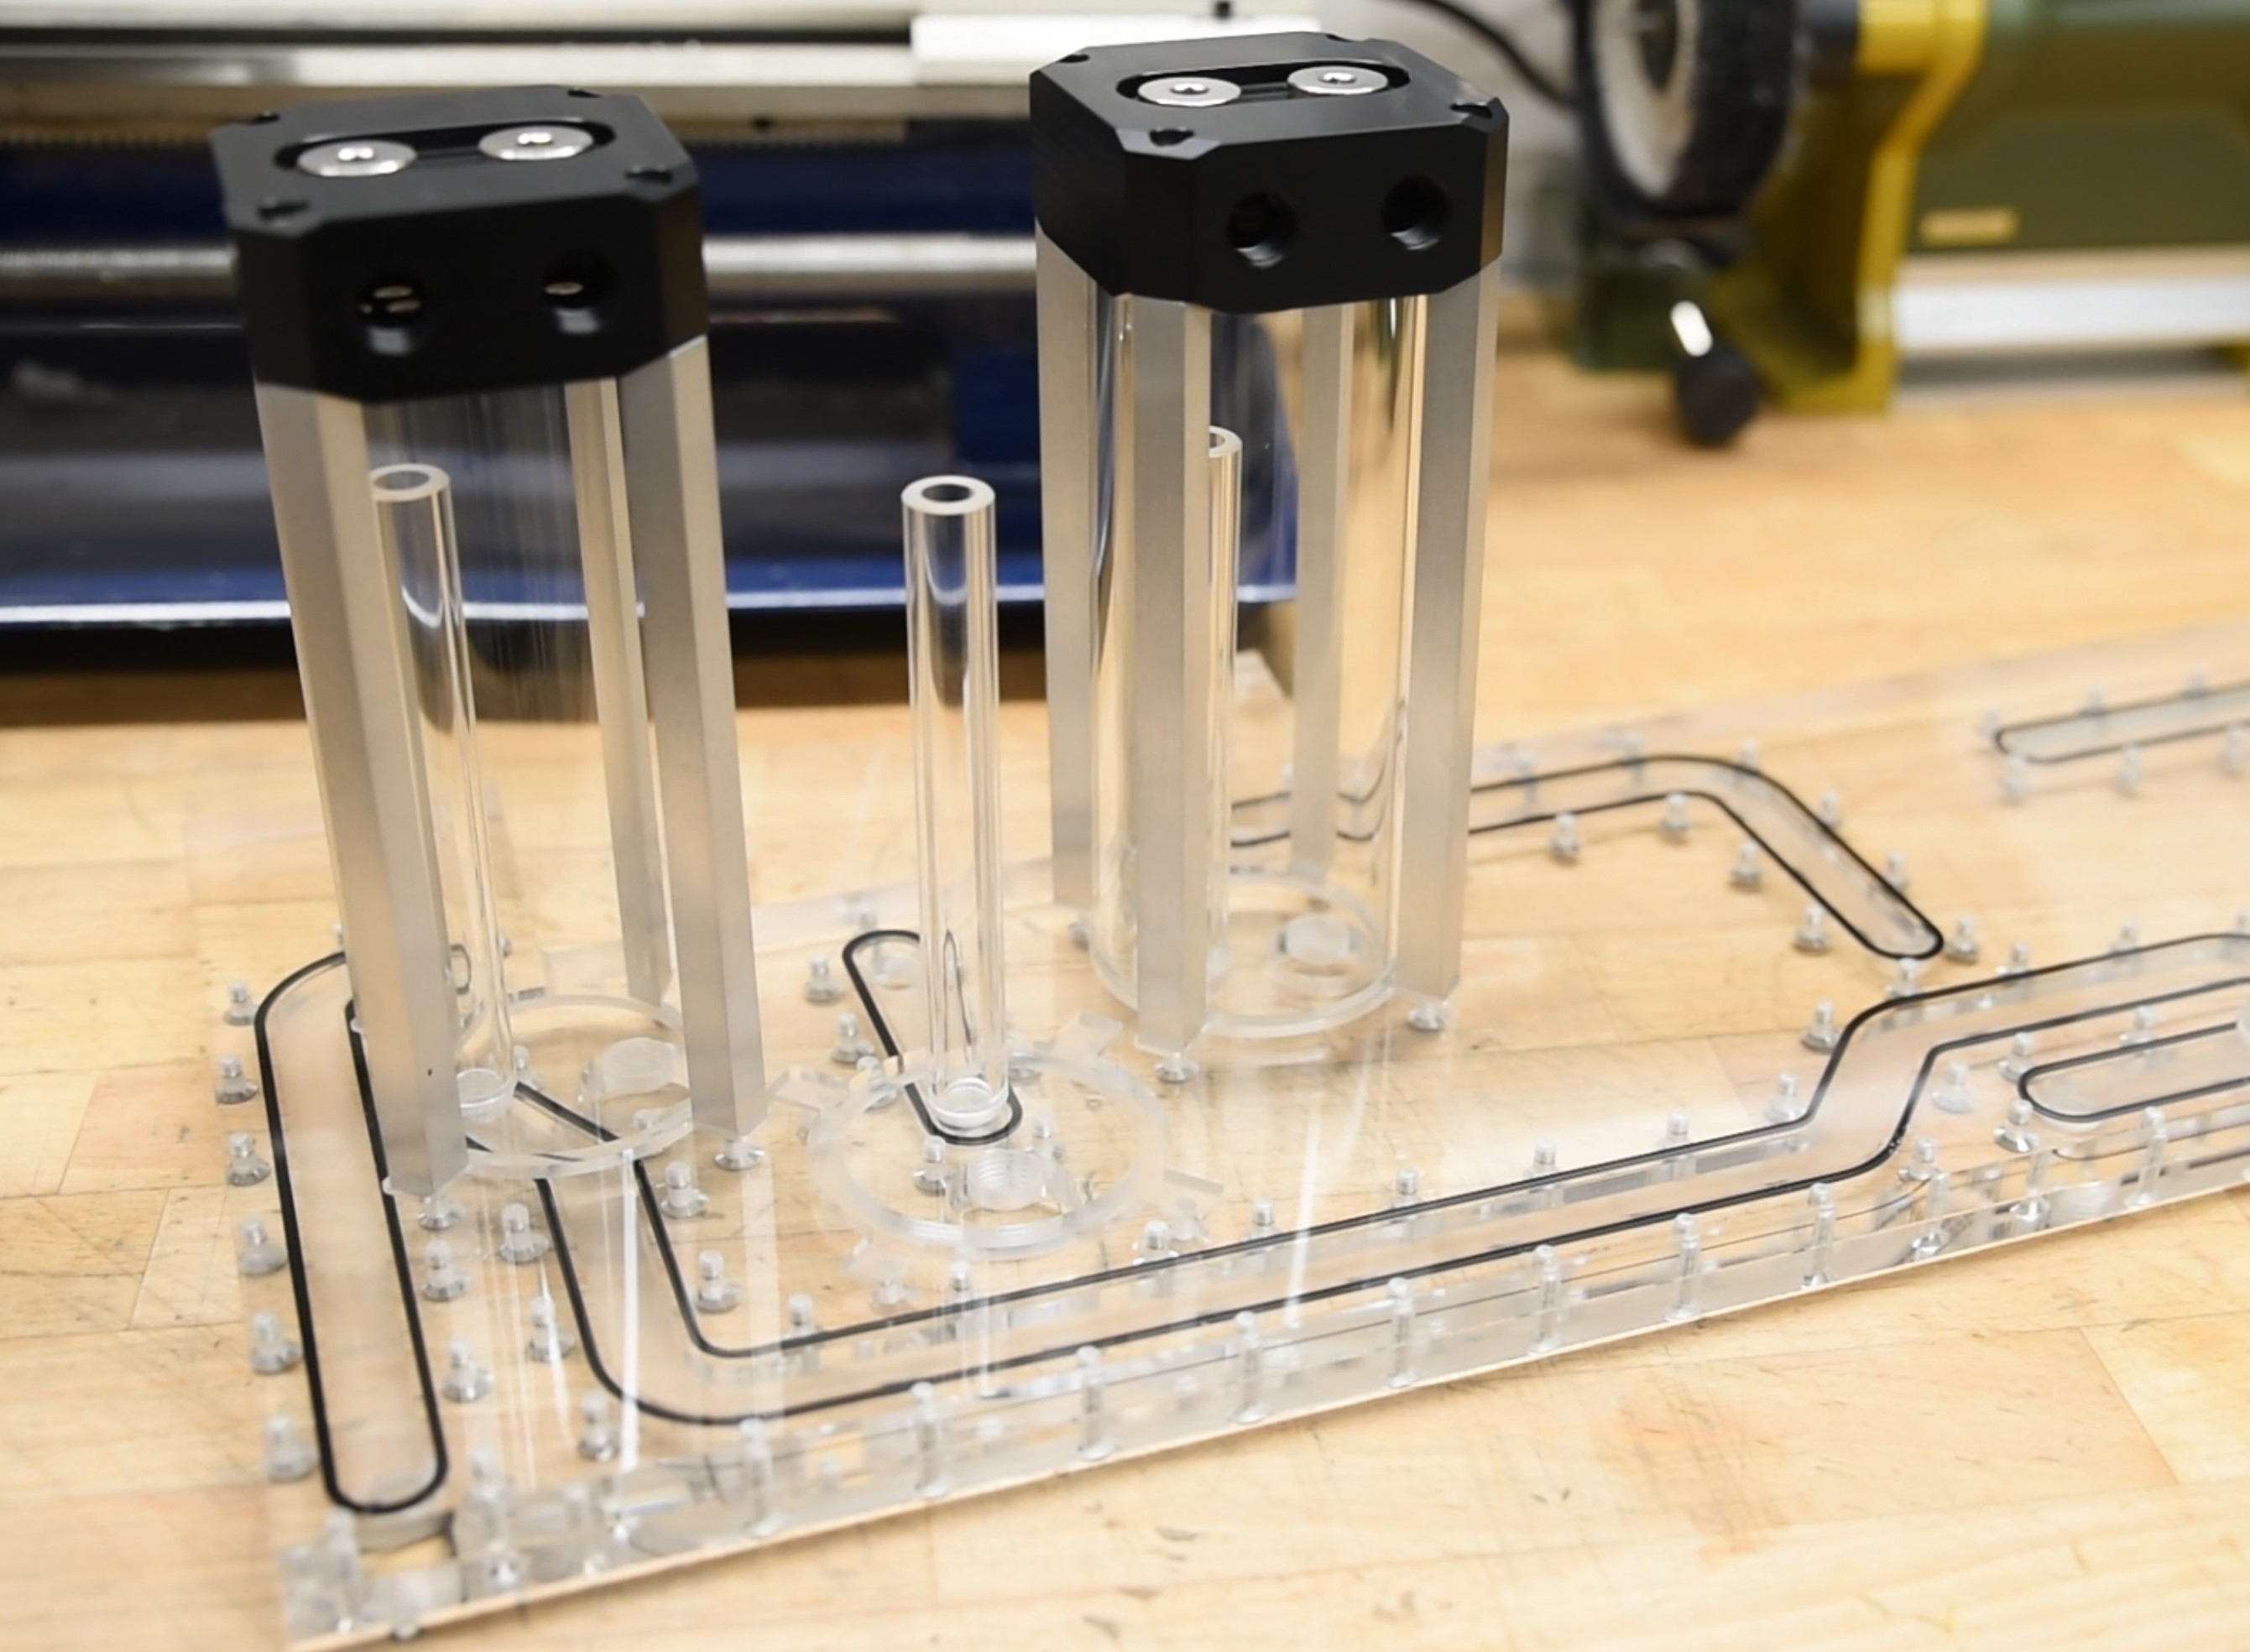
After cutting, it's just a matter of assembling it all. Thankfully, the simple design makes this quite a straightforward step, albeit a tad fiddly to begin with since there's nothing holding the tubes nor o-rings in other than gravity. Now, let's stack 'em up and get things ready for assembly!


MSI MPG Velox 100R Chassis Review
October 14 2021 | 15:04

Want to comment? Please log in.