Scratchbuilt PC - Water Cooling and Hardware Mounting
May 21, 2012 | 07:13
Mounting hardware continued
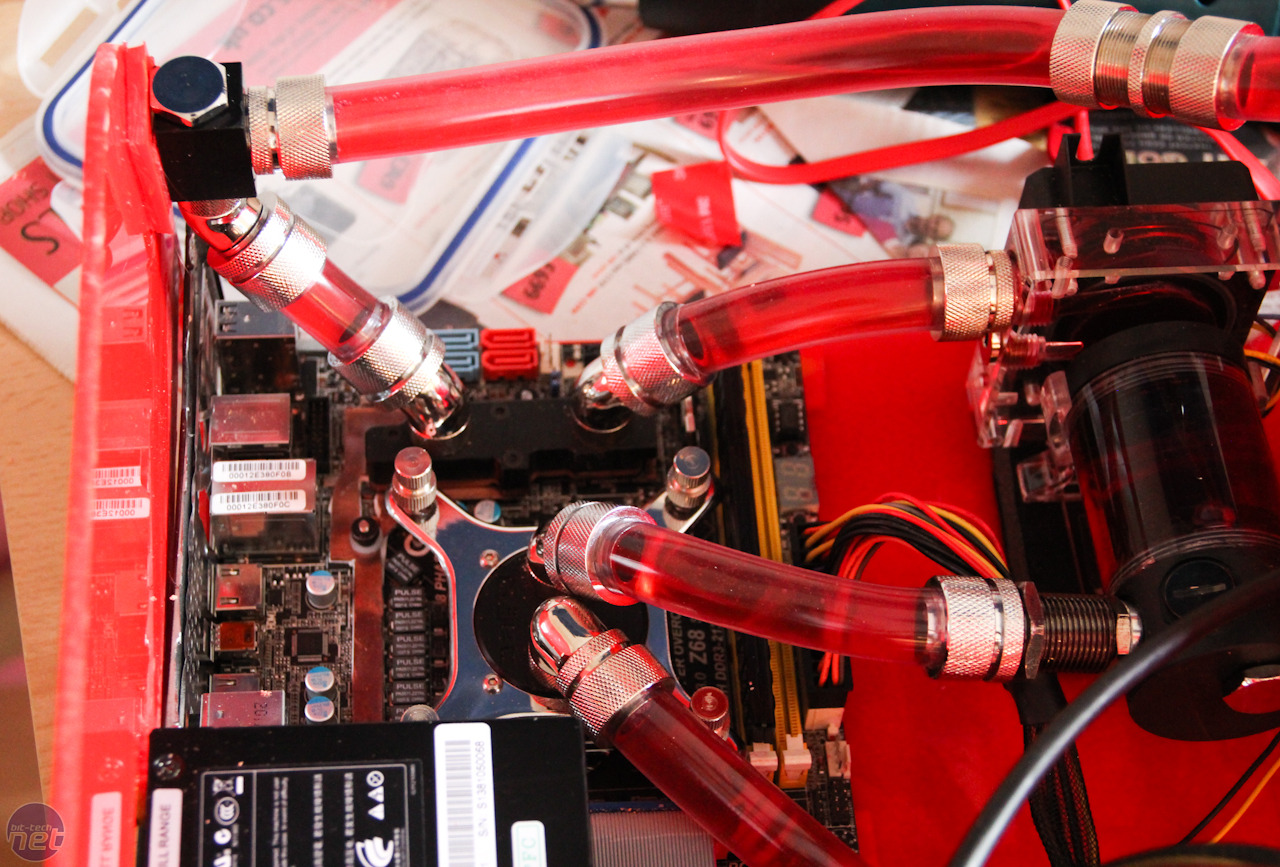
With the tubing bent in some quite tight turns, this meant we had to secure the hardware firmly as there was some pressure on it. For the graphics card, we made two 90 degree mounts using acrylic and used 3M mounting tape to fix these to the case, with push pins and screws securing the graphics card in place.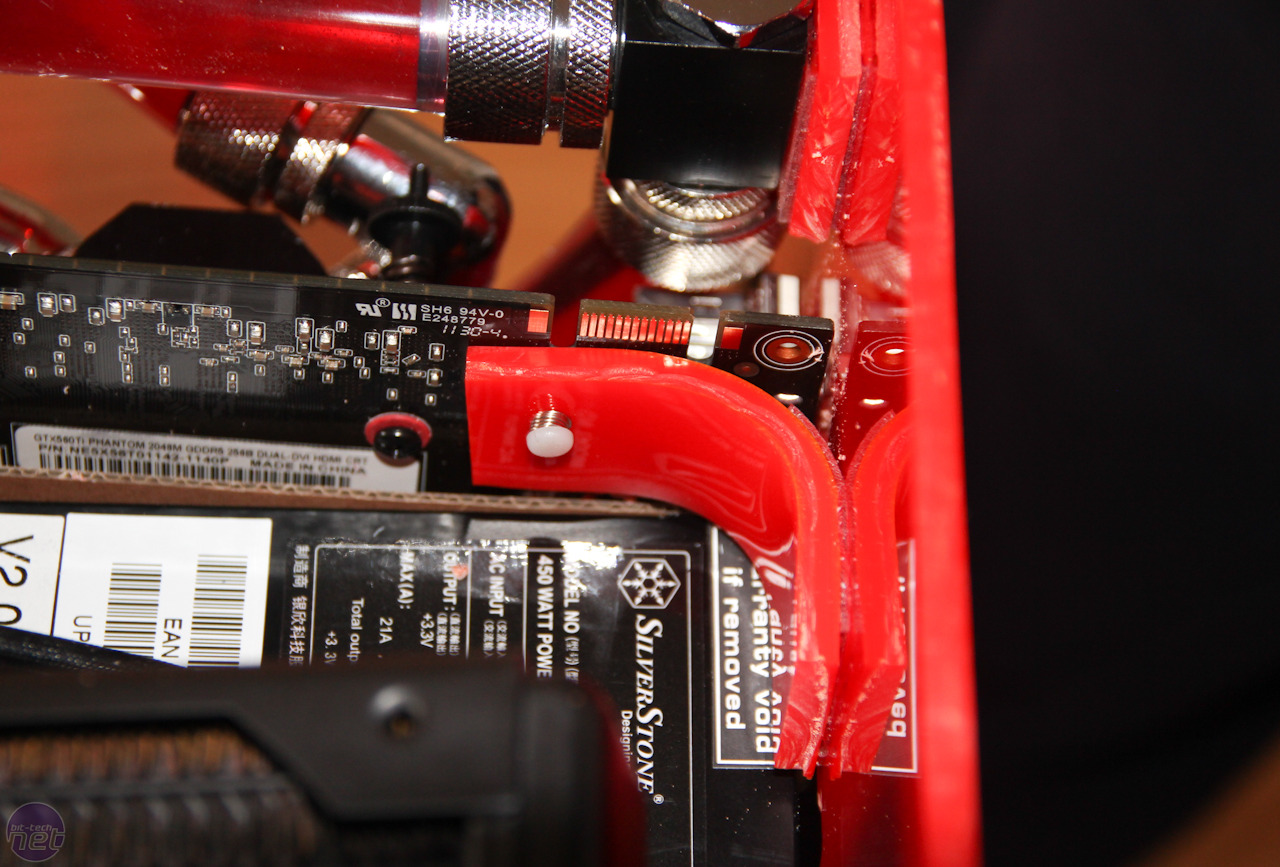
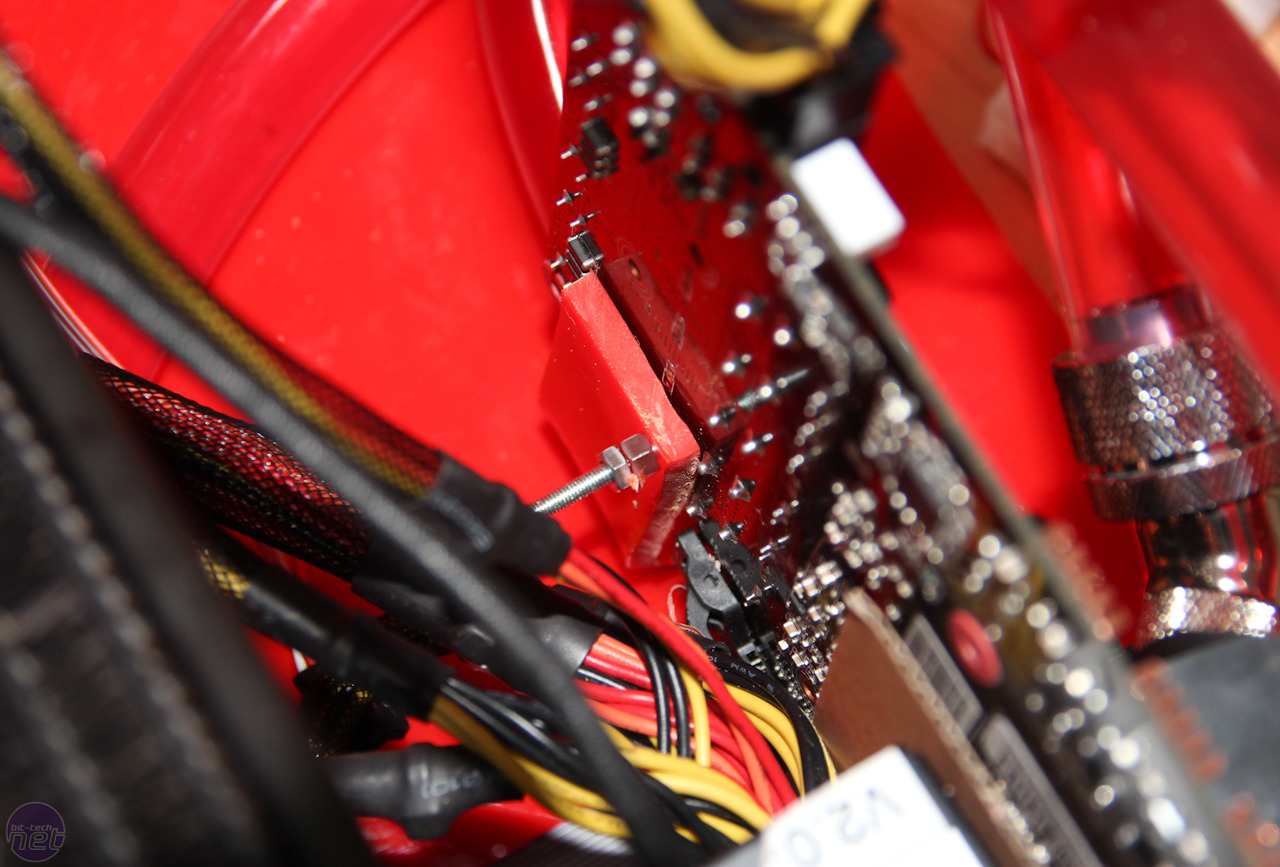
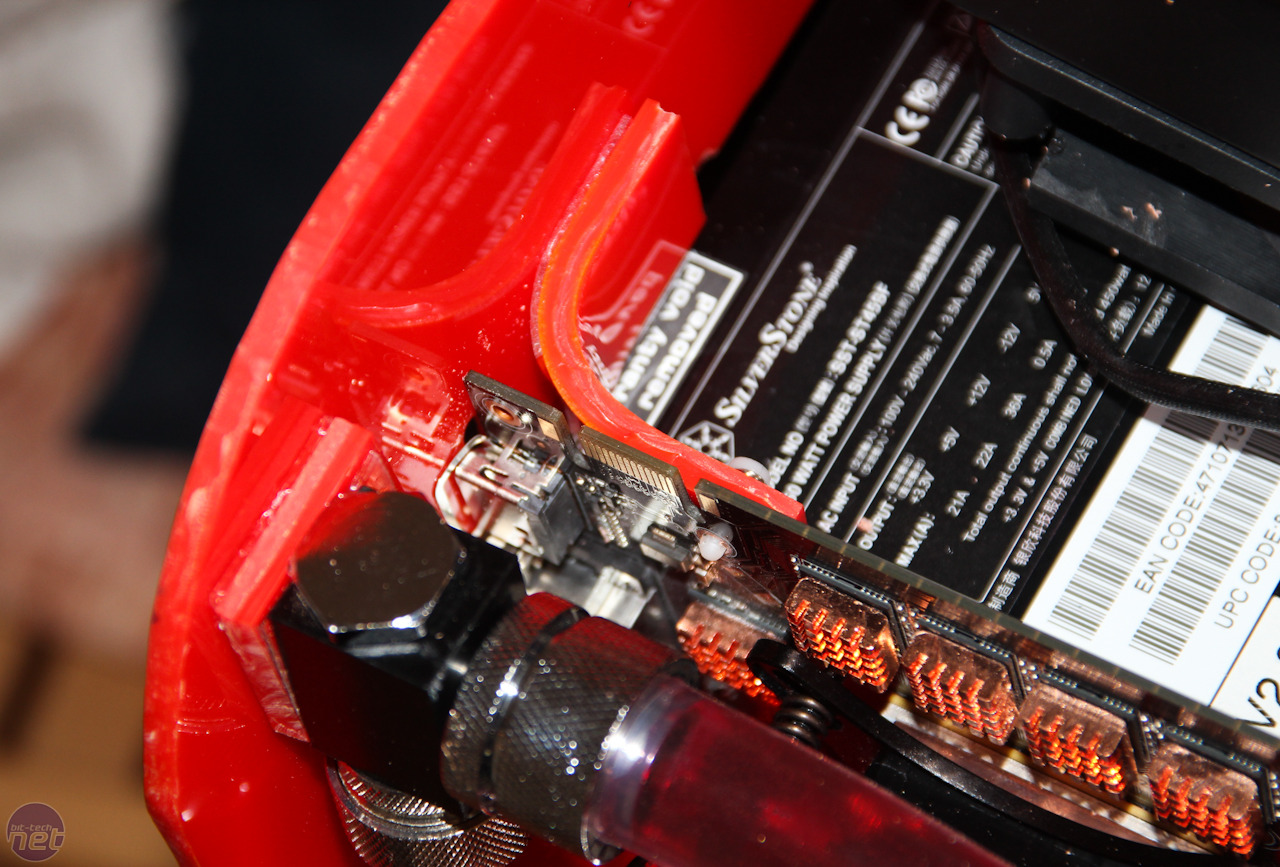
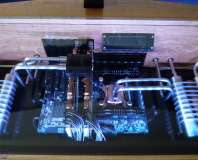
Below you can also see our pump/reservoir mount which seems to have worked quite well, while a standard screw and nut hold the bottom end of the graphics card in place. Both the push pin and screw are easily removable.
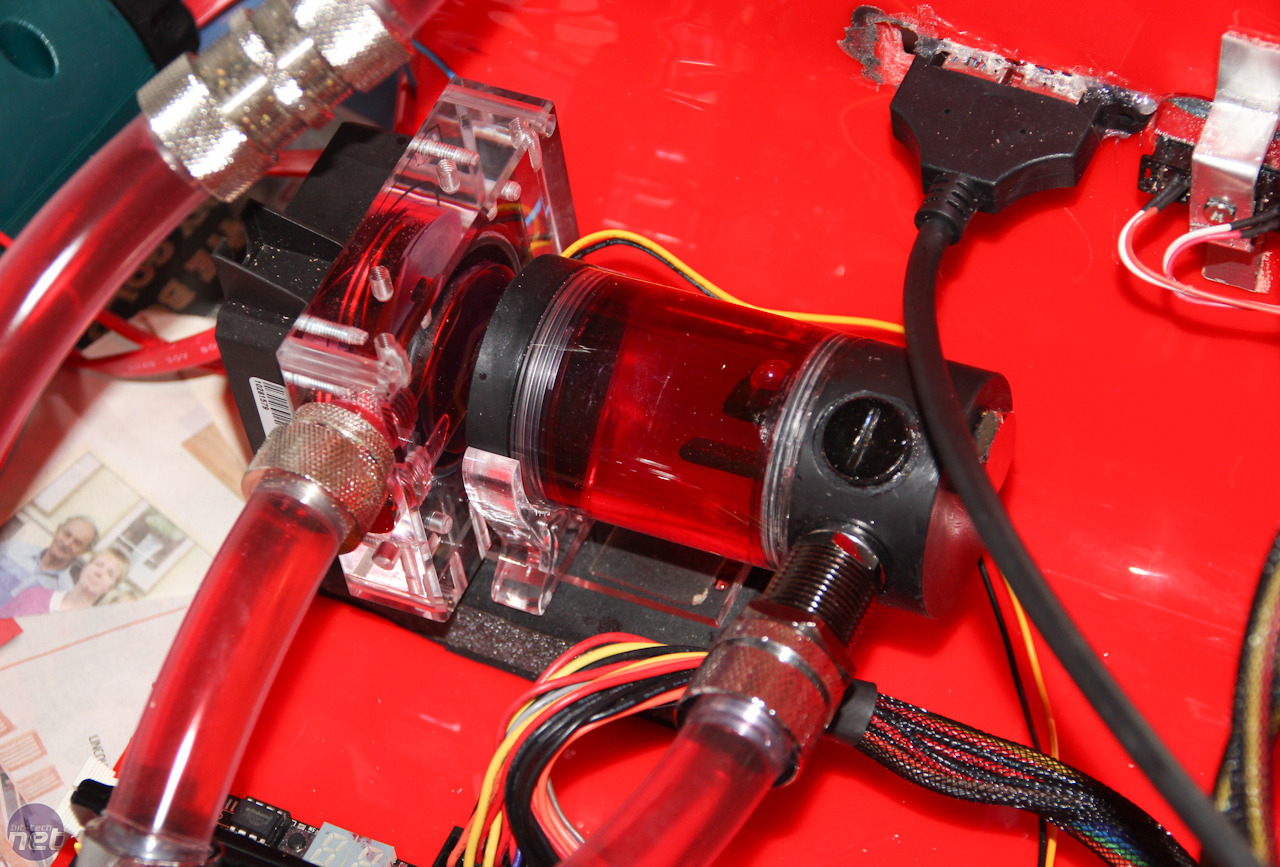
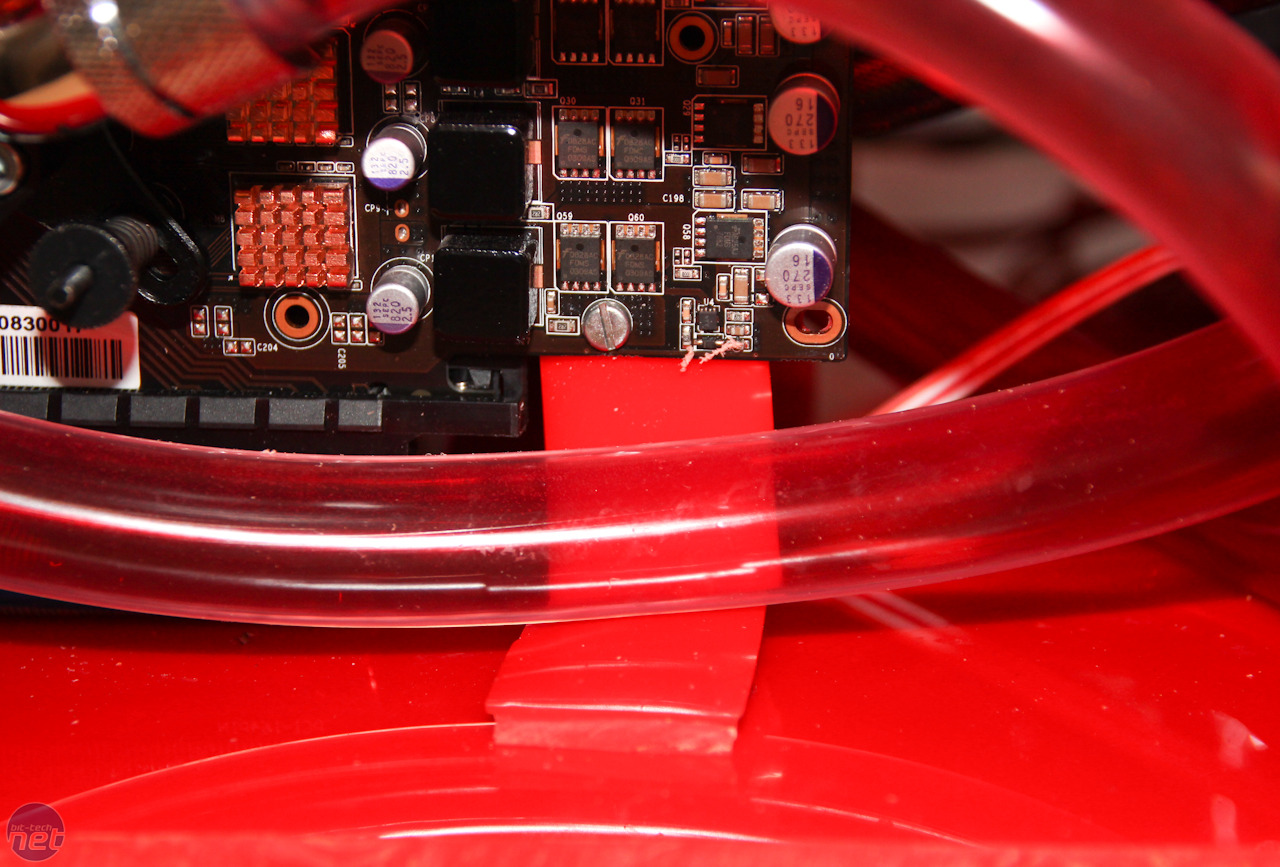
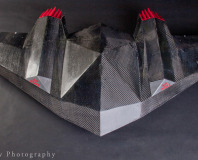
It looks like we're finally getting somewhere with the system and we've settled on the final route our tubing will take around the case. The top section of tubing here will run along the side of the case and become one of the main features of the build - an externally visible length of tubing housed in a mirrored half-pipe. More on that in a future update!
With the 3M mounting tape doing a sterling job of holding our graphics card in place, we decided to try it out without radiator mount too. The first thing to make would be three mounts complete with integrated nuts to allow the radiator to be screwed into place securely.


We decided to use our trusty routing bit to make a hole for the nut as drilling such as small piece of acrylic with such a large drill bit can be tricky. We made the hole slightly smaller than the nut and proceeded to heat it up using a nearby gas hob.
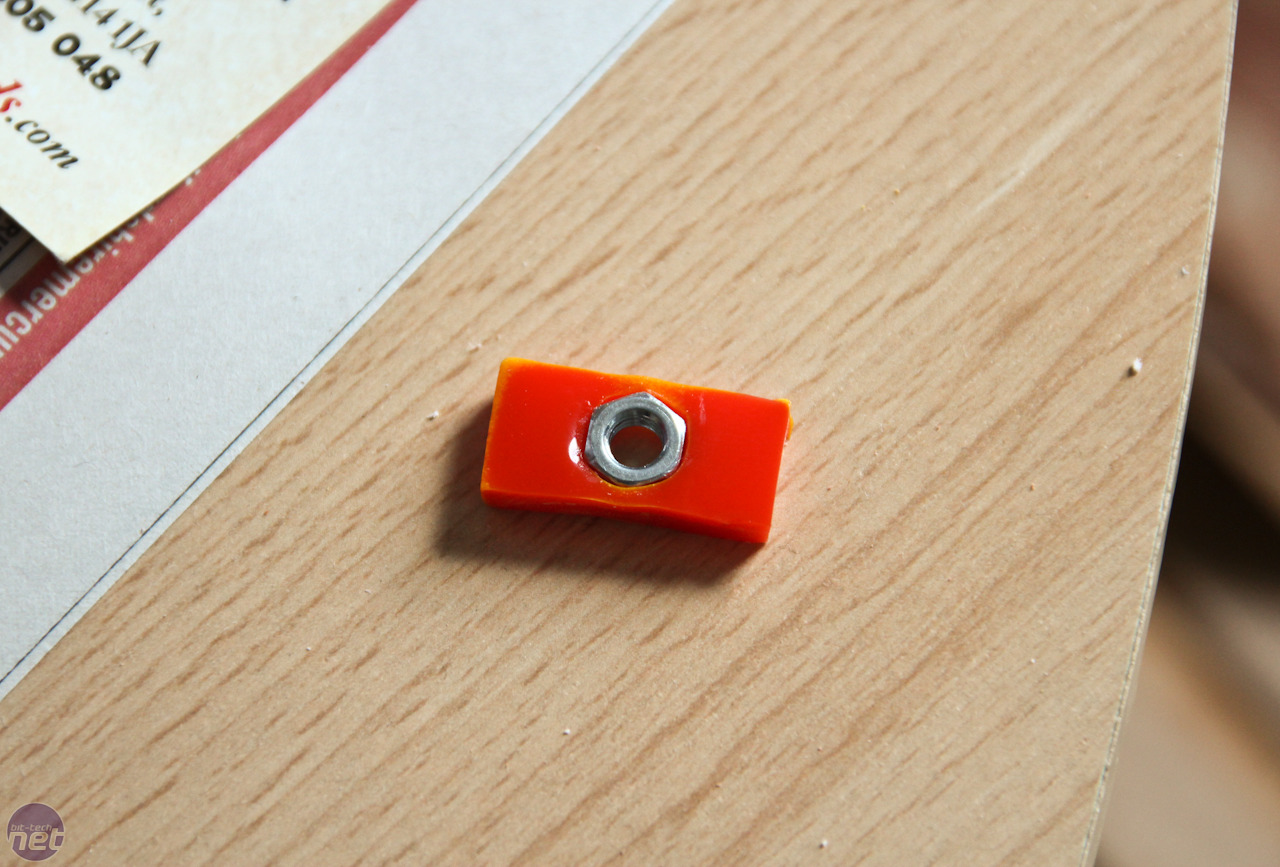
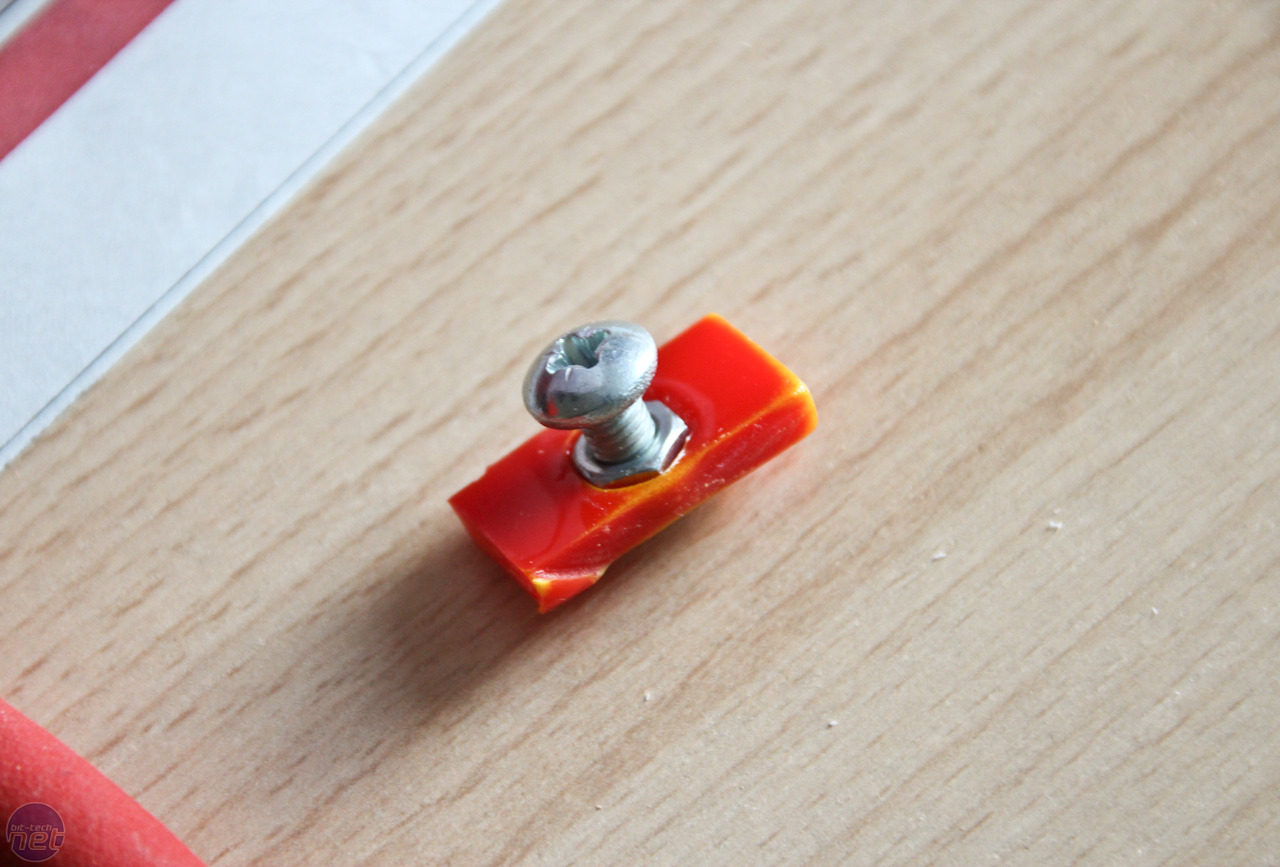
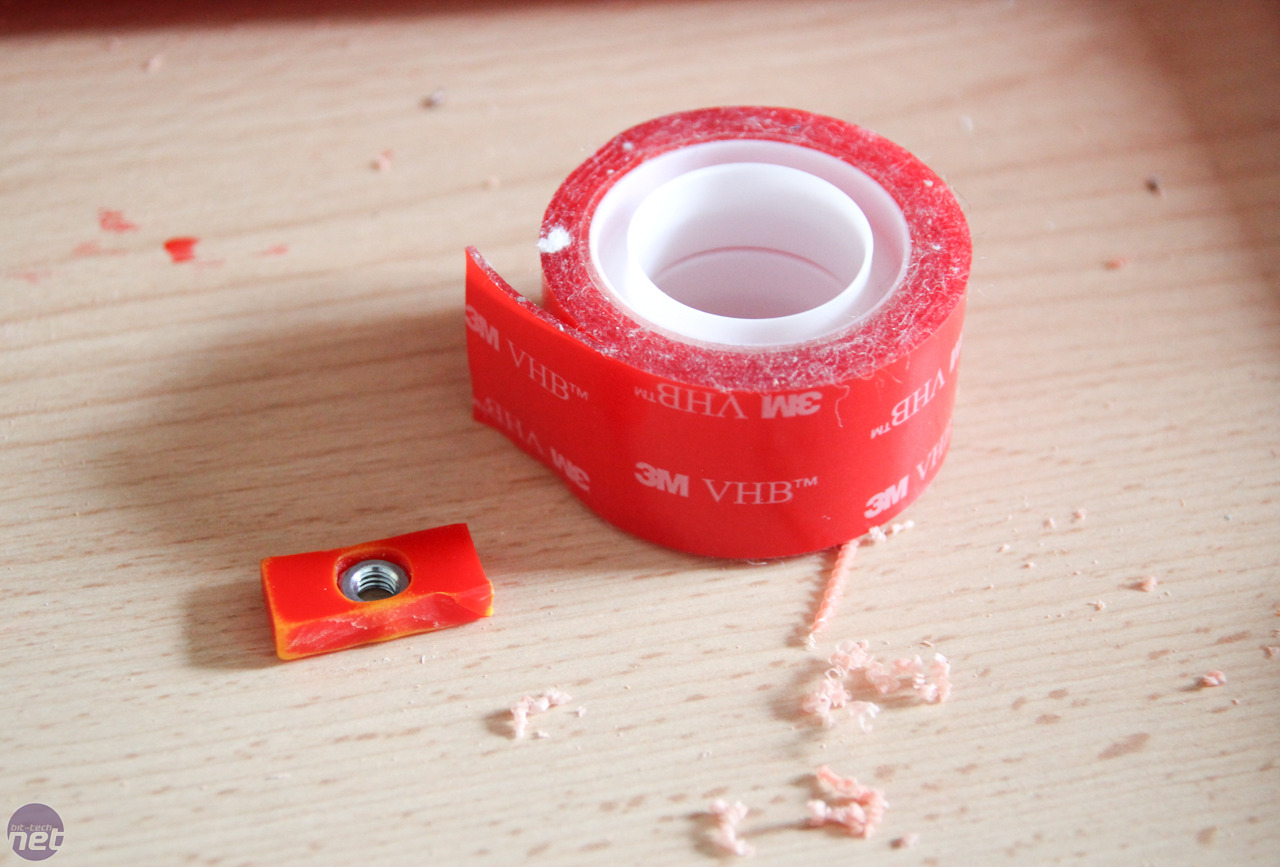
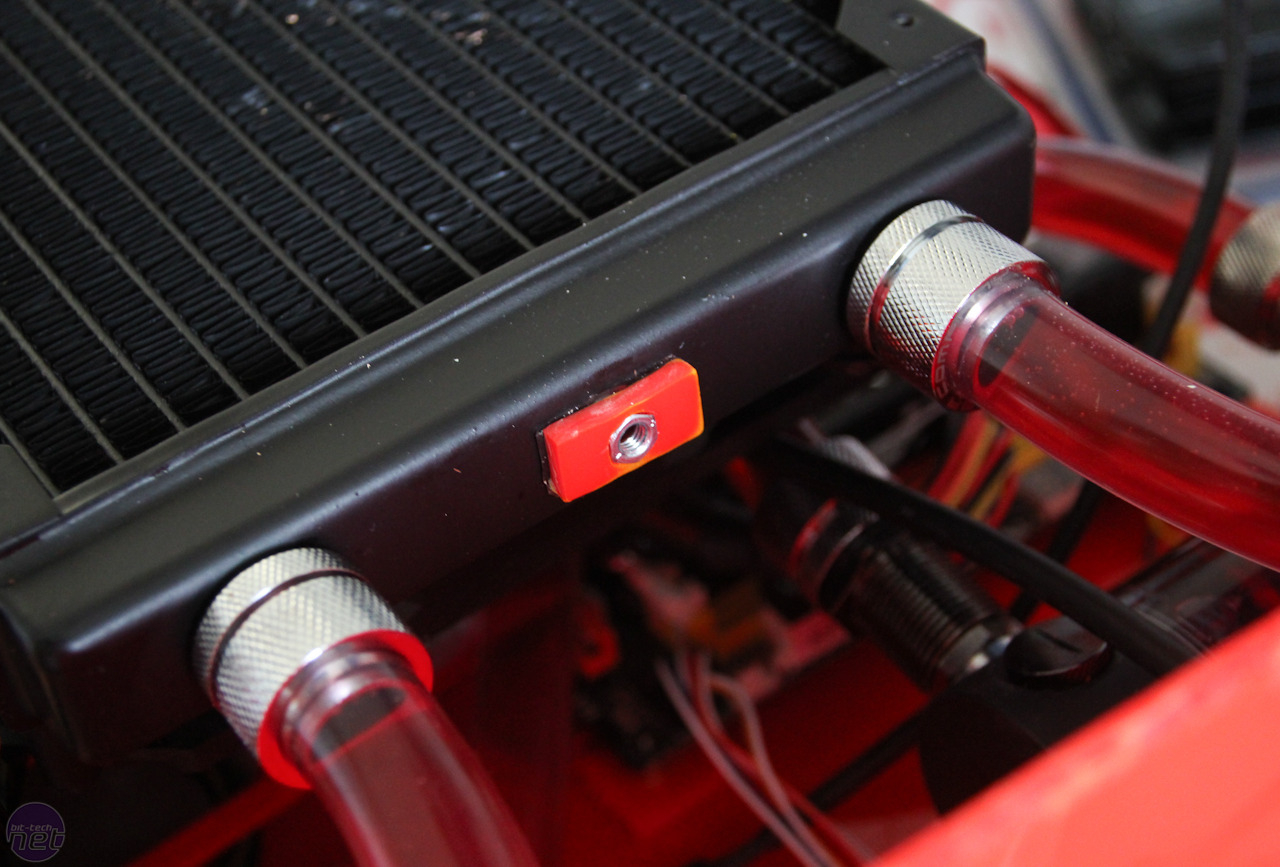
This allowed us to simply press the nut into place, and when the acrylic cooled it was stuck fast in our mount - a lot like heat-shrinking tubing over barbs. We used 3M mounting tape to fix these to three points on the radiator.
That's it for this part. Next time, we'll be finishing our radiator mount and working on the side features of the case next time. If you've got any pointers or found anything particularly interesting in our guide, let us know in the comments.


MSI MPG Velox 100R Chassis Review
October 14 2021 | 15:04

Want to comment? Please log in.