
For Starters
Rectangular reservoirs are harder to make since the cuts have to be absolutely square, so with that in mind I have found it much easier to make cylindrical reservoirs. When searching for acrylic to work with, make sure you get CAST acrylic only. DO NOT use extruded acrylic for any of the pieces. If the acrylic doesn't say what it is, assume it's extruded.Without going into too much detail, cast acrylic is much harder and machines far better. Acrylic is a great material, but somewhat quirky, and heat/melting is obviously a major problem with it. Cast acrylic doesn't heat up anywhere near as much as extruded does, and when machining extruded acrylic for a project like this, it's very easy to end up with melting problems.
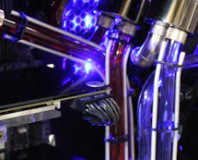
Here is what can happen if you try to cut out, drill, and tap extruded acrylic. The small cracks that can be seen are called crazing, and basically are the result of the acrylic heating up too much when machining because too much stress was put into the material.
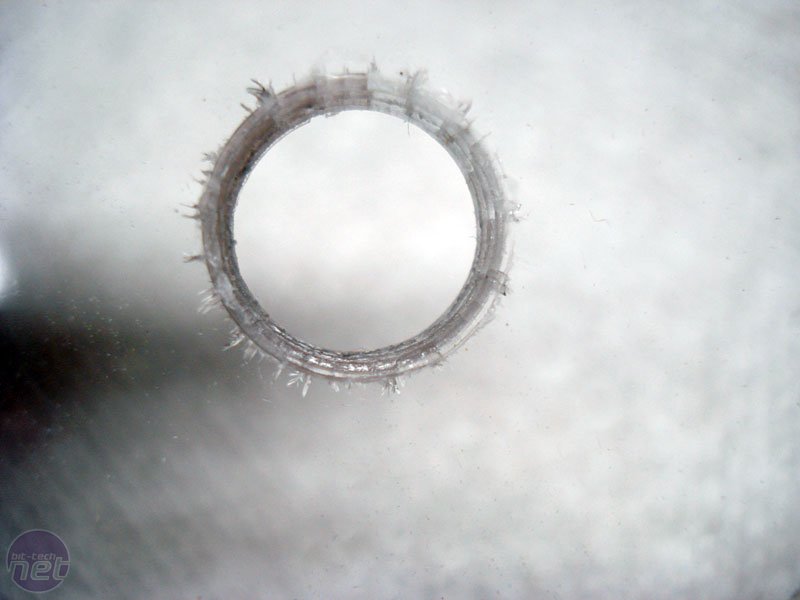
Click to enlarge
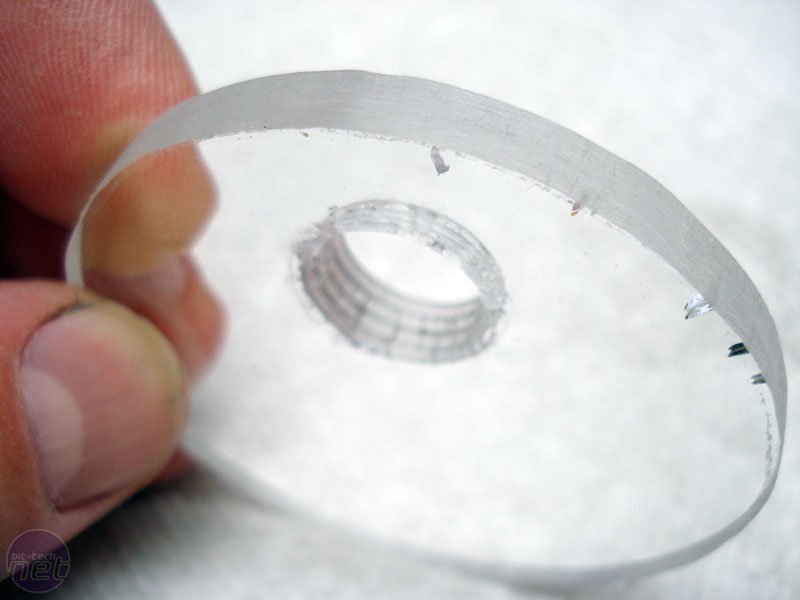
The only place so far that I have found cylindrical cast acrylic in 1' lengths is mcmaster-carr. It also stocks sheet cast acrylic, and round laser cut dials for the ends in 1in increments. If you can make your res so that you can use precut round laser ends, do it. I cannot emphasise enough how much work that saves and cutting the ends perfectly round can be a great pain.
The cast acrylic for the ends and divider that I used for this I bought from Ebay. I had to cut my own ends as I can't find precut cast ends for the 2.25in diameter of my particular reservoir. I buy cast cylindrical pieces only that are no less than 0.25in thick. The ends can be 0.1875in thick, but no less as this gives adequate depth for threads for barbs to bite into. 0.25in thick for the cylinder gives a good large surface to work with when solvent welding too.
Solvent Weld
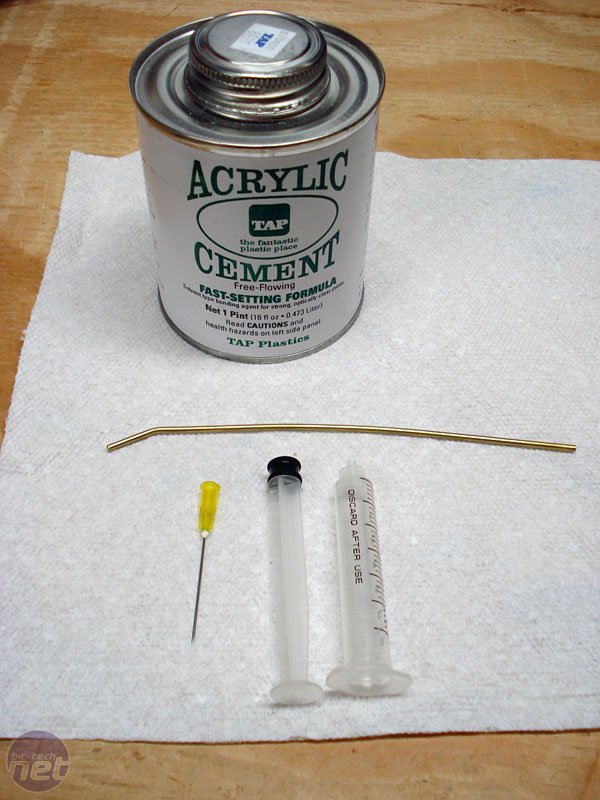
The best stuff for solvent welding the ends on is either IPS Weld-On #3, or TAP Acrylic cement (which are effectively the same thing) from tapplastics.com. A 4oz jar will do several reservoirs so it’s an investment or provides a lot of practice. You also want to get the needle type gauge applicator (16 gauge hypodermic). The needle applicator gives you excellent control of how much solvent you use, whereas the bottles don’t at all and you'll get solvent everywhere if you use them.While you are there shopping, if you solvent weld acrylic for other purposes, you can pick up a tube of IPS Weld-On #16. It is a lot thicker and is handy for gluing together acrylic in general, but for this particular purpose, it leaves far too many bubbles in the seam that can leak fluid. If properly used, this solvent weld will hold all day long at 10 times the pressure that we have in our watercooling systems.
In order to get solvent from one end to the other, I use a piece of small brass tubing that I bought locally for about a $1 at an ACE hardware store. The end was bent to make it easier to get into the bottom seams.
Click to enlarge


MSI MPG Velox 100R Chassis Review
October 14 2021 | 15:04

Want to comment? Please log in.