Test Setup
Click to enlarge
Software
Below is a list of the applications we've used for our testing:- Maxon Cinebench 11.5 (x64)
- WPrime v2.10
- CPC Media Benchmarks
- MuseMage 1.9.6
- LuxMark 2.0
- BasemarkCL 1.1
- Battlefield 4
- BioShock Infinite
- The Elder Scrolls V: Skyrim
- Prime95 and Unigine Heaven (power testing)
Test Hardware
- Gigabyte G1.Sniper A88X motherboard
- 8GB (2x 4GB) G.Skill Ripjaw 1,600MHz DDR3 memory (CL9)
- 8GB (2x 4GB) Corsair Dominator Platinum 2,133MHz DDR3 memory (CL9) (memory scaling testing)
- 256GB Plextor M5 Pro SSD
- Corsair H80i CPU cooler
- PC Power & Cooling Silencer 750W PSU
Overclocking
For both chips, we used our 8GB Corsair Dominator Platinum 2,133MHz CL9 memory kit to give the GPU more bandwidth than our default 1,600MHz kit (all games tests have also been run at stock APU speeds using both kits to demonstrate the impact of faster memory). It may well have been possible for us to reach higher memory speeds, but we're focussing on overclocking the CPU and GPU and this speed gives us a good baseline to work with.We began by disabling power saving features like C6 state, Cool n Quiet and APM. We also turned off Turbo Mode, ensuring that all cores would run constantly at the set clock speed for maximum performance. The final settings we changed were the CPU and Northbridge LLC ones, both of which we changed from Auto to Medium. After that, it was a simple case of increasing the multiplier until things became unstable, at which point we'd raise the CPU voltage to stabilise things again
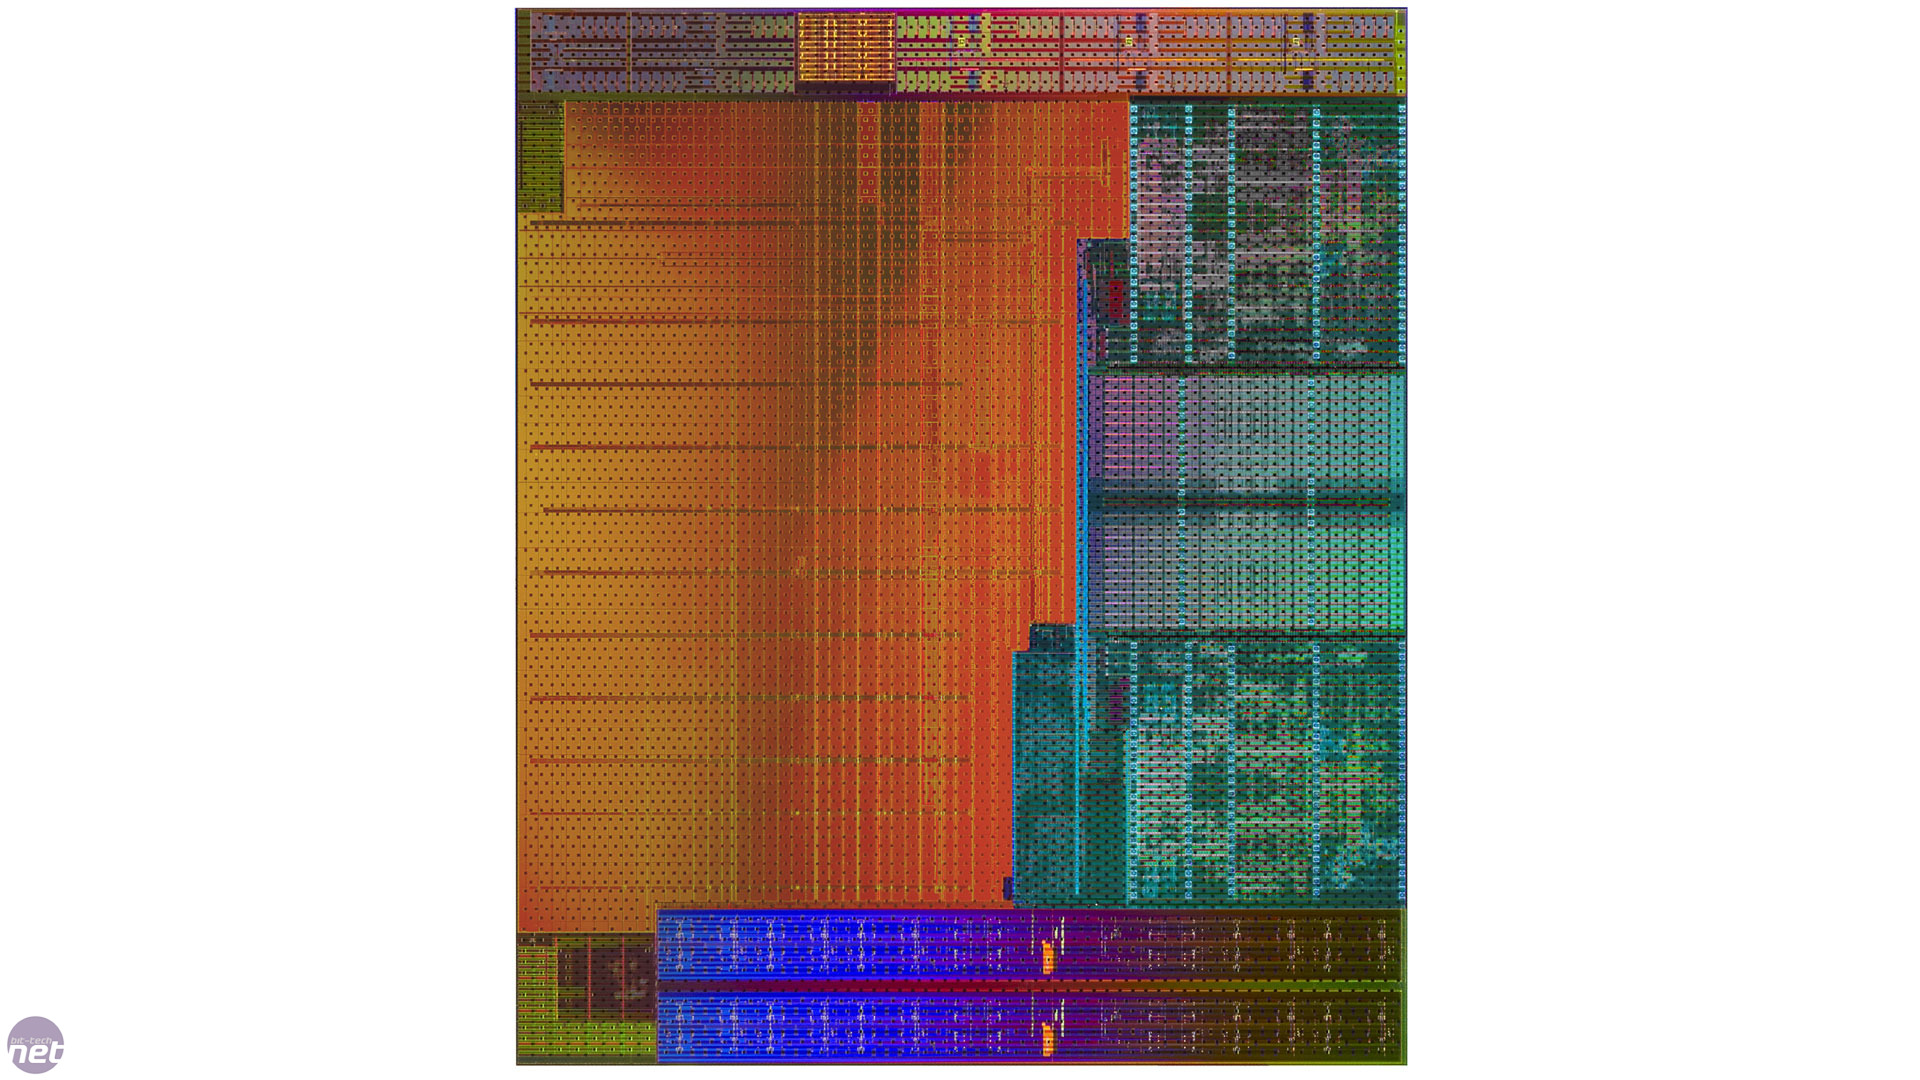

Click to enlarge - Die shots and pin layouts are all the rage these days
If you wanted a more power efficient overclock, you could first overclock in this way to ascertain the maximum speed that your cores will stay stable at, then re-enable the power saving features and set this maximum stable speed as the APU's maximum turbo speed. Performance won't be at its absolute peak, but with a chip like this and its intended applications, you're unlikely to be interested in throwing all power concerns out of the window due to the added heat and noise output.
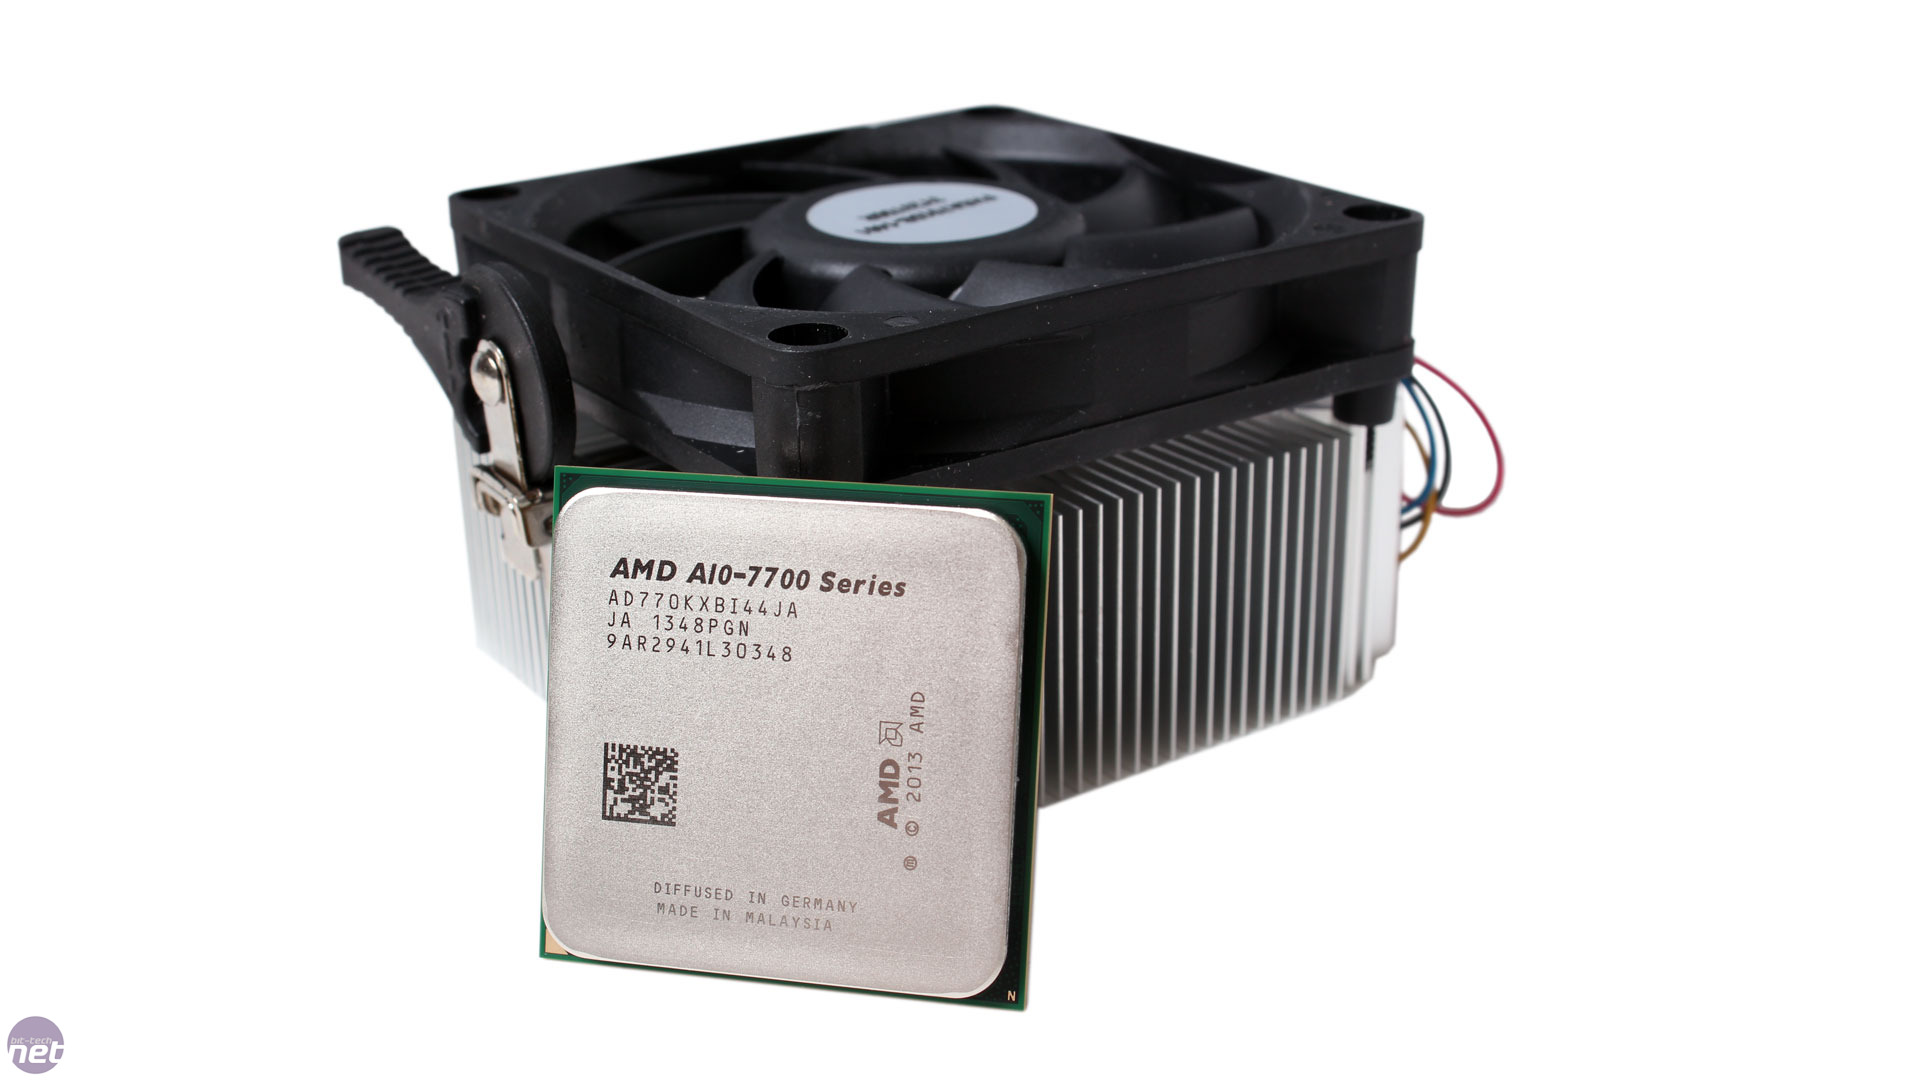
The A10-7700K stayed stable up until 4.3GHz. This was achieved using an additional 0.102V - our motherboard only allowed us to boost voltage in 0.006V increments rather than setting absolute Vcore values, but at this setting the Vcore was approximately 1.35V, according to our hardware monitoring software. We did manage to hit 4.4GHz, but this required an extra 0.204V, which caused the chip to become too hot under load and throttle, even while using a Corsair H80i. As for the GPU, we overclocked it to 900MHz in AMD Overdrive, boosting the northbridge voltage by 0.54V too.
Our experience with the A10-7850K was very similar, but in this case we got it to 4.4GHz using an extra 0.15V (approximately 1.45V total). This is quite a lot of voltage, but the chip didn't overheat or throttle. Conversely, at 4.5GHz, where 0.204V was needed, it did, so we left it at 4.4GHz. The GPU settings were the same as those on the A10-7700K, although we do feel that in both cases there's room for it to be pushed further, especially with a less aggressive CPU overclock.


MSI MPG Velox 100R Chassis Review
October 14 2021 | 15:04

Want to comment? Please log in.