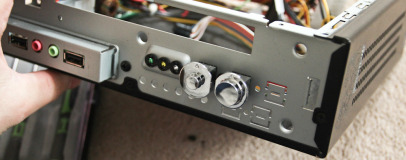
Buttons and lights
If you have a case to scrounge parts from, that's great, if not, there are plenty of places such as Kustom PCs, Mnpctech, Aquatuning and Specialtech that you can obtain them from. We were happy with recycling the shiny chrome buttons and lights from our old case, though, and here's how we fitted them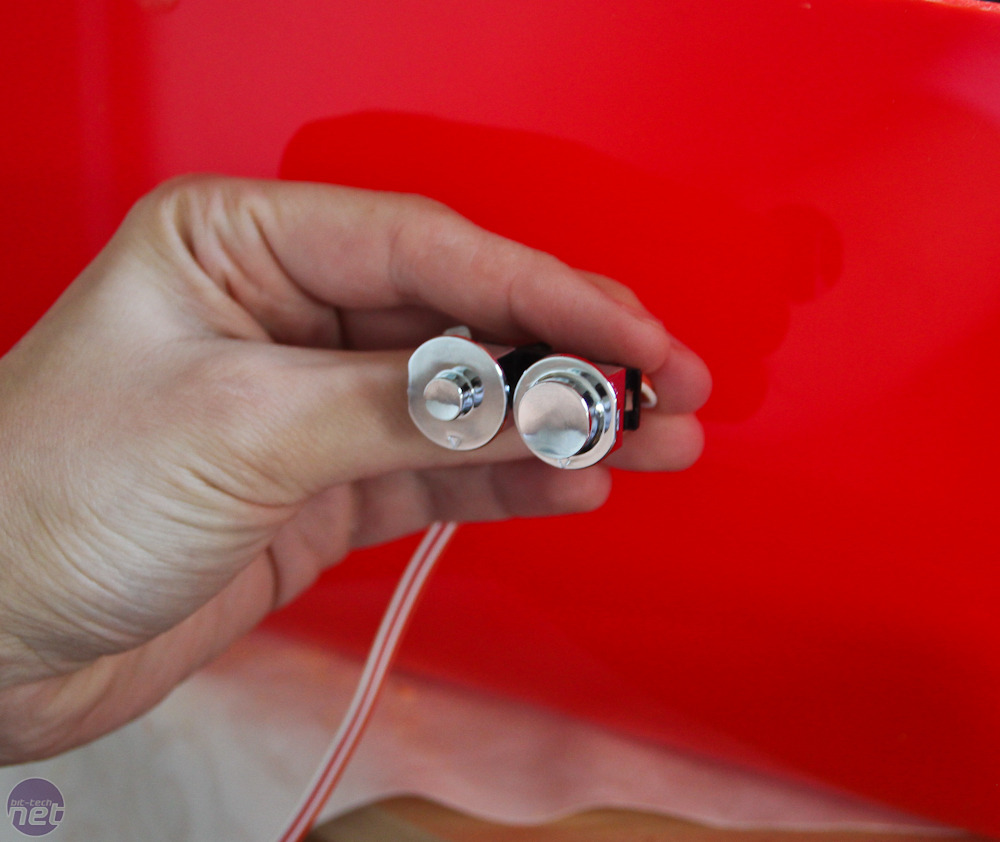

Click to enlarge
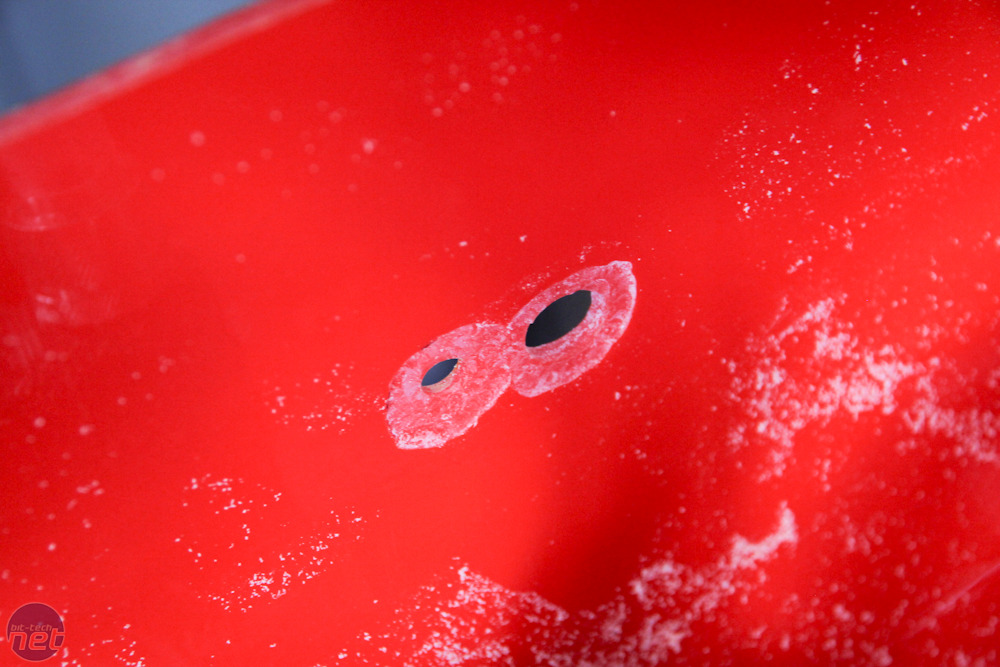
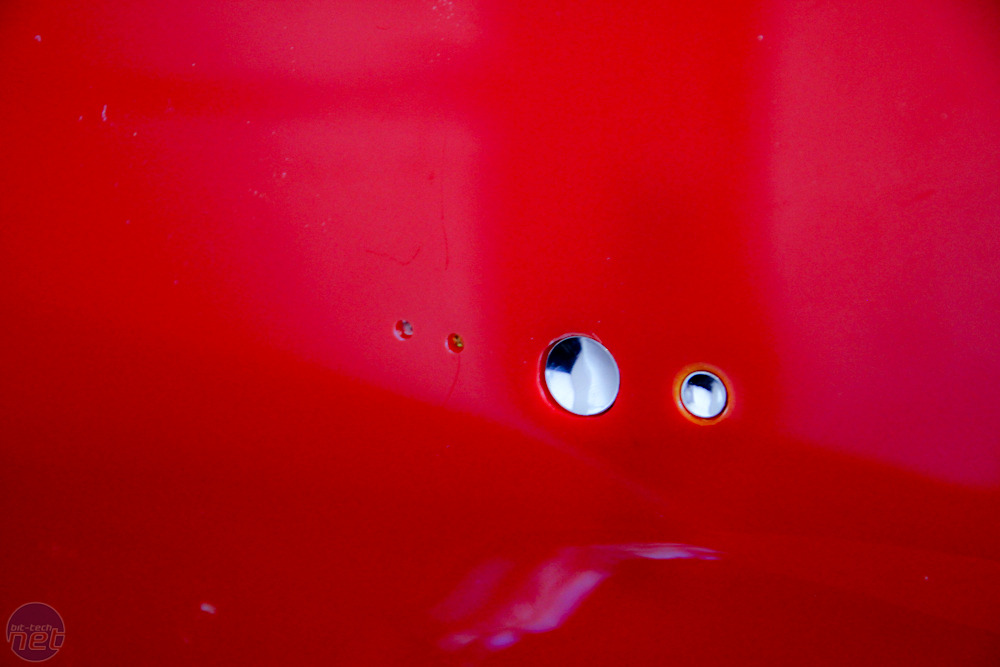
Start by measuring up to align the buttons to the location you want them. We opted for a central location on the front panel so proceeded to drill the required holes. Our drill bits were a fraction too small (with the large bits being slightly too large) so we gentle nibbled away with a round sanding attachment on our Dremel until the buttons slid effortlessly into place.
Click to enlarge
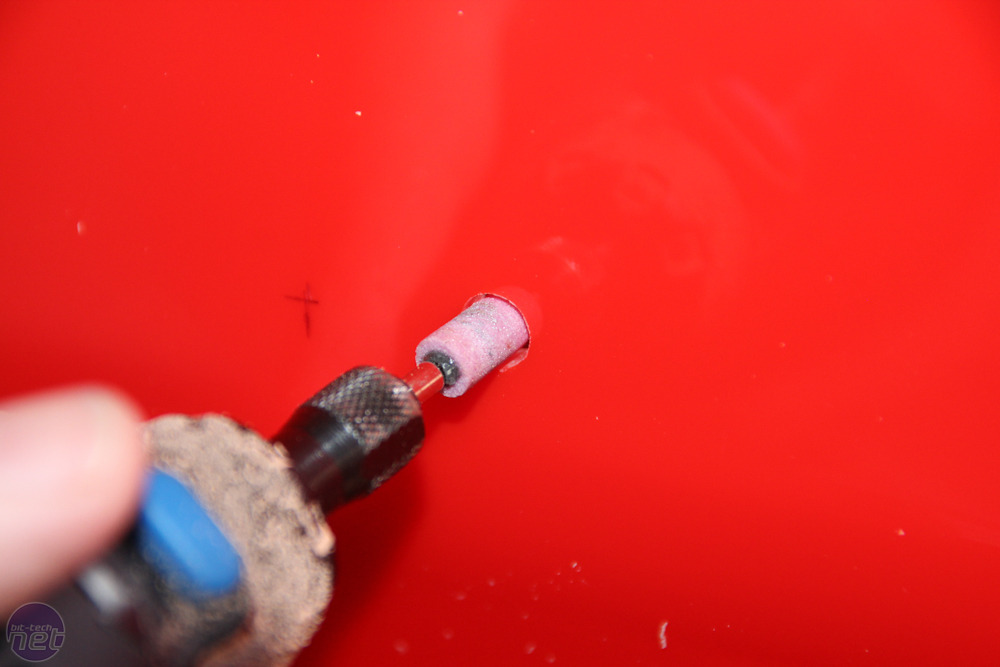
As our acrylic is so thick, we also had to use a routing attachment to take about 2-3mm out of the 5mm depth of the acrylic, so the buttons would sit flush with the front panel. It looks messy from this side, but the front of the case is unaffected and once the buttons are installed it looks normal.
Click to enlarge
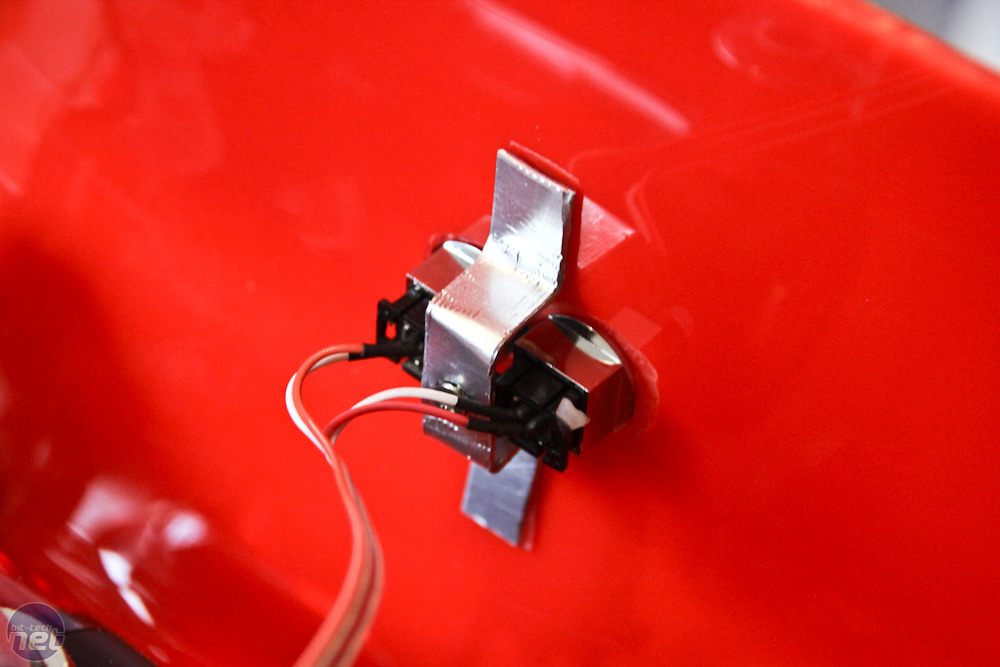
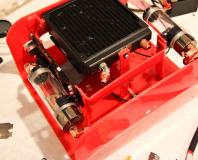
As the buttons need to be able to move backwards and forwards to activate the switched behind, you need to secure the switches to the case but allow the buttons to move freely. To achieve this, we used a strip of aluminium bent to a 'U' shape with the switch assembly screwed to this in the same way it was screwed to the original case. We secured the tops of the aluminium to the case using 3M Scotch 4010 mounting tape - rather unorthodox for something so small, but it's super-strong and meant we didn't have to install further mounts or have screws on the front panel.
Click to enlarge
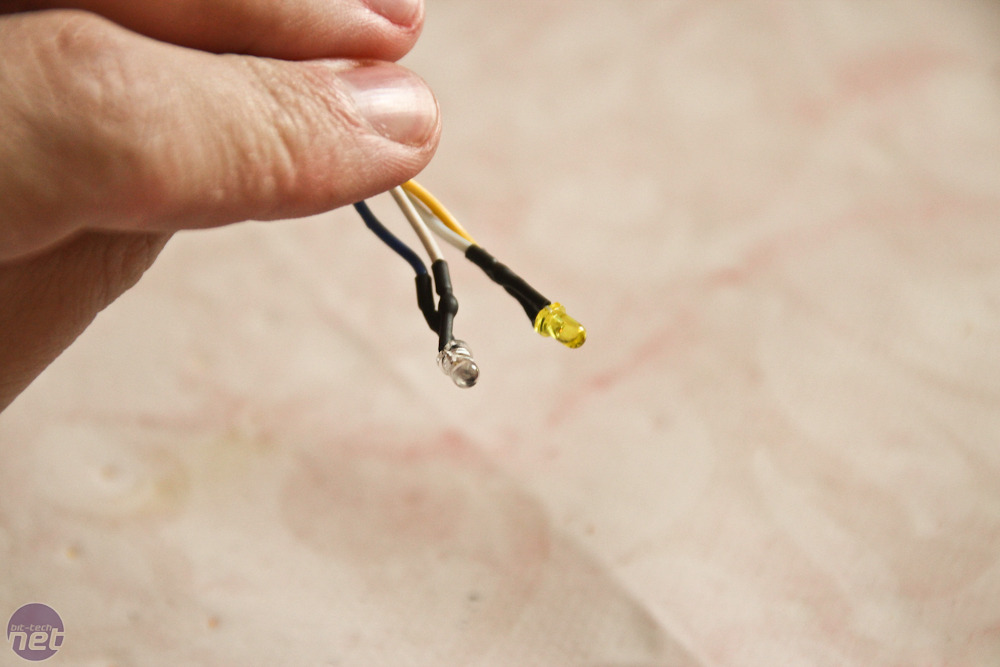
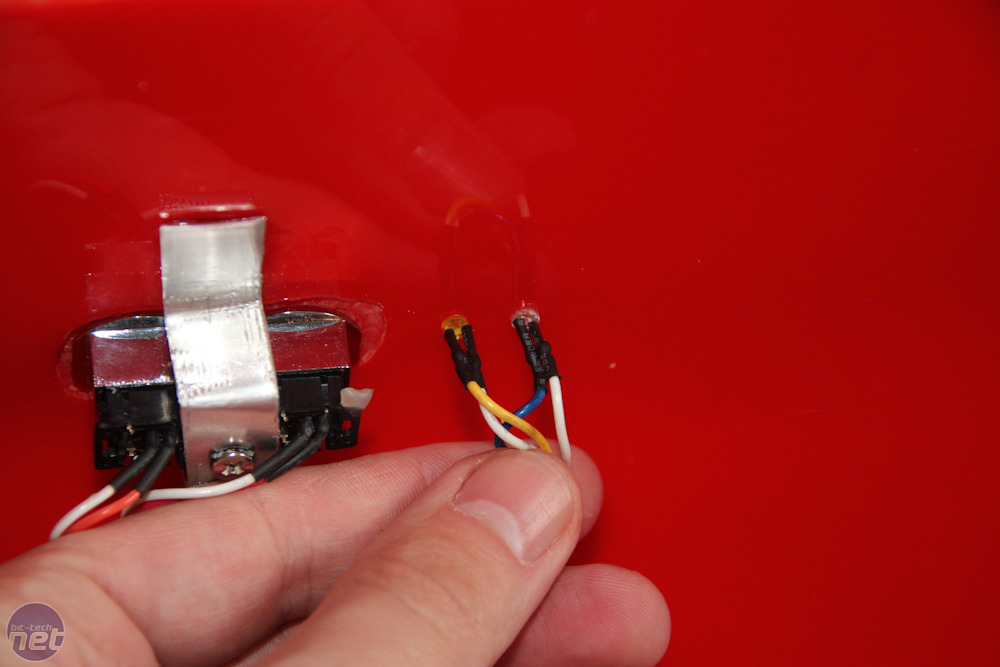
Installing the lights was even easier, requiring the correct size drill bits to allow the lights to essentially hold themselves in place. Once they were pressed into their corresponding holes, we used a glue gun behind the front panel to hold them in place for some added security.


MSI MPG Velox 100R Chassis Review
October 14 2021 | 15:04

Want to comment? Please log in.