Bending acrylic
We've opted for acrylic as the main material to build our case. It's far easier to get to grips with if you're building for the first time and should make things much easier when it comes to bending, which is what we're doing here. To bend acrylic, you'll need an industrial heater or paint stripper - essentially a super-powerful hair dryer. Don't be tempted to dry your locks with it though, you won't have much skin left if you do.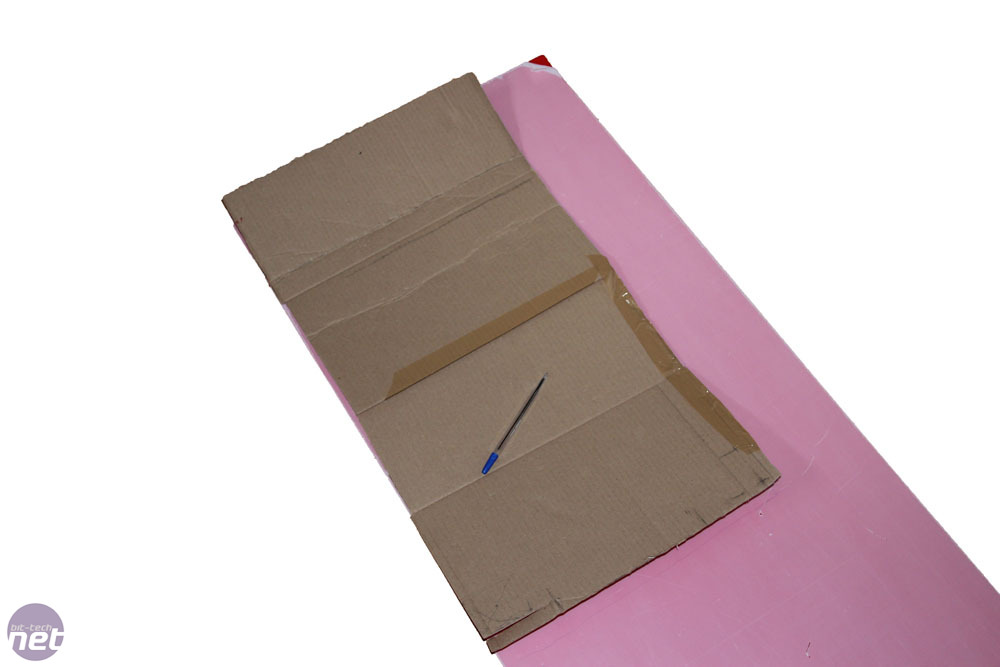

Click to enlarge
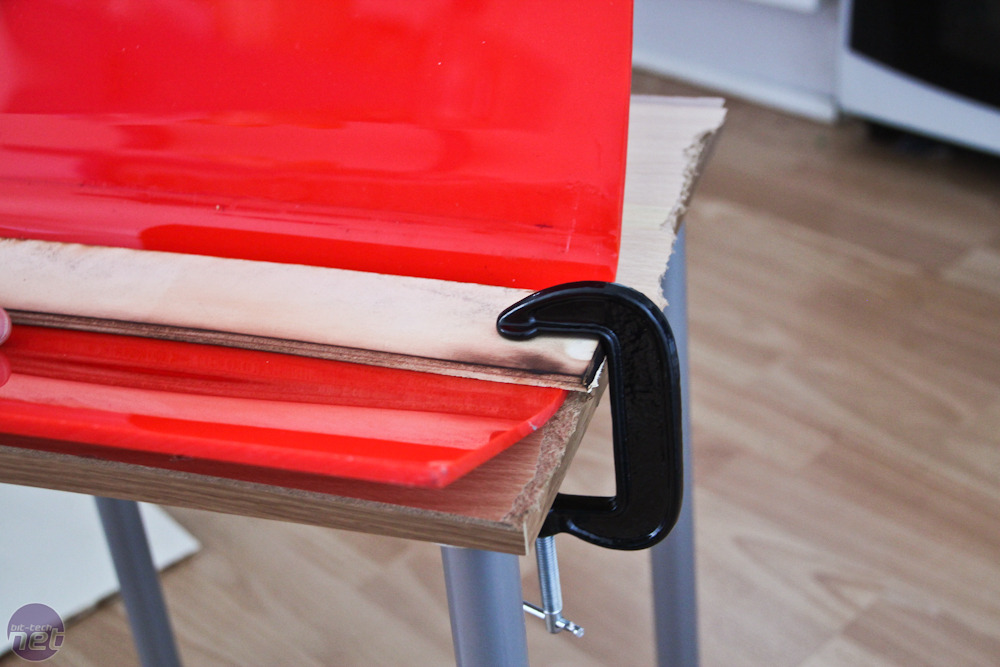
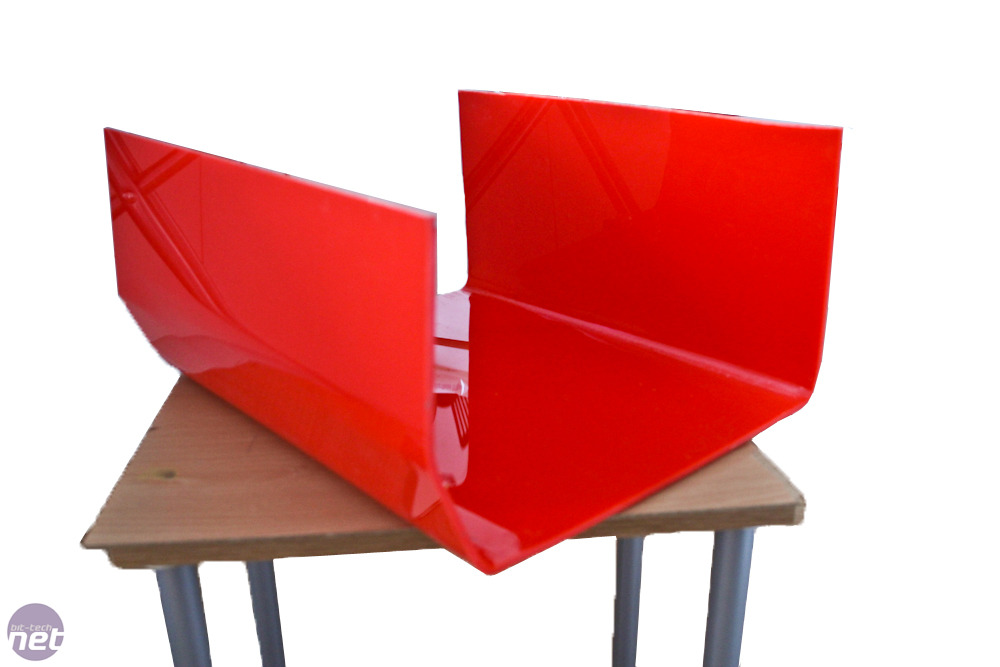
Having cut our acrylic to size using dimensions obtained with our cardboard mock up (with a few centimetres to spare round the edges), we used clamps and a stiff length of wood on a flat table to bend the acrylic. The clamps and wood serve to act as a makeshift bending jig that can be assembled in a few minutes and with negligible cost. More elaborate jigs may be able to produce crisper curves but need more time, money and skill to construct so we'll see what's possible with our budget version.
Click to enlarge
The industrial heater will warm up quickly and we used the high heat setting, moving it steadily backwards and forwards over the area to be bent. Holding the acrylic up at one end will eventually see it sag in the middle as it warms and becomes floppy. This is your key to it soon becoming flexible enough to bend so keep at it for another minute or so (it can take 5-10 minutes, depending on the thickness of your acrylic or the power of your heater).
click to enlarge
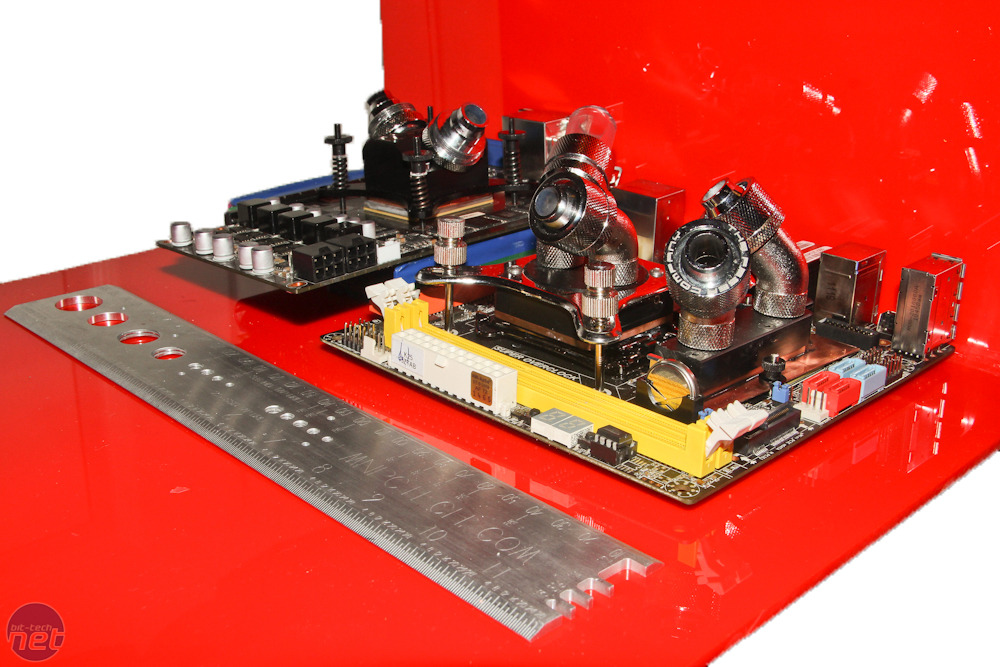
It's highly advisable to split your bending into stages, checking your measurements and test-fitting hardware as you go. Bending can be a fairly inaccurate process and you may end up a centimetre or so out of position (another reason to leave yourself some additional space to work with when you cut the acrylic).
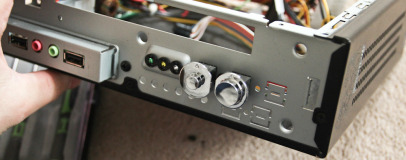
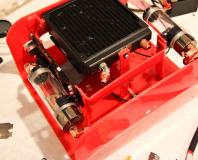
With our example, obtaining a clean right angle proved to be quite difficult due to the fact we'd opted for 5mm acrylic. The rear has a slight curve which meant we had to rearrange the layout of components, raising the motherboard on standoffs, and mounting the PSU off the base of the case so it sat flush with the rear of the case.
This meant we had to add a couple of centimetres to the length of the case to compensate for the curve. The end result was pretty good - we just need to trim the shell to size, round off the edges, cut holes for hardware and switches and cut out the grilles as per our renders.


MSI MPG Velox 100R Chassis Review
October 14 2021 | 15:04

Want to comment? Please log in.