Scratchbuilt PC Part 2
In the first part of our Scratchbuilt PC guide, we looked at how we got our project up and running through plenty of design, planning and also using cardboard mockups to get a better idea of how to achieve our goals. Google's SketchUp is certainly very useful, but even pencil sketches can have huge benefits in the planning stages that will help you spot problems and improvements before you start.
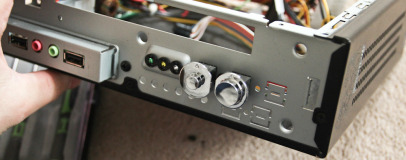
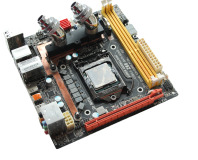
We also looked at hardware and cooling choices too, as these can often be key in the design phase, especially if, like us, you're building a PC where space is at a premium. In Part 2, we'll be looking at how to make your job easier by using a donor case for various parts, how to decide which materials to use, such as acrylic or aluminium, and how to install power and reset switches as well as USB ports. Feel free to send us your comments and advice to modding@bit-tech.net - if your advice is particularly useful we'll include it in the next update.
Materials
One of the best things about building your own PC case is that there are countless materials you can use, even if all you have in the way of tools are a Dremel, a drill and some files (usually considered the bare essentials when it comes to modding). Steel, aluminium or acrylic - they're all easy to work with, and the latter two are relatively cheap too. A 1m by 2m sheet of acrylic or aluminium shouldn't set you back more than around £20 and for small cases, this will probably be enough to make the external shell and a few additional pieces.
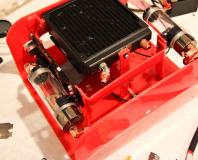
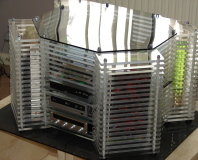
There are advantages to using particular materials. Acrylic is soft, incredibly easy to shape and can be bent into various forms, making it great for beginners or those without access to CNC or bending machines. It's available in a range of different colours too. With a Dremel, a handful of attachements and a set of files, you can create almost anything in the way of PC cases. As our case will feature plenty of curves and bends, we've opted for a mainly acrylic construction.
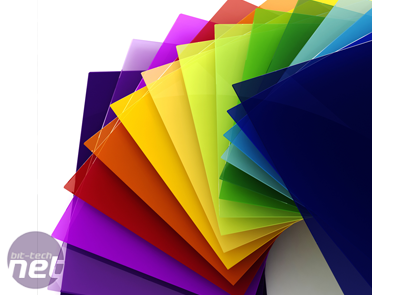
Click to enlarge
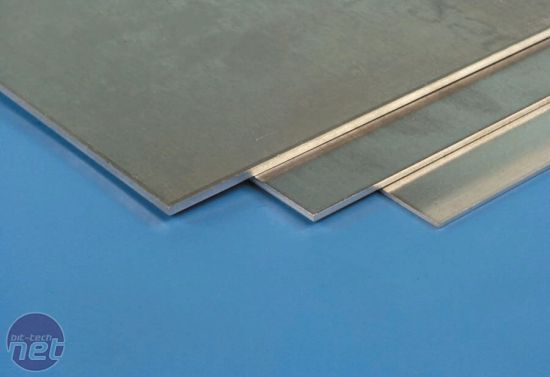
Aluminium is a slightly more hardcore choice as the primary material for your case as it's trickier to work with, and much tougher than acrylic. However, it's much stiffer, and offers that professional, brushed metal look that never seems to get old. If your case is going to be square and there's no bending involved, it can be just as good a choice as acrylic, however the latter is far easier to bend at home.
Steel is always a pig to work with at home due to its stiffness and the fact its strength usually means it will take far longer to cut or shape than aluminium. However, if you need your case to be strong, or you've landed a cheap sheet of the stuff, then it can offer a very study base for your PC, or even help to brace less stiff materials such as acrylic. In general though, aluminium is a better choice


Click to enlarge
Wood is a deceptively tricky material to work with. It's even softer than acrylic, and can be relatively cheap and also easy to bend and shape, however making the end product look good is very difficult, especially if you're mixing woods. Take a look at 4M by quizz_kid or Mid Century Madness by slipperyskip for more of an insight into wooden projects.


MSI MPG Velox 100R Chassis Review
October 14 2021 | 15:04

Want to comment? Please log in.