How To Make Custom-Length O-Rings for Distro Plates
March 27, 2019 | 17:00
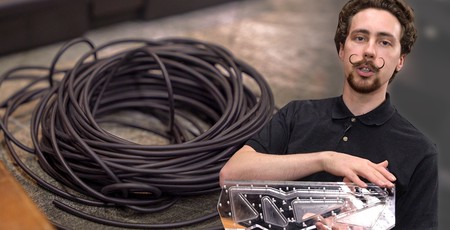
Following on from our previous tutorials that cover how to design a distro plate in Autodesk Fusion 360 and how to integrate a pump into one (or maybe you'd prefer a reservoir integration), it made sense to cover how you can craft your own O-rings with which to seal the plate. It's been a very commonly asked question, one with a pretty straightforward solution too, thankfully.
Choose your material wisely!
The first step links quite closely to the design stage for these plates. Choosing the size and material for your O-ring is a vital step, as it will determine the methods required further down the line. Since this tutorial technically takes place after a plate has been cut, perhaps it's a bit late to consider sizing, but just in case I'll mention it now. Cast acrylic isn't flat; in fact it can vary a huge amount at times. If you remember the keyboard housing I made for the Tesoro Gram XS last summer, the acrylic there was over a millimetre off-spec. The thicker the acrylic, the greater this variance can become. This is vital information for when you design a plate, as it can greatly affect the cost (having to buy thicker and face down to the correct dimensions) and function.
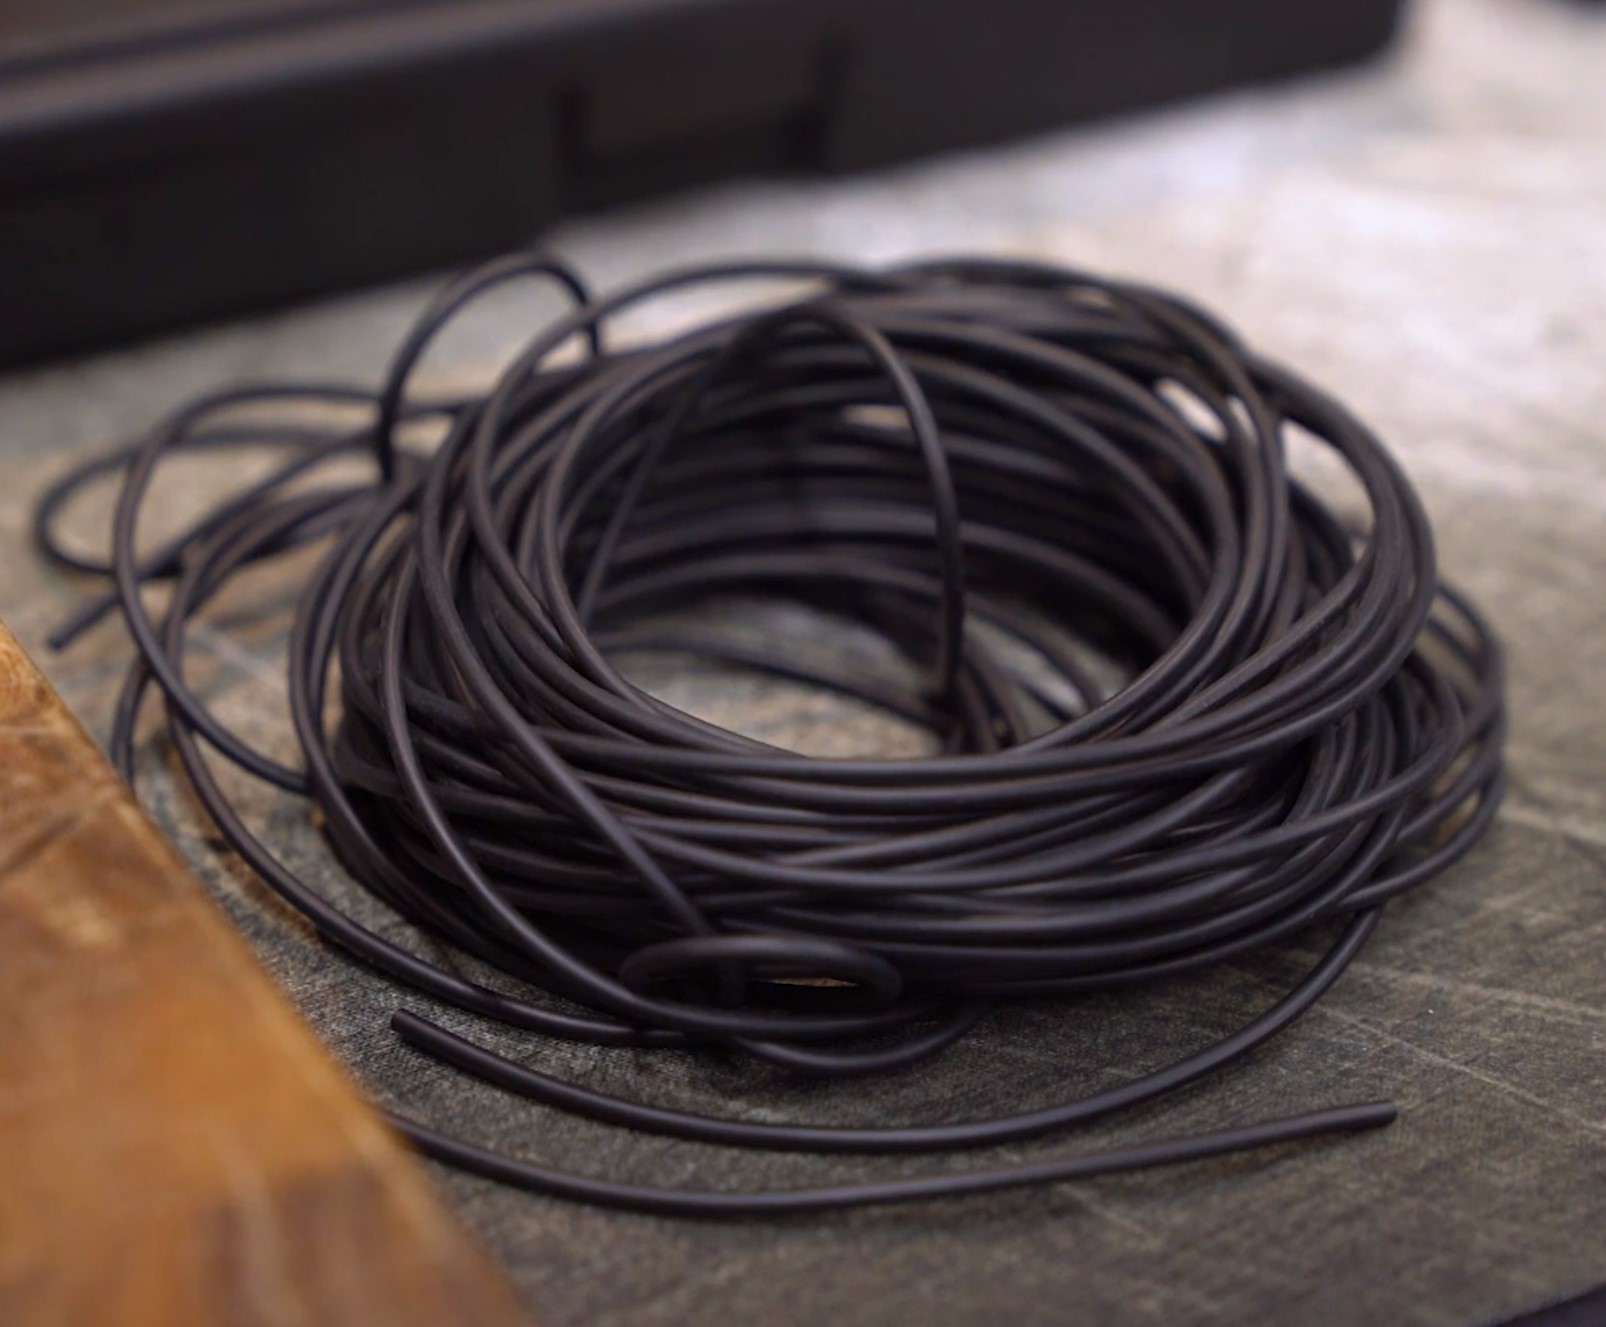
If you have a large, thick plate planned it would be a good idea to opt for a larger diameter O-ring. For most plates I use 2mm O-ring cord, which works very well in the majority of cases, but if your plate is perhaps going to be something colossal like 400x600x25mm, honestly going for a 3mm O-ring is a sensible choice, as material variance won't affect it as much.
The next step is choosing your material. The three popular choices are nitrile, silicone, and Viton. I tend to use nitrile just because it's easy to work with and quick to source; I've had a lot of success with nitrile O-rings in the past so consider them a safe bet. Silicone can come in a number of colours, which can be handy if you want to match a plate to a theme, and it also compresses a bit more easily than nitrile so sometimes works out better for complex shapes. Viton is more industrial and boasts better longevity and chemical resistance, but it's stiffer, so be careful if your design has a lot of fairly sharp corners.
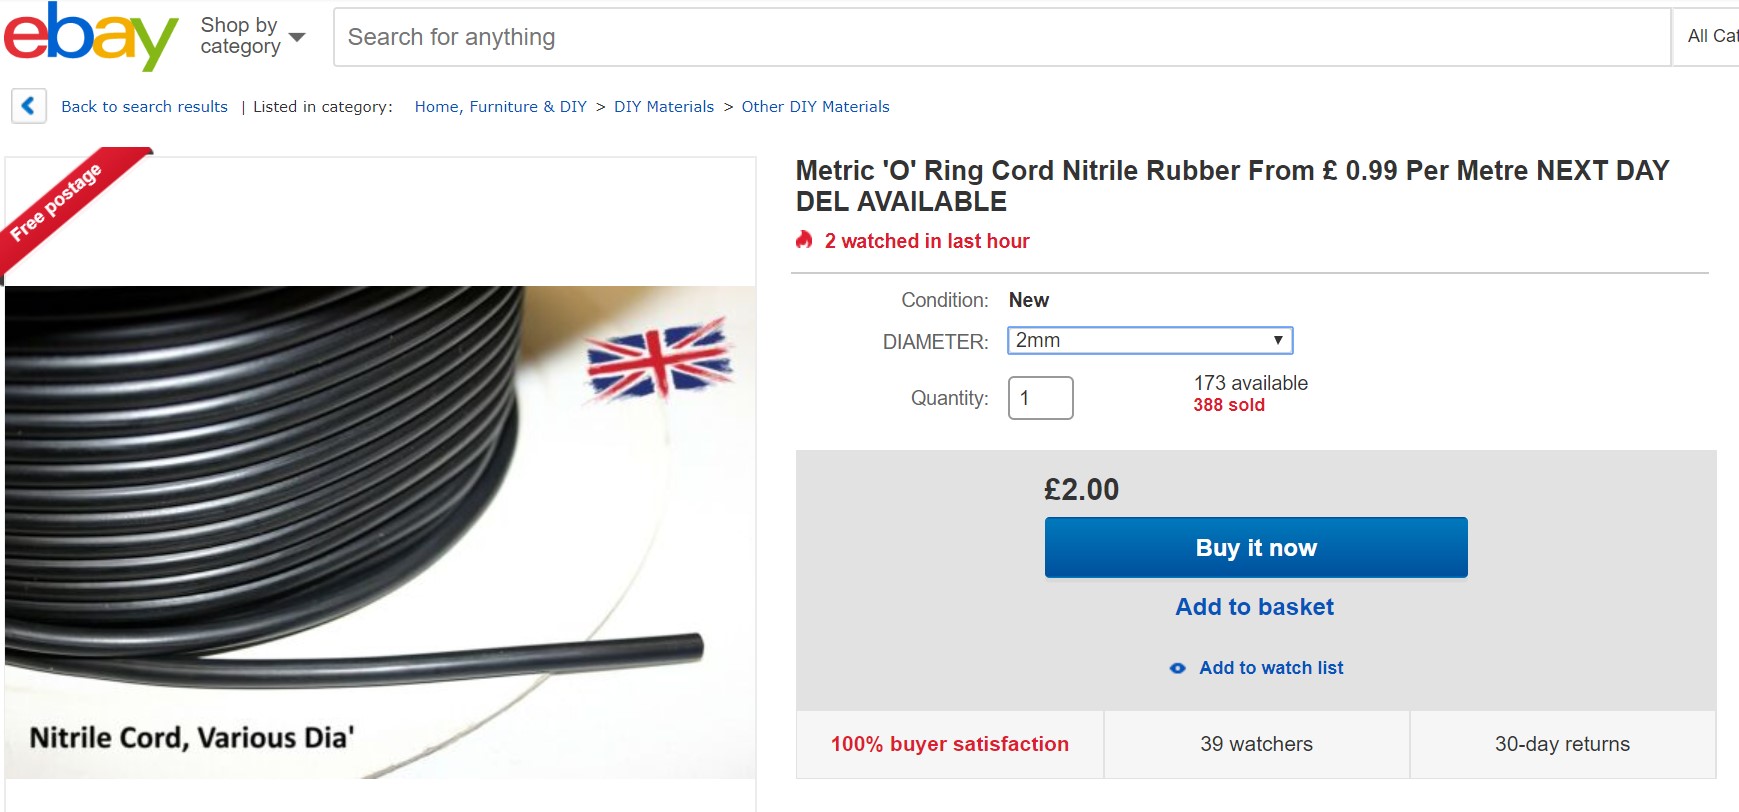
I tend to buy my cord on eBay shops; they usually sell by the metre and are more local so delivery is quick.
The Process
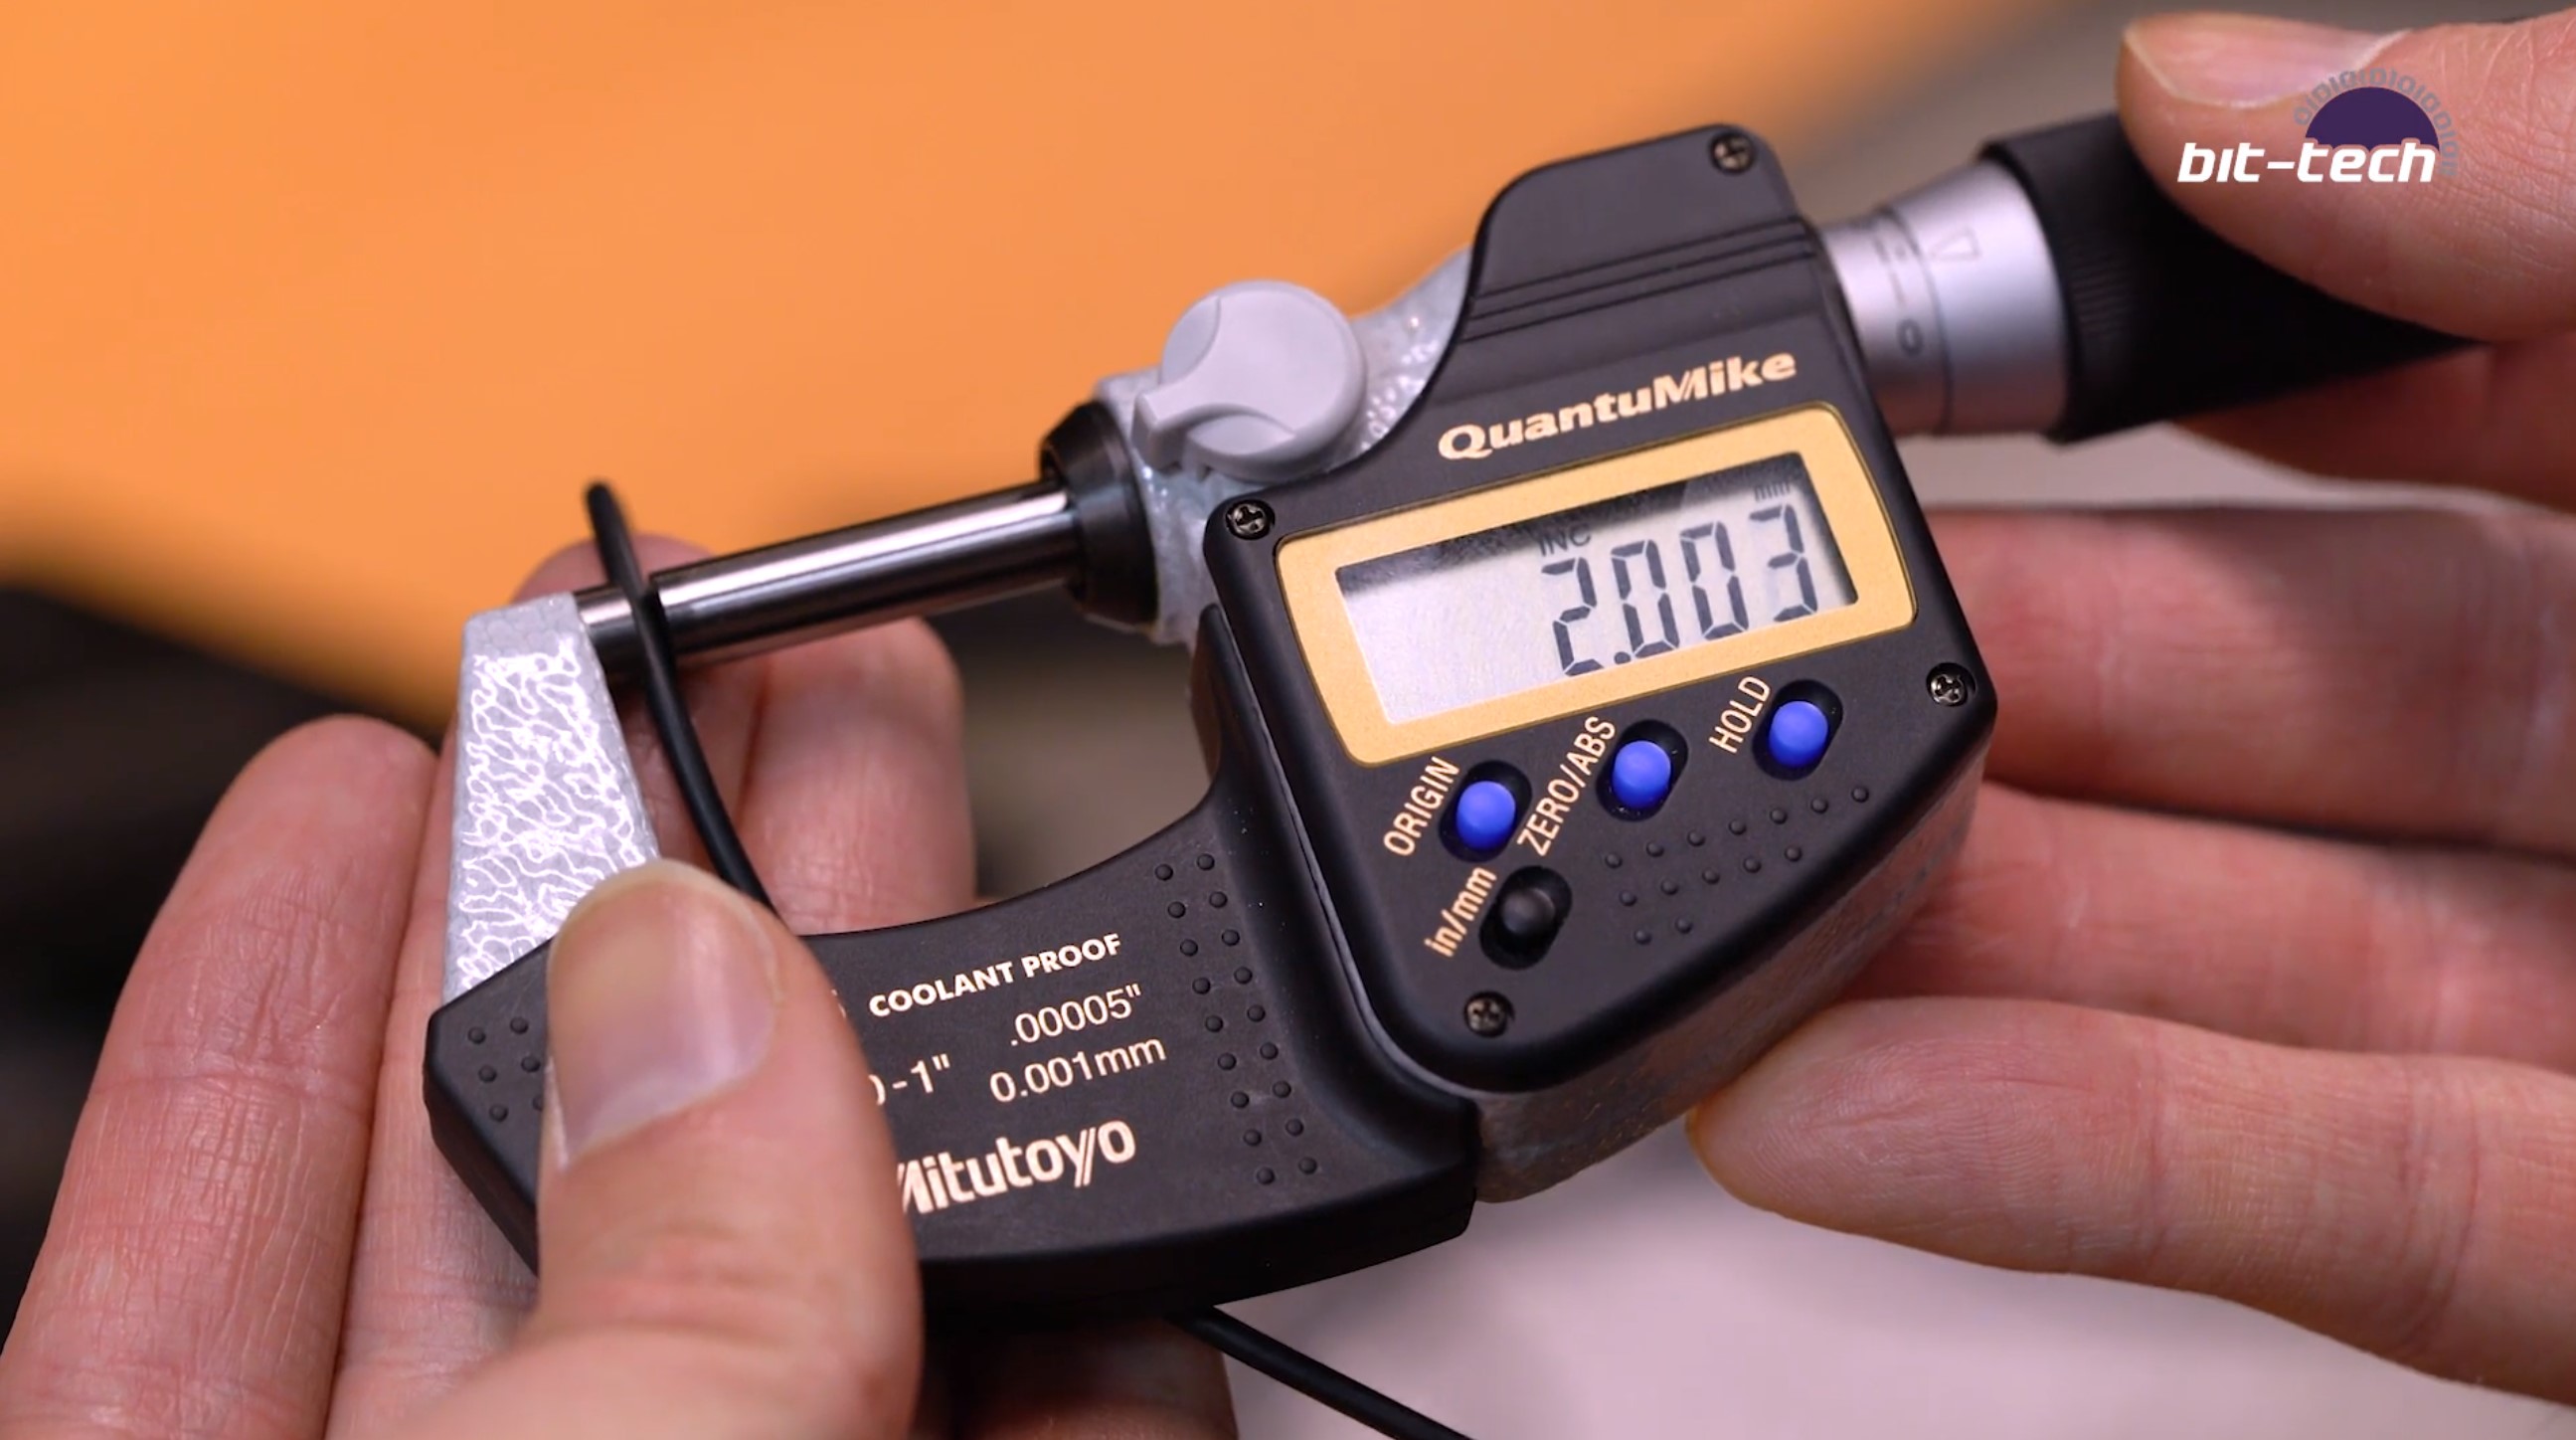
The first thing you need to do when your cord arrives is double check the diameter! I have had cord that arrived way out of spec before, which is completely useless if you've already cut the plate. I use either some calipers or a micrometer for this; you just want to ensure that it's the size you ordered as too large or too small are both no good.
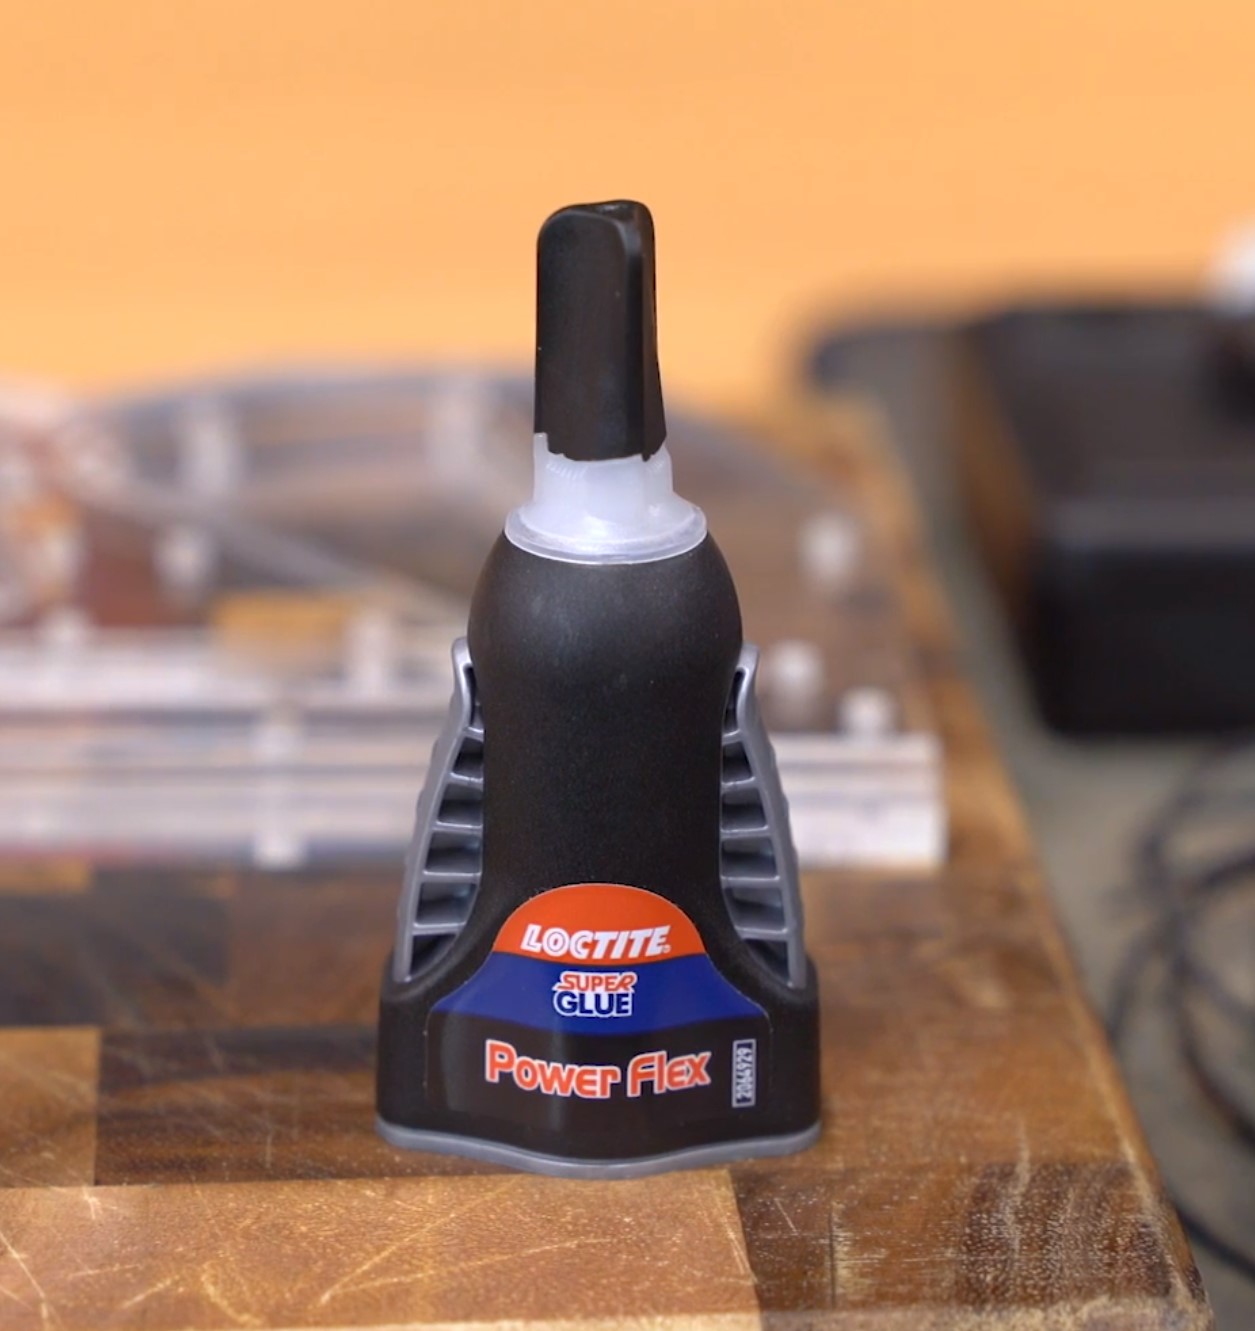
The actual process of making the O-rings is alarmingly simple: You're essentially just gluing the ends together. Be sure to use an appropriate glue for your O-ring material! For nitrile, a standard cyanoacrylate superglue will do the trick. My preference here is for Loctite's Power Flex superglue. It's a gel, which makes it considerably easier to apply to the end of the cord, plus it sets quickly and is very strong. Aside from generally being available on the high street (big bonus for when you find you left the cap off and it's turned into a rock), the glue will compress with the O-ring and maintain the seal.
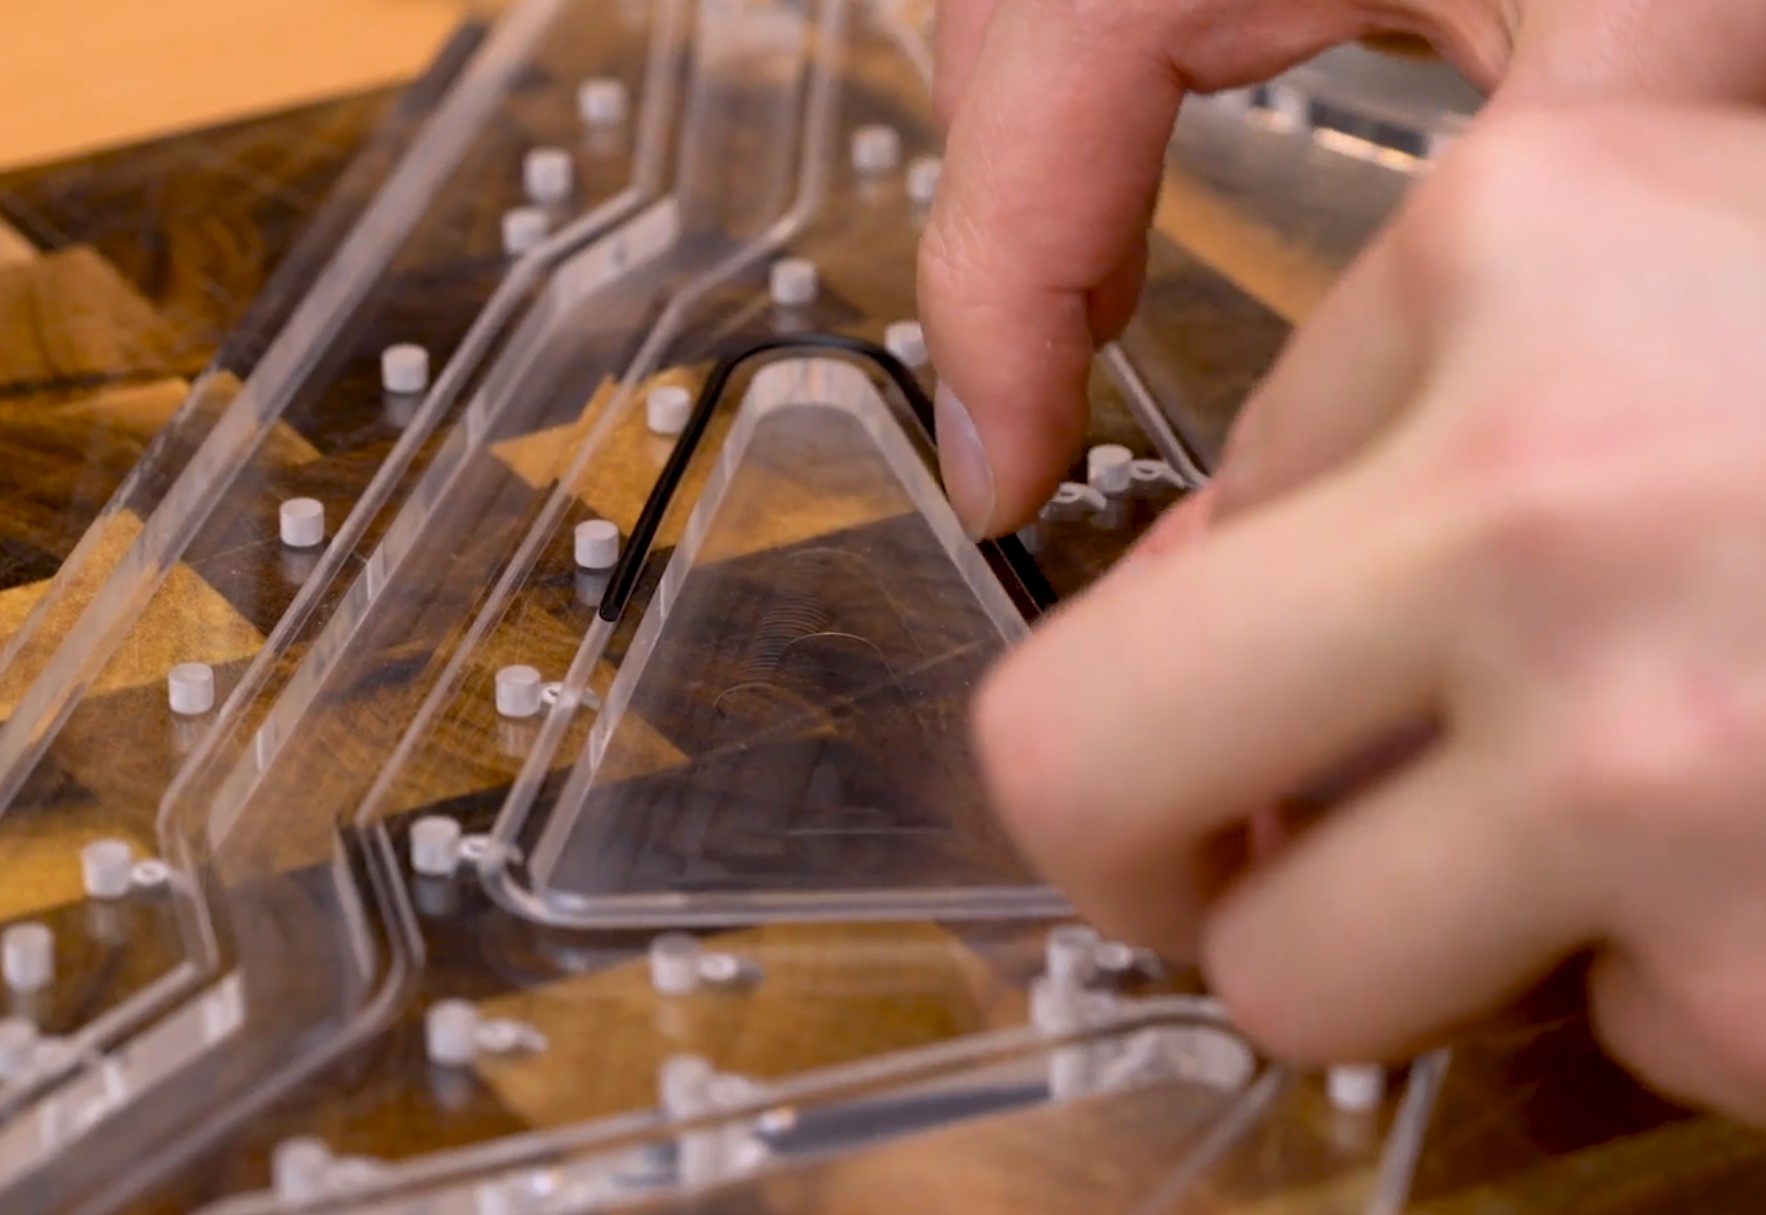
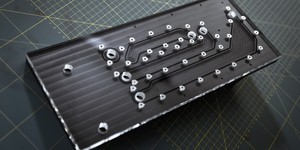
To measure the cord for cutting, you can either calculate the channel length using Fusion from the 3D model, or do it the practical way. Simply lay the O-ring cord into the channel, and work your way around, making sure not to stretch nor compress the cord into place; it needs to sit naturally. Mark where the ends meet, then cut it, but be sure to leave it over-size at this point! Remember, you can always make the cord a little smaller, but increasing the size involves using a whole new length again.
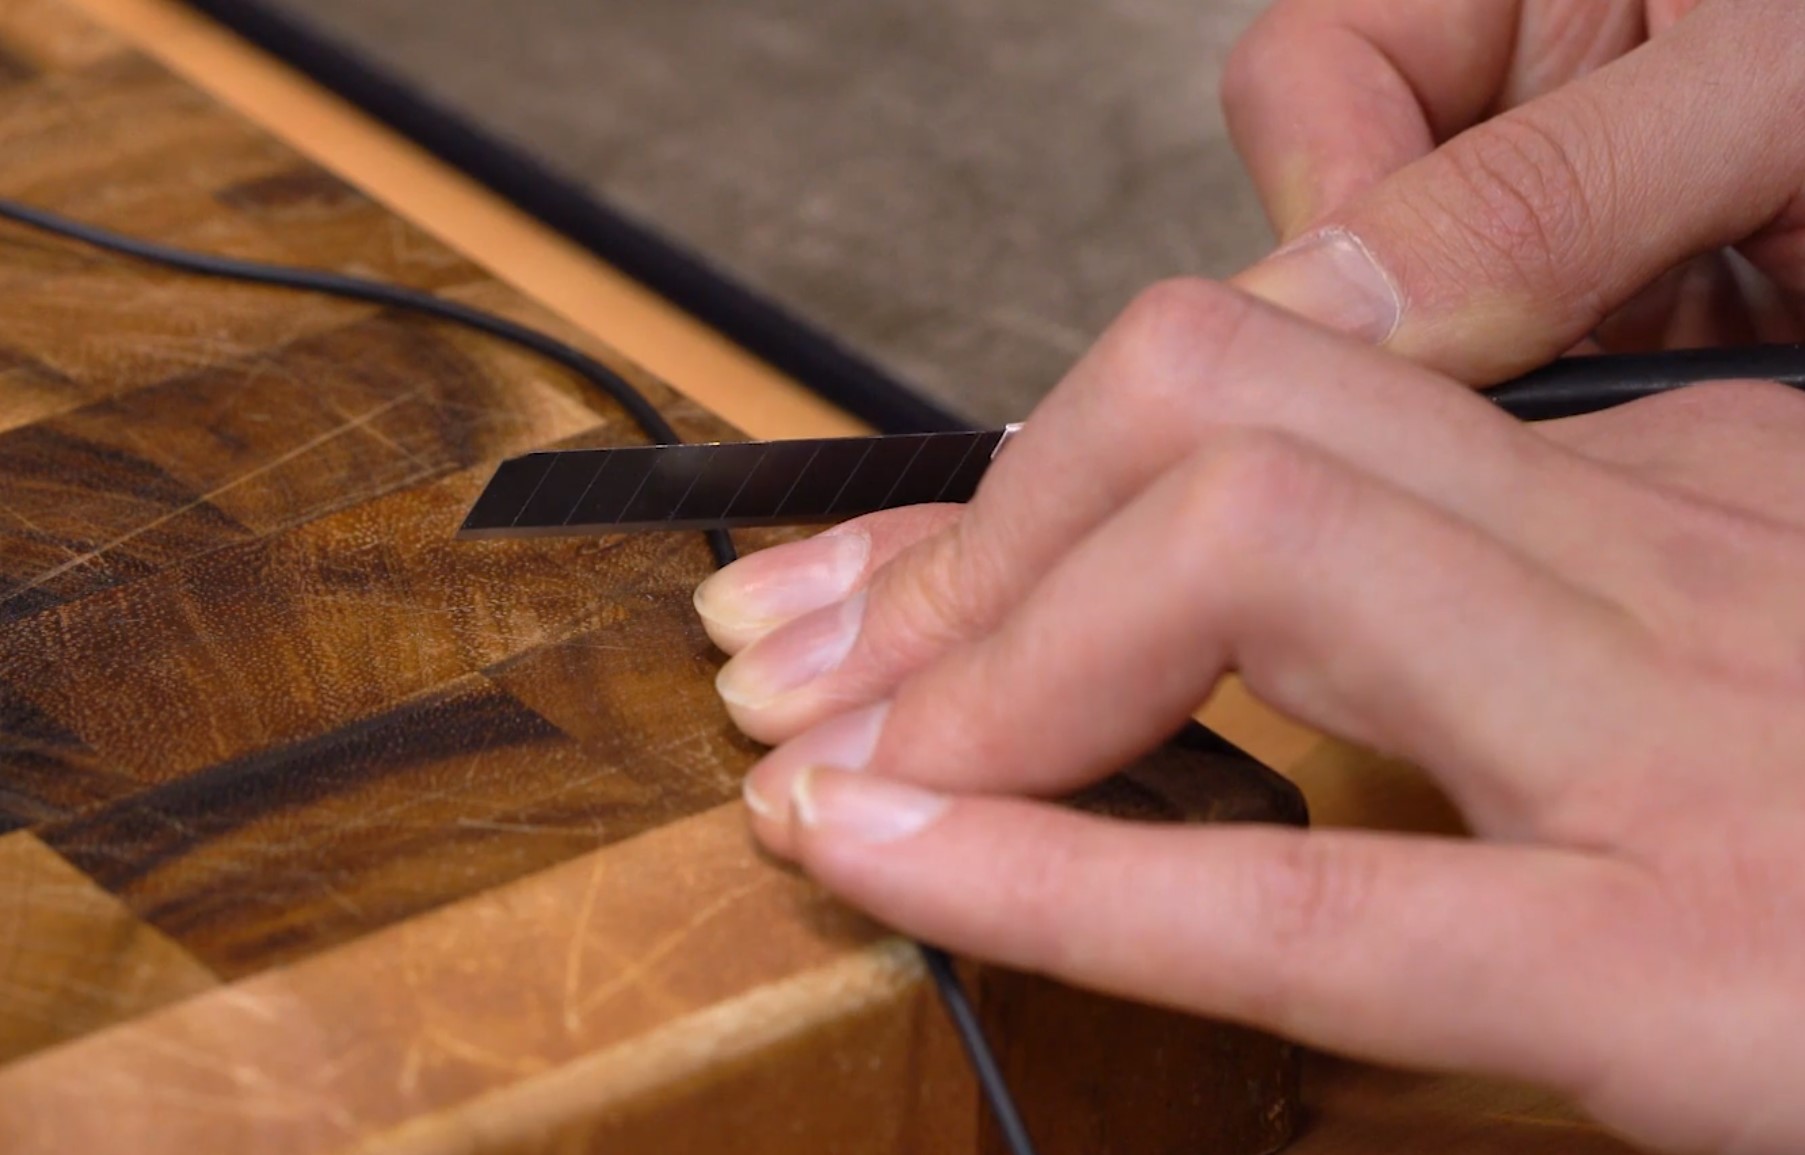
On a cutting mat and using a very sharp blade, carefully cut the ends so that the cord is the exact length to fit into the channel. Technically it's advisable to cut at a 45° angle here and join the ends, as that will create a stronger, more compressible bond, but I found that it's harder to get the exact length this way, which ultimately affects the seal more. The most important bit regardless of the cutting angle is using a new, sharp blade. You need the cut to be completely clean and effortless, a dull blade will compress the O-ring as you cut it, resulting in a concave cutting profile, and you definitely don't want that.

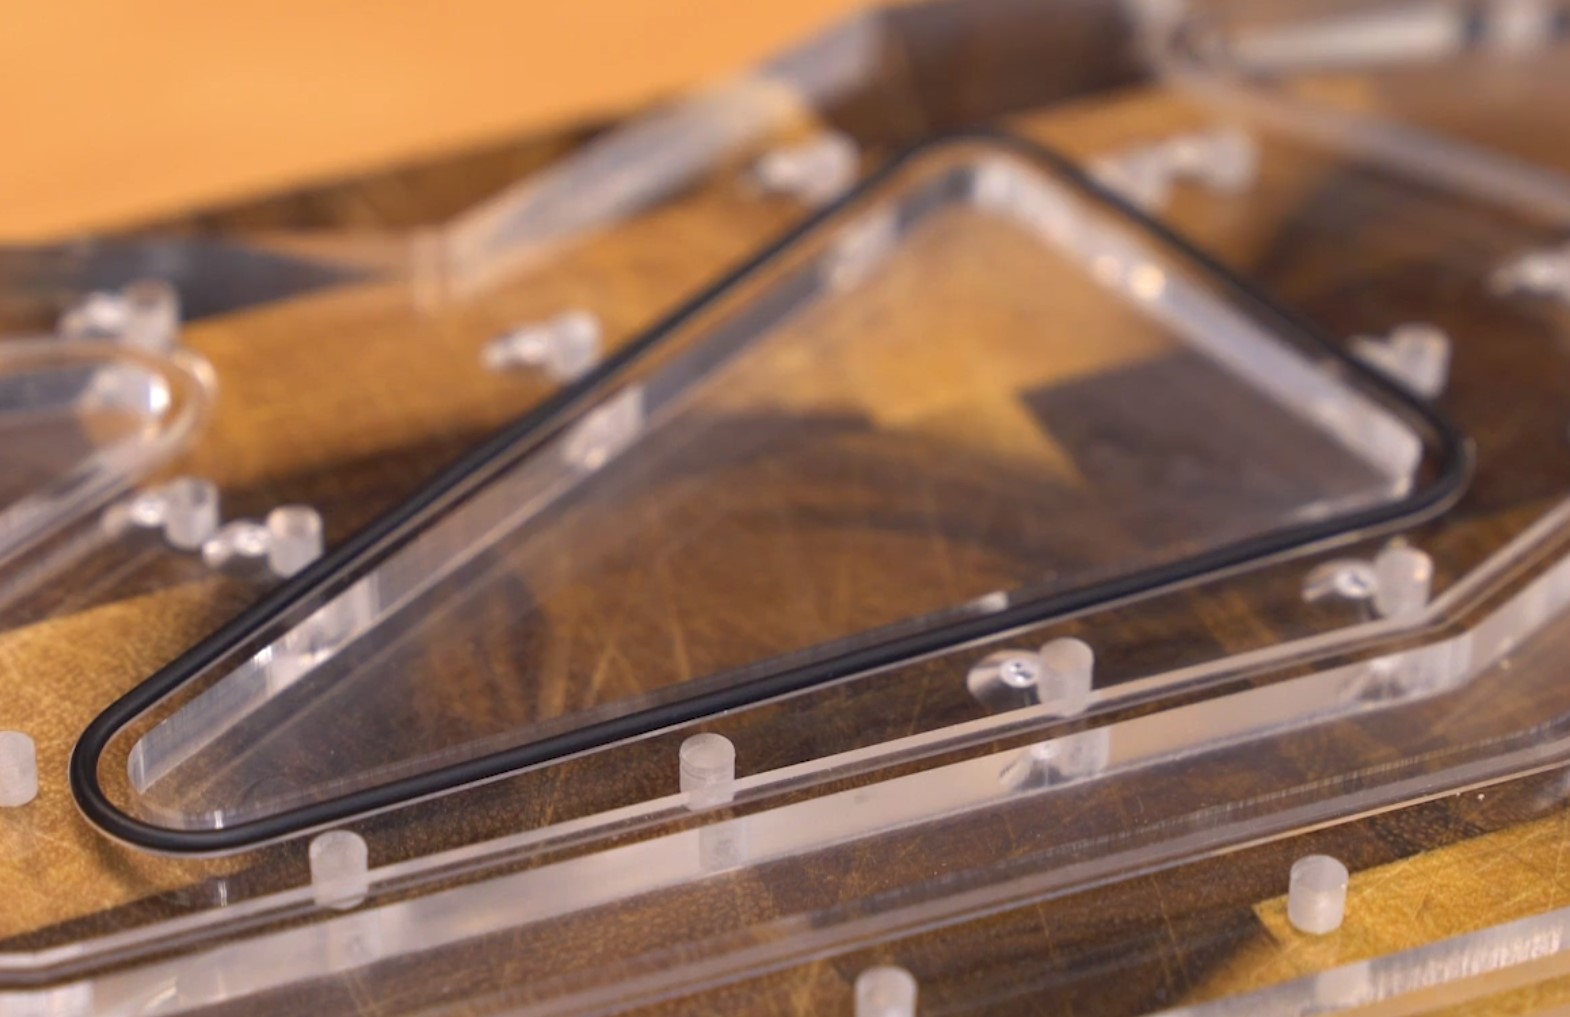
Next, dab the ends of the cord with a spot of glue, then align them so that there's minimal torsion and warp at the join, it should line up so that the profile is smooth and seamless. Press the ends together - you can rest your hands as you do this or use an aide to ensure things are kept steady. Lightly blowing on the join will speed up the setting time by providing a bit of moisture (obviously don't inhale the glue fumes!). After that, inspect the join to see if the pieces are well aligned. If you find that the ends didn't align well, start again with a new piece of cord. I don't suggest re-using the same piece, as removing the old glue join will reduce the length. You can, however, simply use the failed one as a guide for trimming some new cord. If you're happy with the alignment I suggest wiping down the joint and smoothing over any spilled glue - again we want it seamless as possible.
That's all there really is to it! Homemade O-rings will naturally carry a higher risk with them, so if you're not comfortable with that I would instead suggest designing the plate around pre-made O-ring sizes.


MSI MPG Velox 100R Chassis Review
October 14 2021 | 15:04

Want to comment? Please log in.