Corsair 1000D Mega-Build Update 4: Machining the Rear Panel
August 17, 2018 | 12:57
Companies: #corsair
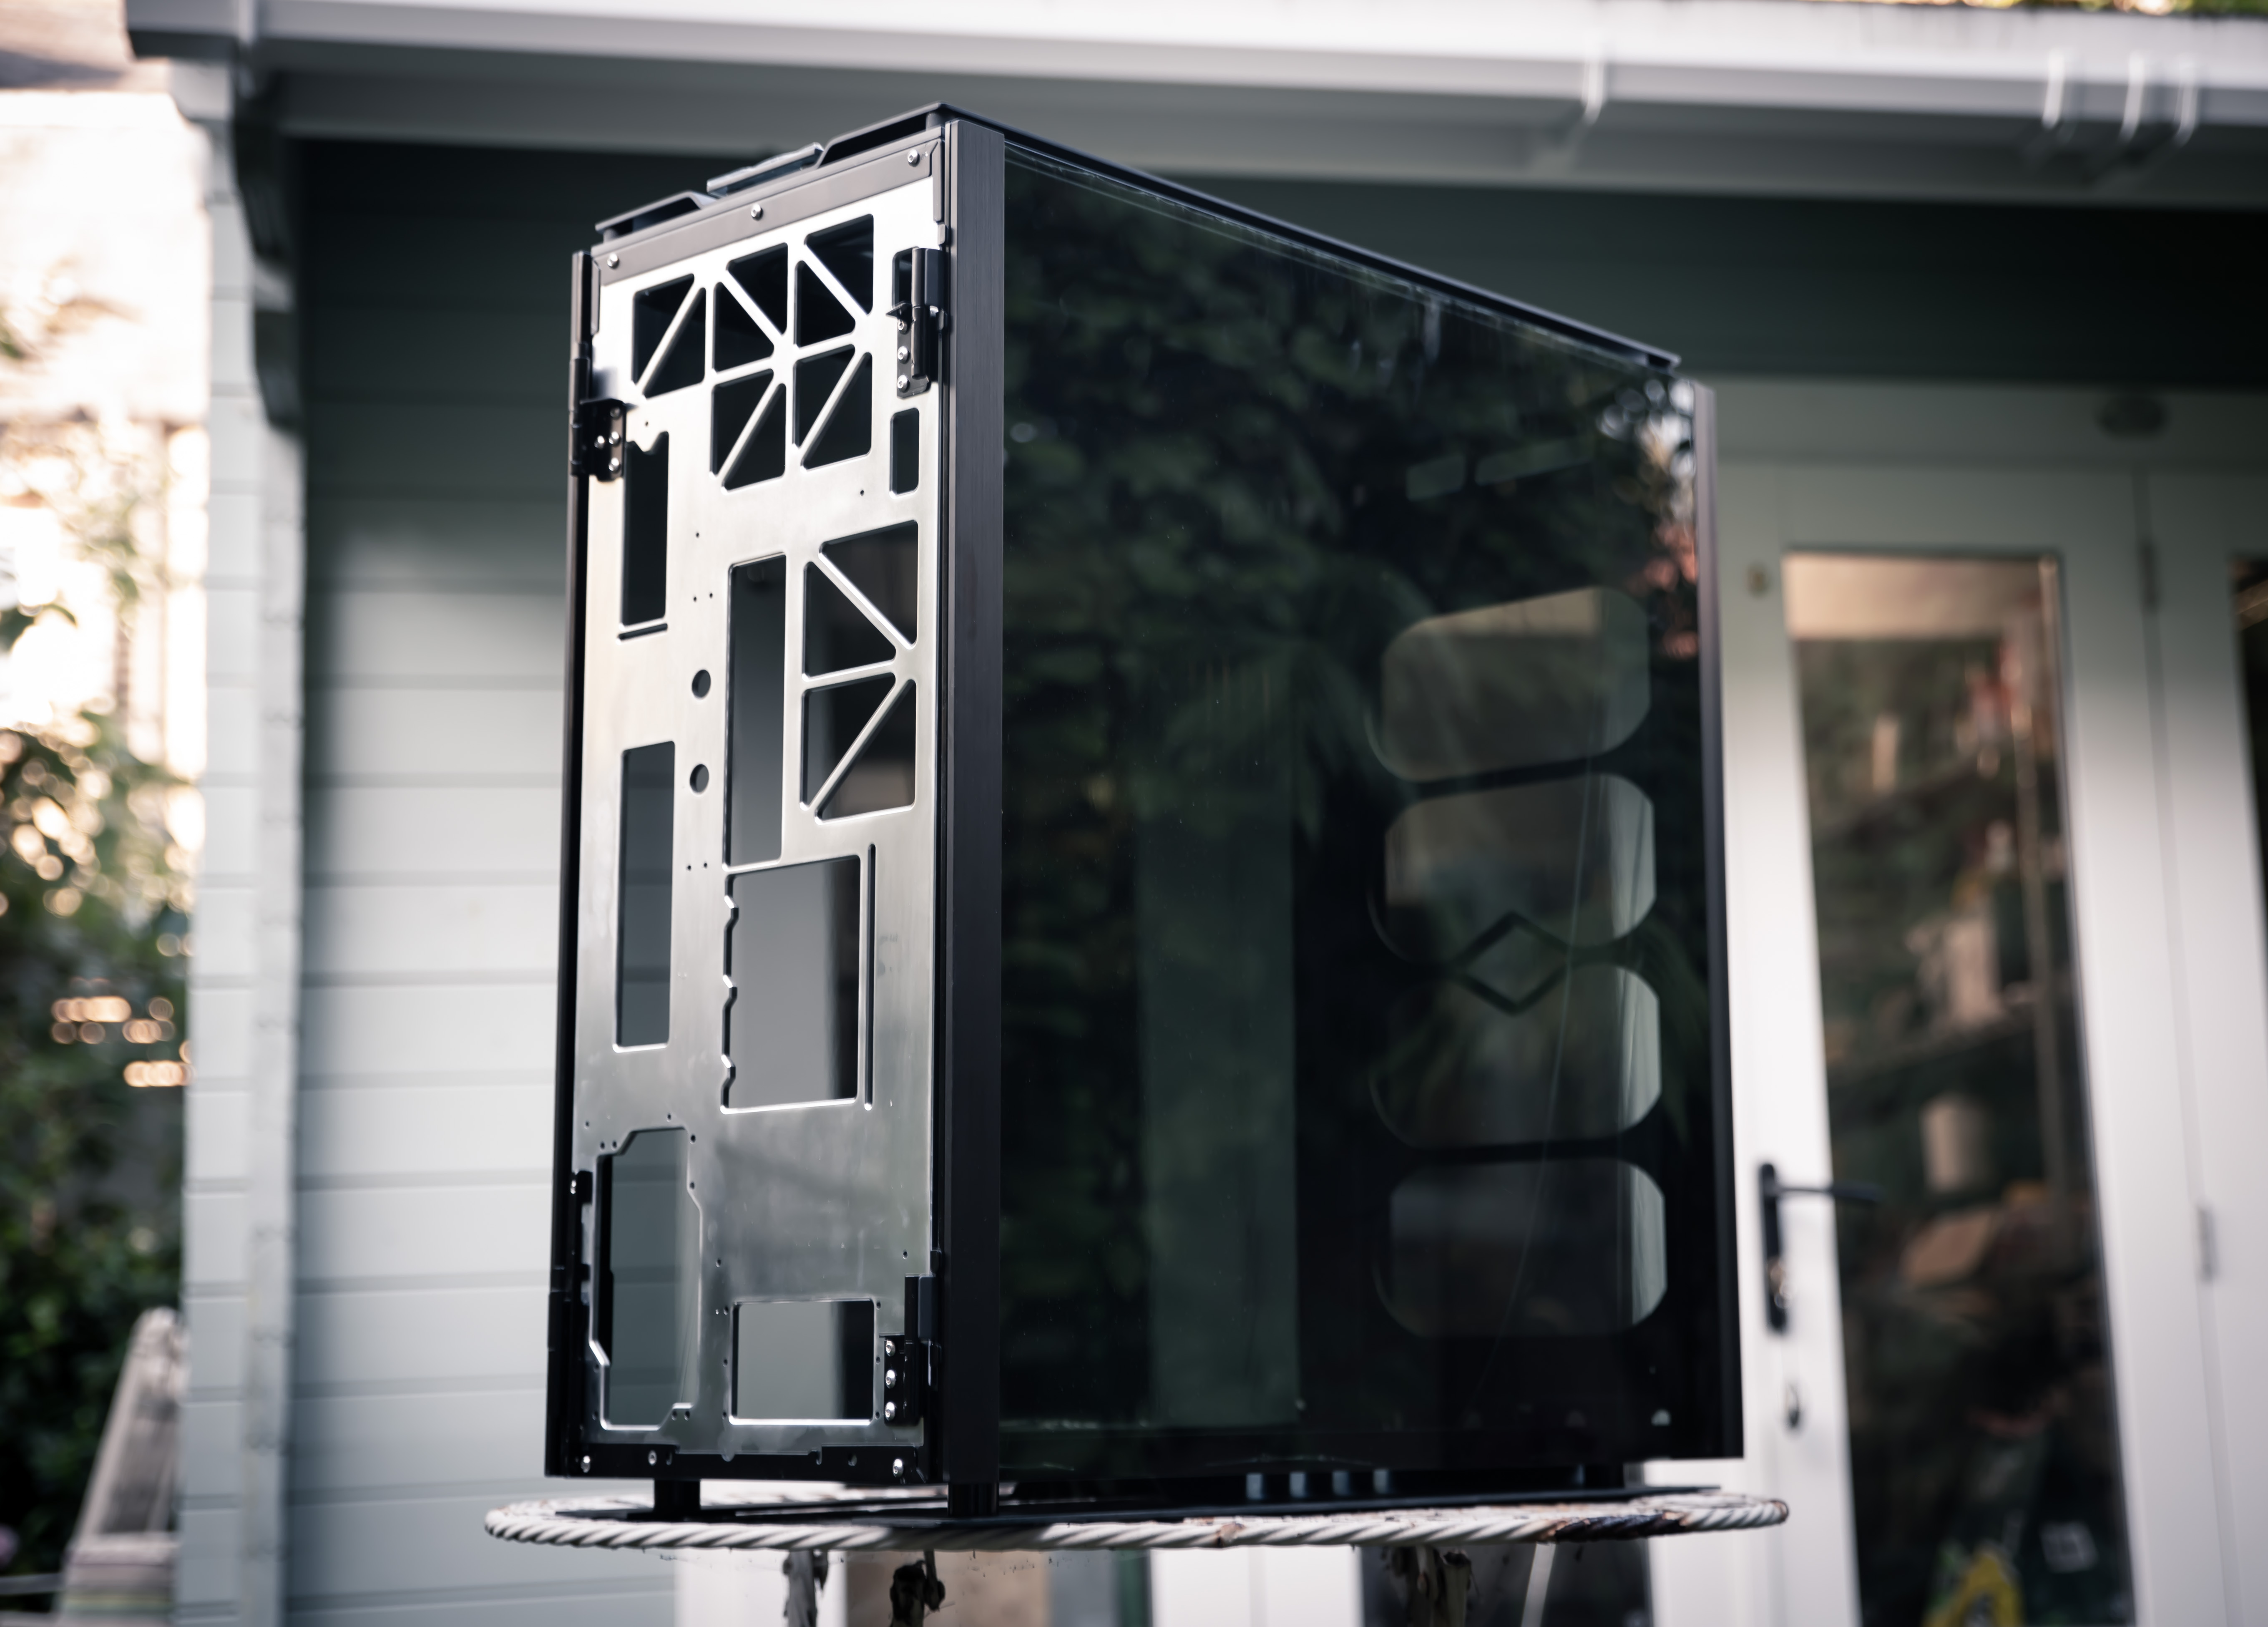
We're back again with jucier 1000D goodness! Now that the case has largely been reduced to a few panels, it's about time the custom work made an entry. Given the scale of this build, there's a hell of a lot going into it, that means there are a lot of panels and components to manufacture. We're starting with the back panel, this is a major structural component of the case as well as one of the largest cutting jobs.
What's the plan, Doc?
Thus far I've sort of kept you all in the dark as to the design of this casemod, largely because I've been modelling it up as things go along - ha-ha. Now that we're at the machining phase though, it's fairly safe to show what the eventual desired outcome will be.
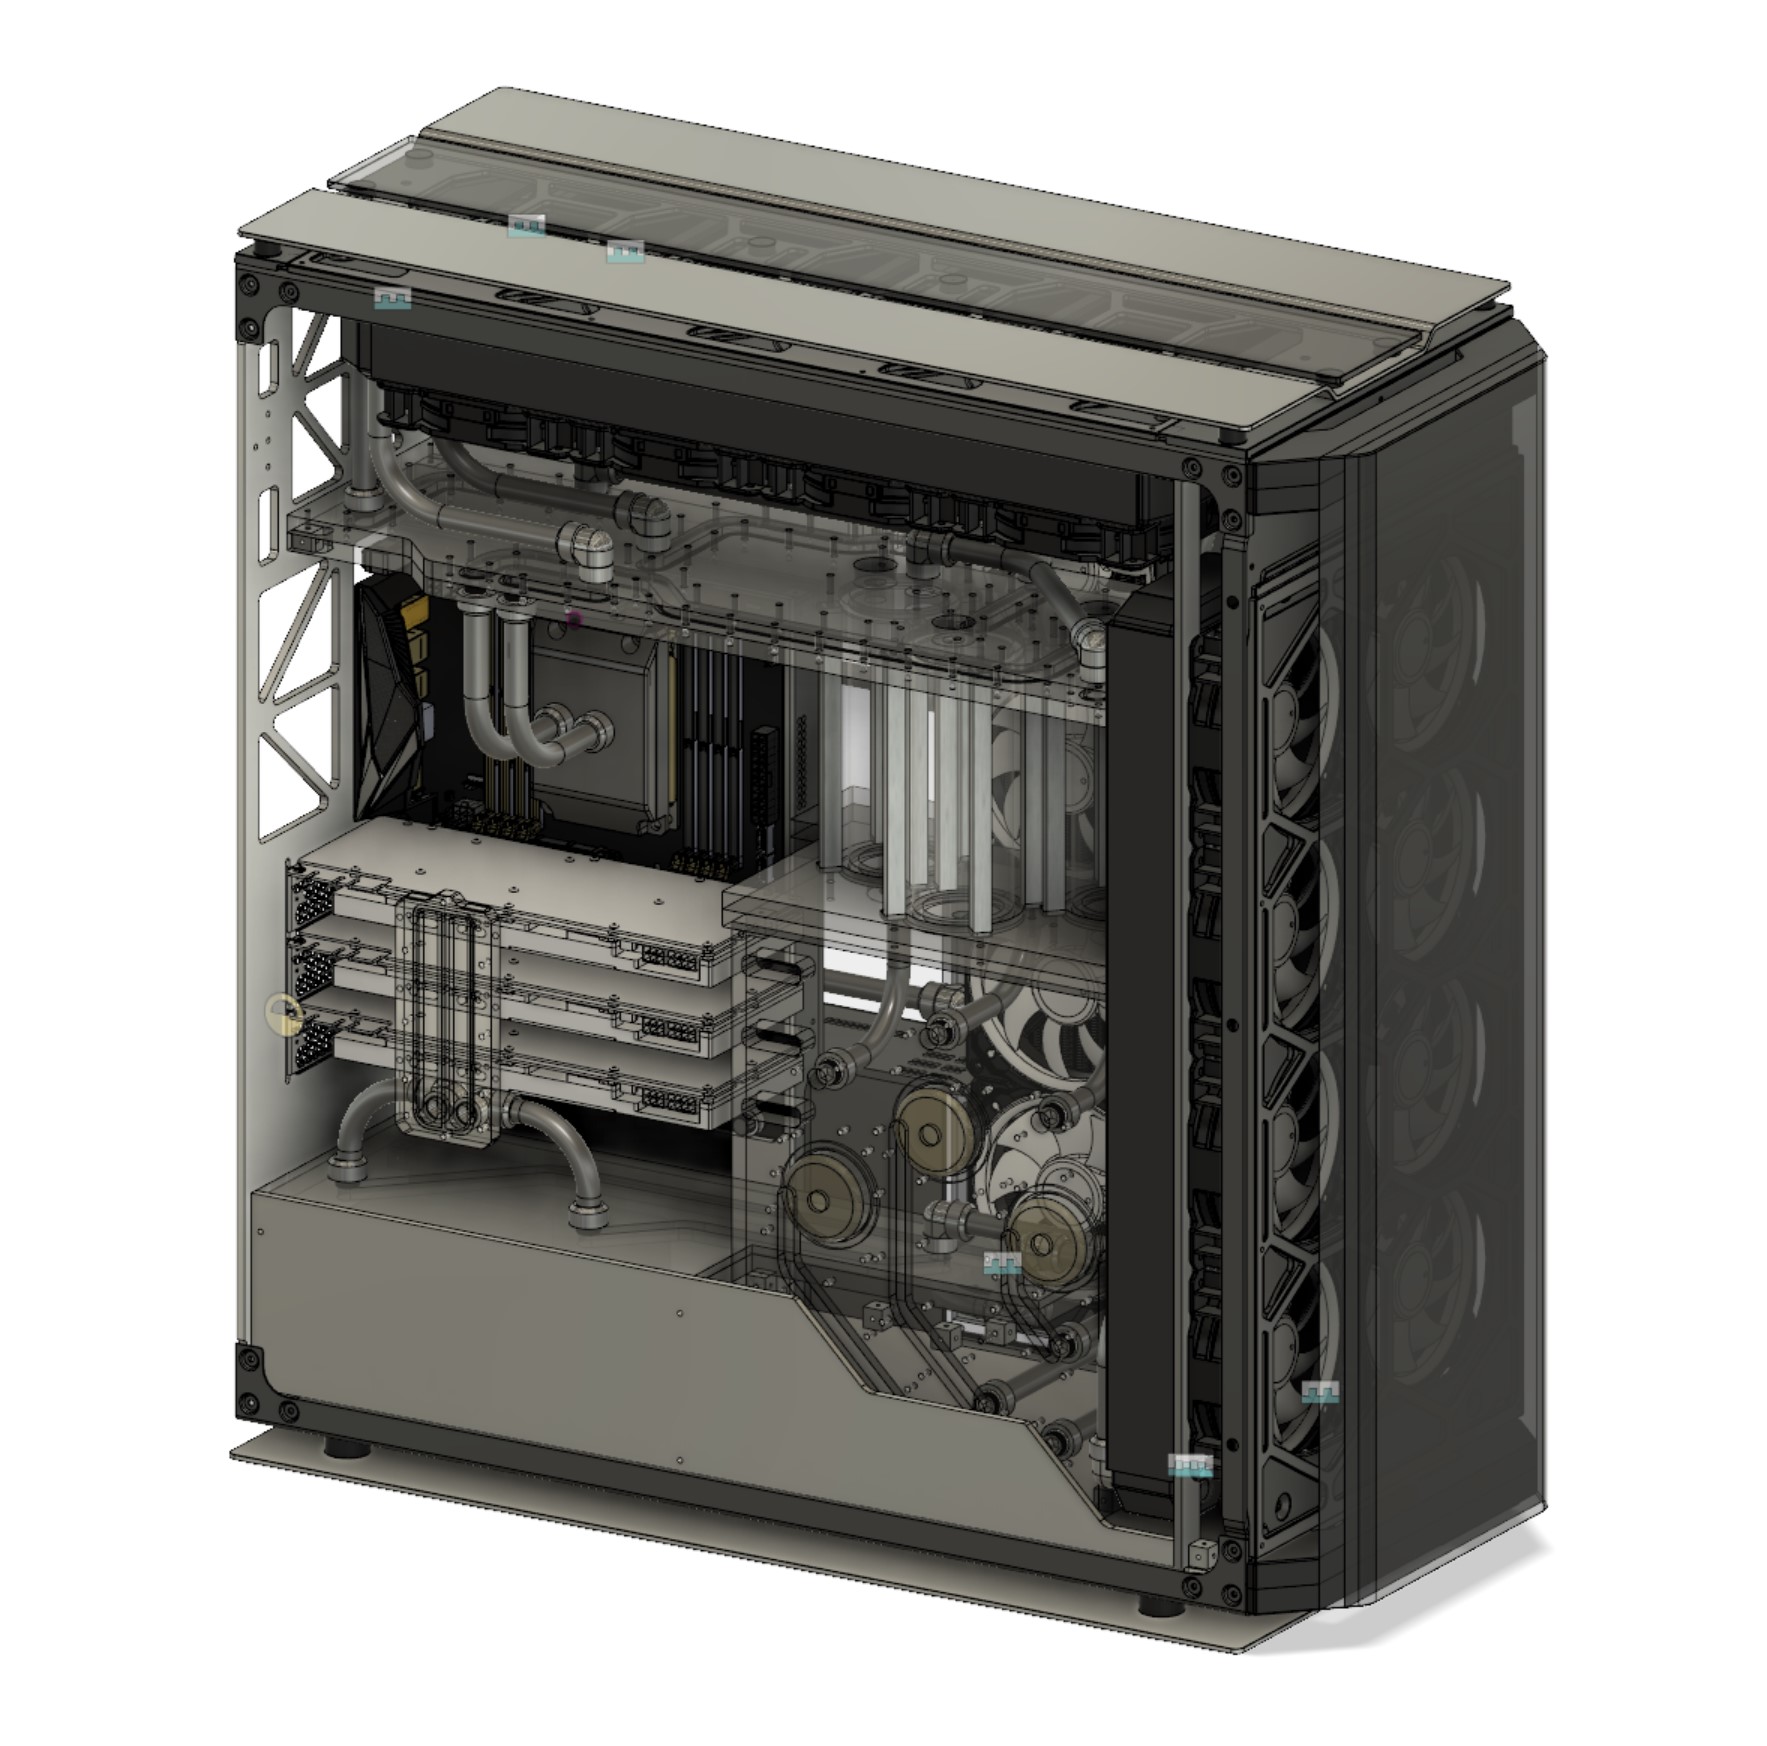
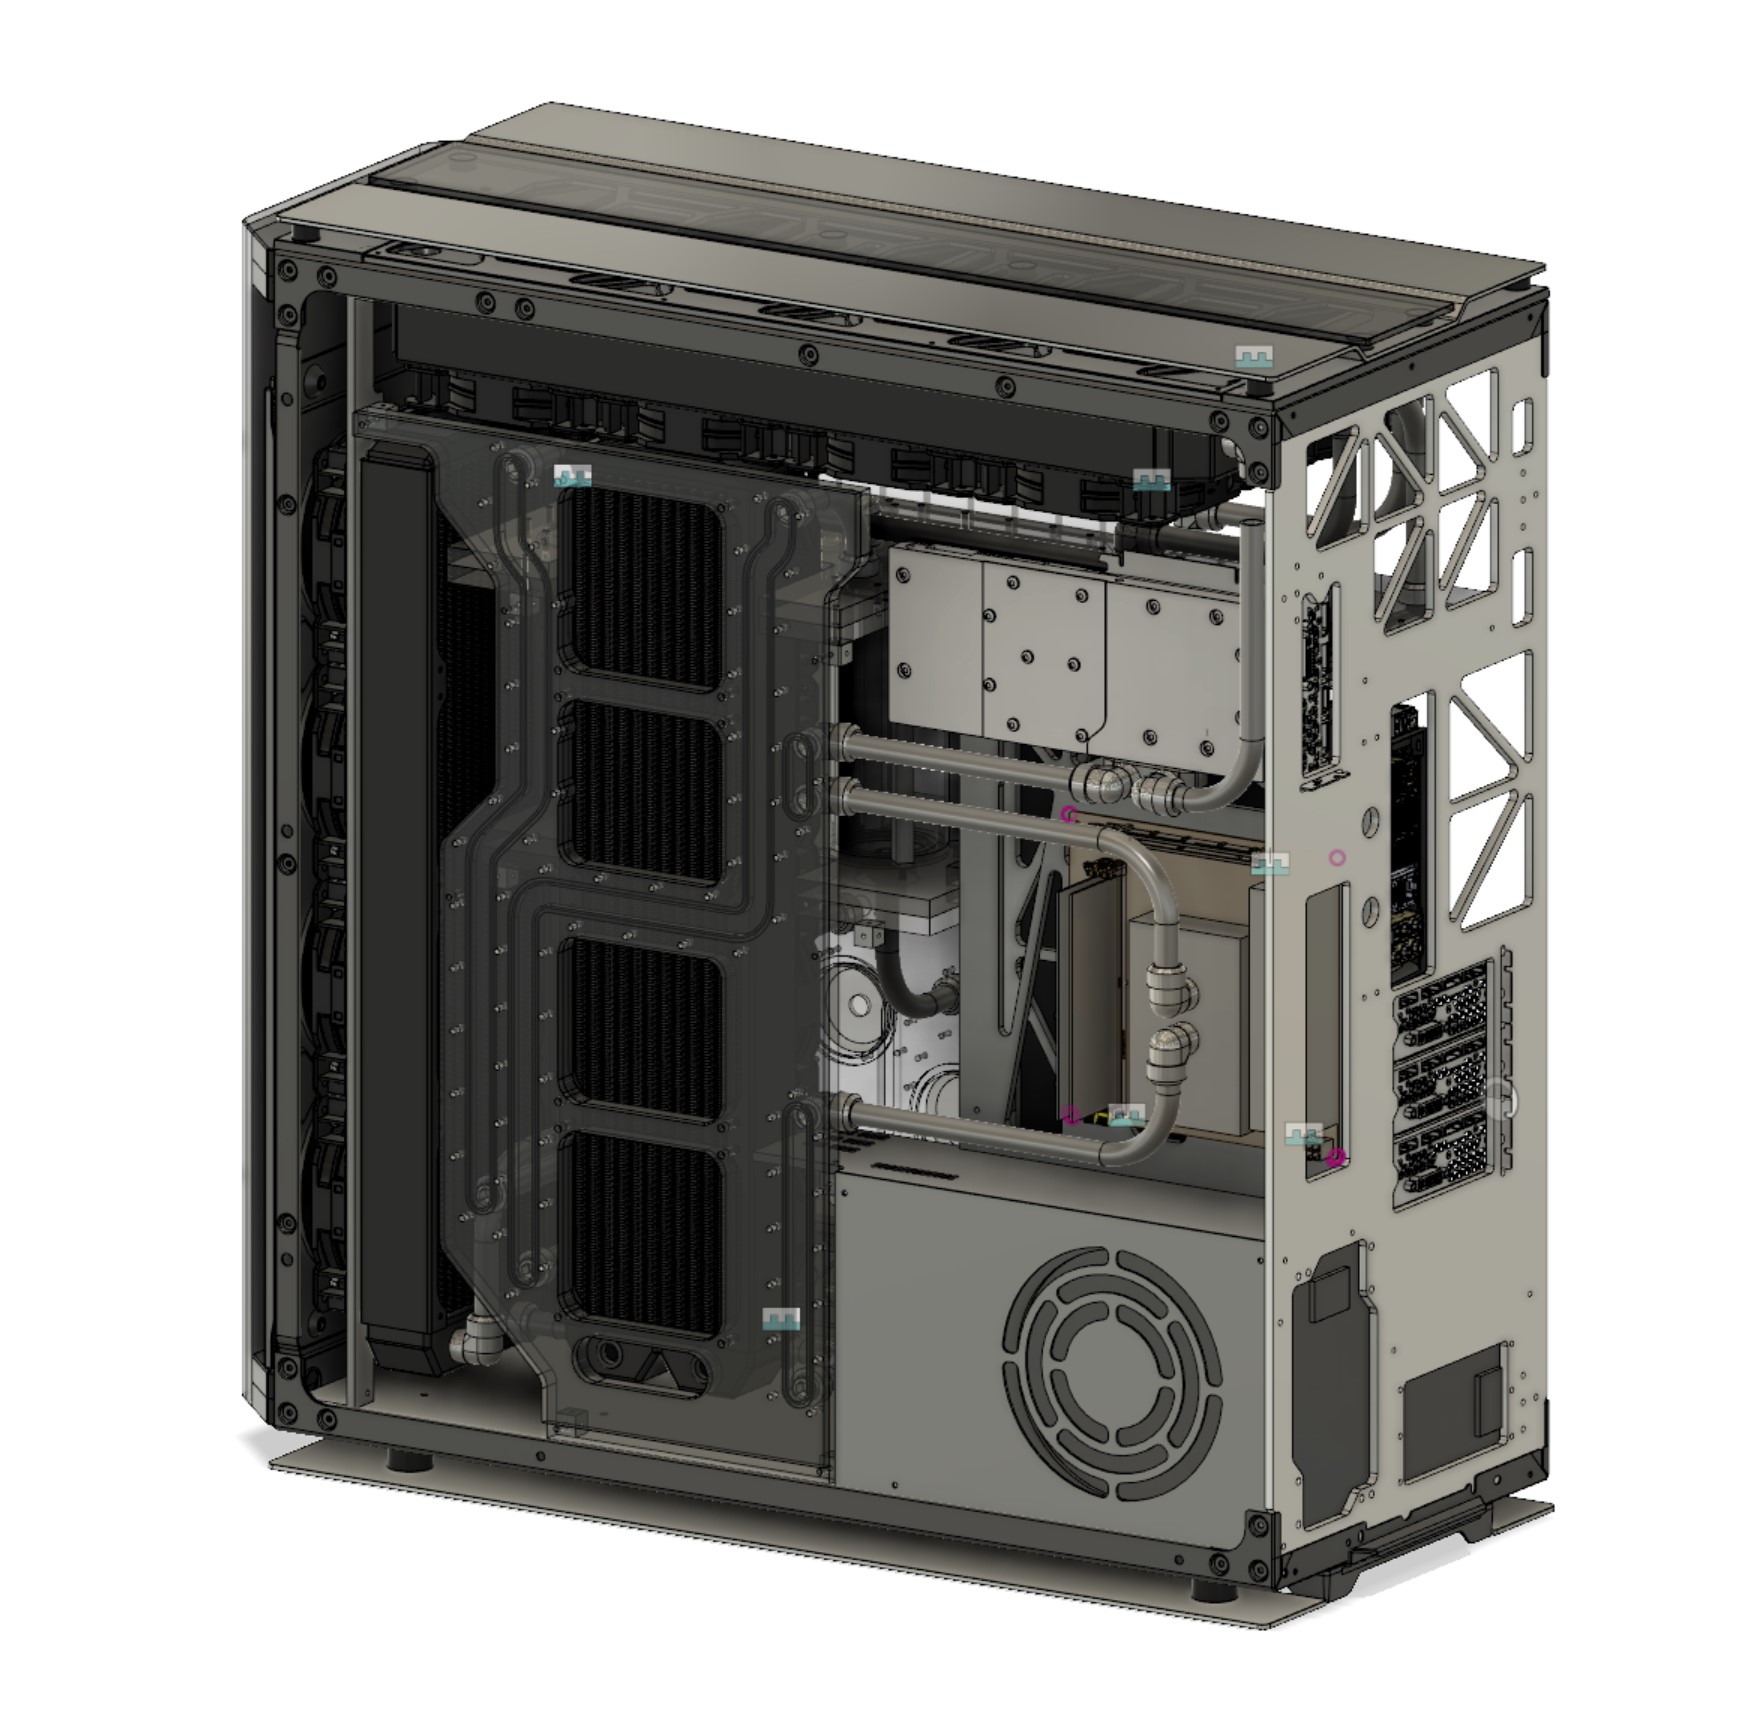
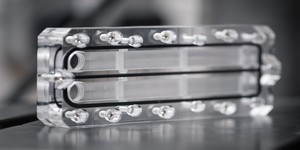
Okay so as you can see, there's quite a lot going on. It made sense to fill up the case to the max, so the ITX has been moved to the back and an extra radiator positioned in the middle. In addition, the three heatkiller reservoirs are being plumbed directly into two distro plates that will be replacing both the tops and bottoms of those parts; these lead down to a pump distro that will have those rear facing.
For now, though, let's focus on the rear panel cutting work.
Construct the recipe
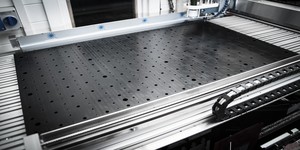
The main superstructure of the casemod will be constructed from 5mm 6082T6 aluminium. Overkill? Absolutely! Aside from being very strong, I just love the look you get with thick aluminium, it has a certain solidity to it that's hard to describe. Thing is though, I've pretty much never cut aluminium on my machine before (those thin sheets from earlier don't count).
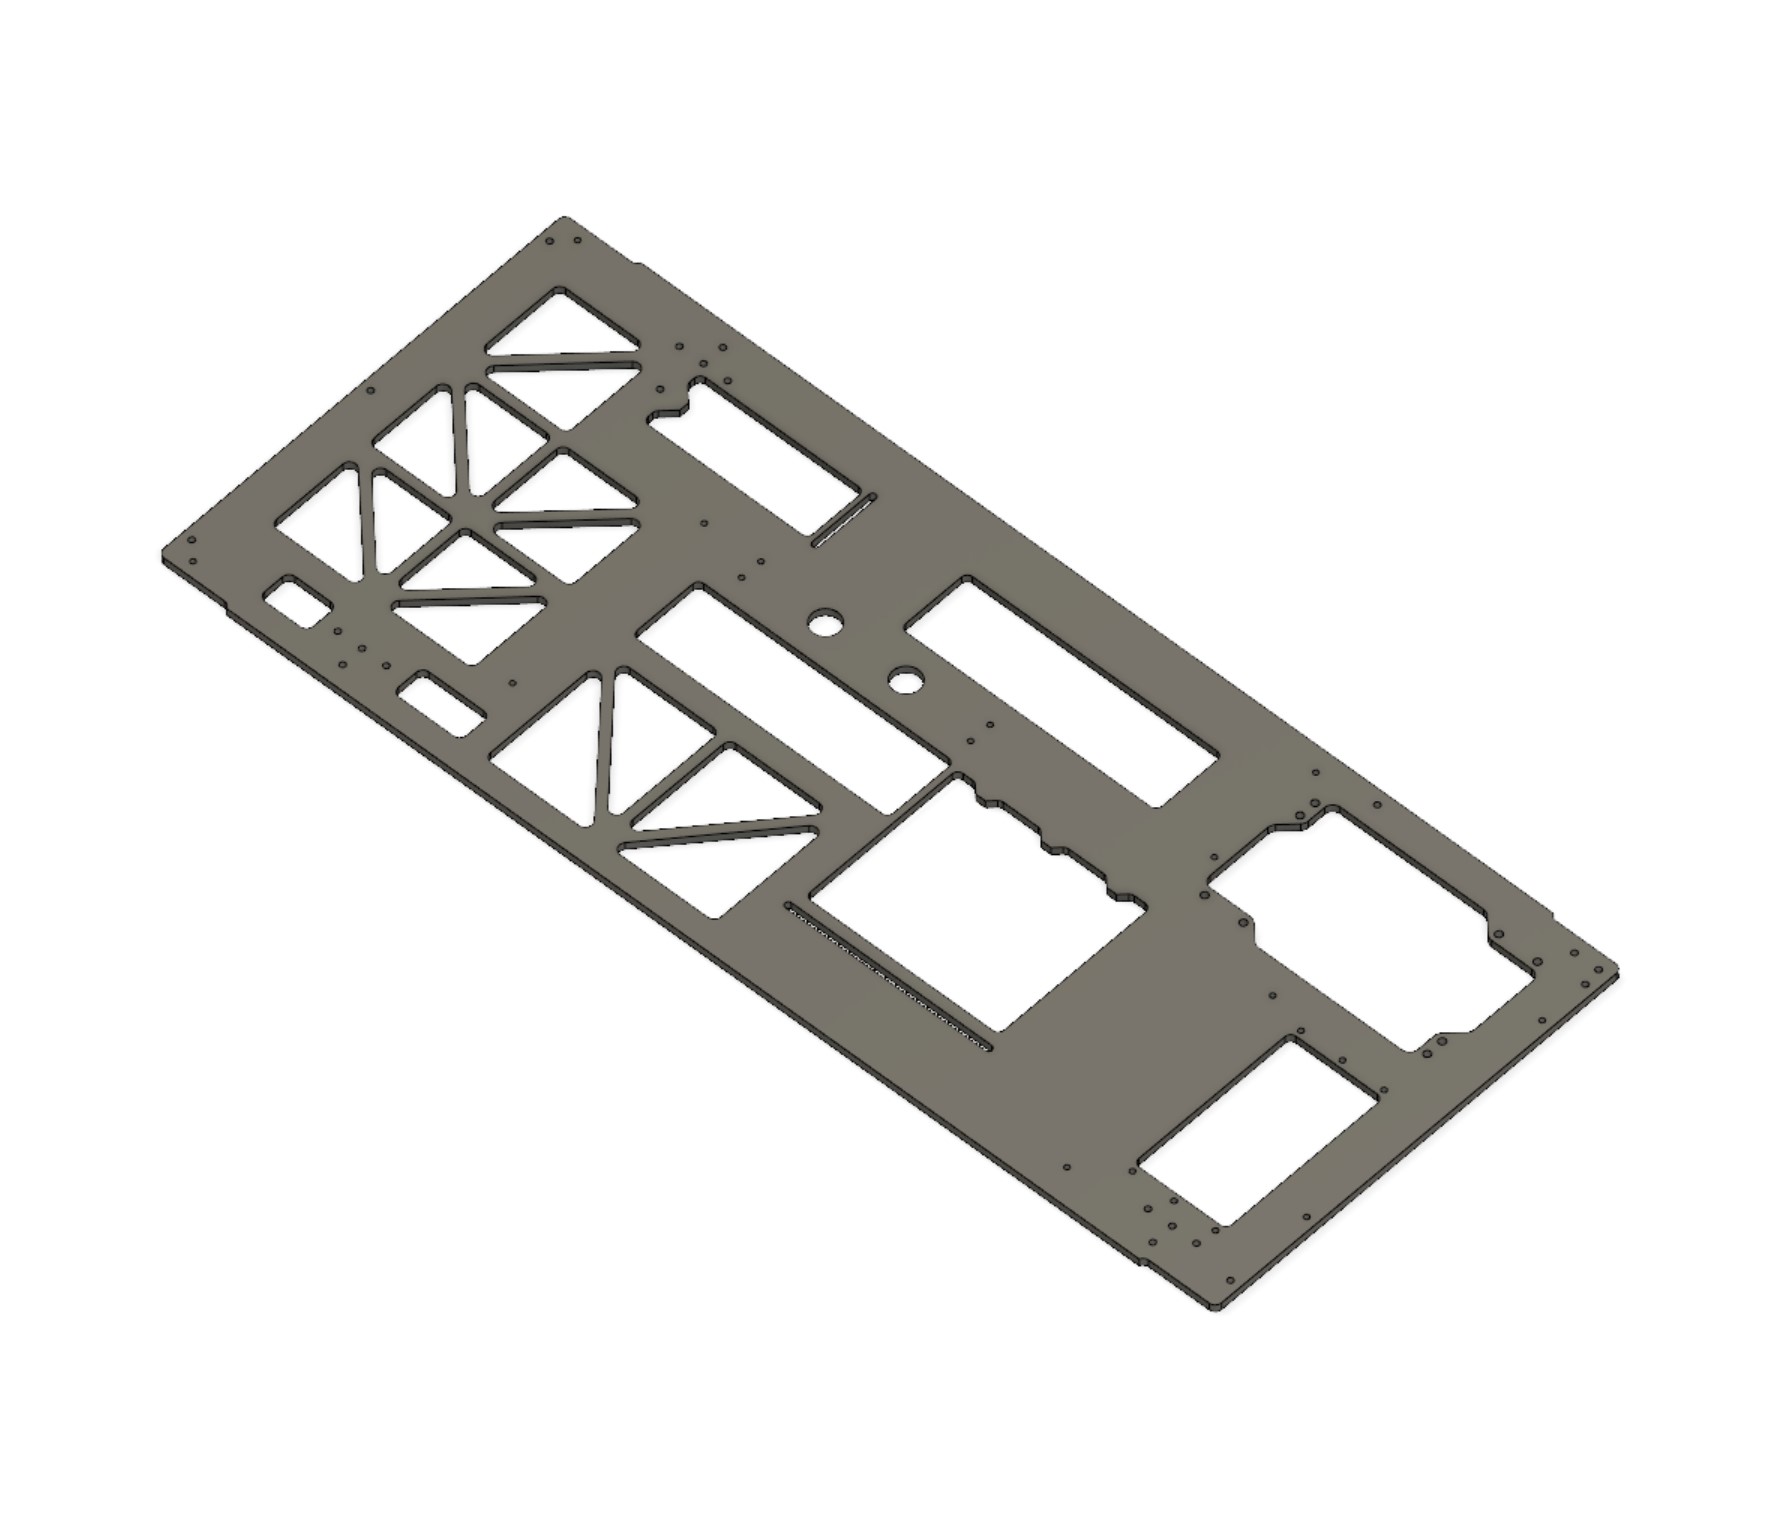
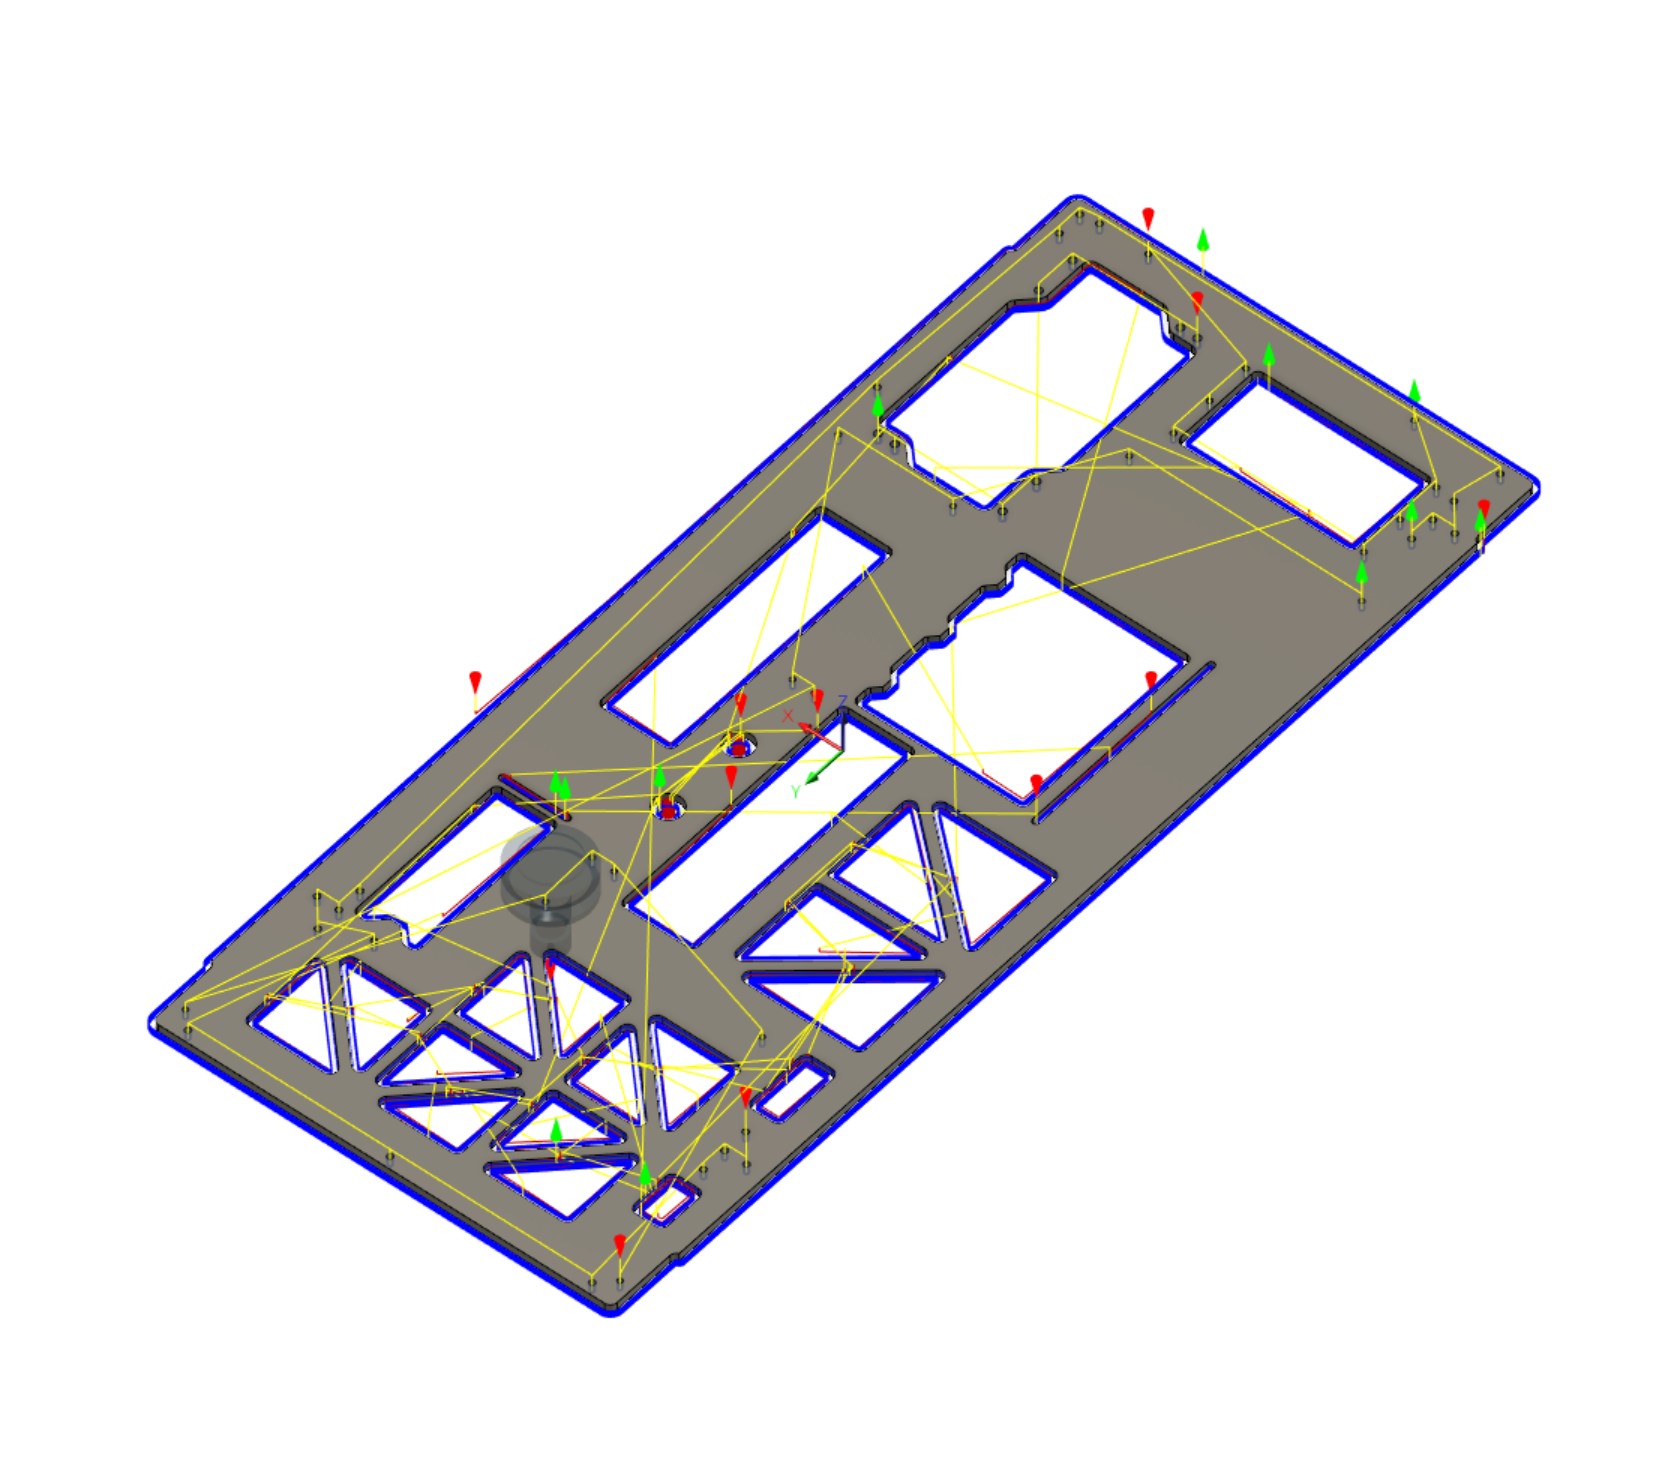
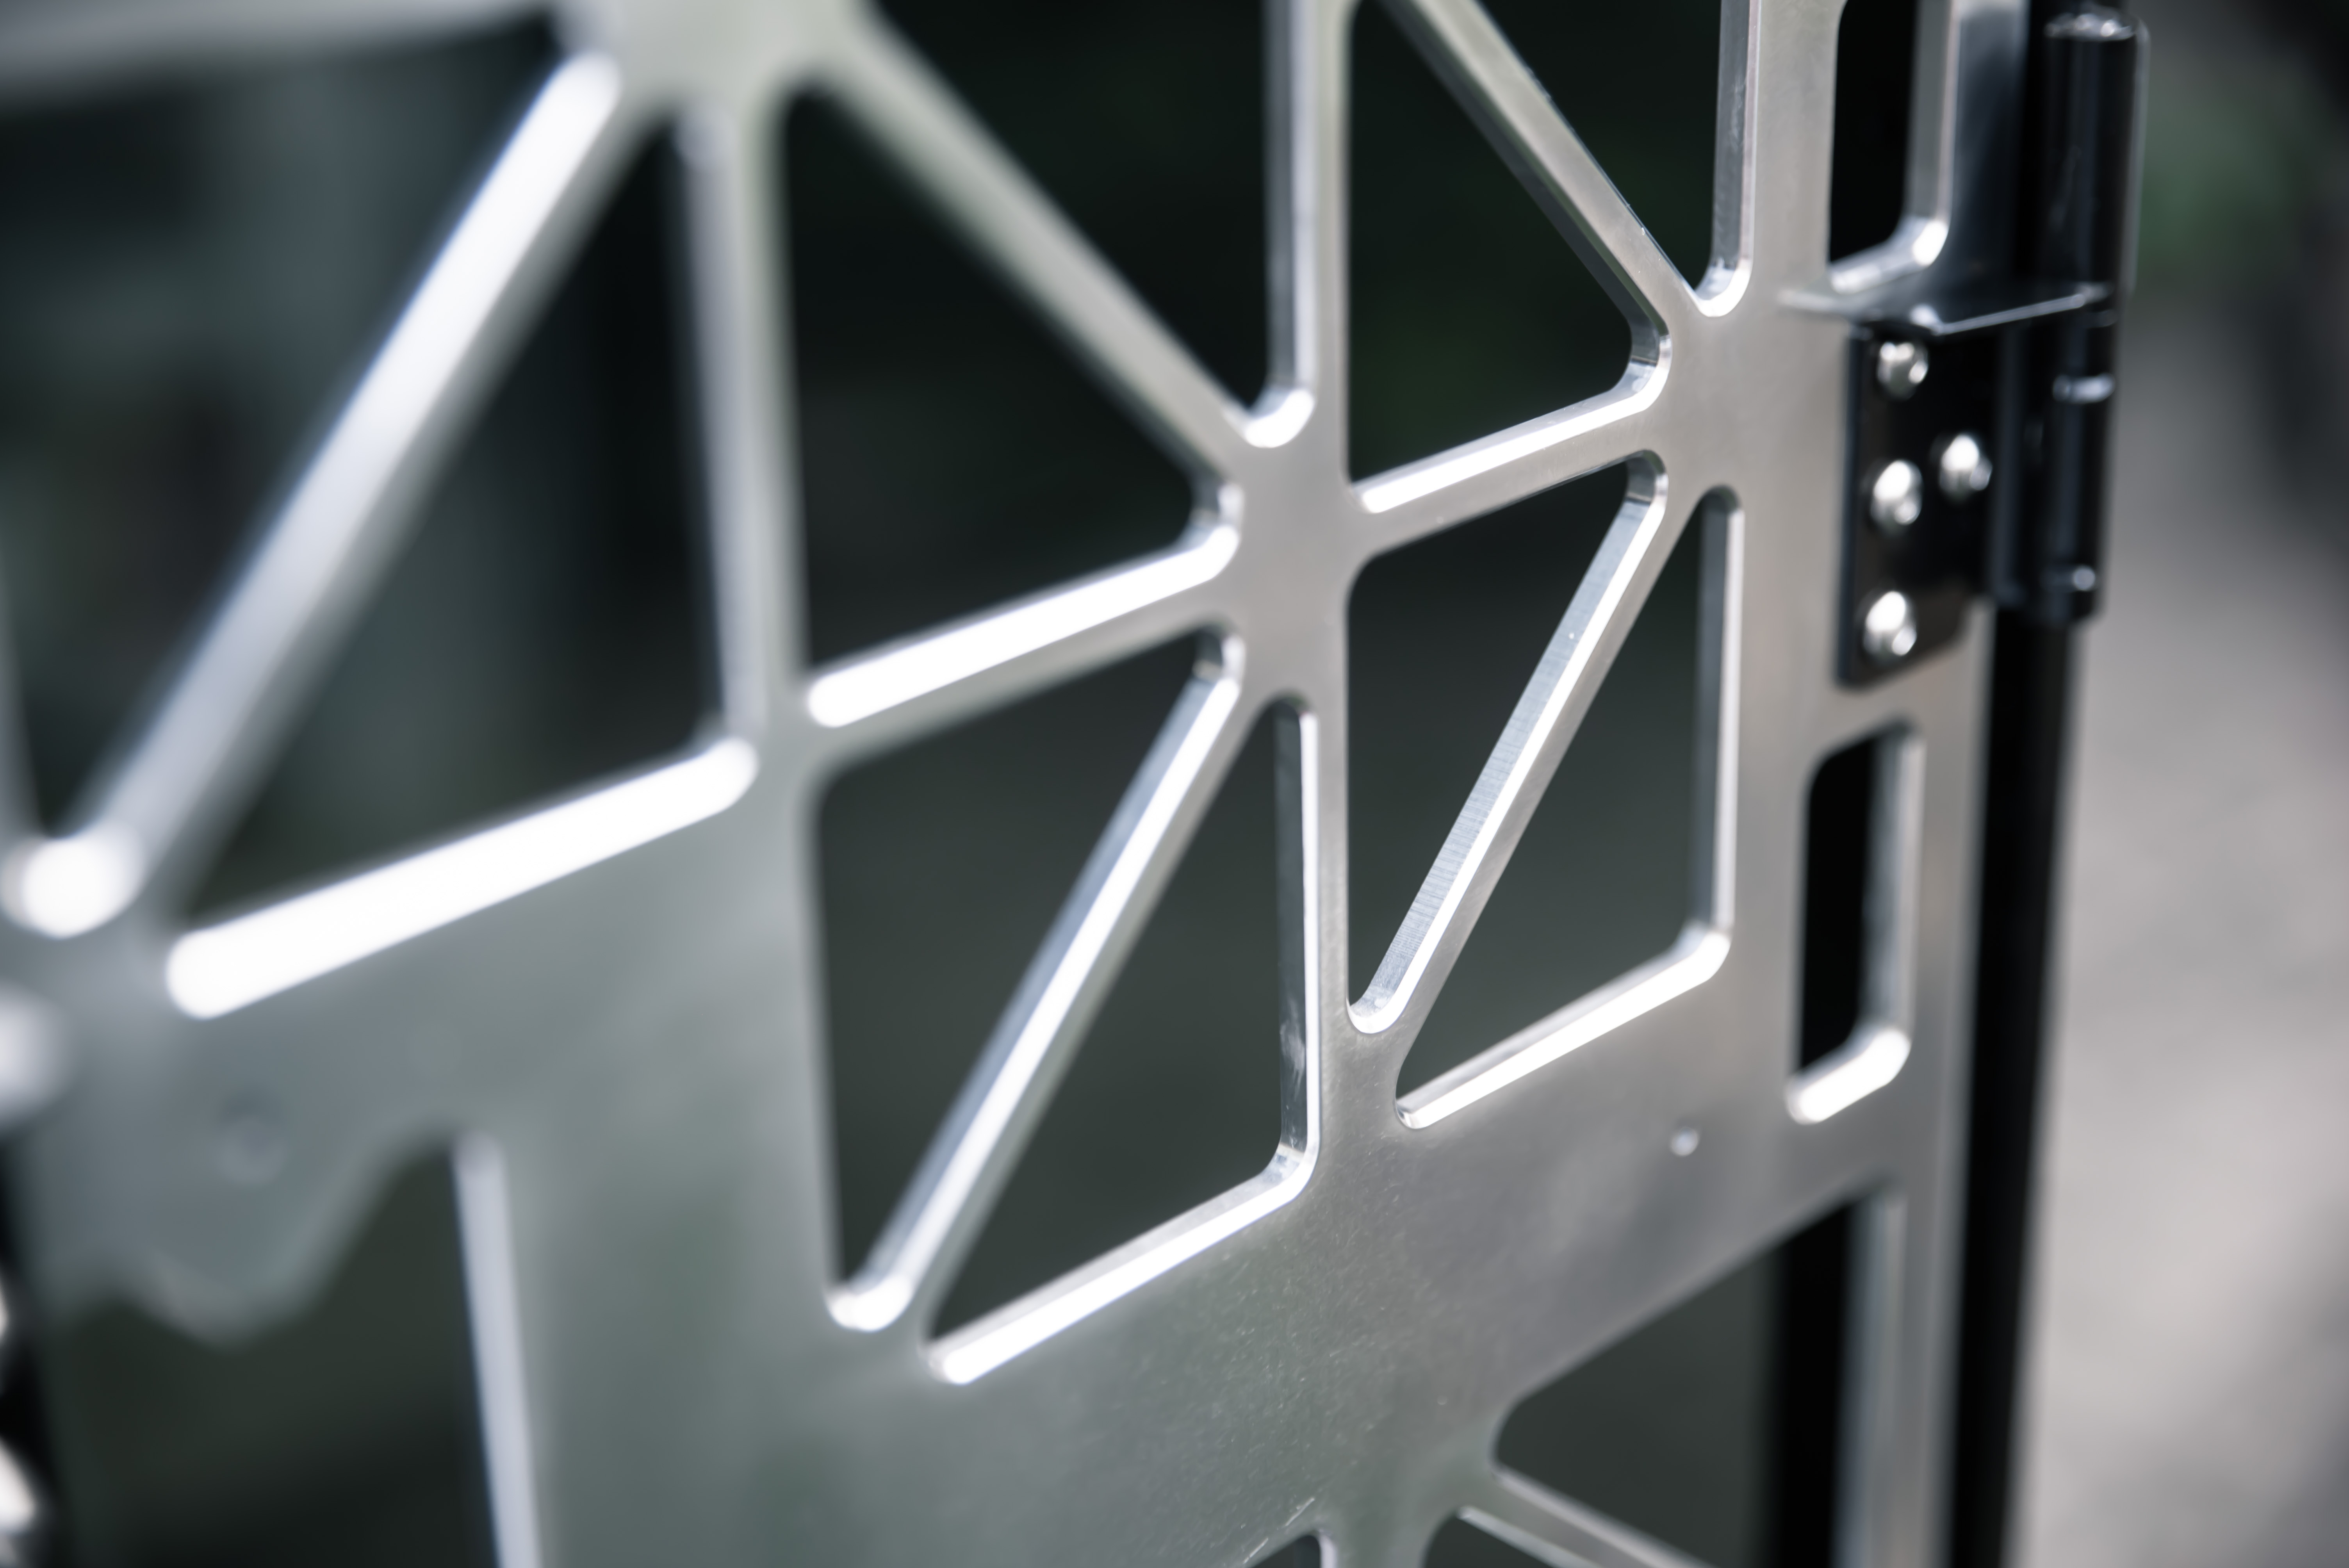
In addition to adding all the mounting points, I added some triangular cutouts to make the panel more visually appealing, they give it an engineered, braced look, even if they don't serve a real function. One issue though is that this is quite a lot of material to remove. I chose to slot-cut basically everything rather than use an adaptive toolpath to clear out the pockets. Slotting on a part like this was quicker but also less wasteful as I can reuse many of the off cuts in the future, rather than reducing them to chips. That said, this meant I had to dial back the depth of cut so as to avoid introducing chatter or clogging the flutes.
After the main cutting, I added a chamfer to the edges so that they catch the light. It's amazing how much of a difference this last decorative step makes, because it really makes the parts pop as they're no longer just flat sheets.
Finished up!
One thing we didn't get to show in the video due to time constraints were the finishing steps after the CNC work. The plate itself comes with a nice finish to it straight from the factory, but there's no protective film on these so they often have surface imperfections. I first deburred the part to remove any sharp edges, then wet-sanded from 500-2000 grit, I then finished it up on the buffing wheel to get a nice sheen going. The aim of the game wasn't a mirror finish here, I'm after more of a satin-polish look so I skipped a few grits.
Thankfully it slotted into the existing frame like a glove! The doors also attached fine and sit in the same way as they do in the stock case. The next step is to finish all the remaining metal cutting work, then move onto the plastic machining.
RELATED ARTICLES


MSI MPG Velox 100R Chassis Review
October 14 2021 | 15:04

Want to comment? Please log in.