Manufacturer: Swiftpoint
UK price (as reviewed): £199.99 (inc. VAT)
US price (as reviewed): $229.00 (exc. tax)
As you have already guessed from the price, the Swiftpoint Z is no ordinary mouse. I actually first saw the Swiftpoint Z on Kickstarter for $139.99 for the early bird special. I actually know two people that backed the product at that price, one a very close friend. He told me the price; I told him he was crazy. He then told me the price the mice were going to be at launch, and I just didn't think it would happen. £200 for a mouse. My friend's Kickstarter sample turned up, and he raved about it. The downside is my friend lives in Germany, so it wasn't something that I managed to get to play with, at least not until our own sample arrived at the offices - it was time to have some fun!
So, why is this mouse £200, and can it be justified? Let's find out.
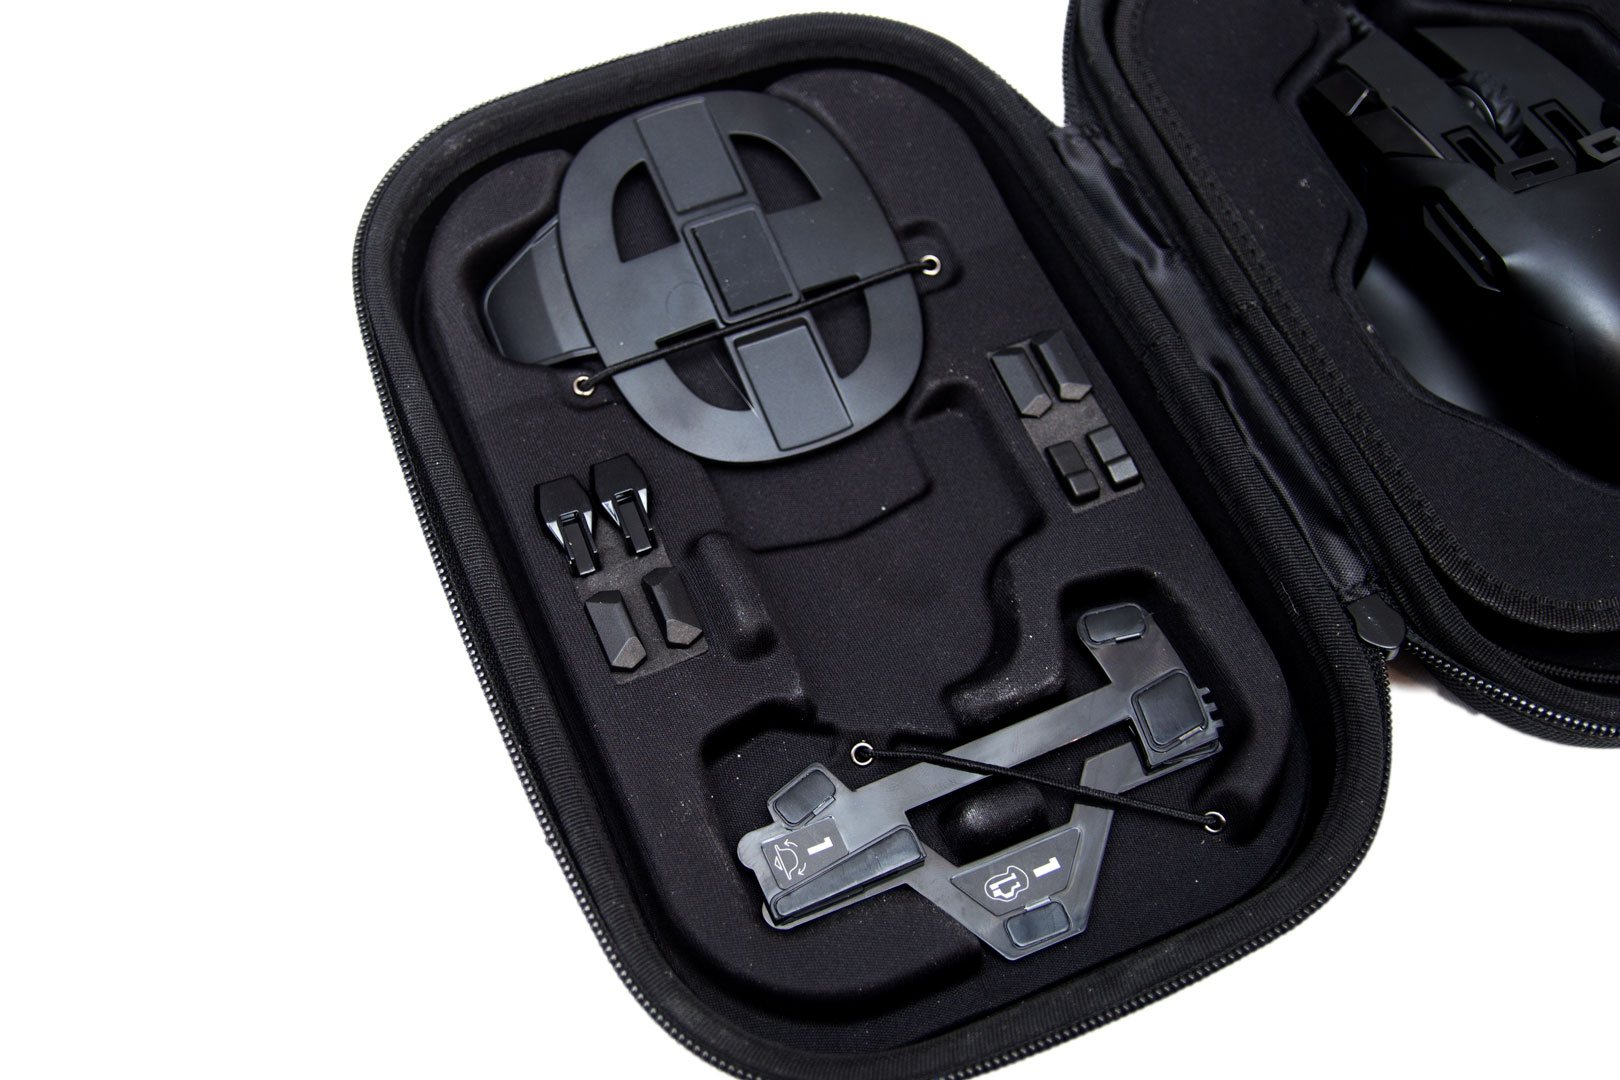
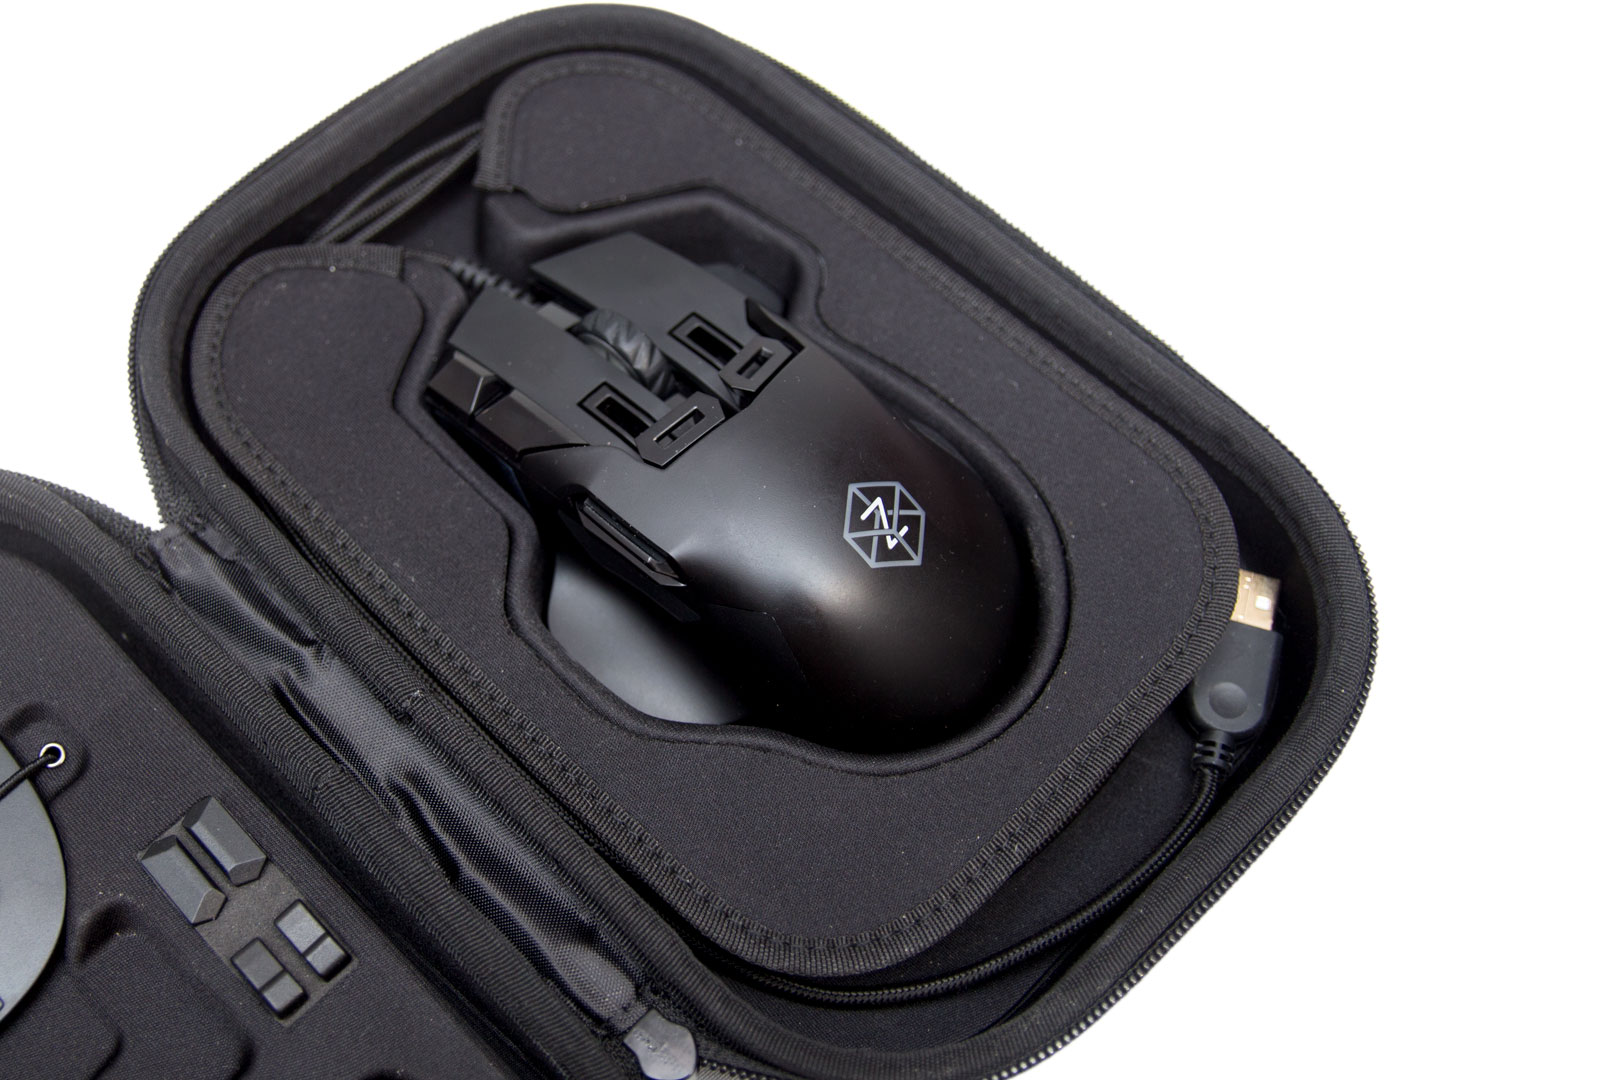
The Swiftpoint Z was packaged in a nice box which opened to reveal this even nicer case. Inside, we find the mouse, some button caps, and some replacement bases. There is also a user guide that is actually worth reading, as it helps a great deal in clarifying the Z's various functions. The 1.8-metre braided cable is wrapped around the inside of the case to hide it, which is a nice feature of the packaging too. I really like little cases like this, as it'll keep the mouse in a far better condition if you take it to LANs or elsewhere. I have broken a few peripherals by just throwing them into my kit bag where a case would likely have saved them.

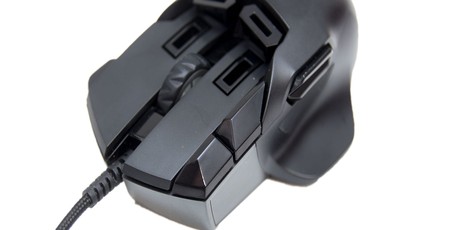
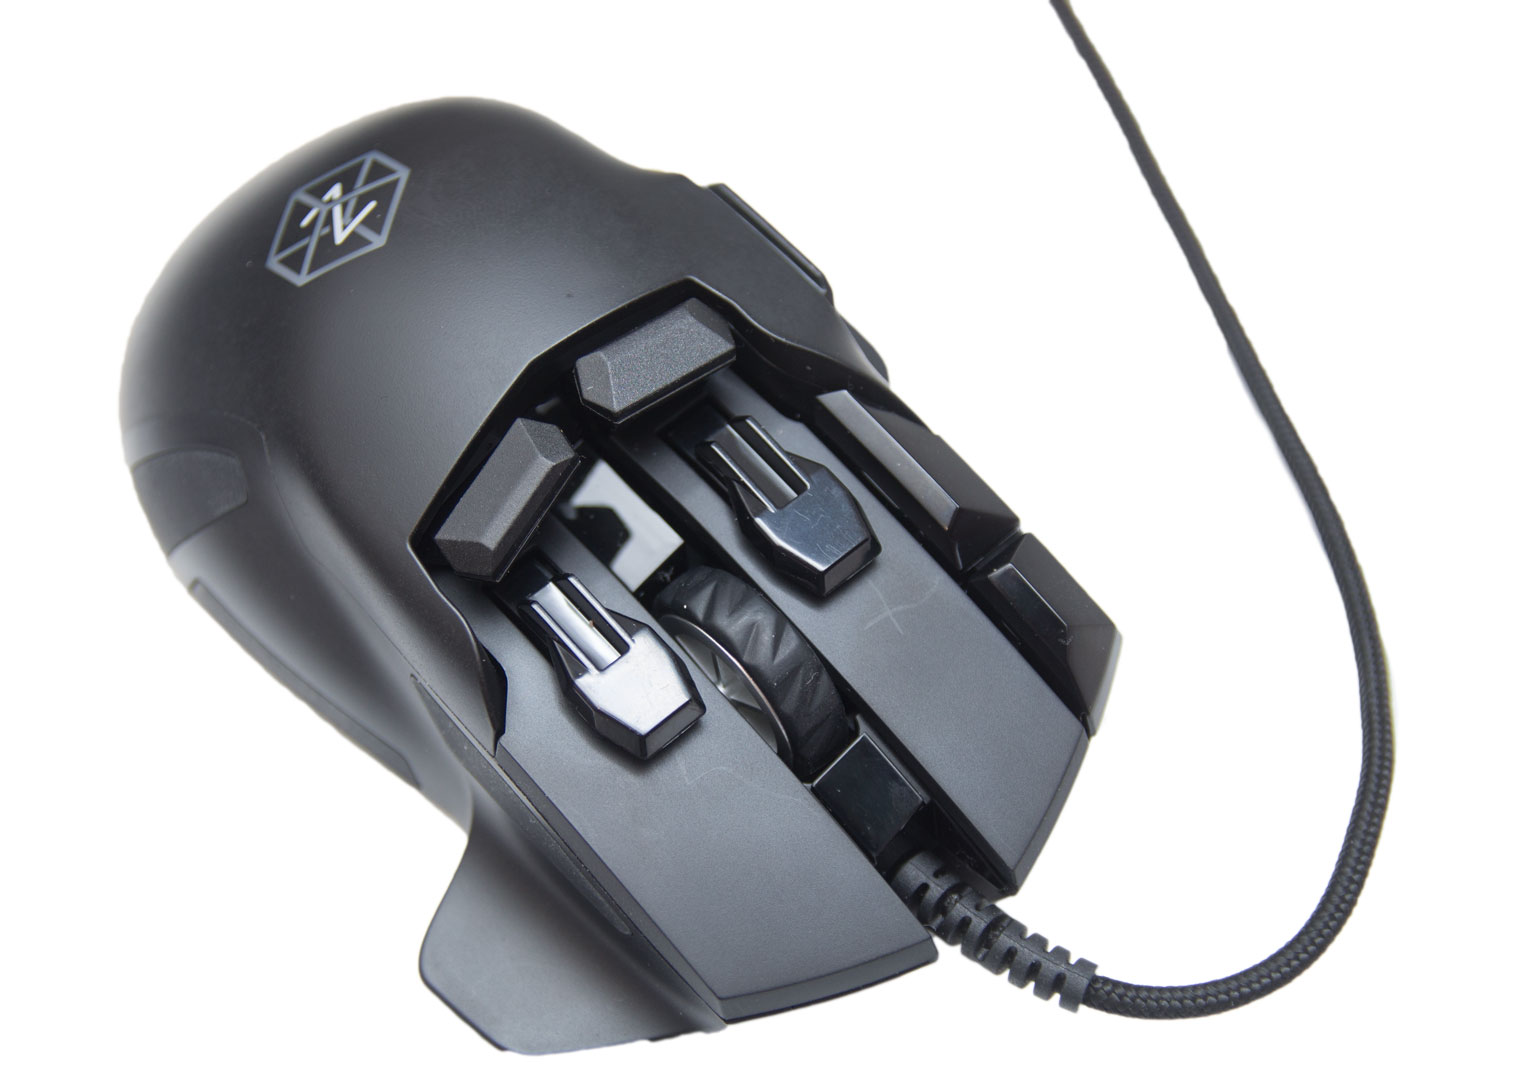
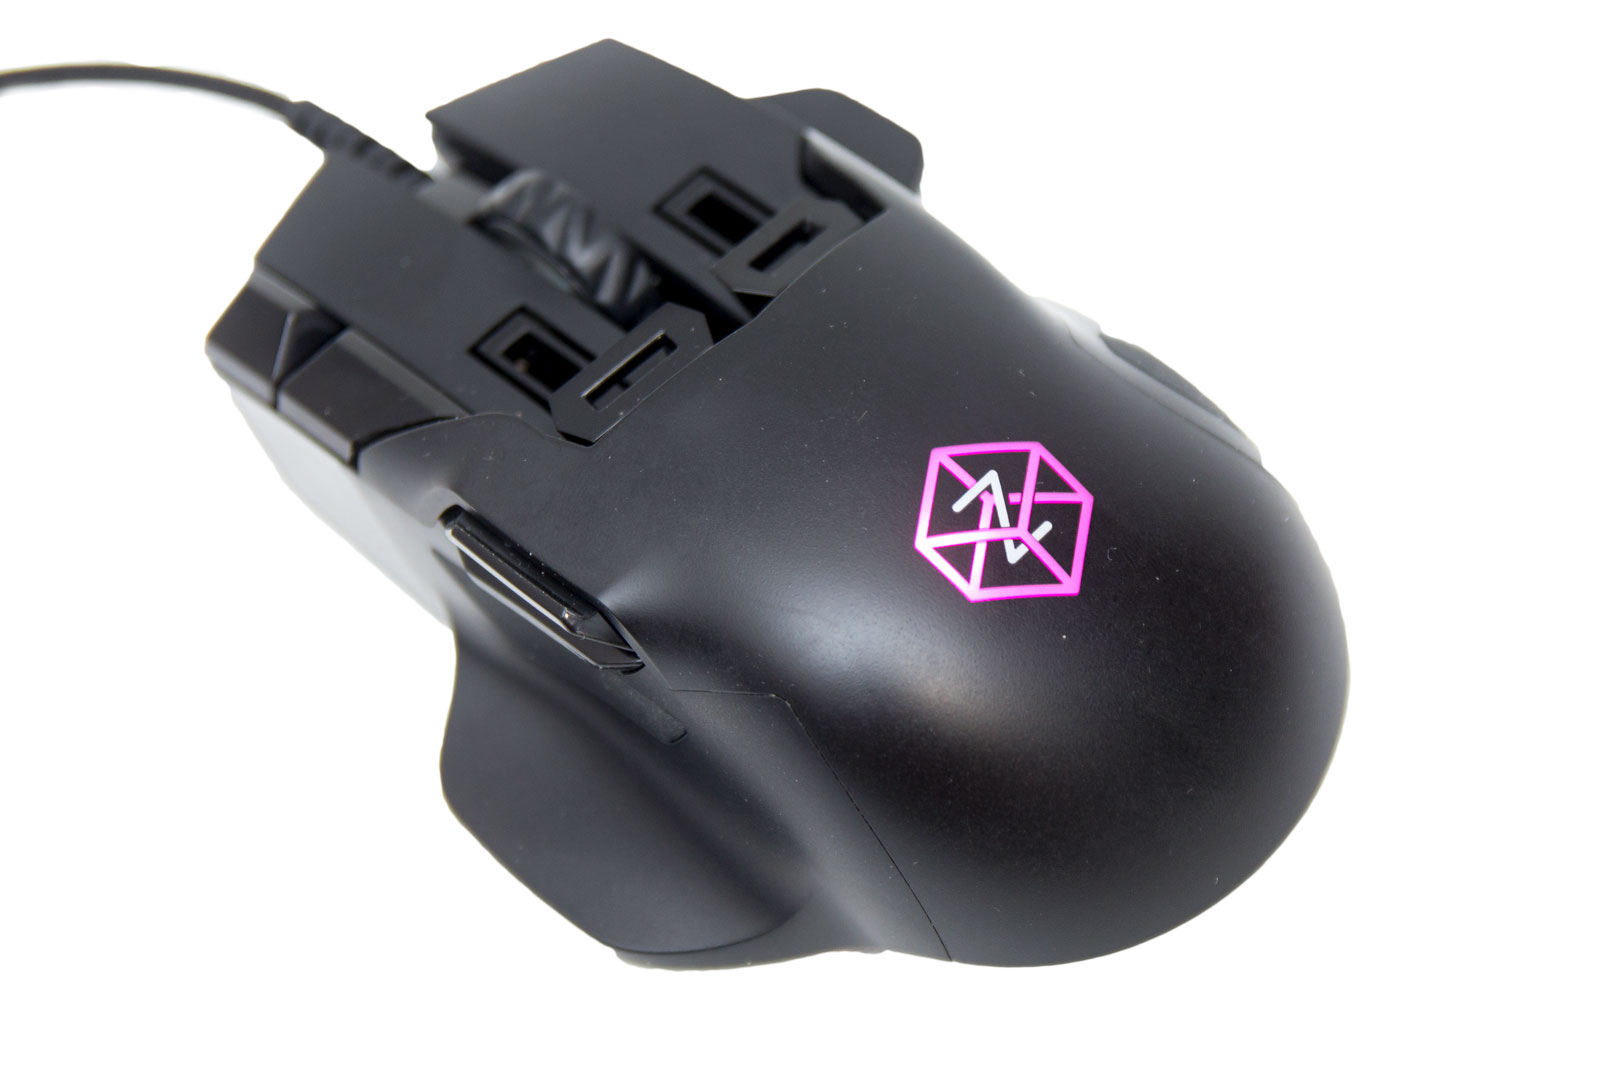
The Swiftpoint Z has 11 physical buttons and a scroll wheel, but with a bit of trickery, you have many more functions available if you want them. In this picture, the mouse is actually "nude"; we didn't put any of the button tops on yet, as we will come to them later. Some of the buttons are analogue, some can be pushed down as well as being pulled back, and some even have multiple responses based on the force of your click.
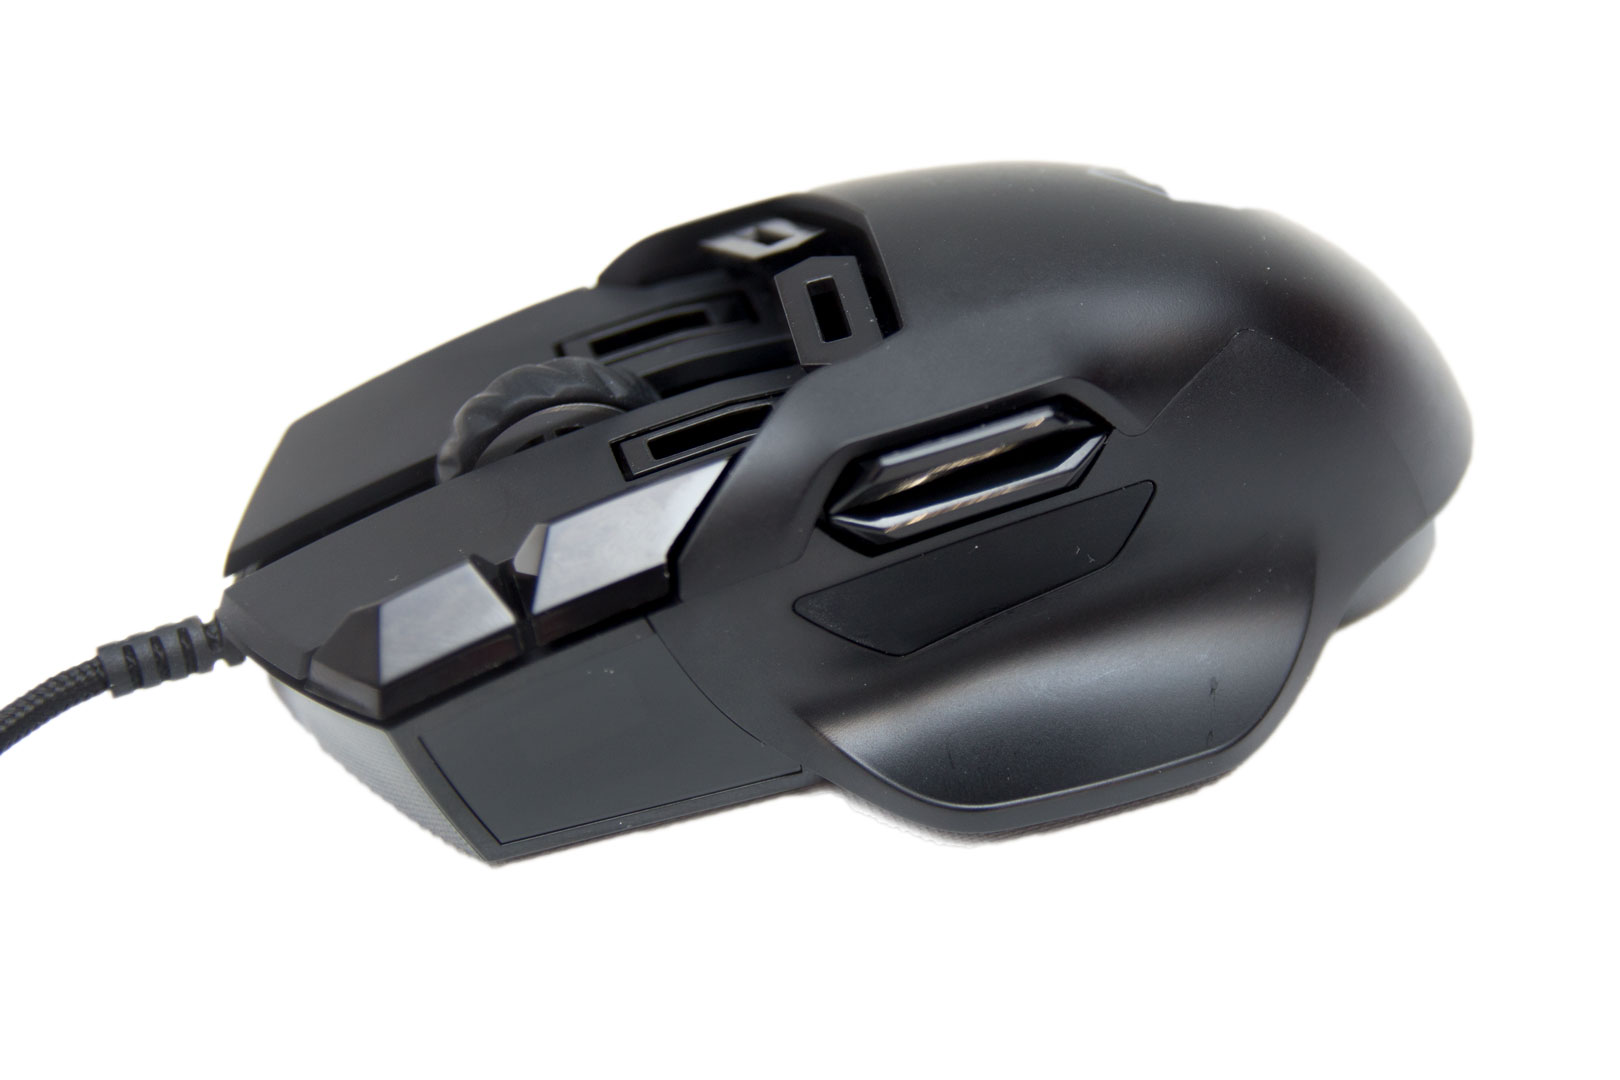
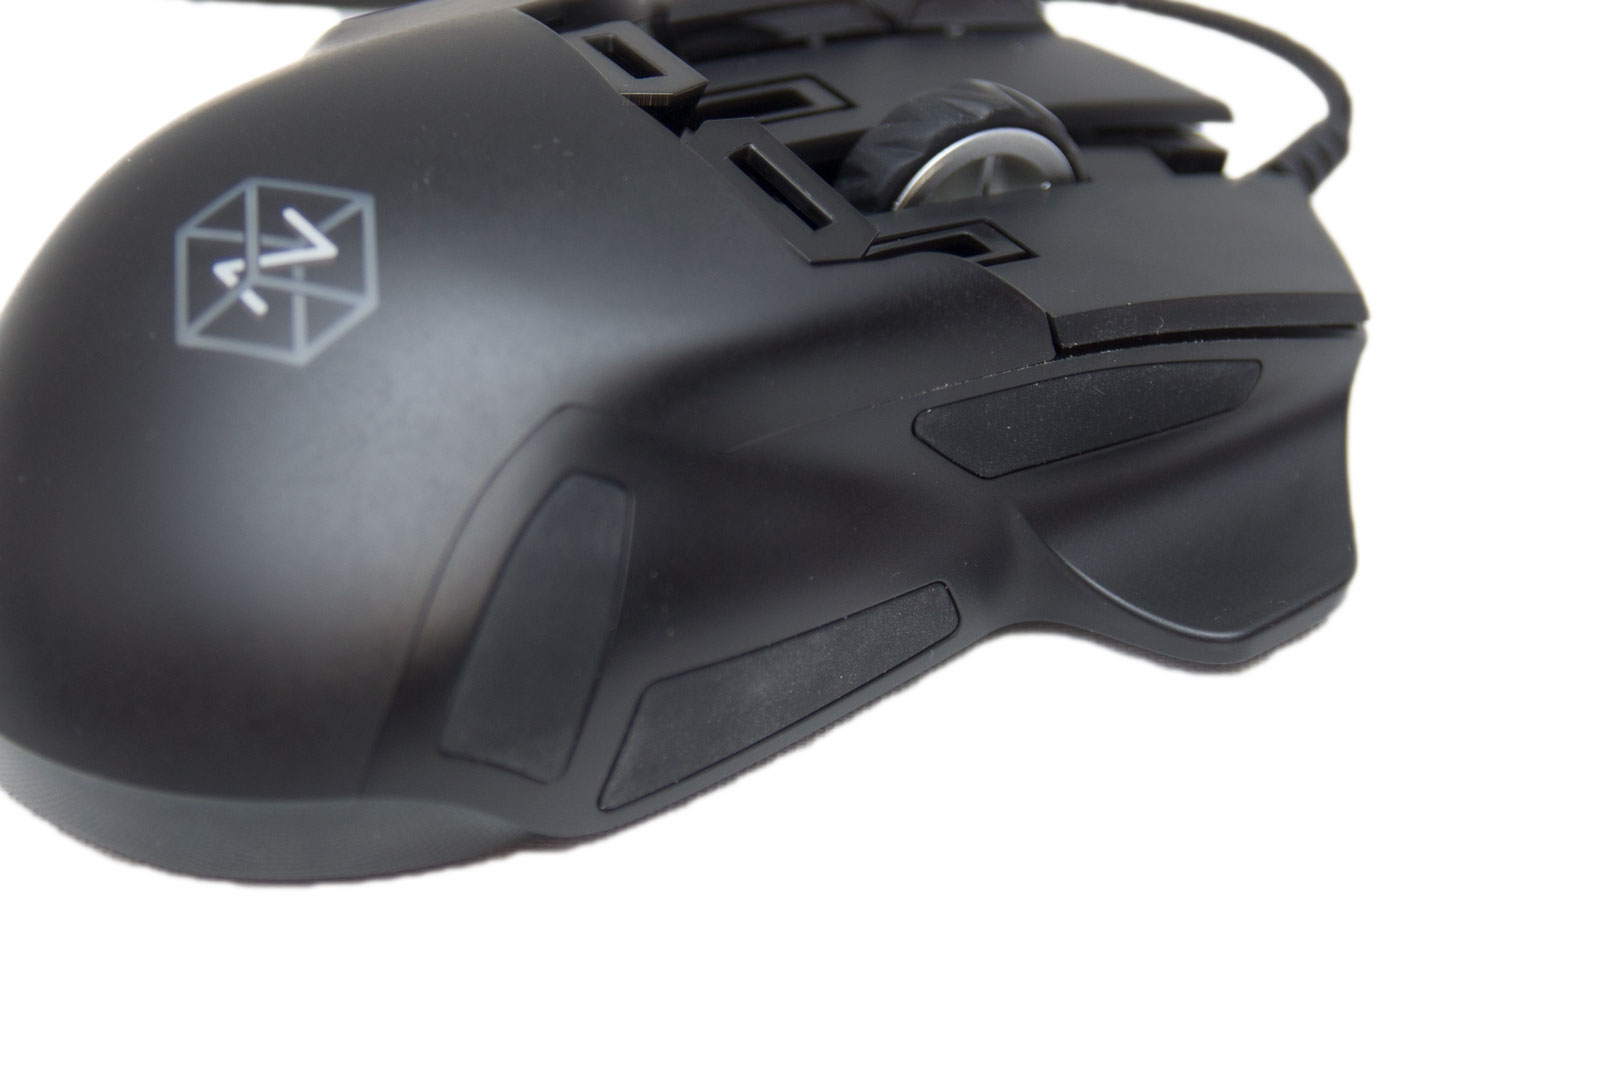
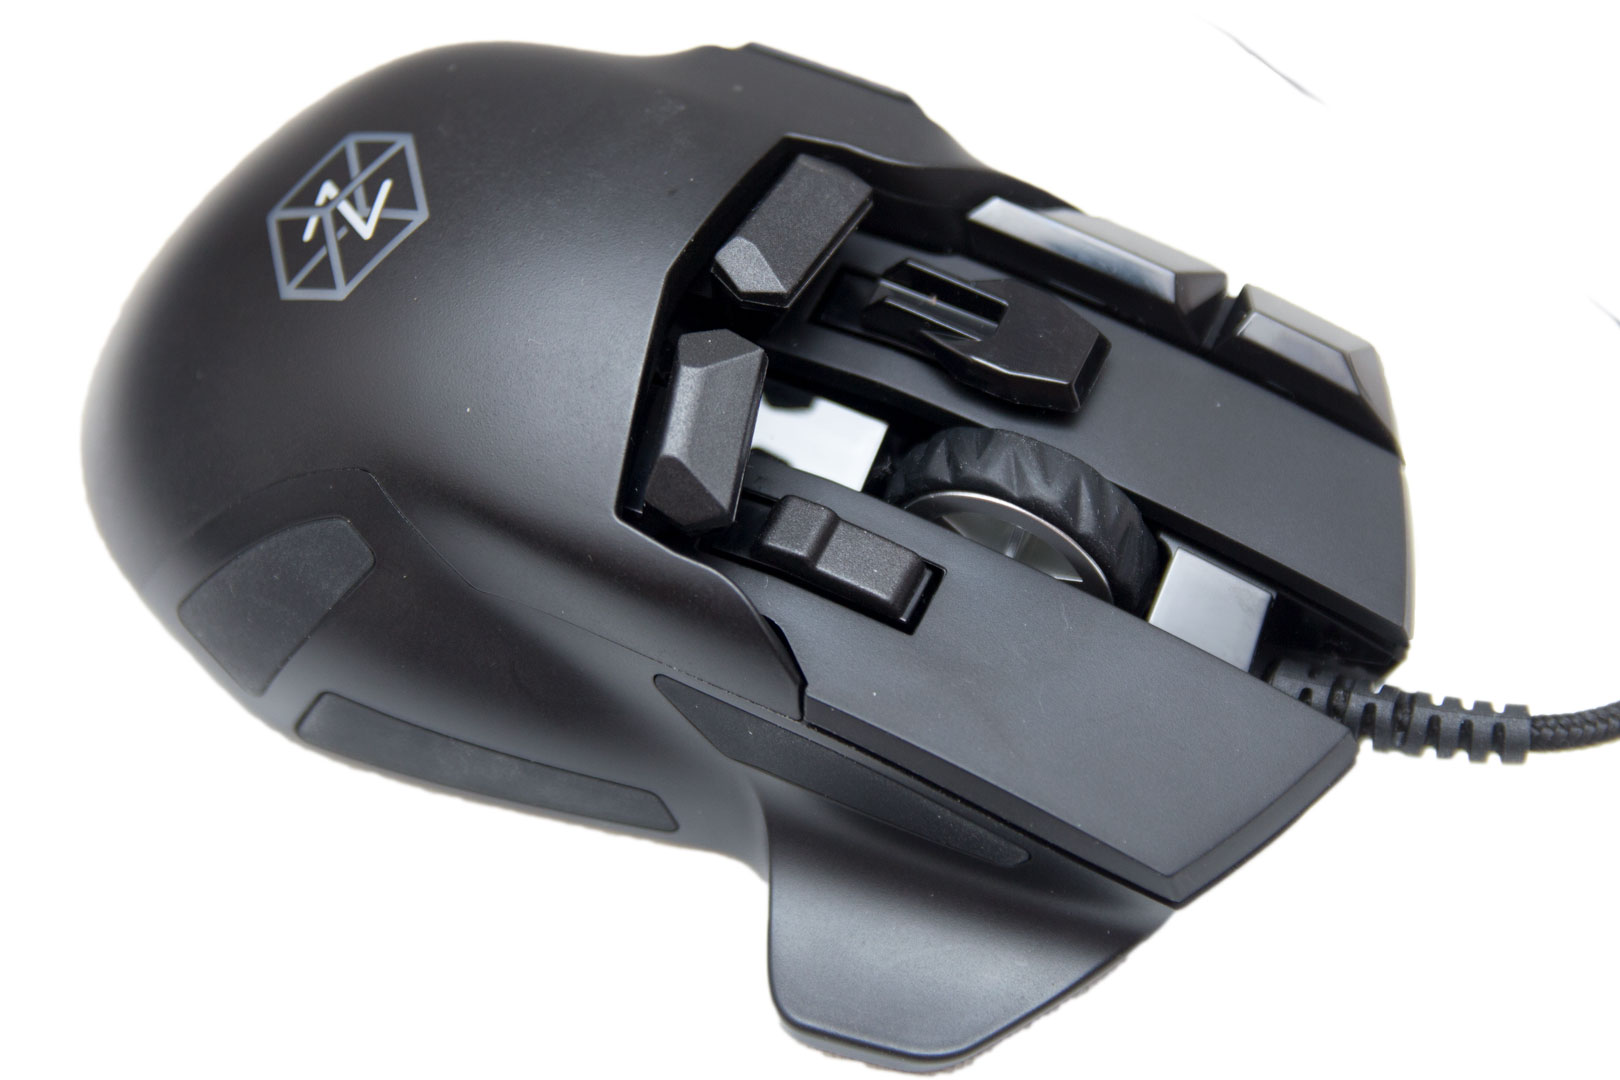
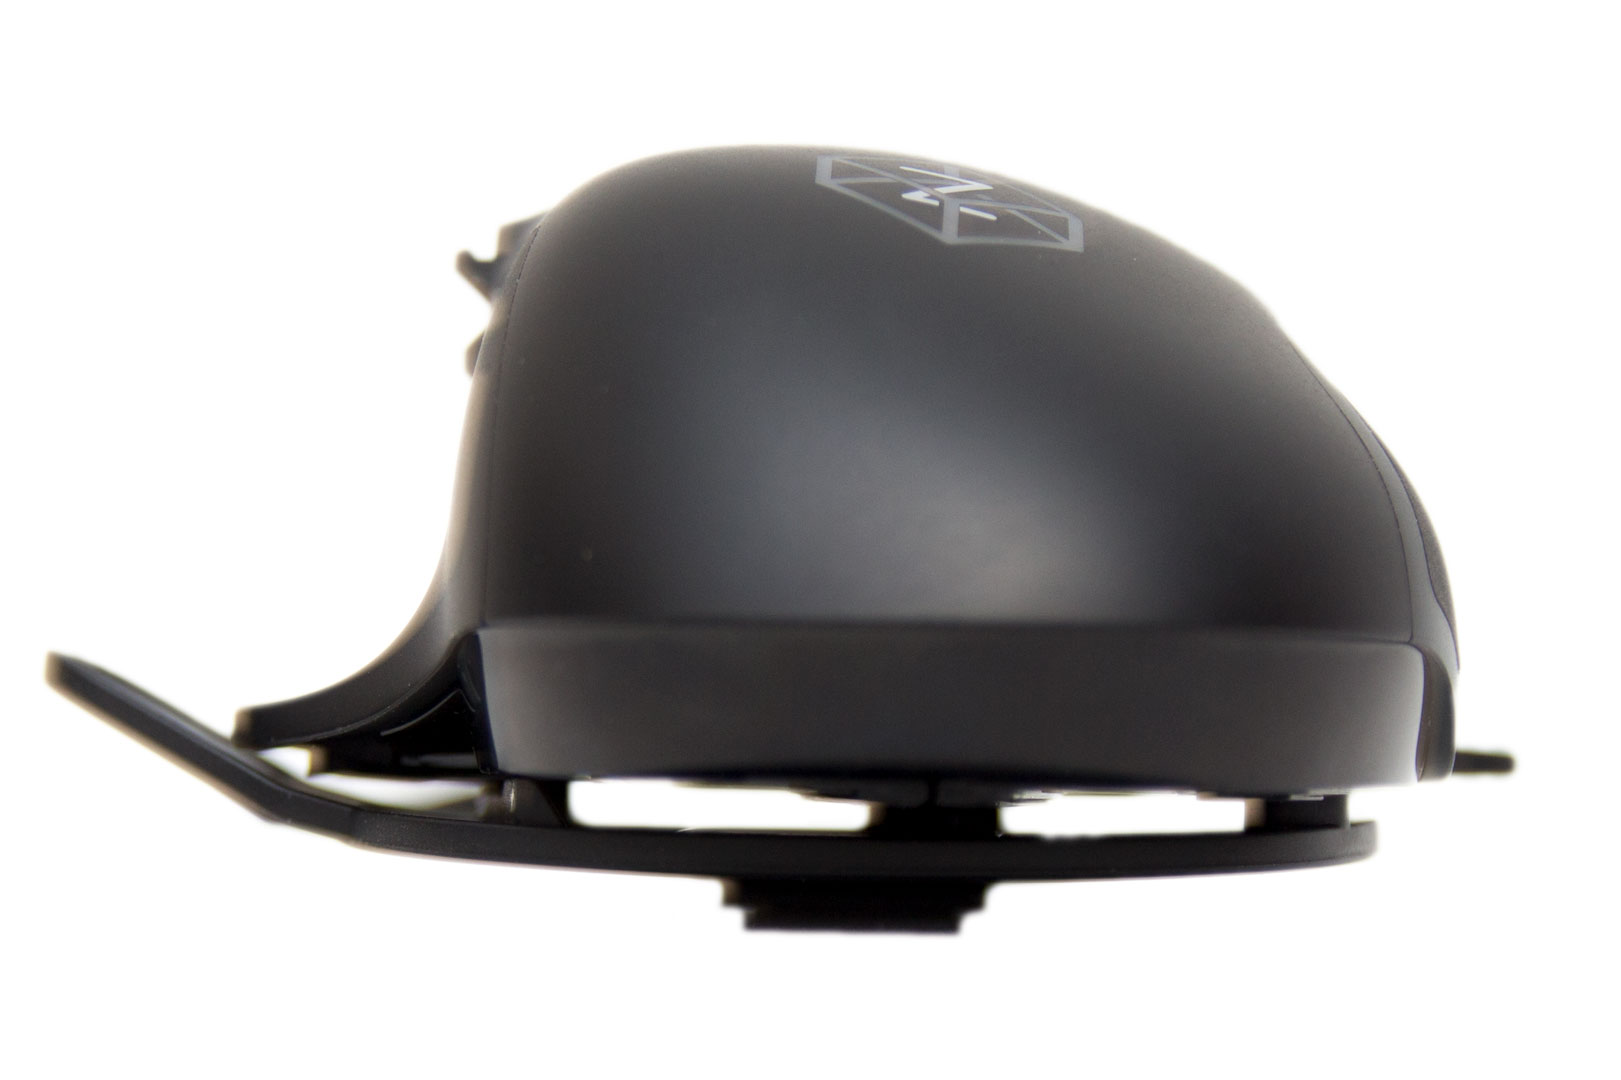
The mouse has been made for right-handed people and has some nice rubber grips and rests to give such users a comfortable experience. I found the Swiftpoint Z to be very comfortable after using it for a while, but at first, I did feel some wrist strain. This was probably caused by changing my grip a little so that I could rest my little finger on the small rest at the front of the mouse. Once I got used to the mouse, though, it was just as comfortable as my everyday mouse.
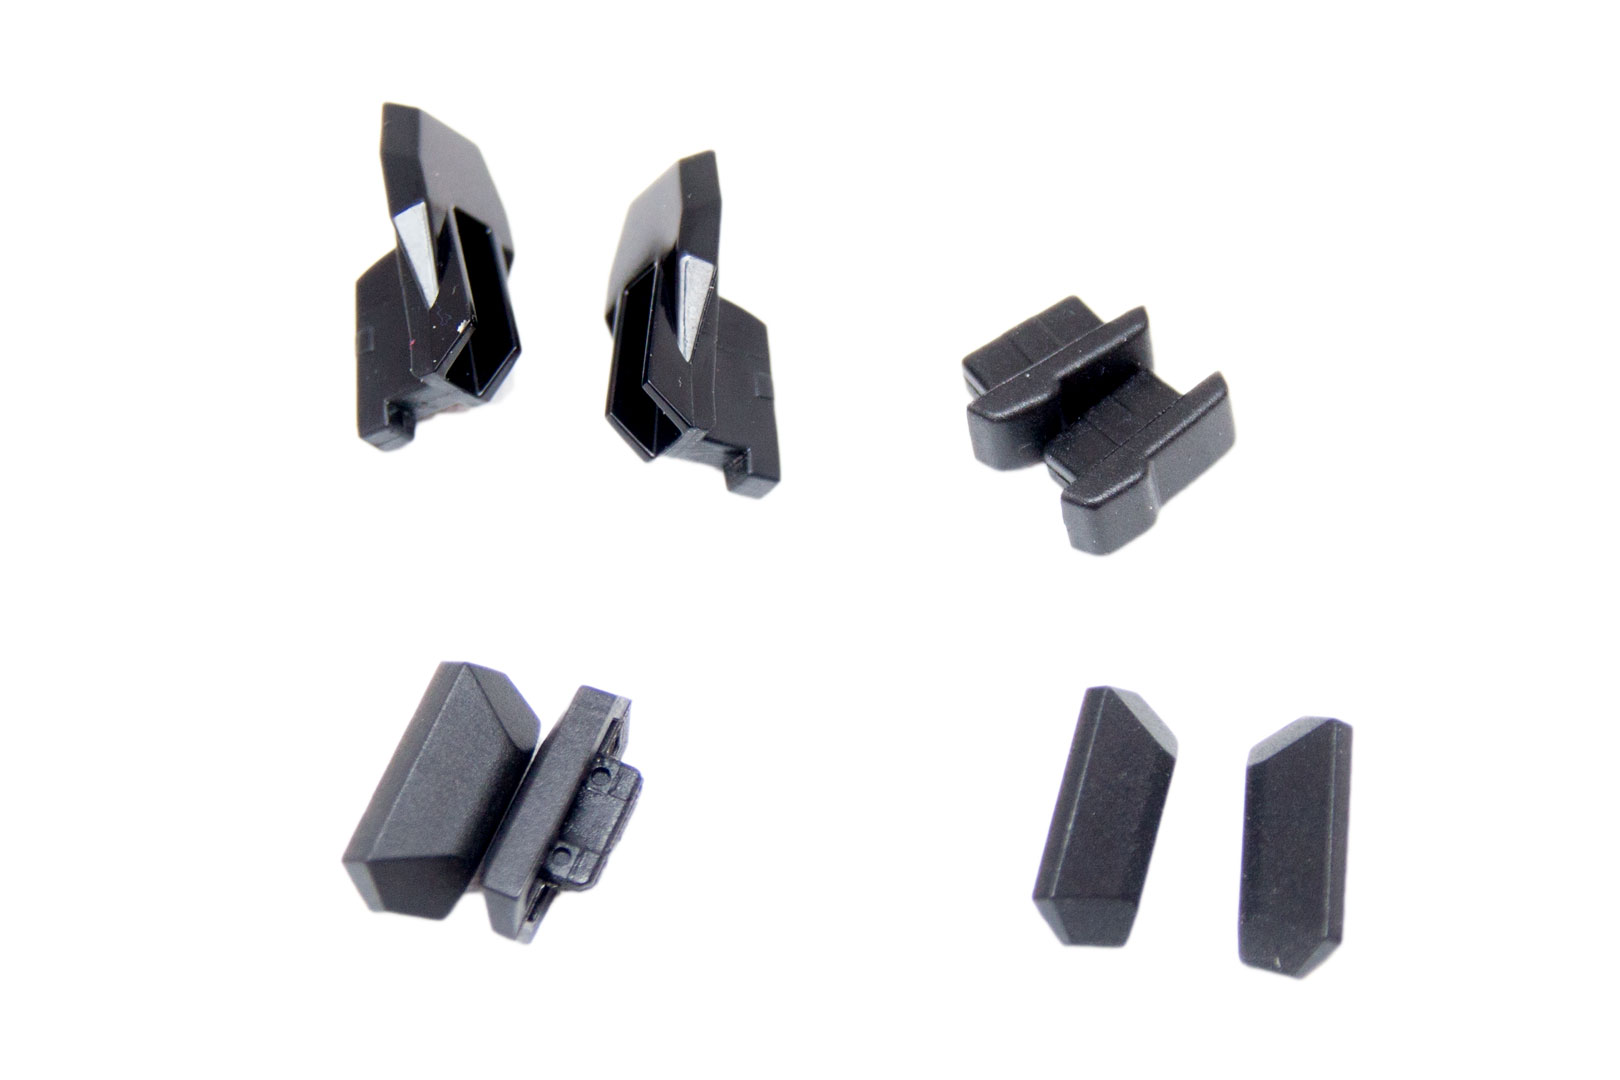
We previously mentioned button tops; these are simply different shaped buttons that really change the feel of the mouse. There are a few different ways you can configure the mouse, but instead of having just a left and right mouse button, you have another six buttons to play with for the same fingers. For the index finger you can touch five buttons, and with the middle finger you can reach three buttons. As already mentioned, these can be set up in loads of ways to give you even more options.

I kept the mouse with the smaller buttons at the back and then the large button caps for the middle buttons. This allowed me to reach everything easier with my small fingers, although with my middle finger I did struggle a little with the furthest back button. There are also larger buttons and different shaped buttons that can be made so that the raised area on them is closer to you. It is really hard to explain how these buttons change the feel of the mouse, but it is worth playing around to get a config that you really like, as they are positioned for easy, effortless pressing. It is also strange that you press the buttons in different ways, depending on how you are using the mouse. While using the mouse as a joystick (we will come to that later) I found I was using the two rear buttons far more and holding the mouse so I could hardly reach the left and right mouse buttons. Basically, it is up to you how you configure the mouse and it may change depending on how you use it.
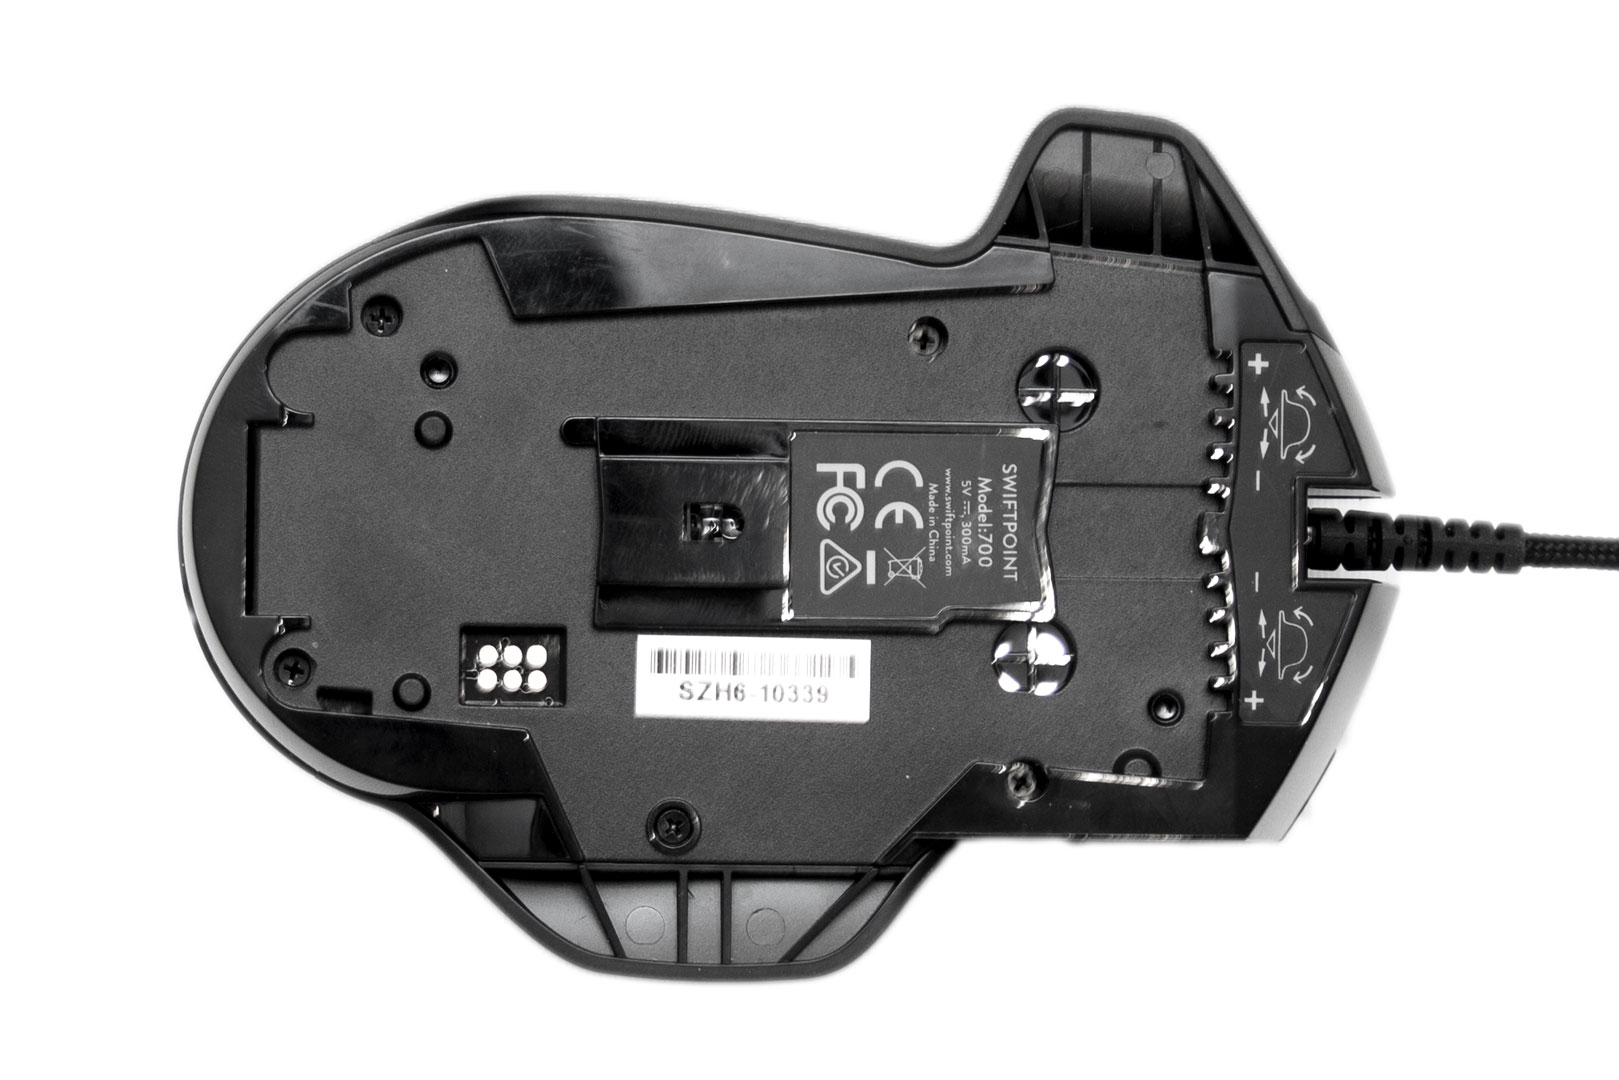
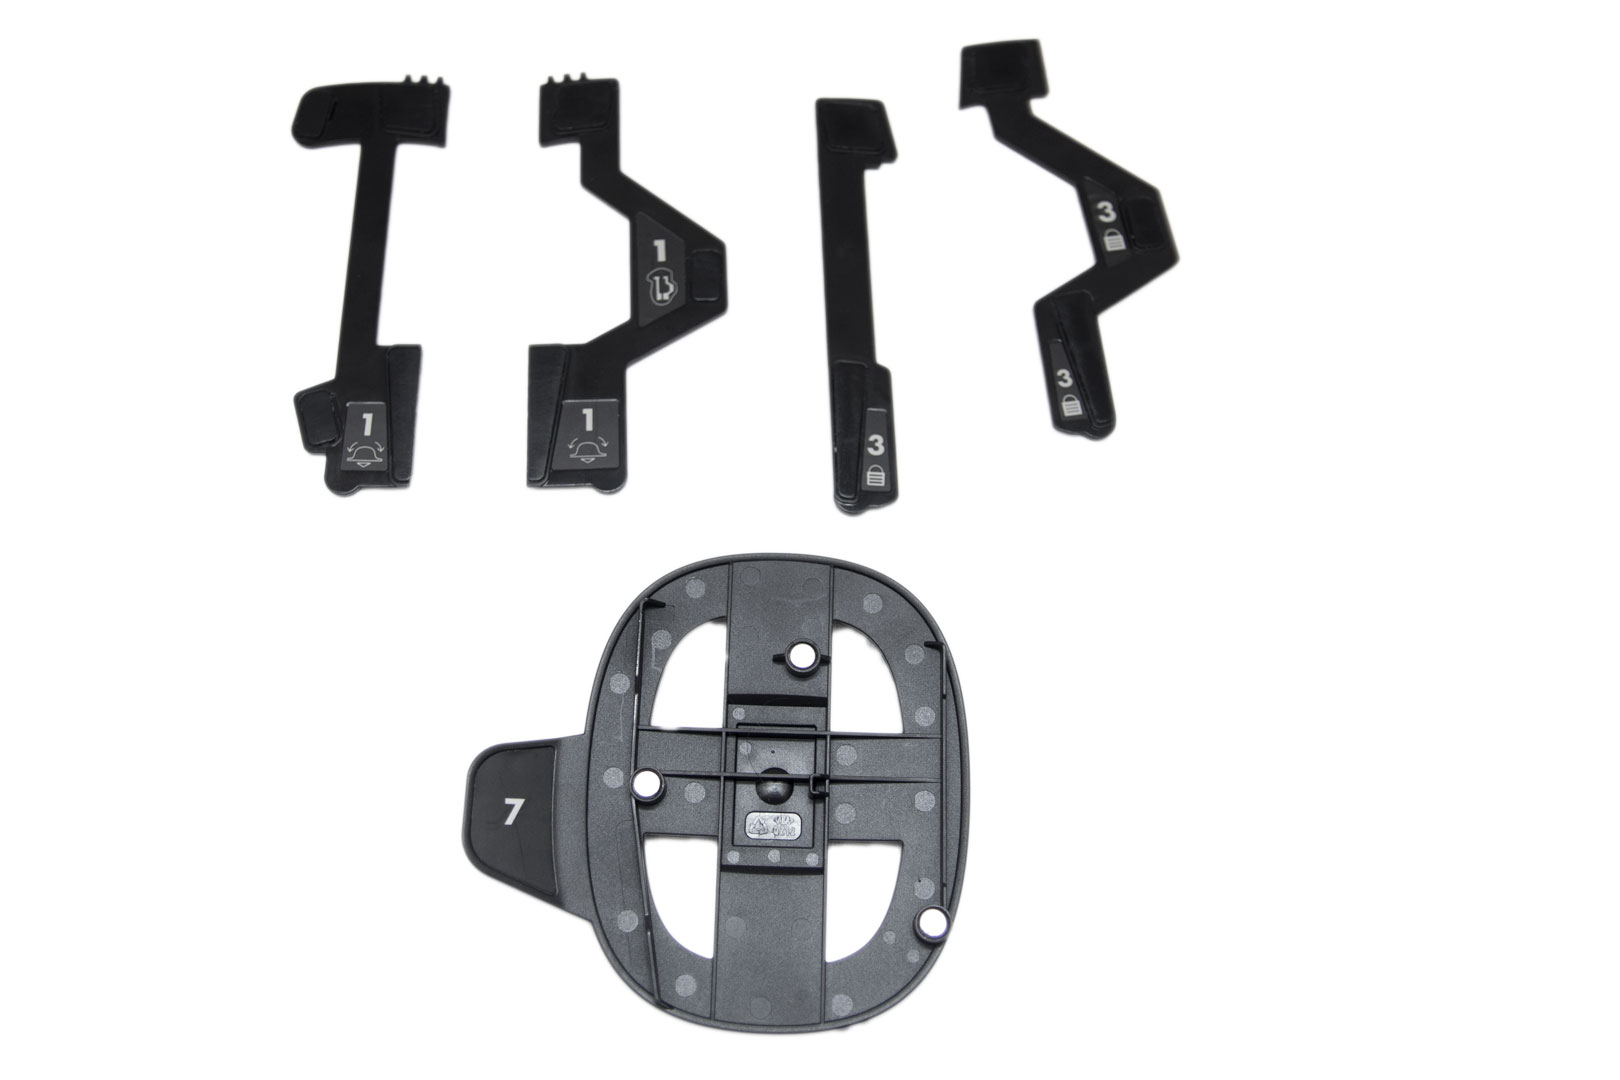
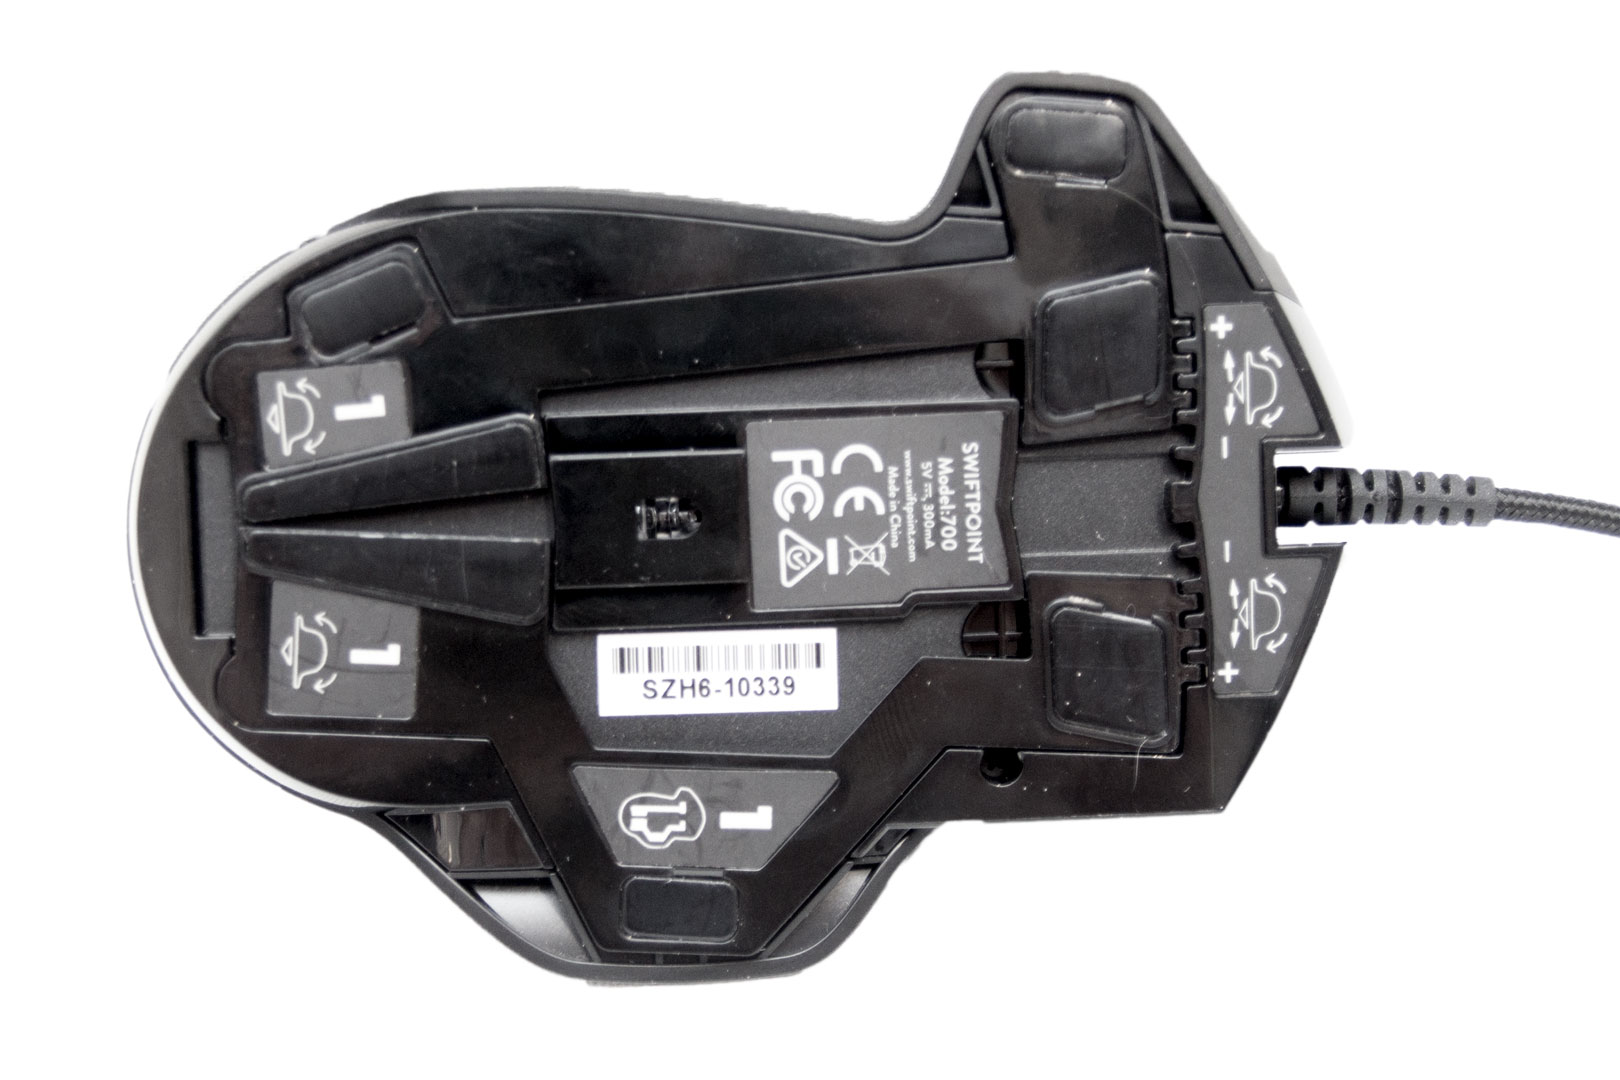
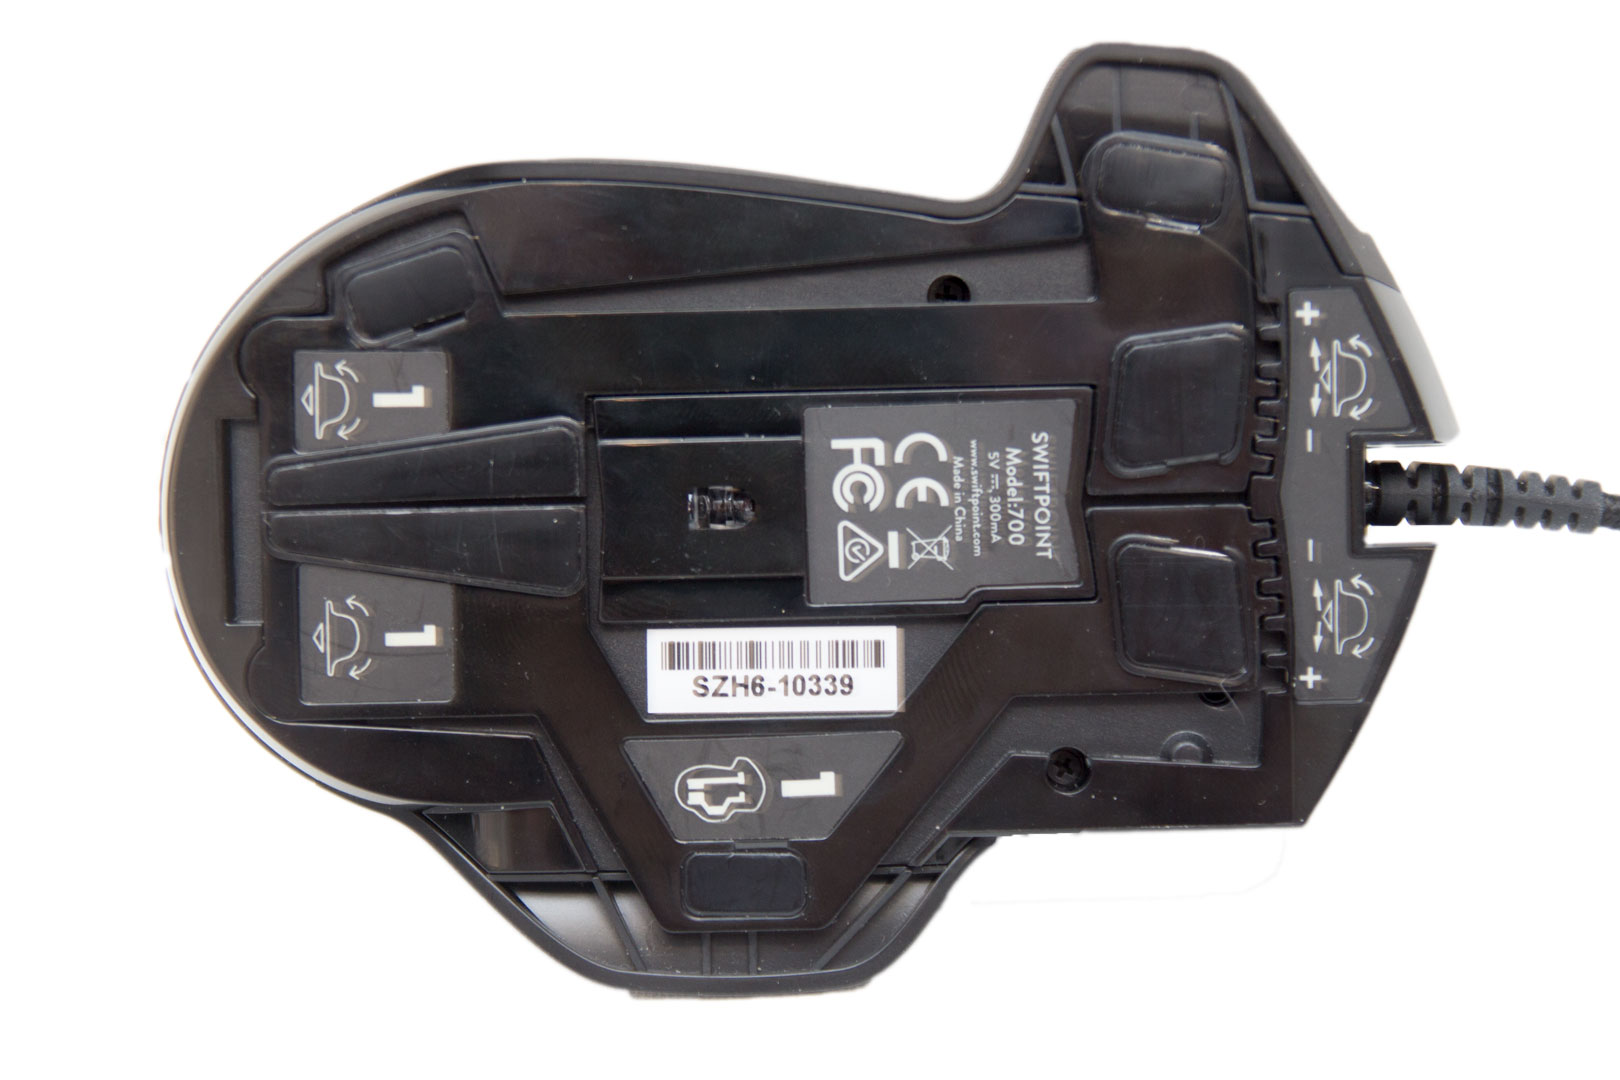
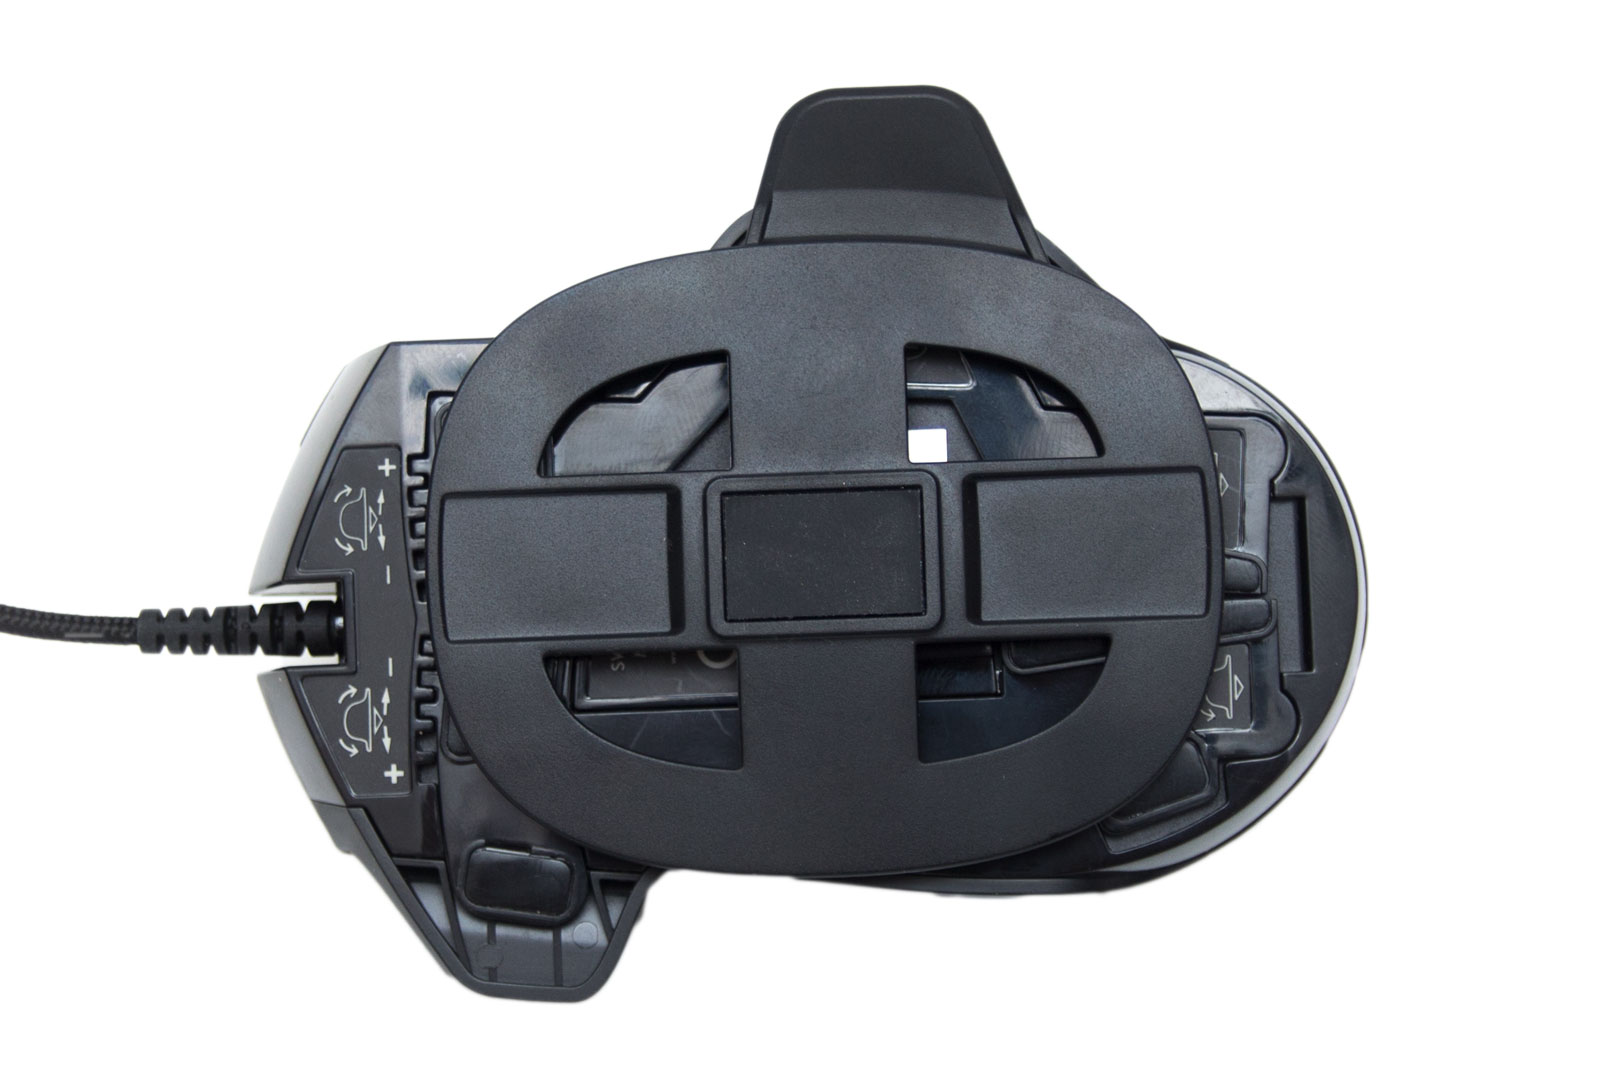
You also get different bases with the mouse. These work well but again take some getting used to. One of the bases allows you to use the mouse and tilt it a little, one locks the tilt, and the large one turns the mouse into a joystick. This works as the mouse features an accelerometer, gyroscope, force sensor, and also tactile feedback to make sure you know what position you are using the mouse in. The bases are held on by magnets and only take seconds to change. While we are looking at the underside, it is worth mentioning that the Switftpoint Z uses a Pixart PMW 3360 sensor. This is one of the best sensors on the market and as always it tracks very well indeed with no problems arising during testing.
The first base we are going to take a look at allows you to tilt the mouse a little. I used this base whilst playing PUBG, and it allowed me to lean left and right by physically tilting my mouse a little - very intuitive. Driving games were really good with this feature too, as you can turn with the tilt function. Since it is analogue as well, the more you tilt, the more it turns. Moving the base outwards towards the edge creates a more stable base, but if you want it to be a little more sensitive, move it closer to the sensor. You can also pivot the mouse left and right. The best way I can explain this is by thinking of the sensor as your body that stays still, but of the mouse as your head looking left and right. I used this in BF1 a lot, and you can even control the pitch, roll, and yaw in helicopters. Yup, that's right, you can control all of that by just moving the mouse around. As soon as you lift the mouse off the table, it knows, and you then control the helicopter/jet using the accelerometer and gyroscope. It did take me some getting used to, but after a while, it was rather fun.

If you don't want to use the tilting feature, you can use this flat lockout base. This just makes the mouse the same as a standard mouse here.
Sometimes, you may need a joystick for gaming. Personally, I haven't used one for a long time, but I know a lot of people who do. With the Swiftpoint Z, you can add the extra base on top of one of the above two bases using magnets, and it will make the mouse stationary. I tested this with Warthunder and mostly had positive experiences. I did find that sometimes I used too much pressure on the mouse and the magnets would come loose, however, but no doubt with a bit more time I would get used to this. It is worth noting that this base covers the sensor, so you won't be able to move the cursor with it attached, but it takes less than a second to get it on or off.

The Swiftpoint Z also offers a feature called Deep Click on the main and middle left/right buttons as well as the scroll wheel. This feature senses how hard you push the buttons, and the more you push it, the more actions are used. I actually couldn't think of anything to use this for when I first used it, so I searched to see what other people used it for. I then set it up so that pressing right click softly activated the scope, but pushing it a little bit more zoomed in, and fully pushing it in held my breath - then it was just a case of pressing left click to shoot. Doing this reduced my button presses by 50 percent for one simple action alone. Again, as with most of these features, it took time to get used to it, but you can set up how hard you need to push the buttons before they actuate in the software, giving you full control.

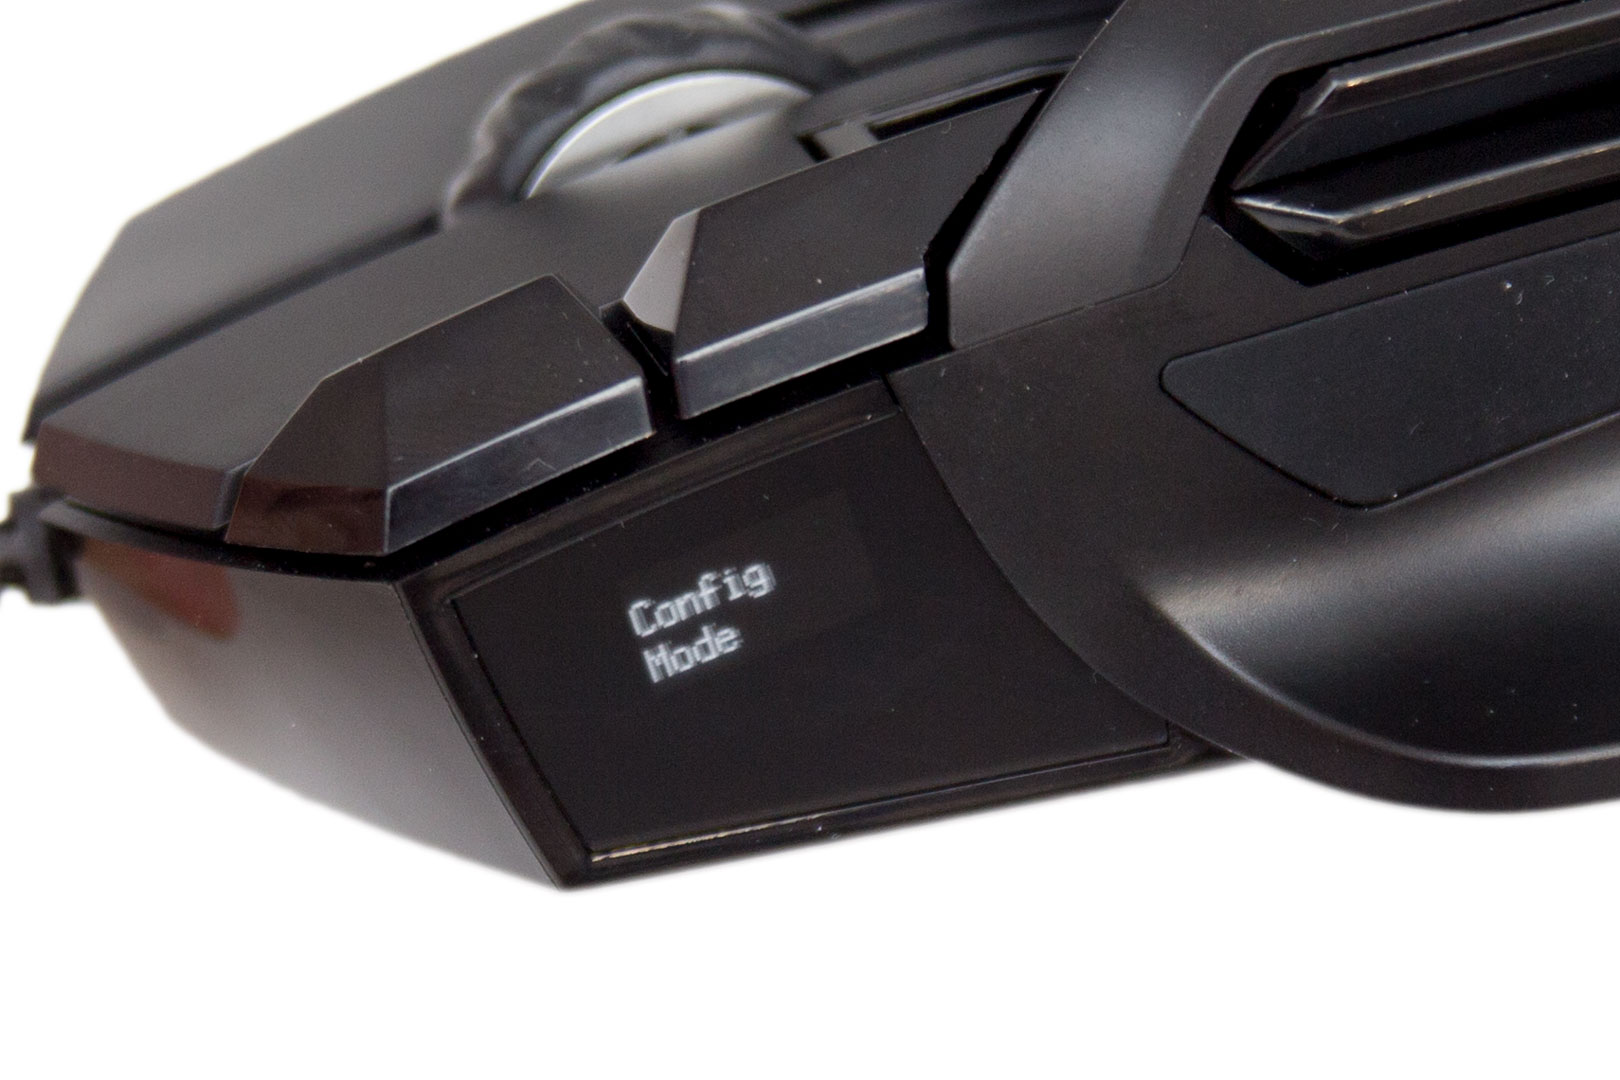
The Z also features an OLED screen. This is something that felt a little bit pointless for me, but is still quite clever. On the desk, it will show a default logo or a screen of your choice, but if you lift the mouse up and look at the screen, you can scroll through multiple options, change your profile, check your DPI settings, and more. It is something that I wouldn't have minded being left out, as I much preferred using the software.
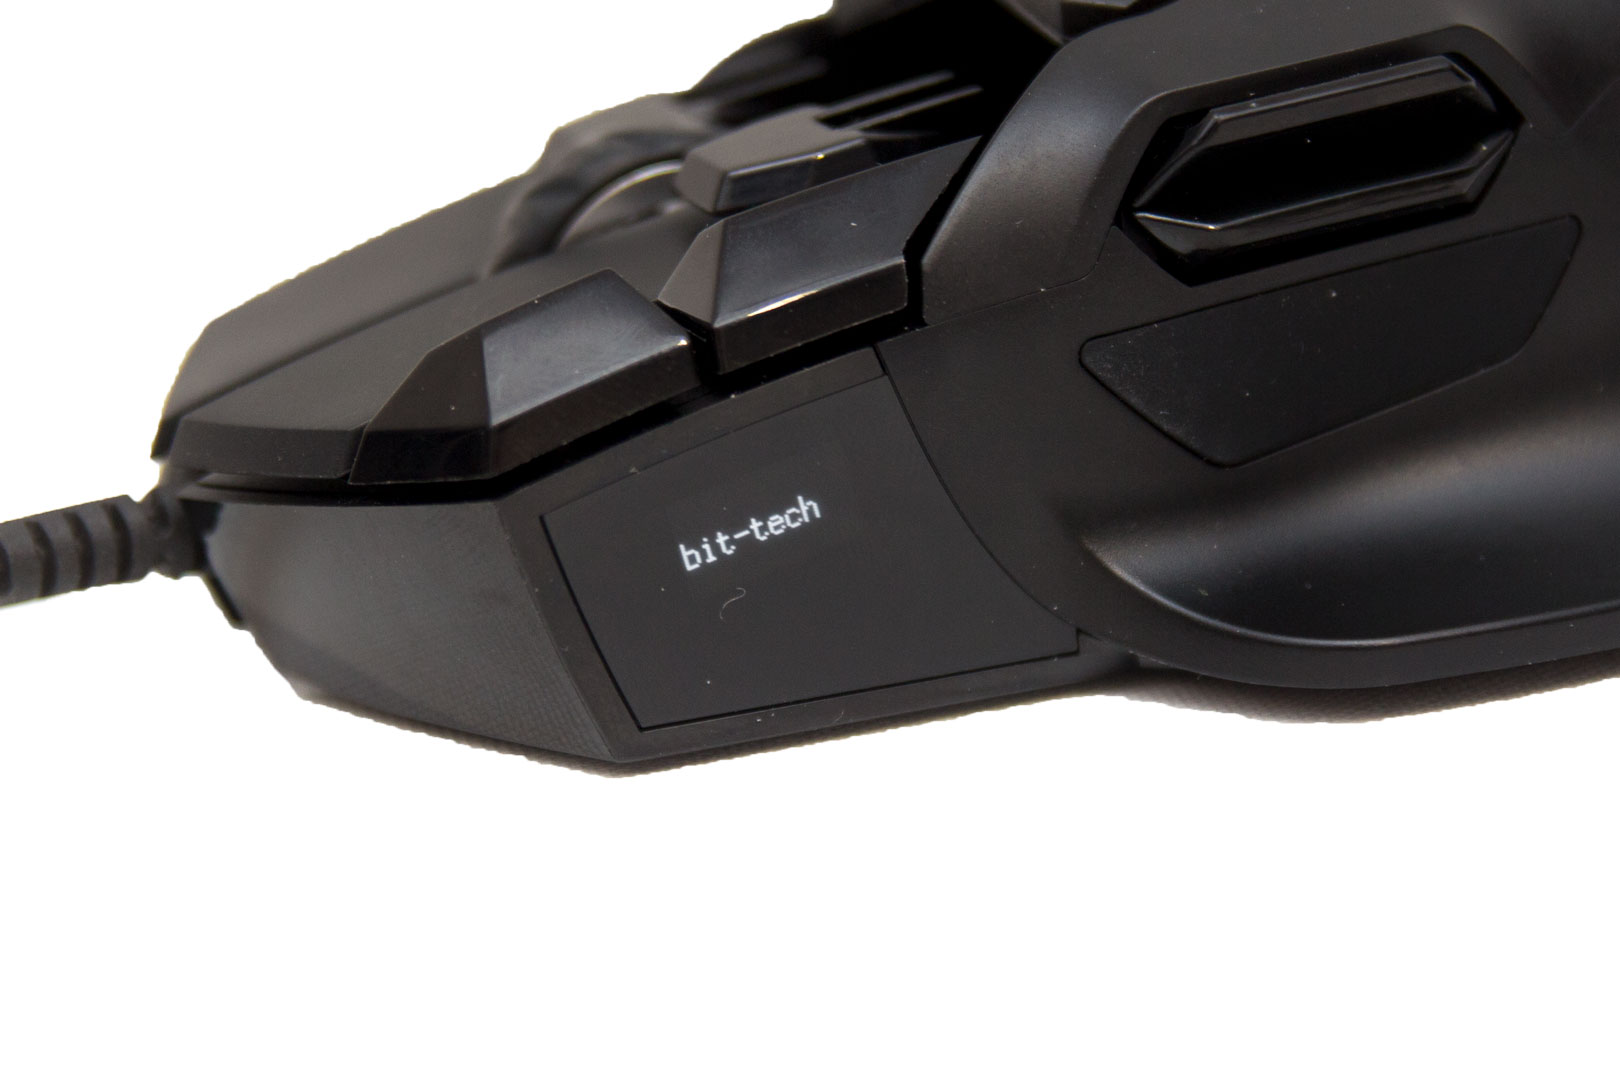
You are able to set the screen to display a personal message, but I am not sure why you would want to do this really; you don't really see the OLED screen much. The Z has a single RGB zone at the back, but you are limited to choosing a single colour or letting it scroll through a fixed selection, so lighting options are limited.
Writing about this mouse is very hard to do without showing you how the mouse reacts to the different inputs, which I can't do with pictures and text alone. If you have any confusion, check out this video from Swiftpoint, which is what I used when testing to figure out how to use the mouse to its full potential.
The Z relies heavily on its software, so let's take a look at that next.
RELATED ARTICLES


MSI MPG Velox 100R Chassis Review
October 14 2021 | 15:04


Want to comment? Please log in.