
Fire it up
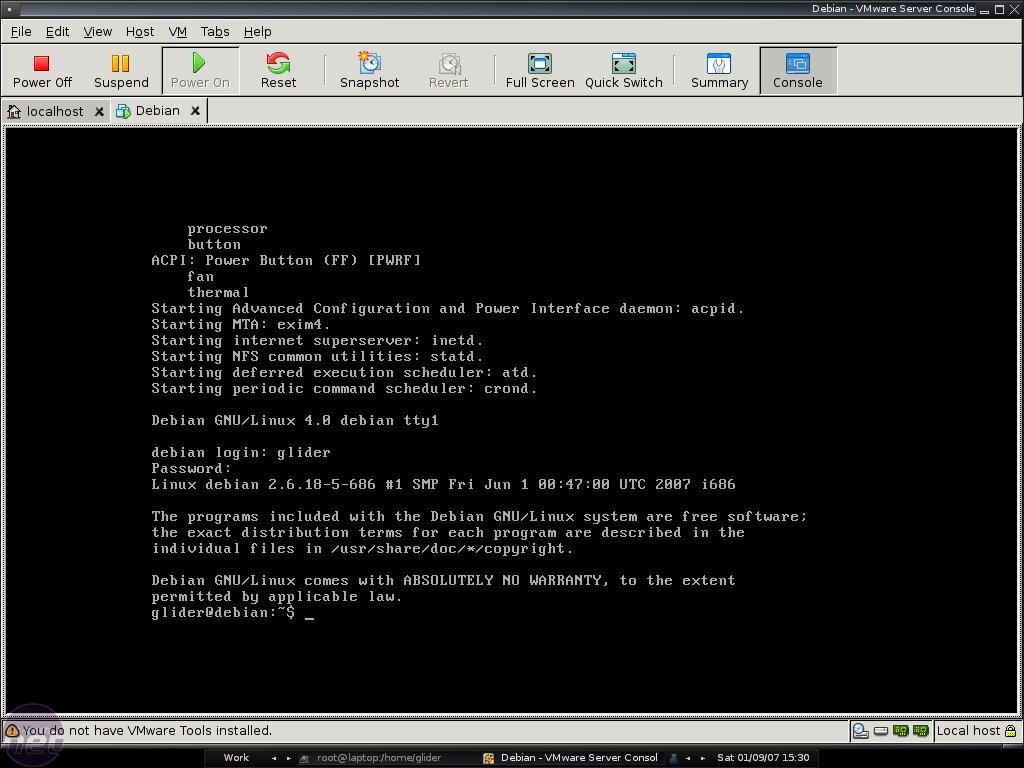
Ok, now that we have our environment up and rolling, it's time for a guided tour.First things first, we need to log in. Once the system has booted, you'll be greeted with a login prompt. The credentials we'll use here are the username and password that we set during the install.
For those of you who are using Ubuntu or Debian LiveCDs, just fire up a terminal and you're in. For the non graphical Live- or minimal CD users, you'll be greeted by a prompt already.
Welcome to BASH
Most distros use BASH as their standard shell, so the rest of the guide will be based around this. To start off, we'll verify if we are actually using a BASH shell (for ease all entered commands will be listed in bold).Just type echo $SHELL and hit enter (note: In Linux everything is case sensitive). The shell should respond with
/bin/bashas a reply. If it doesn't, don't fear - changing shells is easy. Just type bash and retry.
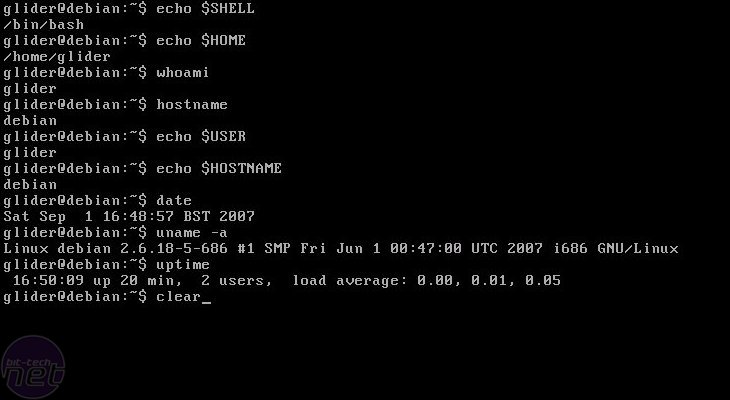
So, what did we just do? Well, “$SHELL” is a environment variable that is used on the system. There are a lot more, all with their own functions. We use the command echo to show us the contents of those variables. Most of you who are familiar with rudimentary programming (Hello, world! -- Ed.) will be familiar with echo, and it serves the exact same purpose in Linux.
Now, try to make the system show you the “$HOME” variable, which contains what is known as the absolute location of your homedir (/home/glider in my case). Absolute, because it's in reference to /, the root of the system. This is in contrast with relative paths, meaning relative to the directory you are currently working in. And your homedir is your home directory, which stores all of your personal files and settings - including your desktop folder if you're using a GUI.
Two other useful commands, especially when you start working on different host computers and with other usernames, are the whoami and hostname commands. Output of those commands will be your username and the hostname of the system. In my case these are
gliderand
debianThose two variables are also stored in “$USER” and “$HOSTNAME”.
You can also show the current date and time with date, some handy system & kernel information with uname -a or see how long the system has been on with uptime.
If you are like me and like to keep your screen neatly cleaned, clear will erase all previous output, so you aren't distracted by all the previous text your terminal threw at you.
Basic File operations
Had enough of the boring shell introduction, and want to move on to some real useful commands? Then it's time to interact with some files. But before we can toss them around, remove them or alter their contents, we first need some files to work with.To create a file, we use the touch” command. Touching a file changes the timestamp on a file to the current time, but when the file doesn't exist, it will be created - without any contents. So, touch myfirstfile will create your first file. (Hush it, you pervs! -- Ed.)
But how do you check if it's really there? For that we have “ls”. Ls is short for LiSt directory contents. So, issue ls and verify that 'myfirstfile' is really there. If we create a second file, with touch mysecondfile and list the directory contents with ls you'll see them both.
While touching and listing files is enormous fun, there is even more to explore in the world of CLI. Next in line is the command to copy files, dubbed “cp”. The syntax cp uses is the same as used in nearly all Linux commands. “cp <what> <where>”. So, cp myfirstfile mythirdfile will copy 'myfirstfile' to a file named 'mythirdfile'. Don't forget to check with ls that you did it right!
We can also move files, through the use of “mv”. Moving basically is short for "copy the file and remove the original." So mv mysecondfile myfourthfile copys the second one to the fourth, and removes the second one afterwards.
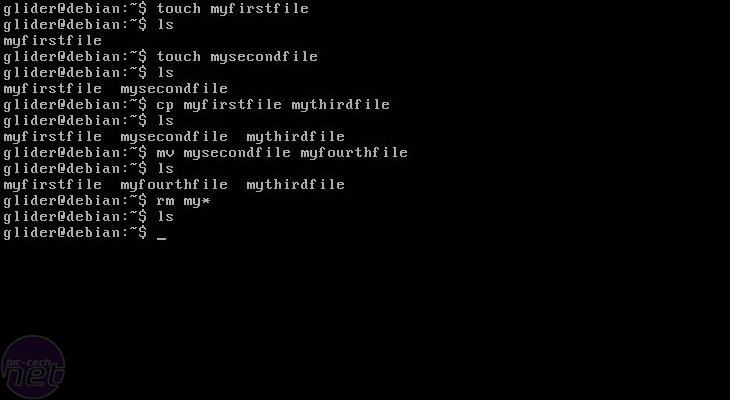
All those copying and moving commands will clutter things up very quickly. So, to delete files you have the “rm” command at your disposal. rm mythirdfile removes the file. Not that impressed you say? Well, these easy commands are more powerful than you can imagine. For instance, they all accept wildcards, like “*”. So rm my* removes all the files starting with "my" in the current directory.
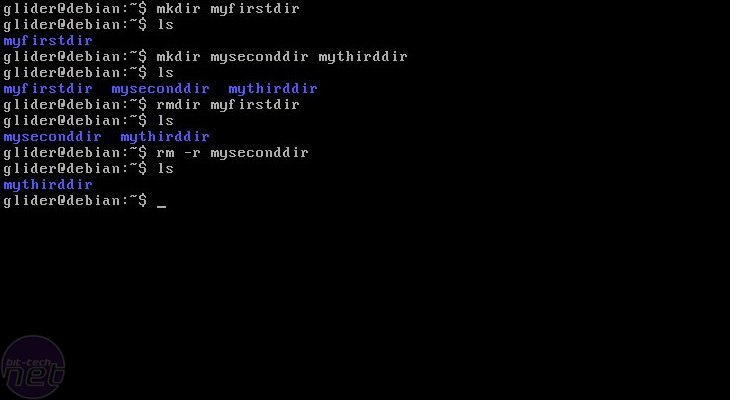
So, since we're moving files around, we need places to put them - which brings us to directories. Creating directories is done through “mkdir”. mkdir myfirstdir creates our first directory. As an addition, “mkdir” accepts multiple arguments, so mkdir myseconddir mythirddir creates two directories in one command. Though that may not sound big, it's a huge boon when we get to scripting.
Likewise, removing them is done with “rmdir”. Try it with rmdir myfirstdir. “Rmdir” has a but, though - It only removes empty directories. That's both an advantage and a disadvantage - no worries though, with the correct switch “rm” can remove directories too. rm -r myseconddir removes “myseconddir” recursively, thus also removing the directory (and all files within it, including subdirectories).
Finally, we have one more important command - switching between different directories. Changing directories is done with “cd”.
RELATED ARTICLES


MSI MPG Velox 100R Chassis Review
October 14 2021 | 15:04

Want to comment? Please log in.