
Creating backups
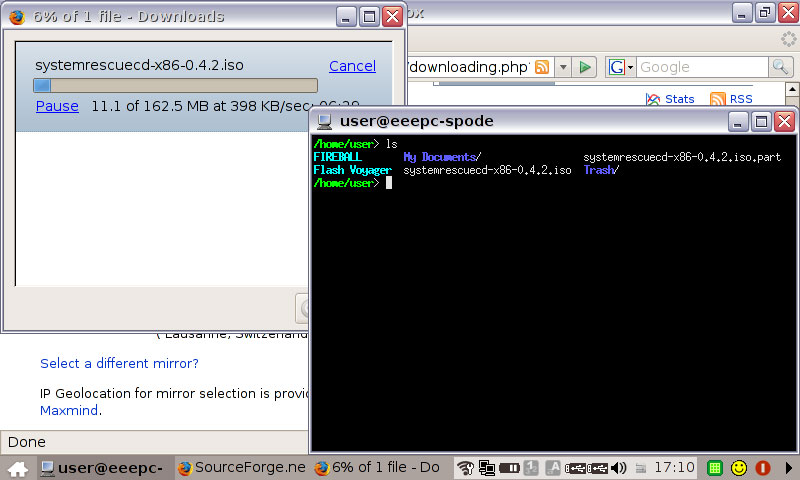
After this is done, you need to remove the flash drive and then plug it in again. This needs to be done in order to remount the filesystem.We now need the Rescue CD ISO – this can be downloaded from the System Rescue CD website. You’ll need to save it in /home/user – it’s around 170MB in size, which is quite large considering the Eee PC’s available storage. I’m sure you’ll be pleased to know that it can be deleted once you're done.
However, because of some issues with UnionFS, you can't mount the ISO like you would on a traditional Linux operating system. As a result, we are going to have to extract it instead.
cd /home/user/
sudo file-roller ./systemrescuecd-x86-0.4.2.iso

File-roller is a graphical tool and can extract the ISO as required – extract all of the files to the root of your flash drive.
Once this is done, we now need to move everything inside all the sub folders into the root of the flash drive. This can be done from the internal file manager, or from the console. It's easiest just to copy my console commands in below. In my case, the flash drive is called “FIREBALL” - this will probably change in your case.
sudo su -
cd /home/user/FIREBALL/partition1
mv ./syslinux/* ./
mv ./isolinux/* ./
mv ./bootdisk/* ./
Now we're going to add in a simple script I wrote to make things a little easier once we've booted up.
sudo su -
cd /home/user/FIREBALL/partition1
mkdir backups
nano ./backup.sh
Then paste the code below into our new file. What this does is to essentially remount the flash disk as read-write and then to launch partimage. Remember that ‘/dev/sdc1’ may well be different on your machine, so I’d advise you to double check that this is the case using partimage.
#!/bin/bash
mount -o remount,rw /dev/sdc1 /mnt/cdrom
cd /mnt/cdrom/backups
partimage
After saving the file (CTRL+X to quit and you will be prompted to save), make it an executable.
chmod +x ./backup.sh
After you’ve done this, your USB stick should be ready to go – you’ll need to select it to boot in the BIOS, by pressing F2 when the computer is POSTing. Once the Eee PC boots up, you’ll need to run the script that you’ve just created.
/mnt/cdrom/backup.sh
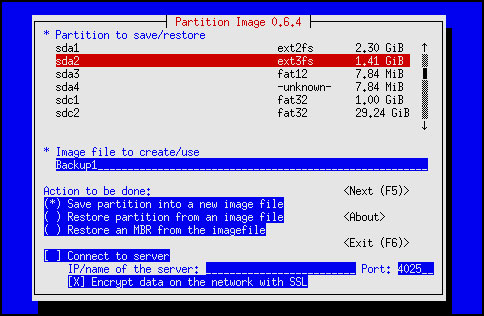
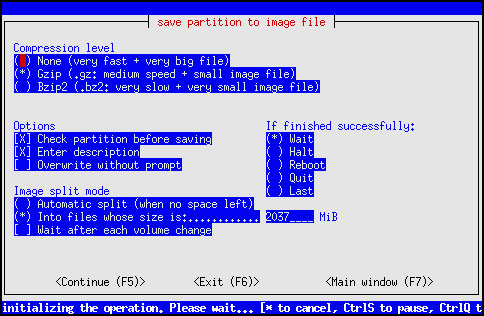
From inside partimage, it's very easy to work out what to do. The partition you want to back up is 1.4GB (/dev/sdb1). Unless you specify otherwise, all the backups will end up in the folder partimage is run from. For example, if you're using my script, that will be “backups” on the root of your flash drive. Restoring images is pretty much a reverse of backing up. I found backups took around three to four minutes (due to the compression) and restores took a little under a minute.
RELATED ARTICLES


MSI MPG Velox 100R Chassis Review
October 14 2021 | 15:04

Want to comment? Please log in.