
Locking Piece...
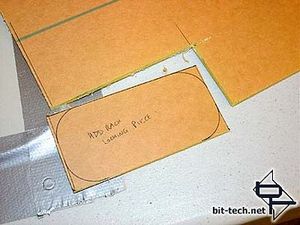
I cut out a small piece of 3mm plexi with a hacksaw...
...filed and sanded it to shape and drilled a couple of holes.
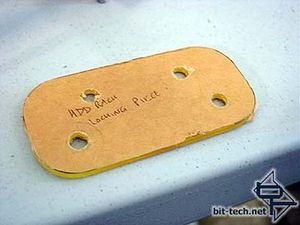
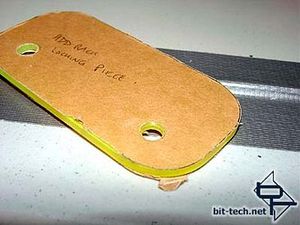
After test-fitting, some more holes were drilled and all the edges chamfered with a counter-sink.
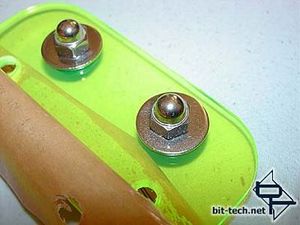
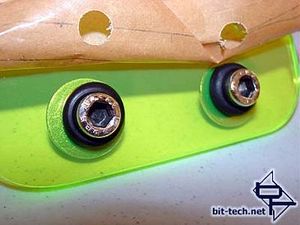
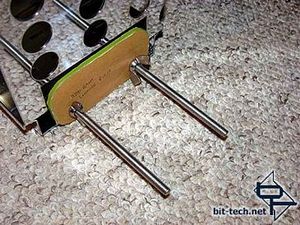
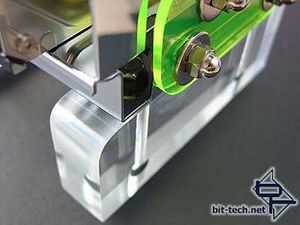
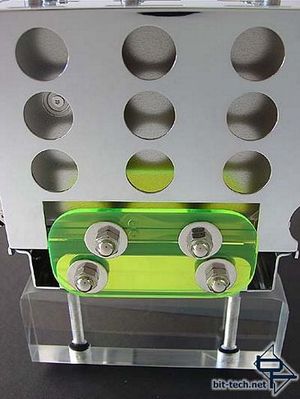
Some very short 6mm socket head cap screws were inserted through the top two holes with stainless steel dome-nuts and washers. From the rear - the rubber washers and socket heads are designed to hook over the edge of the drive rack and prevent it from lifting up or sliding sideways.
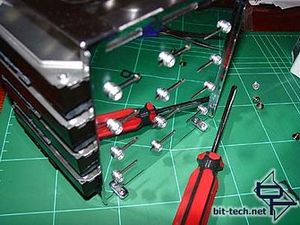
The drives were fixed in place with standard screws and some washers. C-strip edge moulding was used behind the locking piece to tidy up the edge of the actual rack itself where I had cut off the other half of the original mounting.
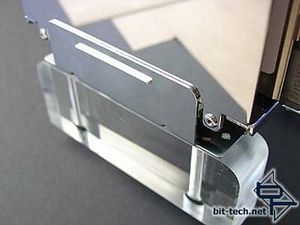
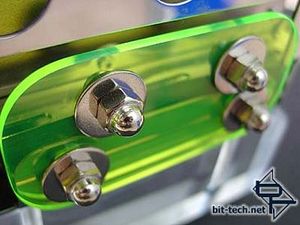
Shots of both sides of the rack. The right-hand side still uses the original slot and tab to secure it.
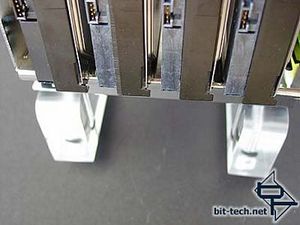
The drives are spaced far enough apart to get some air down the middle for cooling.
Lots of curved shapes make for a happy gnome!
I cut out a small piece of 3mm plexi with a hacksaw...
...filed and sanded it to shape and drilled a couple of holes.
After test-fitting, some more holes were drilled and all the edges chamfered with a counter-sink.
Some very short 6mm socket head cap screws were inserted through the top two holes with stainless steel dome-nuts and washers. From the rear - the rubber washers and socket heads are designed to hook over the edge of the drive rack and prevent it from lifting up or sliding sideways.
The drives were fixed in place with standard screws and some washers. C-strip edge moulding was used behind the locking piece to tidy up the edge of the actual rack itself where I had cut off the other half of the original mounting.
Shots of both sides of the rack. The right-hand side still uses the original slot and tab to secure it.
The drives are spaced far enough apart to get some air down the middle for cooling.
Lots of curved shapes make for a happy gnome!


MSI MPG Velox 100R Chassis Review
October 14 2021 | 15:04

Want to comment? Please log in.