
[center]
[/center]SLEEVING: HARD DRIVES
Intially, I bought some off-the-shelf rounded IDE cables made by Coolermaster to use for the hard drives, but when I plugged them in, it looked really horrible - they obstructed the fan, and were far too visible - not at all what I wanted. Of course, if you want something done right, do it yourself, so I set about coming up with my own rounded-cable solution that was hidden from view.
The eagle-eyed readers among you might spot that the cable in the photos is an old-style 40-pin DMA-33 cable - I didn\'t realise the difference at the time, but after a lot of reaction on the Forums, I remade the entire setup using a 80-pin UDMA-133 cable. Only I forgot to take pictures of it, but this set shows what I did - just pretend there are more wires :-)
Here goes....
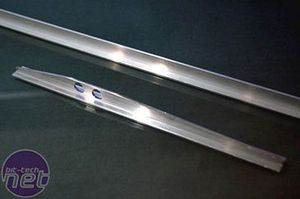
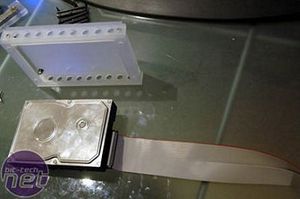
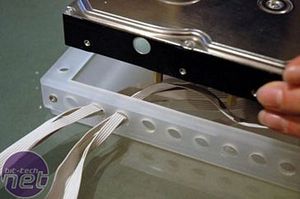
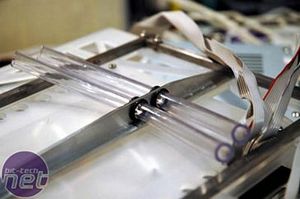
The first step was to make this Aluminium bar - the two 10mm holes are to pass the cable through. I also readied my IDE cable with connectors

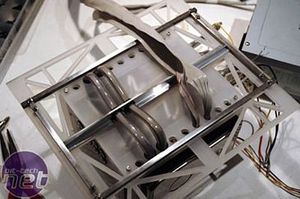
The Alu bar fits underneath the baseplate of the core - this is a photo of the bottom.
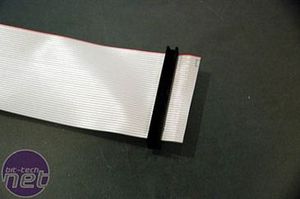
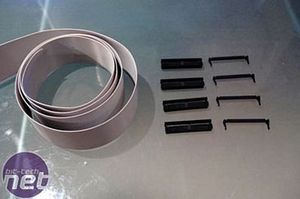
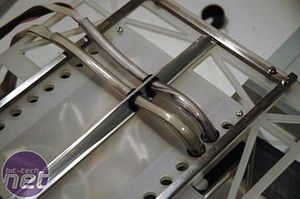
Starting at one end, I attached the first IDE connector - remember, the photos show the DMA-33 cable I ditched in favour of the faster ATA-133 later.
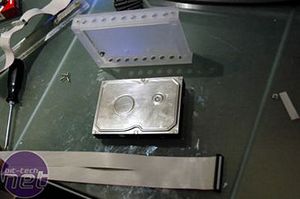
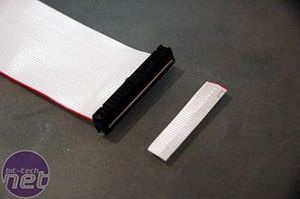
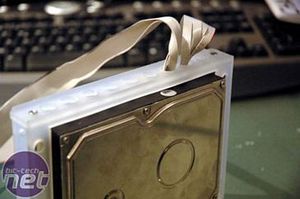
I had to undo some earlier work and remove the hard drive from the bracket, for now. I also began the rounding process by dividing the cable in half and splitting it down the middle.
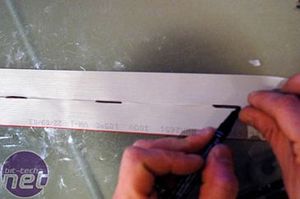
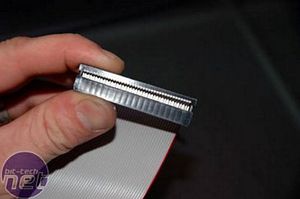
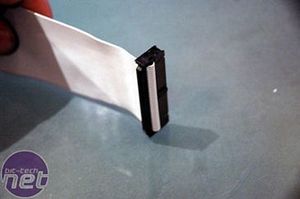
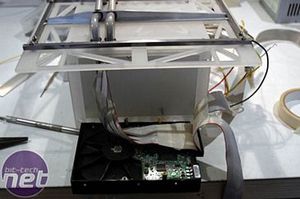
I marked the cable so I know at the end which sides go togheter. Next I attached the IDE cable on the hard disk.

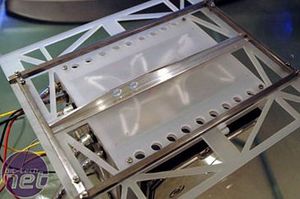
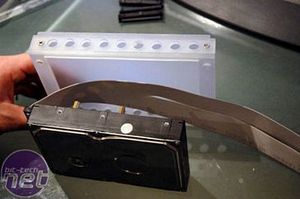
The ribbon cable was passed through two holes in side, split into finer bundles, and the hard drive remounted, hiding the excess cable.
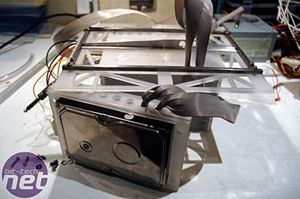
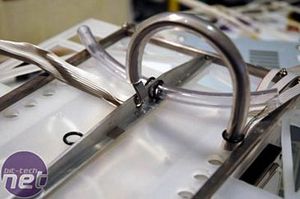
Using more poly tube, the idea was to pass the cable inside - easier said than done.

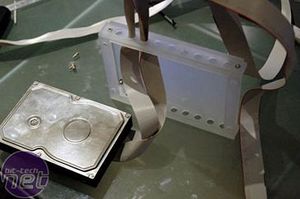
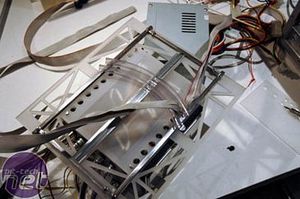
Eventually, I got it how I wanted it, and the result is really nice. The Chaintech motherboard only has two IDE channels, and with one used for the DVD drive, I had hook both hard drives to this one cable. Having passed the cable under the core, I added another connector for the second hard drive. The rest of the cable I simply sleeved the same as the ATX power cable - I don\'t have a photo of it here, but you\'ll see it in the final gallery.


MSI MPG Velox 100R Chassis Review
October 14 2021 | 15:04


Want to comment? Please log in.