

THE FRAME
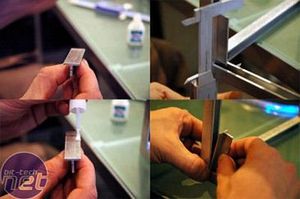
For the frame I went to a metalshop. I needed an Aluminium frame 274*274*15 mm (with U-profiles 15*15*3mm) and all the sides I wanted to be out of 2mm RVS. A few weeks later I got this in the mail.
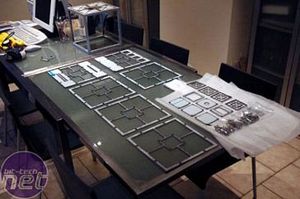
All the sides of the cube are in RVS (RVS = \"Roest Vrij Staal\", or Stainless Steel - ed) with Plexi, and because I wanted a very nice finish, I opted for a lasercut. Stainless steel is a very hard material and it would be very difficult to do all the cutting myself. Although I have to make some cuts for the mobo and a few holes for screws. But I hope I will be able to do it. The RVS is 2mm and has a brushed front. At the moment the panels are covered with plastic foil. They told me I could remove it easily with acetone. I hope this will work.
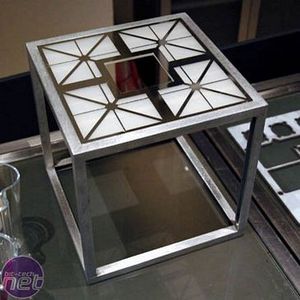
The aluframe for the PC is made out of 15*15*3 mm aluminium U profiles welded together. They did a very good job on this: on my drawings I had no tolerance, so the frame had to be really precise. The outer dimensions are 274*274mm and the inner dimension 244*244mm (the exact dimension of a micro ATX mobo. After measuring it, they got it right with a tolerance of 0.5mm.) In the picture you see how the plexipanel 244*244 fits nicely in the frame.
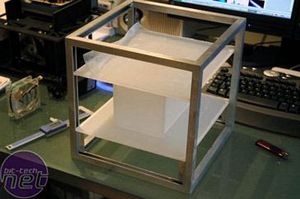
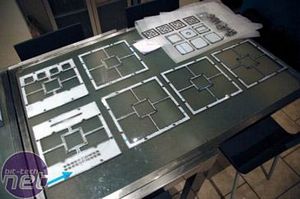
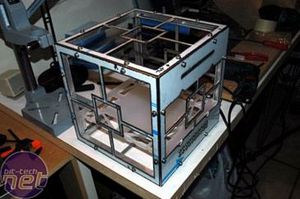
Here you get a very rough idea what the inside is going to look like. All the cables, PSU, rheobus and other stuff will be in the middle box. The hard drives will be on the sides of this box, mounted vertically.
If you look very closely to the top left in the last picture, you will see the cardboard model I made before starting the mod. I still cant believe I didnt take pictures of it... :(
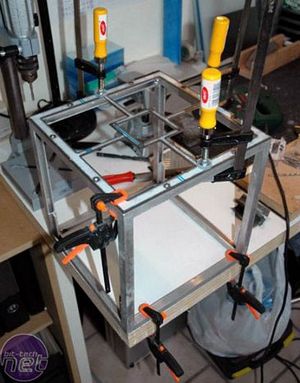
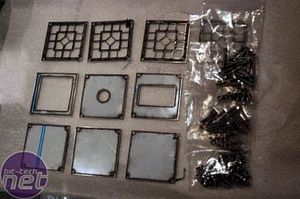
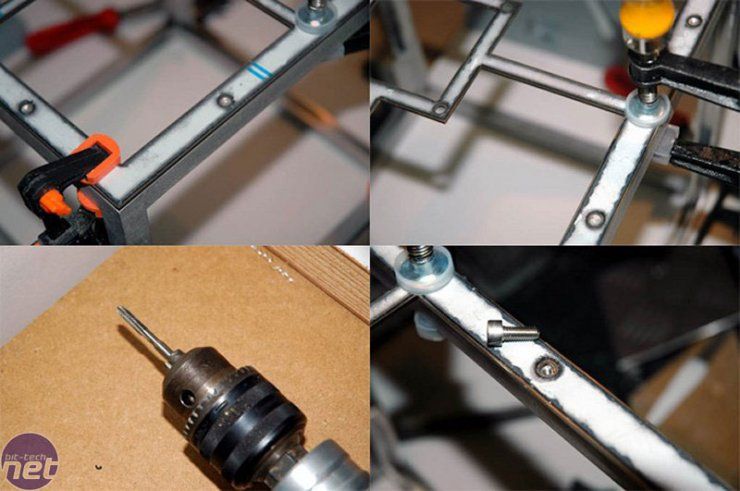
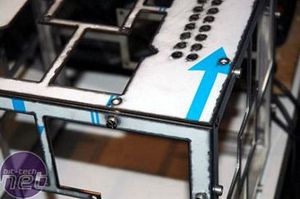
Putting the RVS panels on the frame.. I especially asked to not make the holes for the screws in the Alu frame. I wanted it to do myself, so it\'s going to be as precise as possible. For this I had to drill holes in the frame and tap them so the screws turn in the frame.
I found a drillbit that taps in 1 time. Look for the picture a little lower. The screws are M5 rvs 10mm, so I have to drill a 4mm hole and then tap it with the 5mm tapdrill.

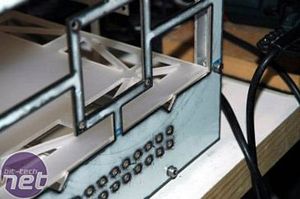
All the panels in place. It took me about 8 hours straight to drill and tap all the holes - phew!
RELATED ARTICLES


MSI MPG Velox 100R Chassis Review
October 14 2021 | 15:04

Want to comment? Please log in.