Modding Continued
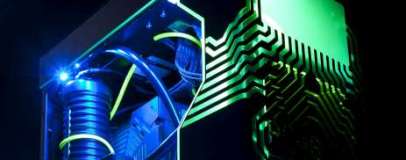
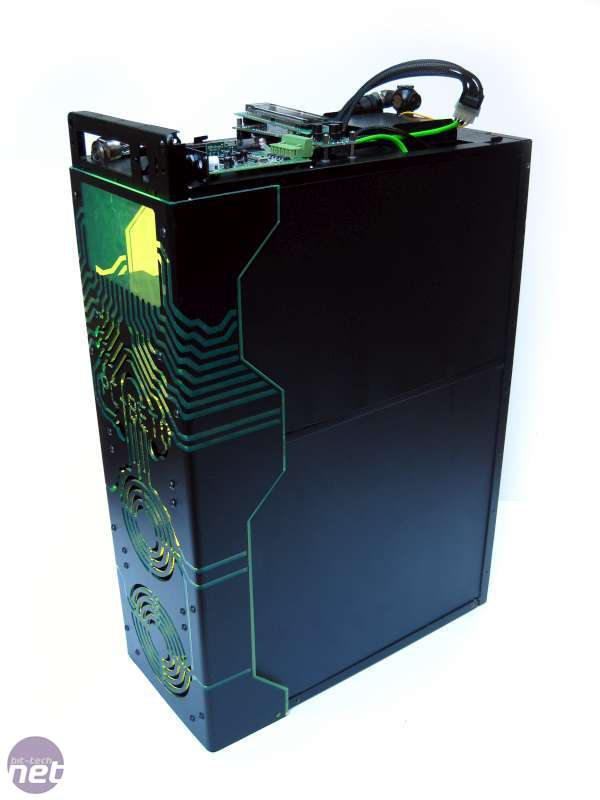
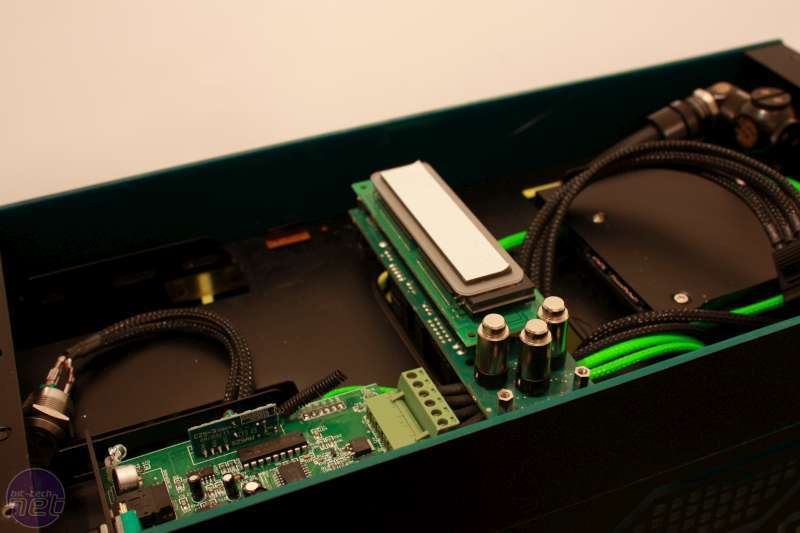
Between all the serious moments, I also had time to have some fun with the sleeving. The sleeving used in this build is green and black MDPC UV. This really sets the mod on fire when put under UV light, and it also looks great without it.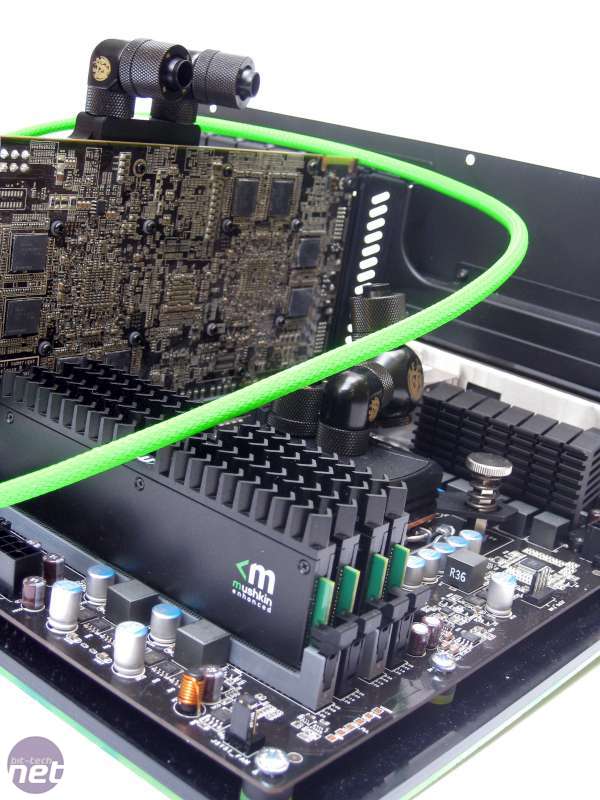
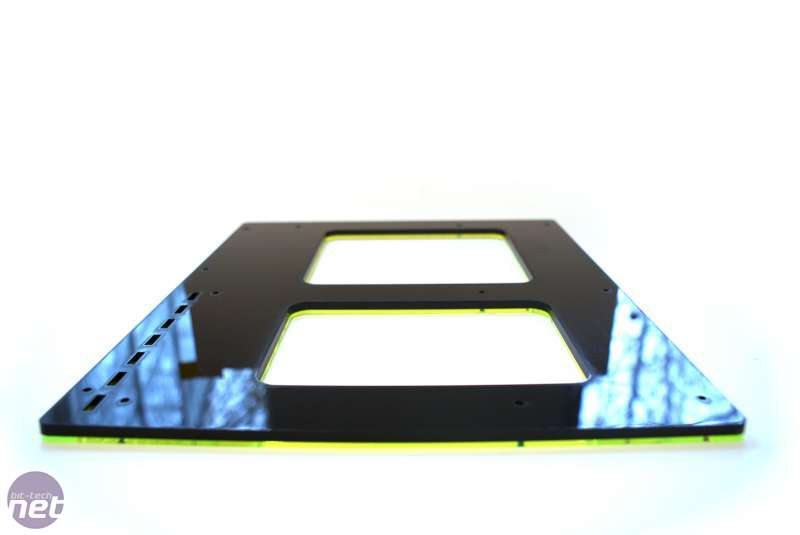
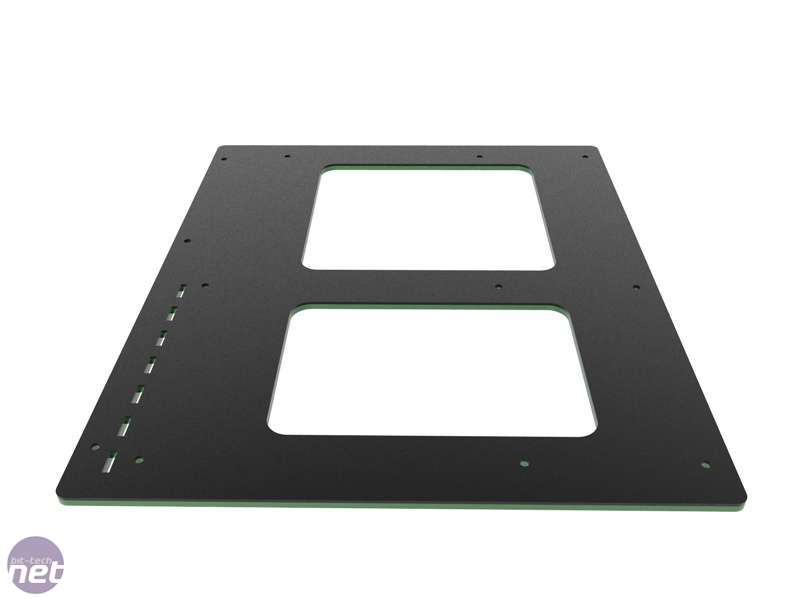
This was the effect I wanted, since the dark colours would have been too dominating if there hadn't been some green to cut here and there. This was also the reason why I made the motherboard tray with green and blue acrylic. Judging by these two shots, I would say that I came pretty close to the original render.
Finishing Off
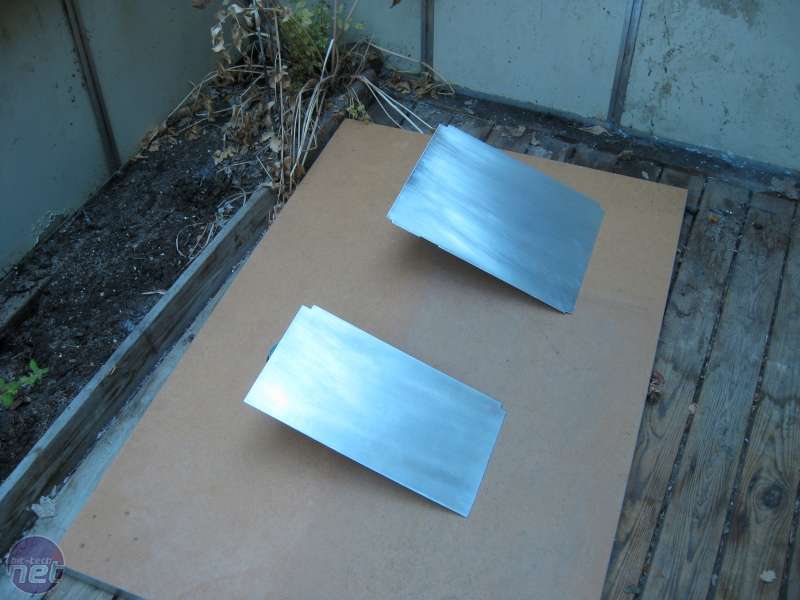
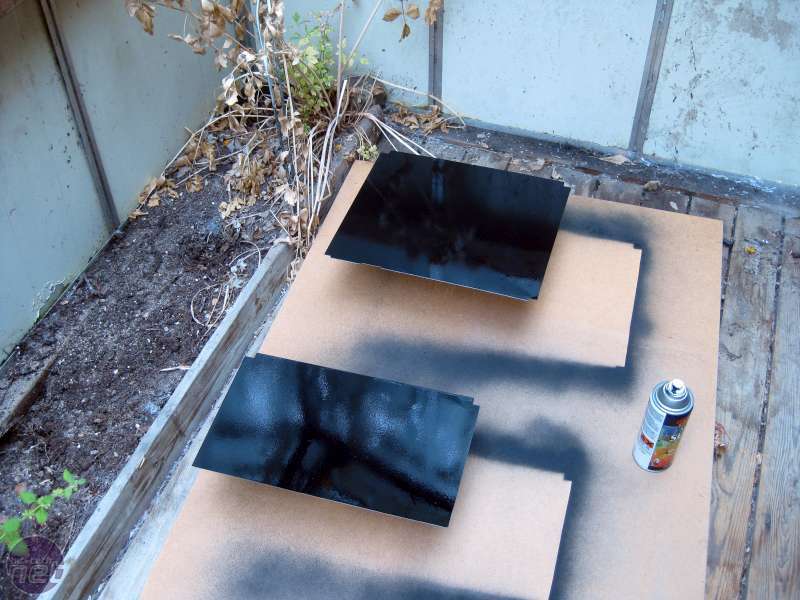
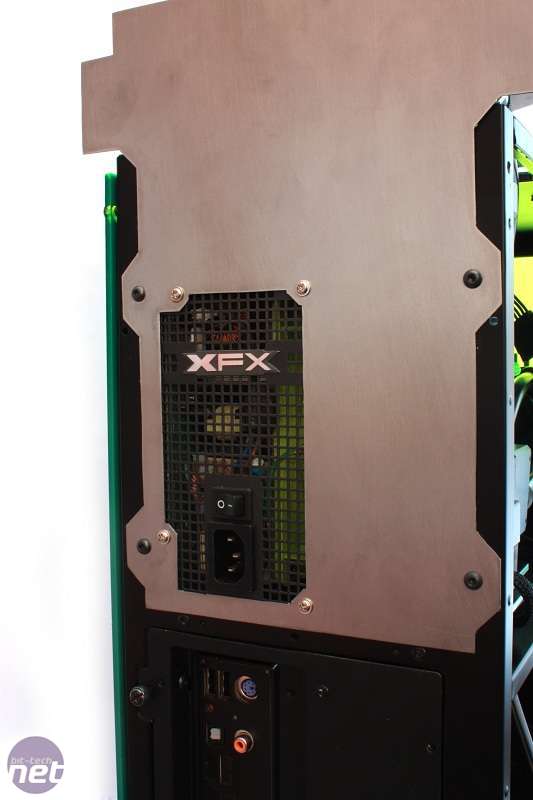
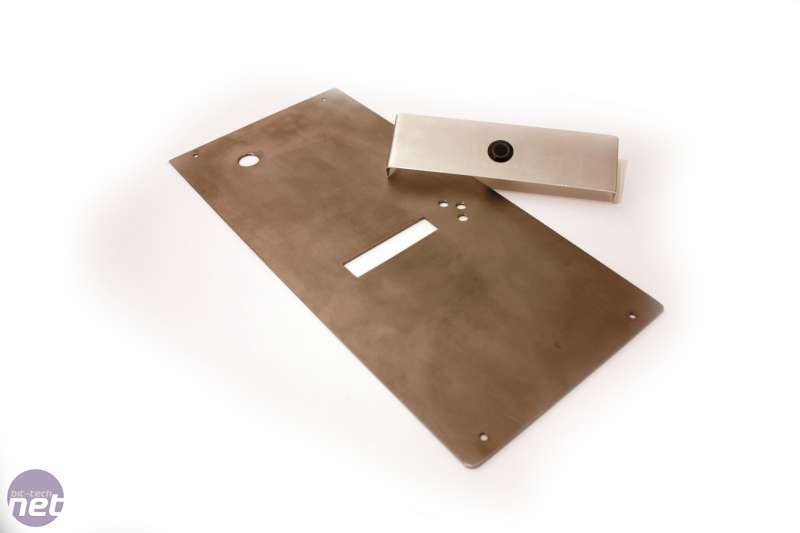
I needed two aluminium plates to cover the cables on the back. These was cut to the exact size, and then painted and fitted to the case. I had to take off the rear section to get these in place, and they were then clamped down tightly so that they didn't move at all.
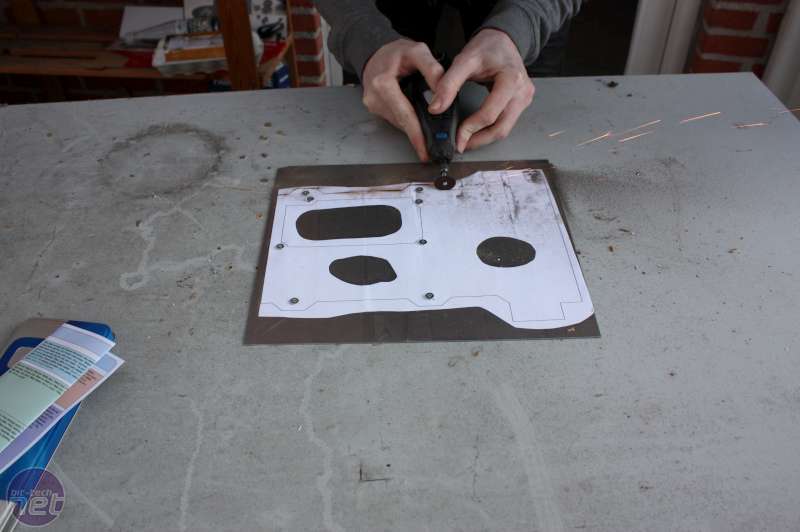
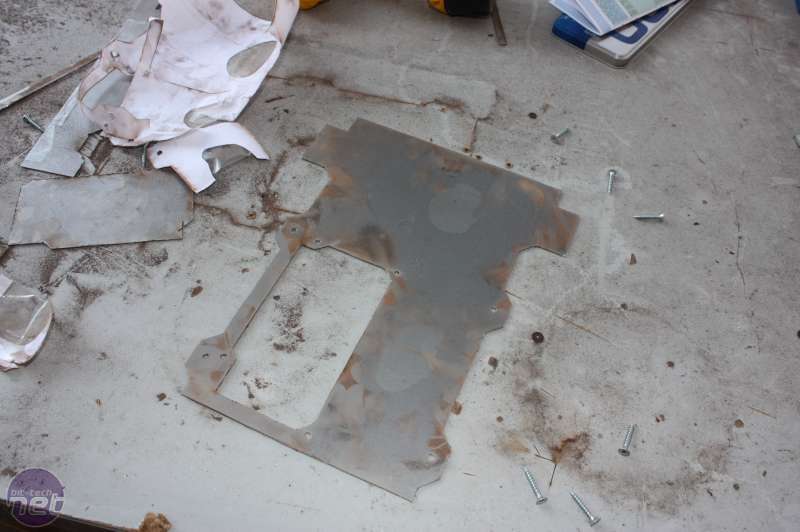
I needed to make another bracket for the PSU, since the old one wouldn't hold the top in place. Since I was too lazy to search for a local laser cutter, I got out the trusty old Dremel that we all love so much. After using a million cutting discs (I was too cheap to buy Dremel's hardier SpeedClic discs), the new plate was finished. I now just needed to bend down the top so that I had something to work with.
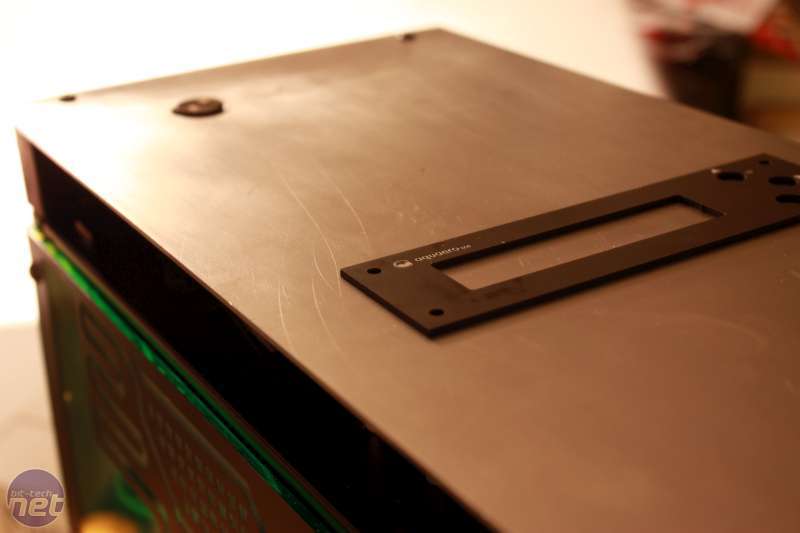
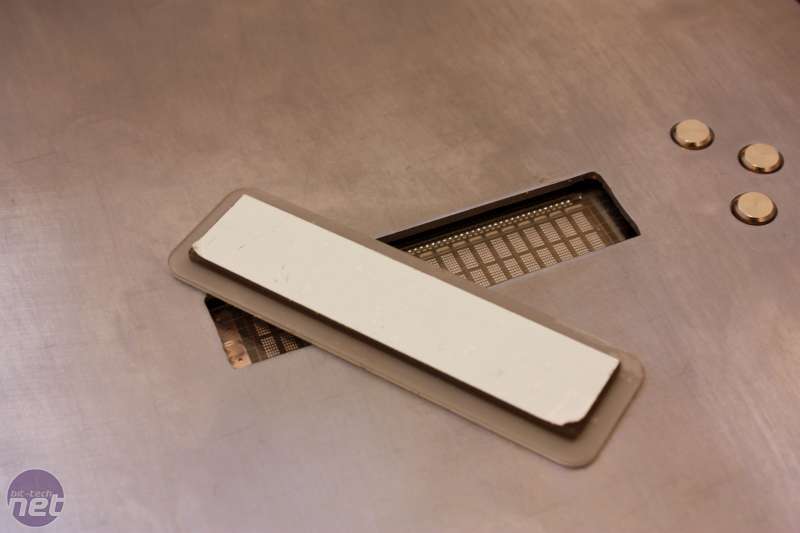
The top was measured against the original Aquaero controller front piece, and then cut to fit. I wanted to get the display and buttons of the controller to sit totally flush, without any screw holes.
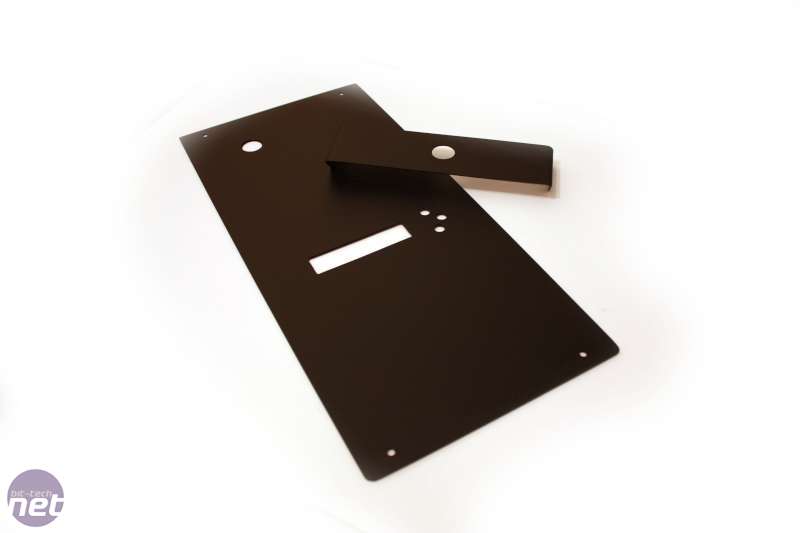
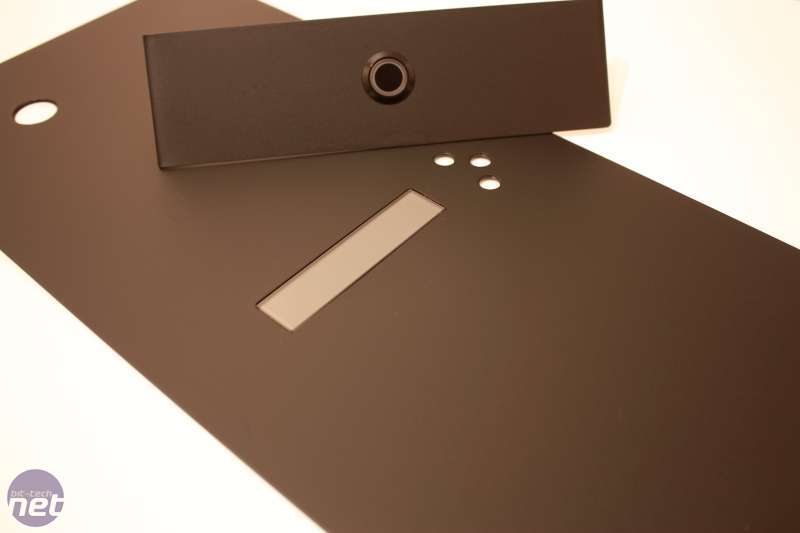
After cutting, it was just more of the same before I added some paint and fitted it to the case. I really love the way that the display, buttons and the fillport sit flush in the top panel, and they also fit in with the overall flat theme of the outer shell.
RELATED ARTICLES


MSI MPG Velox 100R Chassis Review
October 14 2021 | 15:04

Want to comment? Please log in.