
Building Stage One Continued
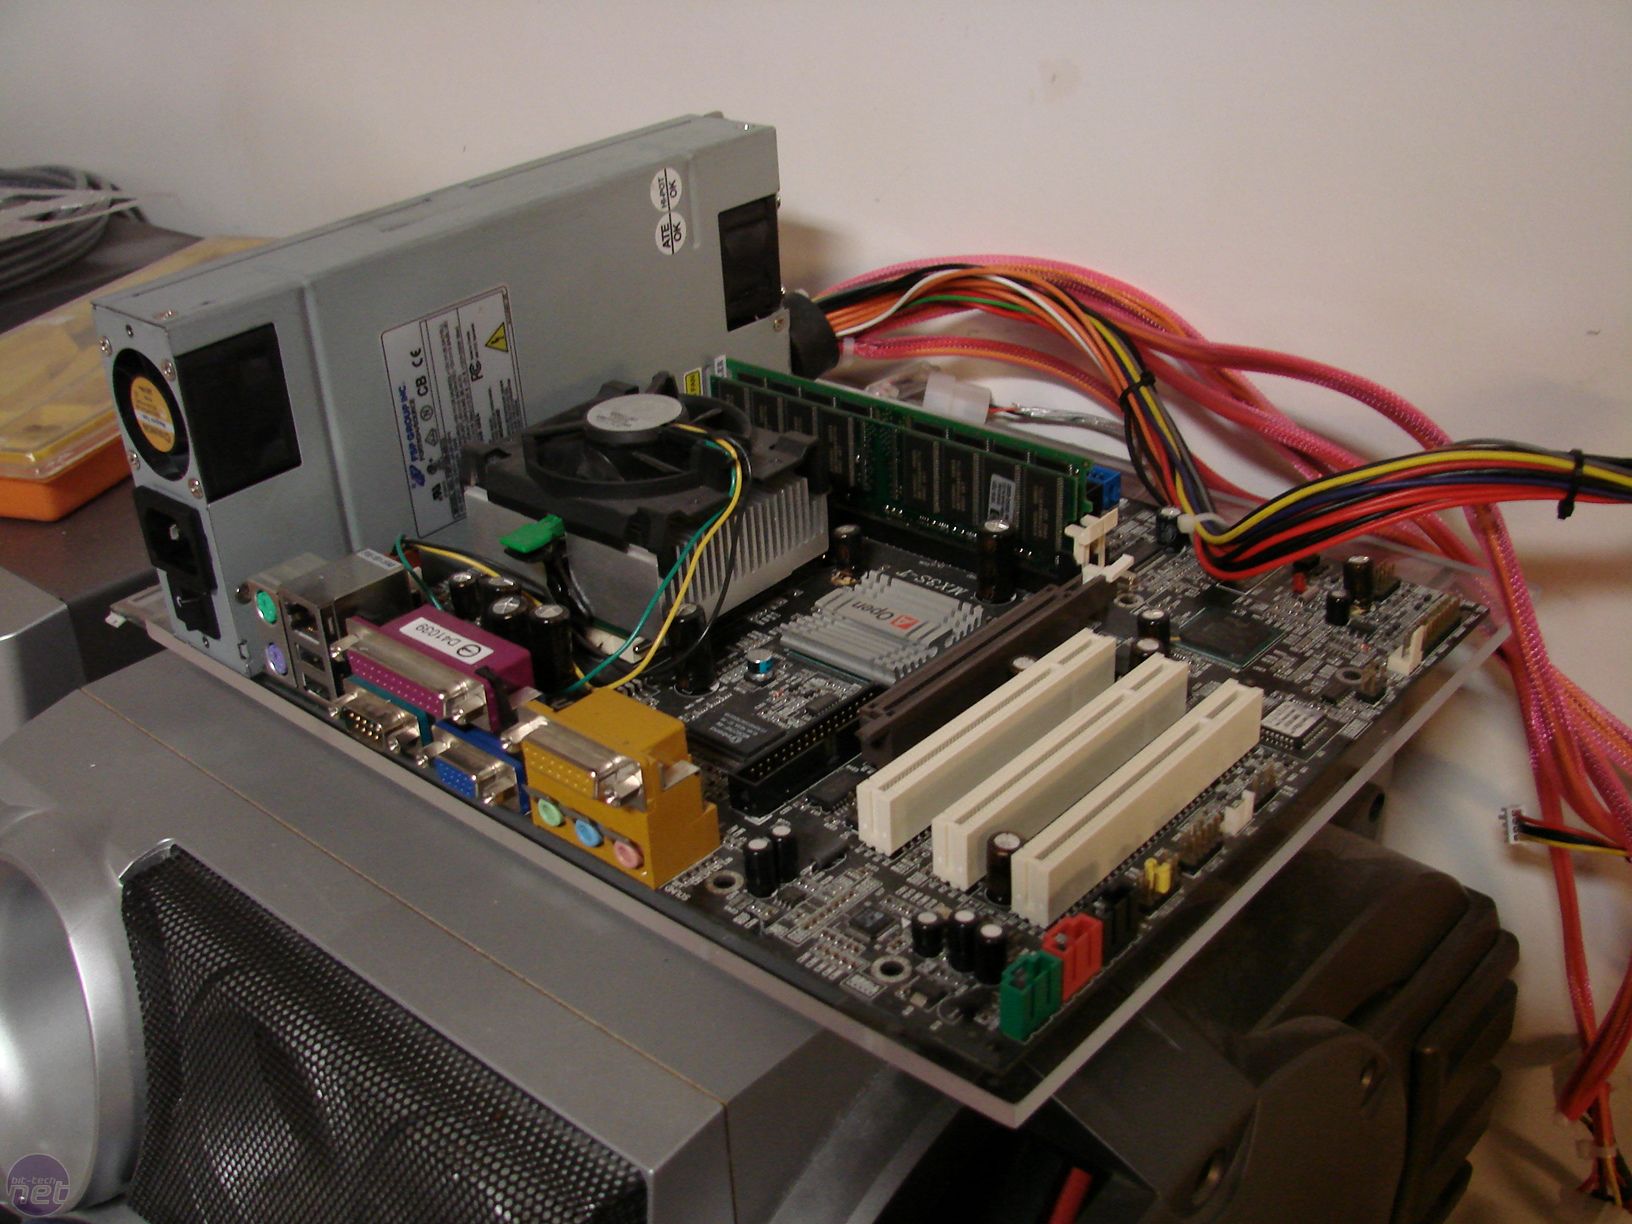
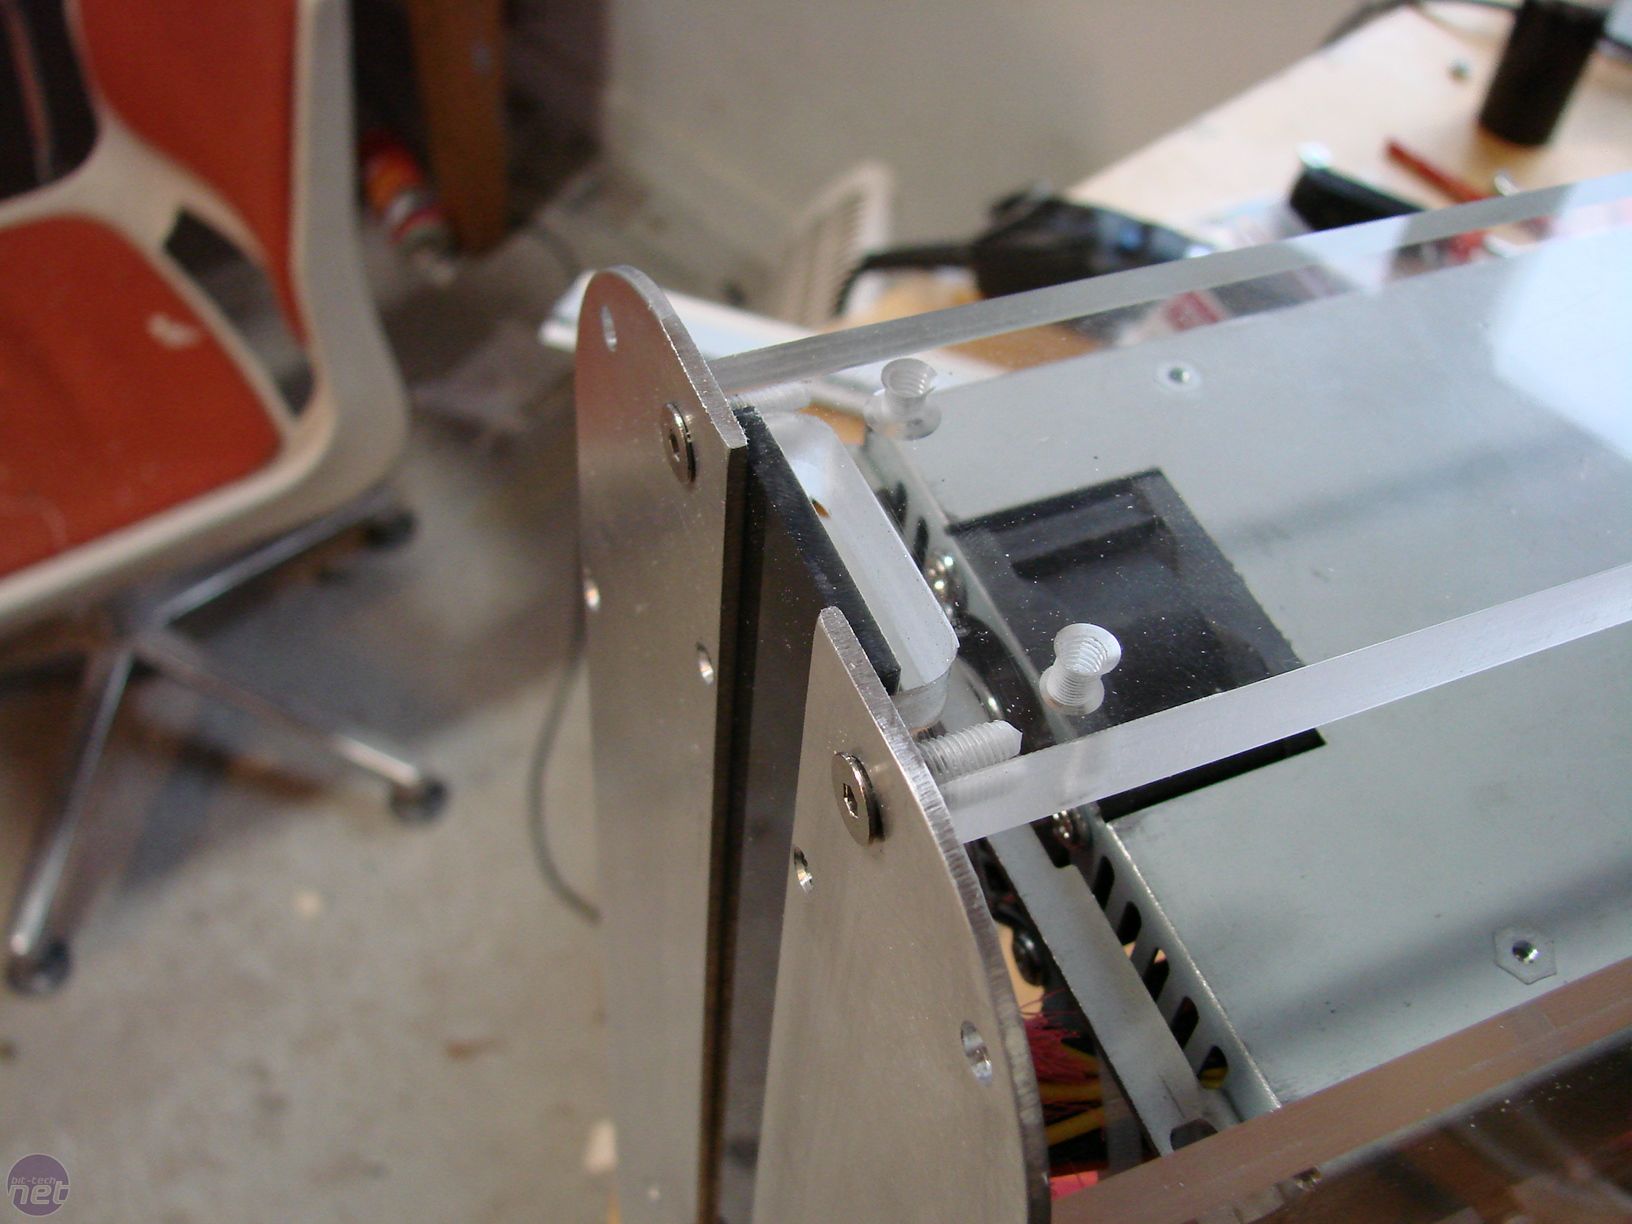
As usual, the main thing to do when you're modding is to check and measure everything to ensure it is correct before cutting. Note that I'm not using this motherboard in the final product - it's just a dummy to test the hole sizes. With that done and verified, I started to work on the front. This particularly special since it's split into two pieces: I started this off by cutting out two pieces of 10mm acrylic to use as a frame.

Click to enlarge
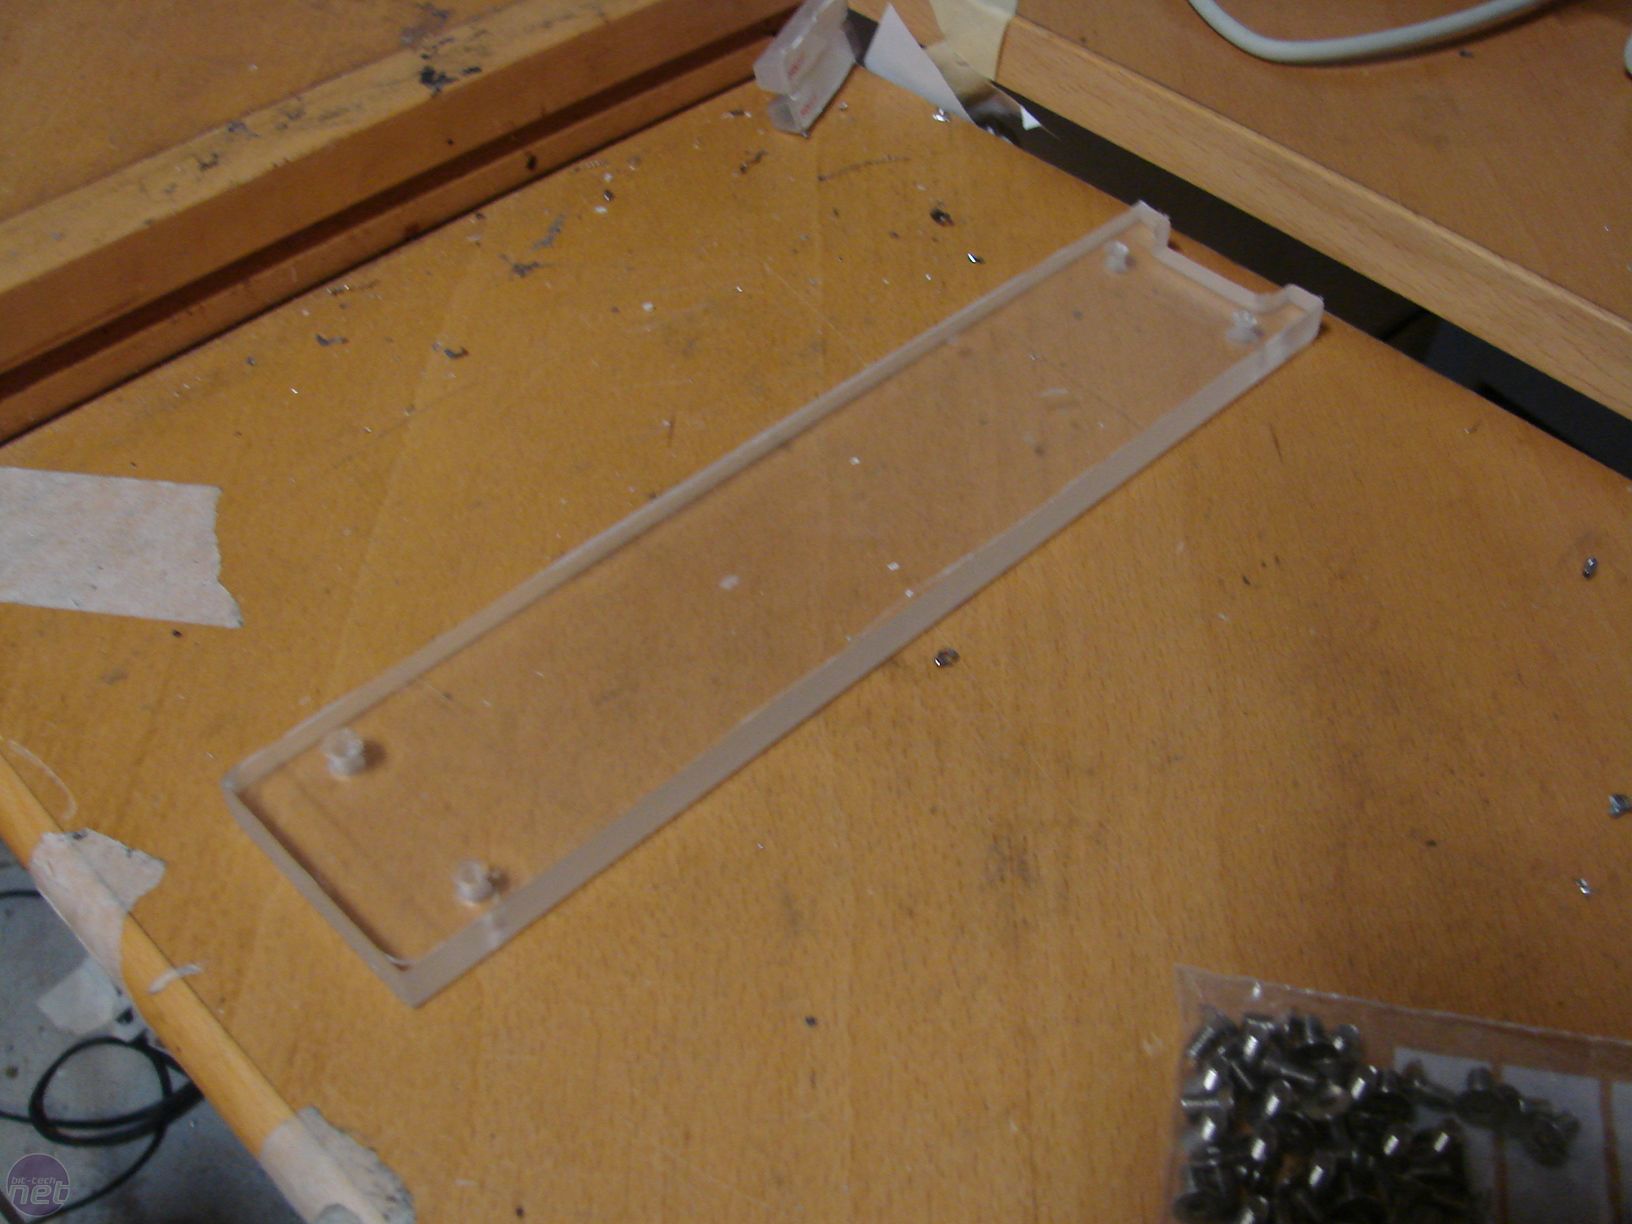
After the careful cuts with a jigsaw, then I drilled some threaded holes for the bolts that will affix it to the metal parts later.
Click to enlarge
The Front
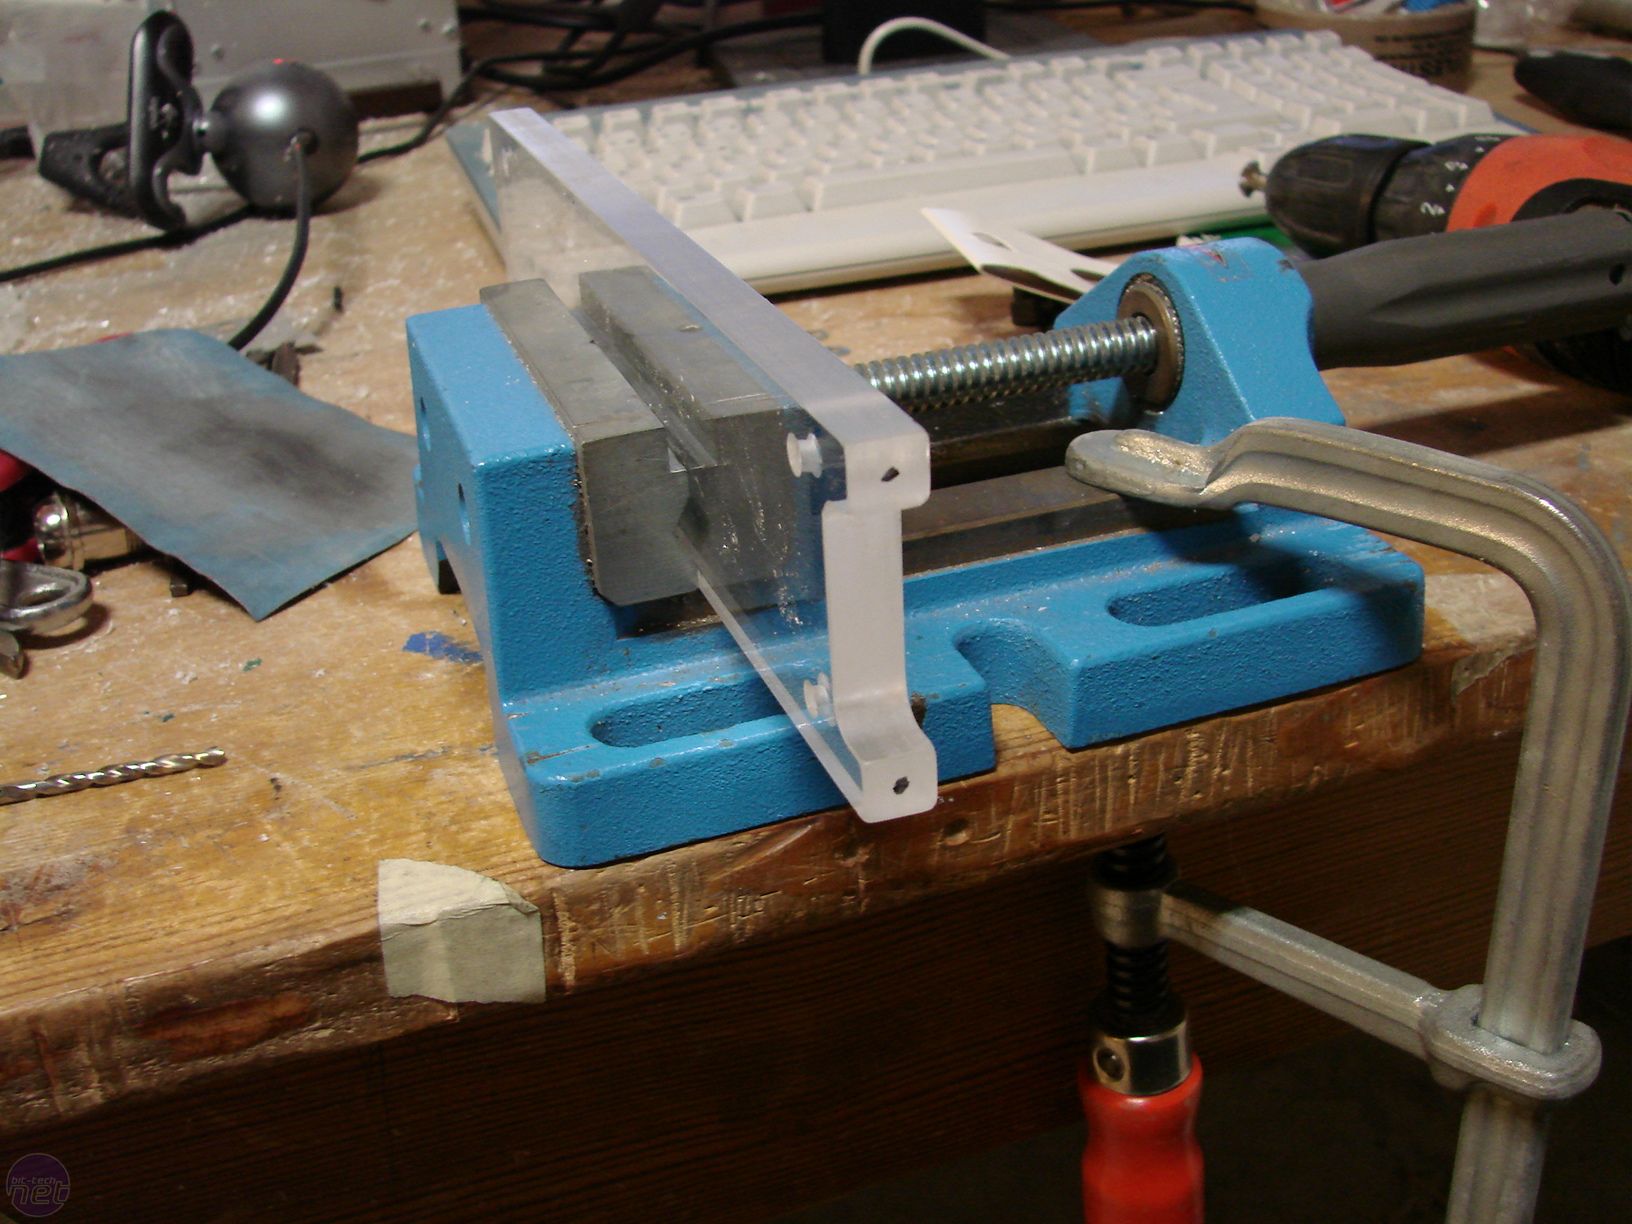
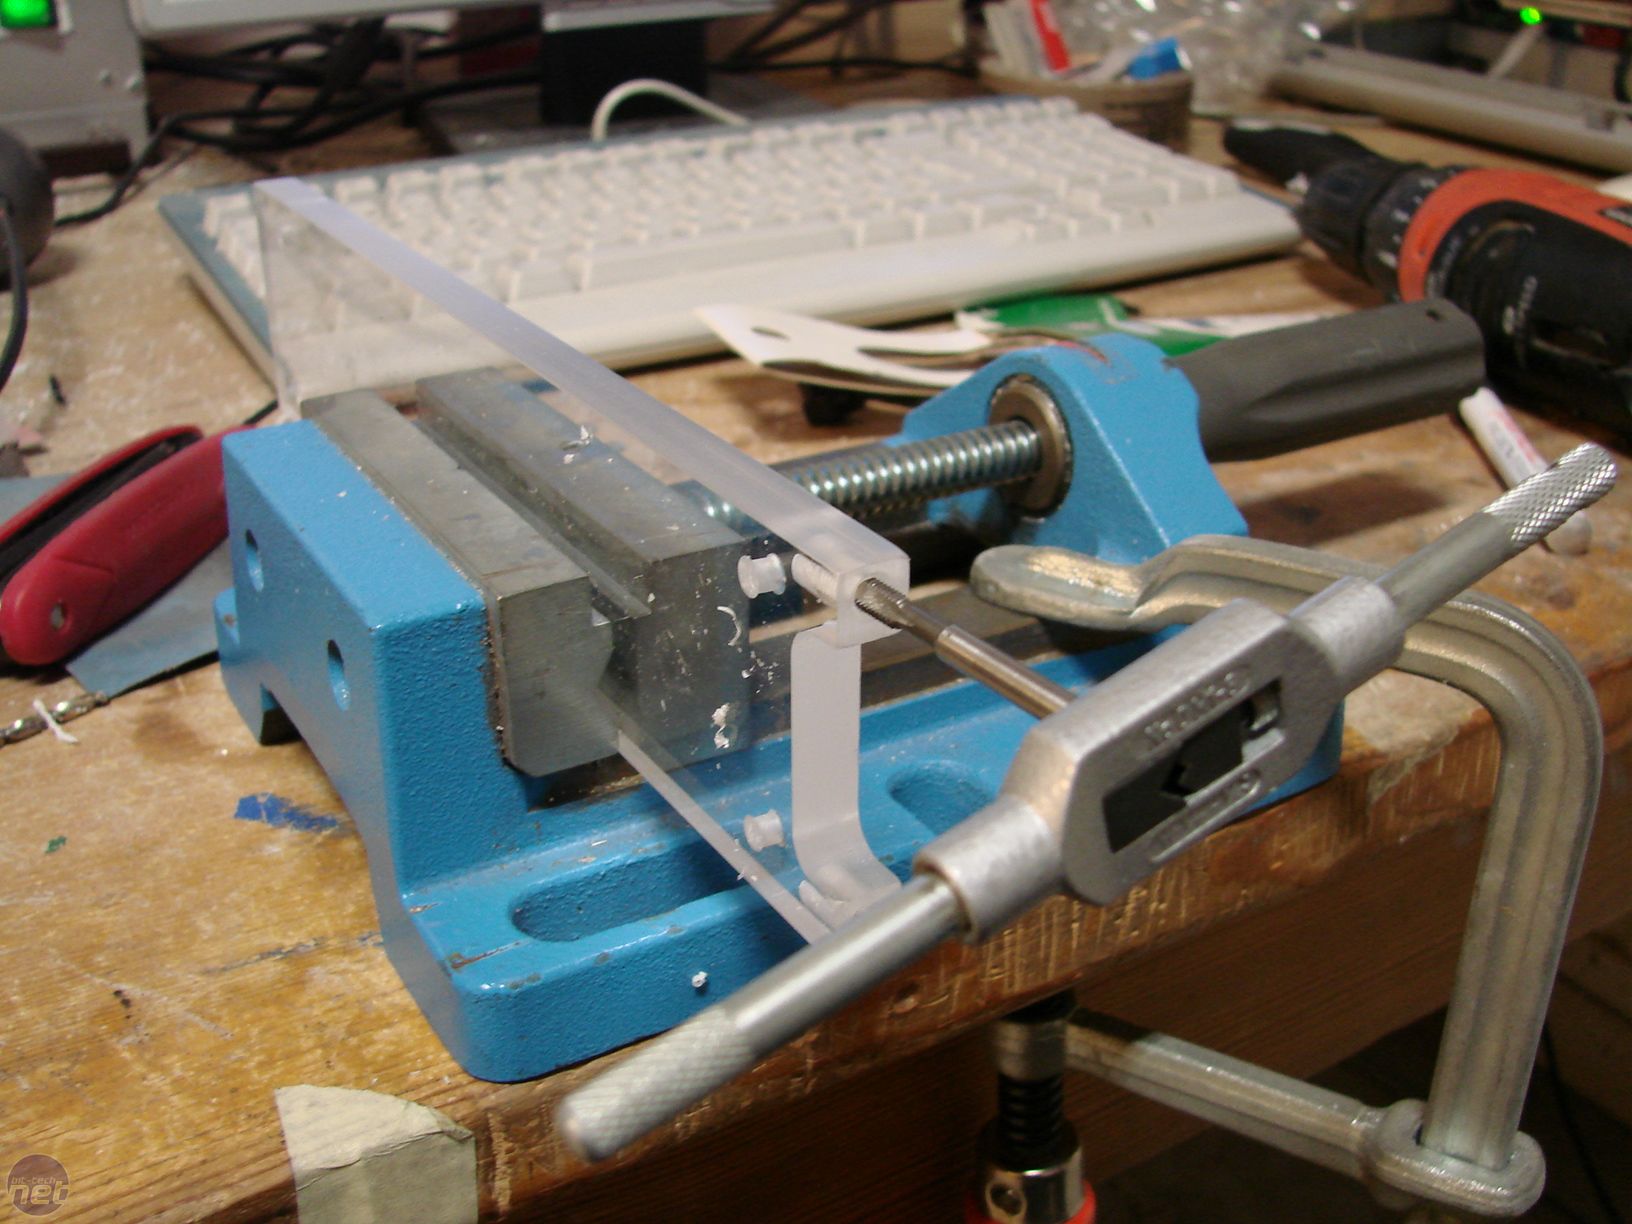
As mentioned earlier, the front is split into two pieces because I wanted a see-through "strip" that would eventually be lit up with some diffused blue lighting. To start this part off, two pieces of 2mm aluminium were milled for the front covers.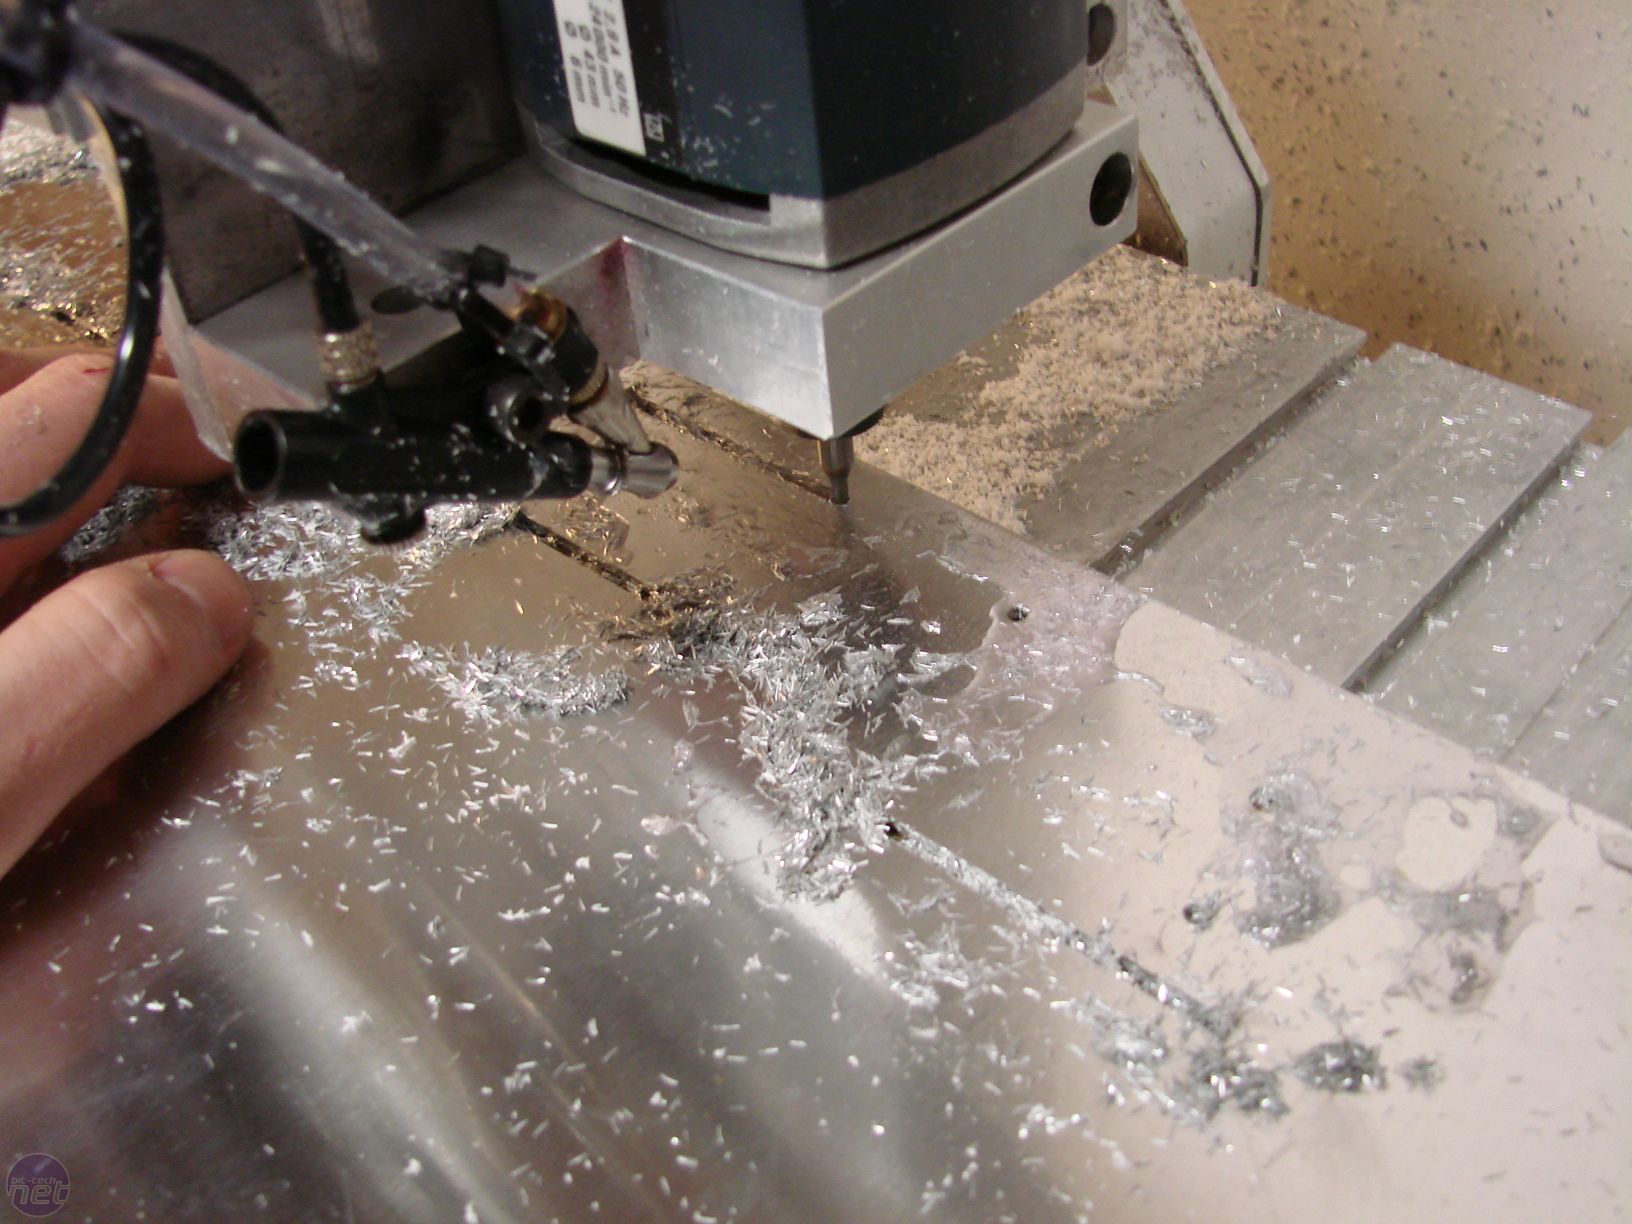

Click to enlarge
Sorry! I forgot to take pictures of the horror I had to go through with the black acrylic. Like any other piece of acrylic, it had a protective foil on the flat polished sides, but this had been laying around in my workshop for so long, the sticky foil had dried, instead becoming extremely brittle, effectively making it virtually impossible to remove. The only thing I could do was to scrape it off with another piece of acrylic. Imagine a 40cm x 5cm square lottery ticket! Urgh!
Click to enlarge
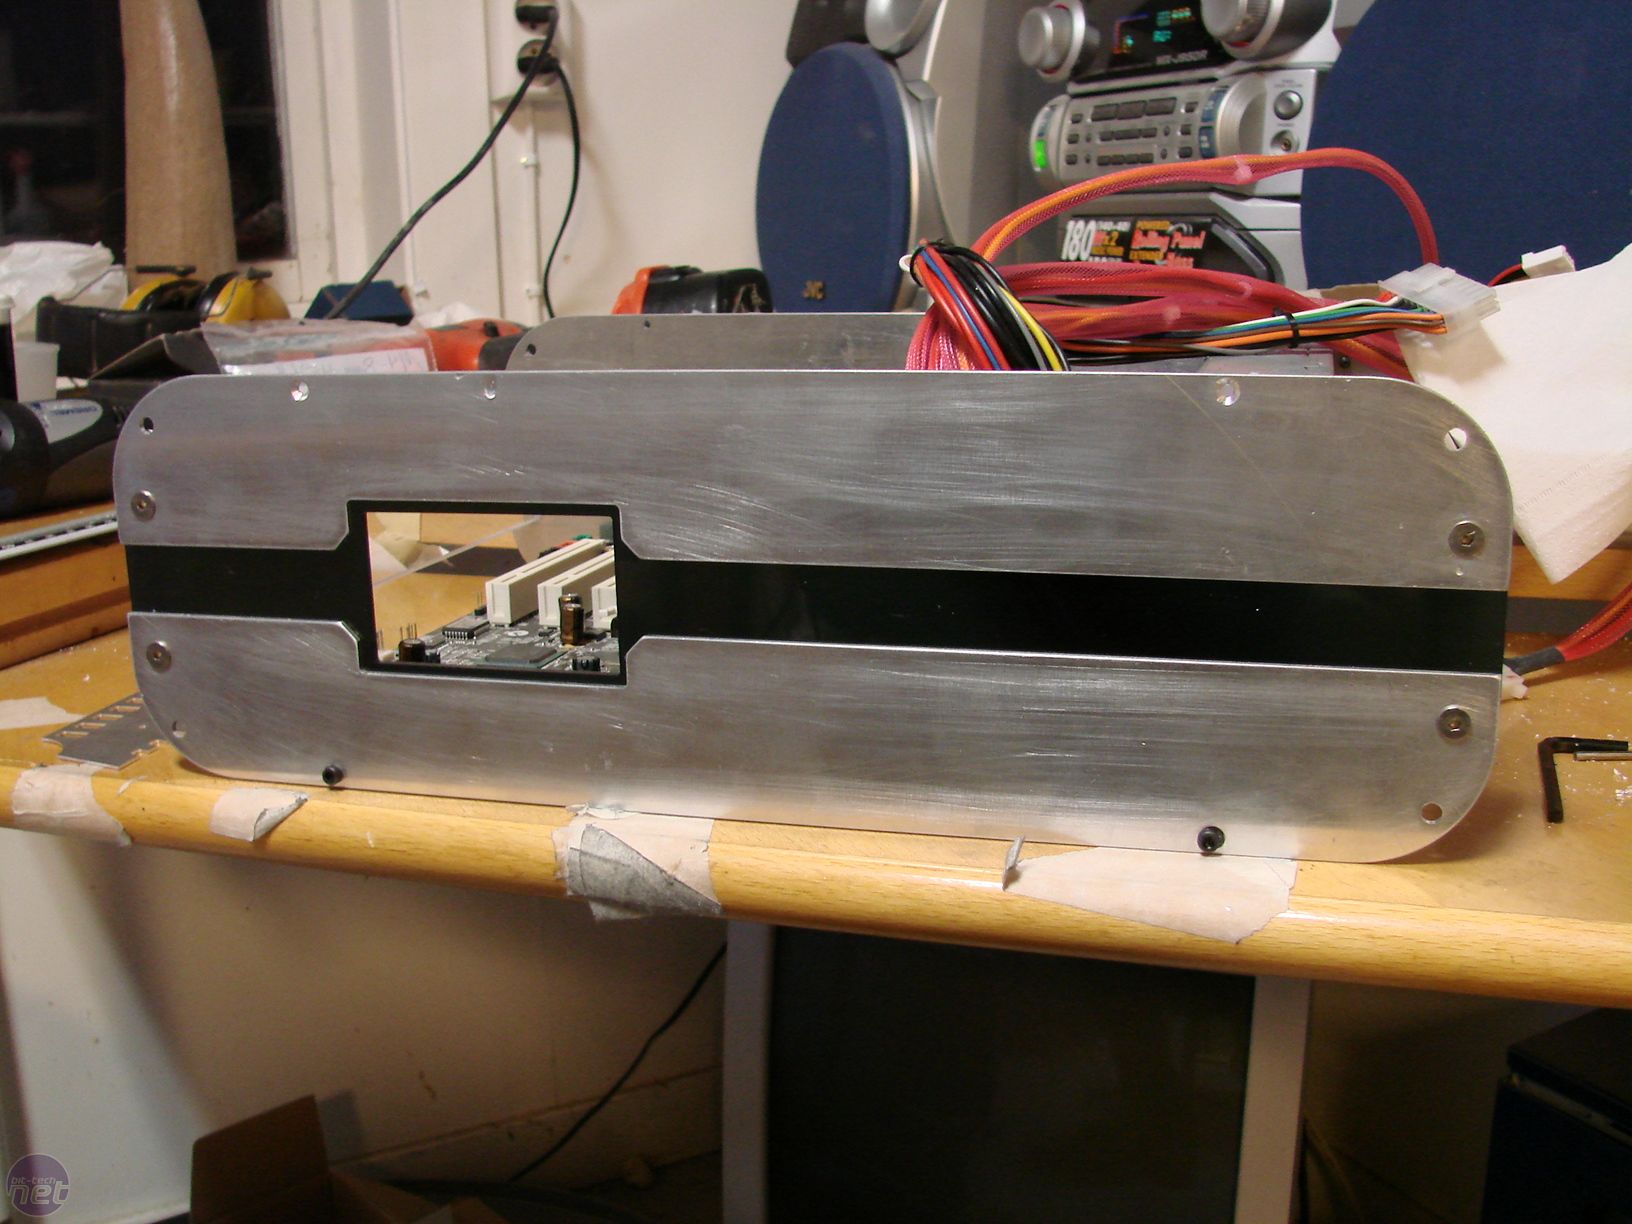
Eventually I got it done and fitted the metal to the newly cut black acrylic, to make the front, which was then mounted on the thick acrylic pieces I had cut earlier.
RELATED ARTICLES


MSI MPG Velox 100R Chassis Review
October 14 2021 | 15:04

Want to comment? Please log in.