Front and backpanel
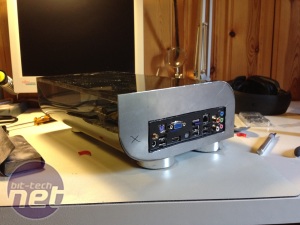
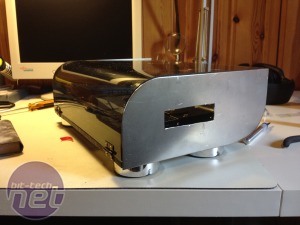
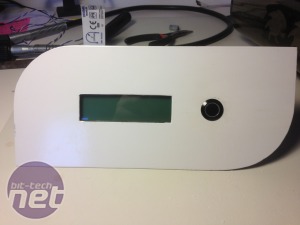
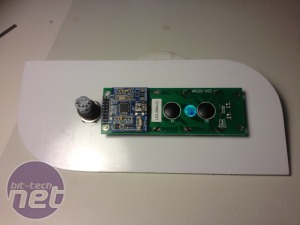
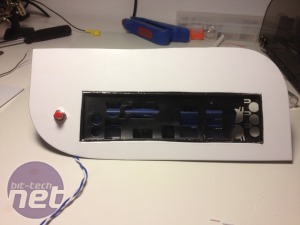
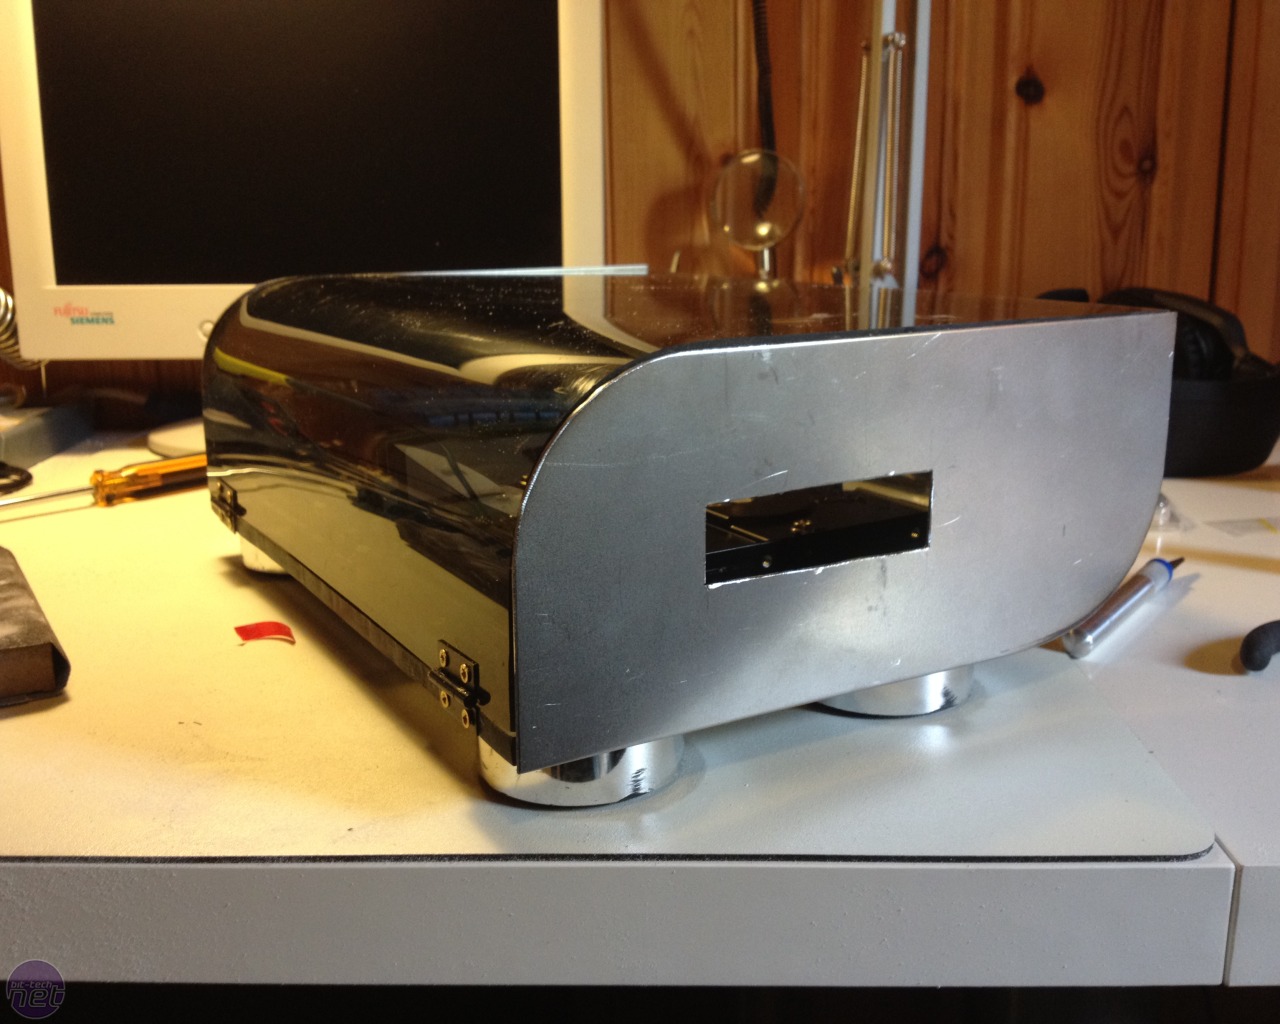
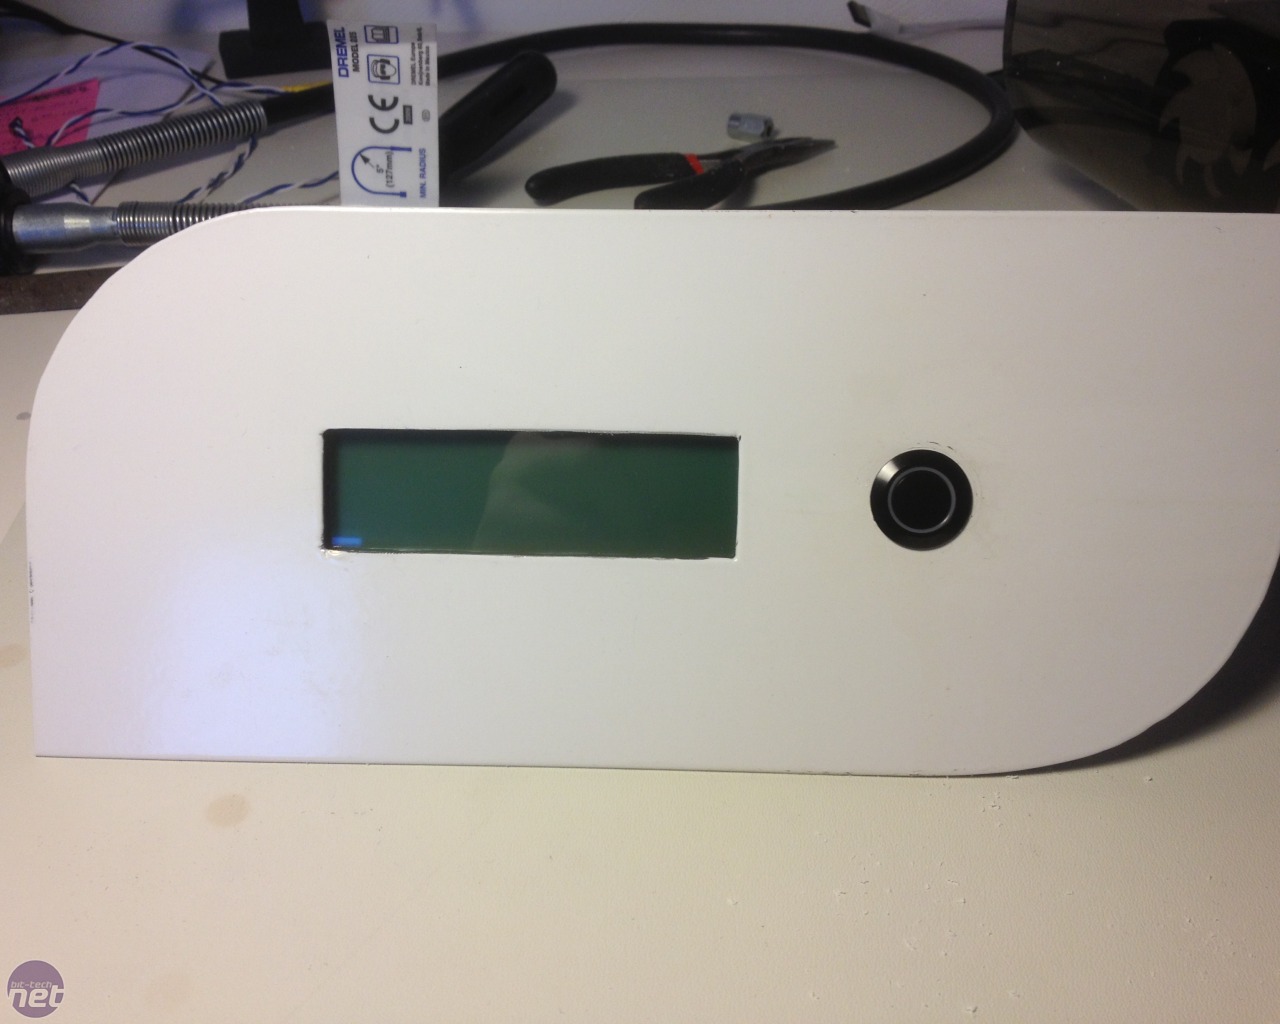
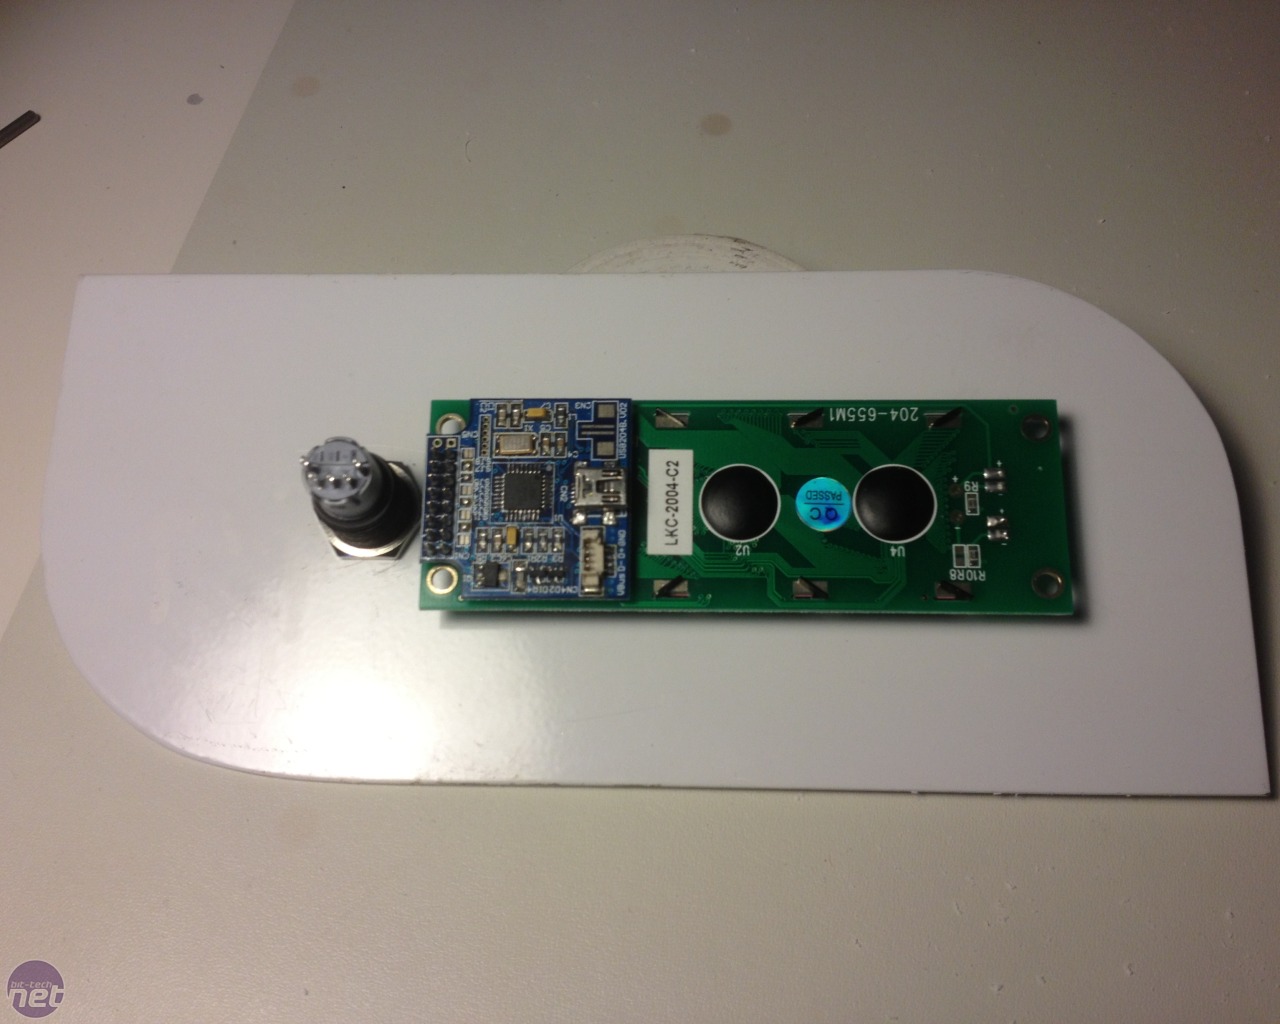
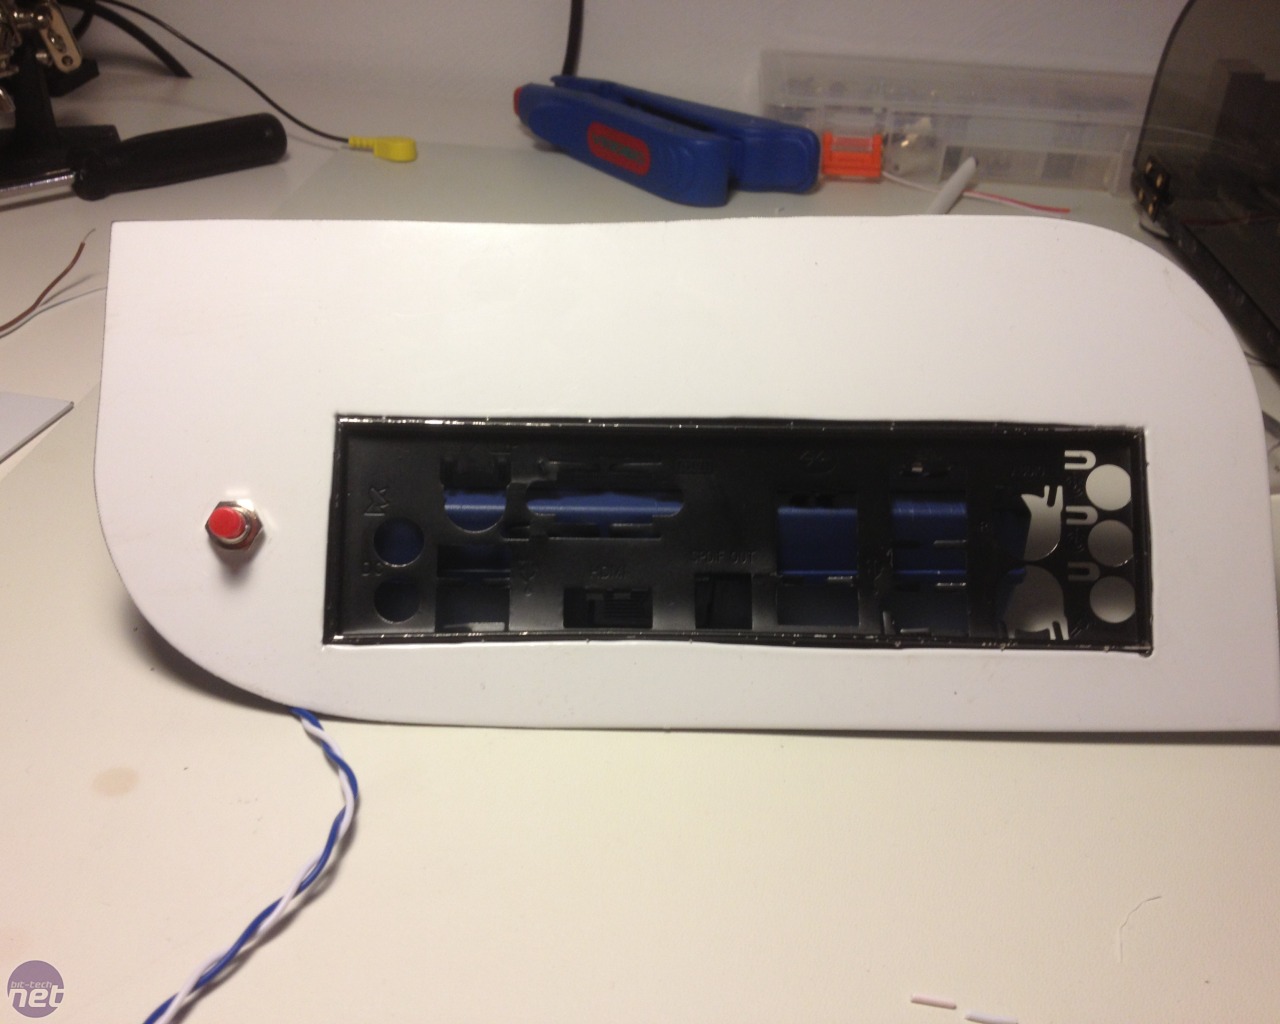
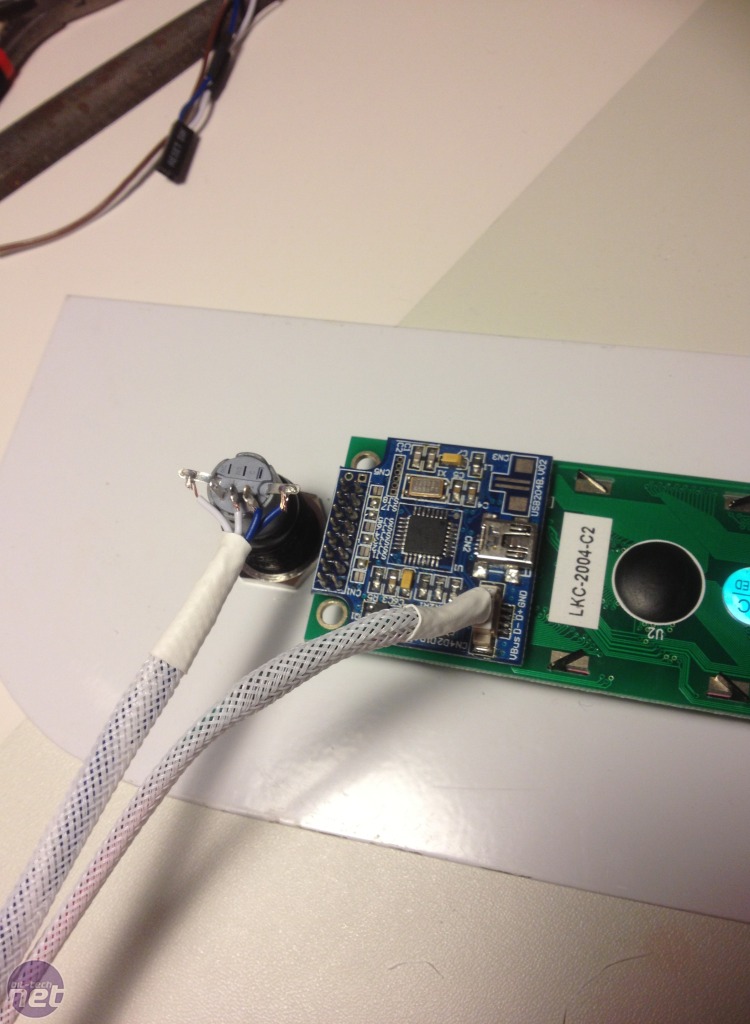
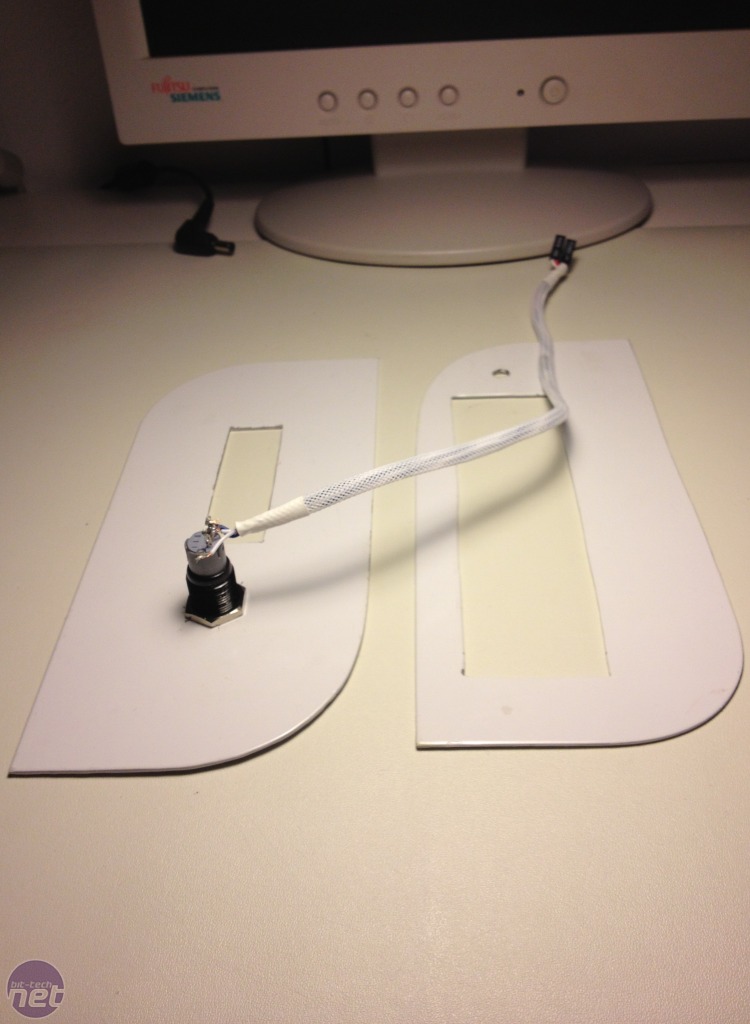
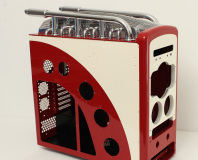
The front and back panel is made out of 2mm steel that was also left over from Cold Winter. I started by cutting out two rectangular pieces, 230mm x 105mm. Then I made the rounded the corners so that they would fit the shape of the acrylic. In the front-panel I made a hole for the power switch and also for a 4x20 LCD.
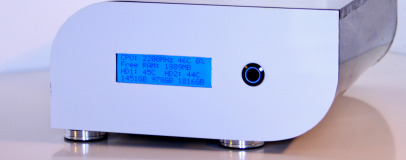
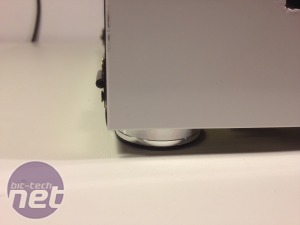
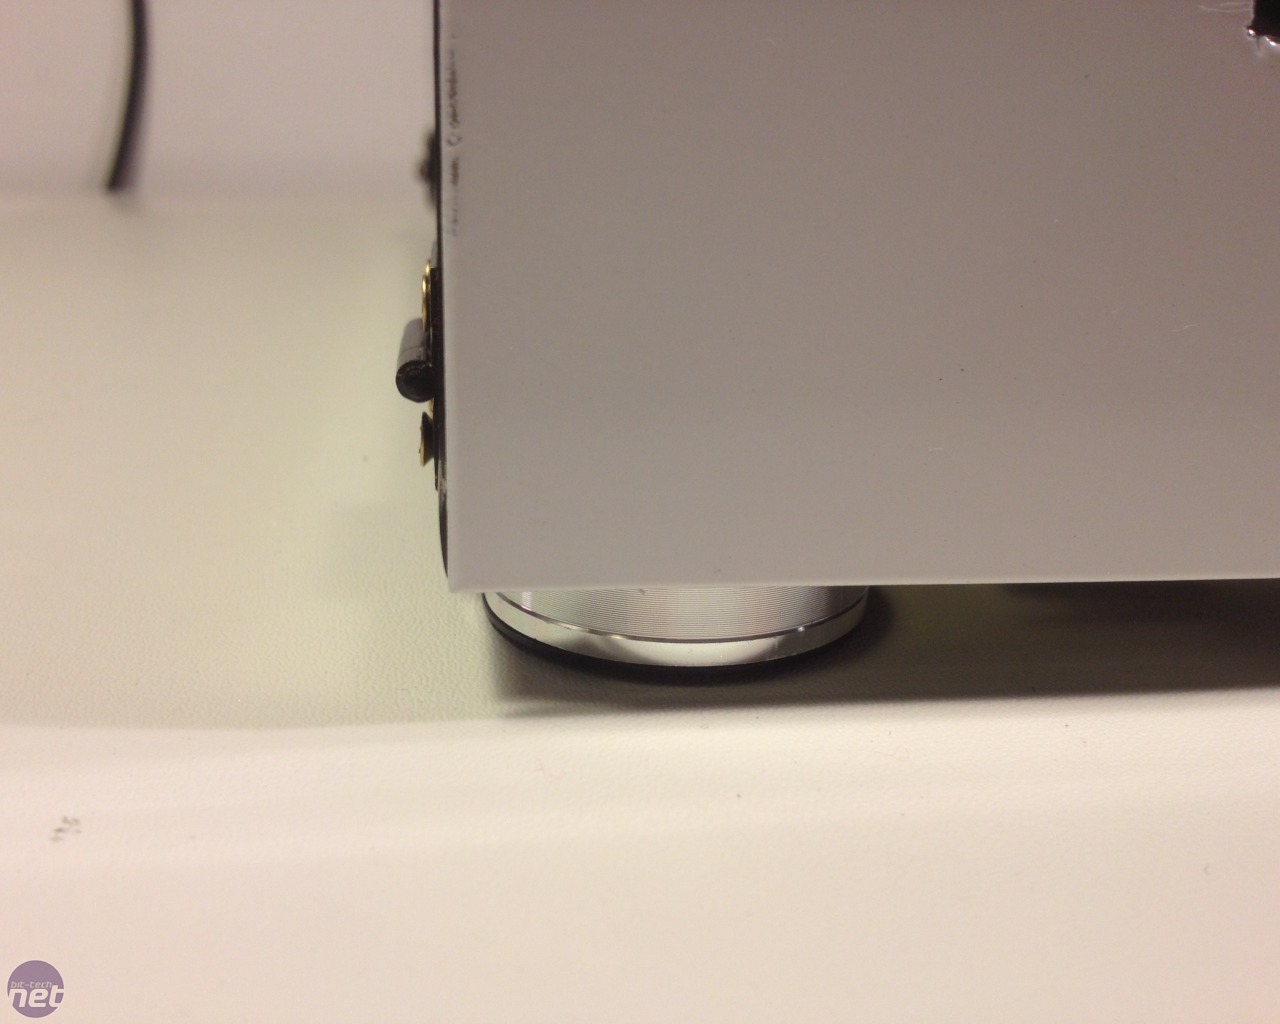
I had a friend powdercoat them white and then I installed the LCD and power/reset switch. At the same time I changed to some smaller more discreet feet.
Cable Management
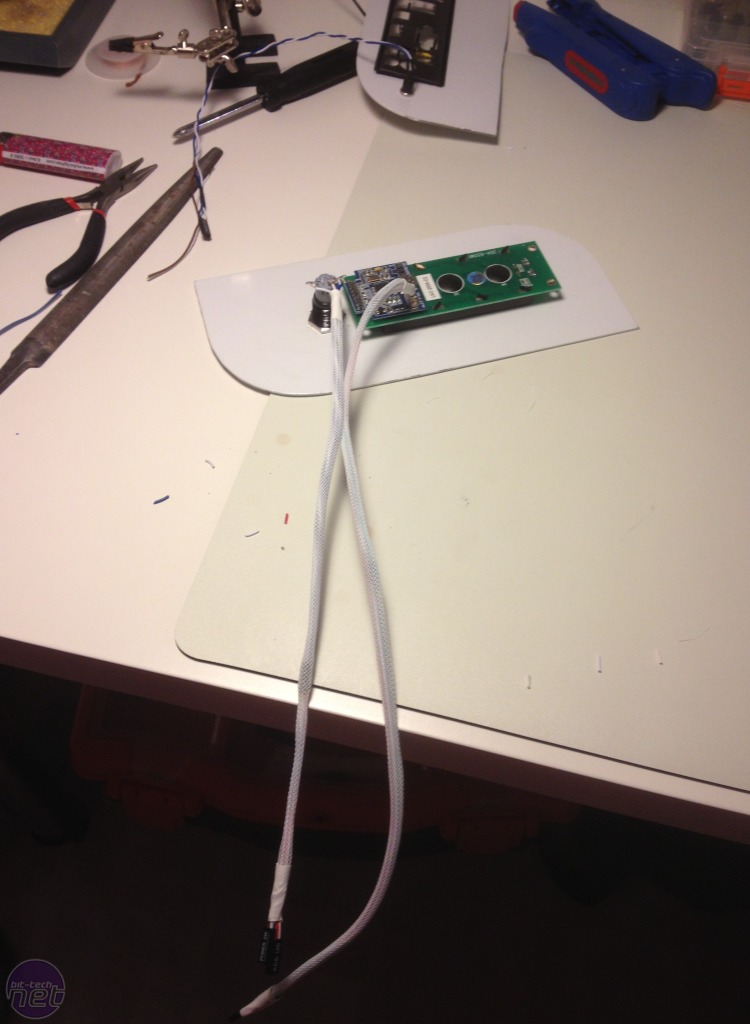
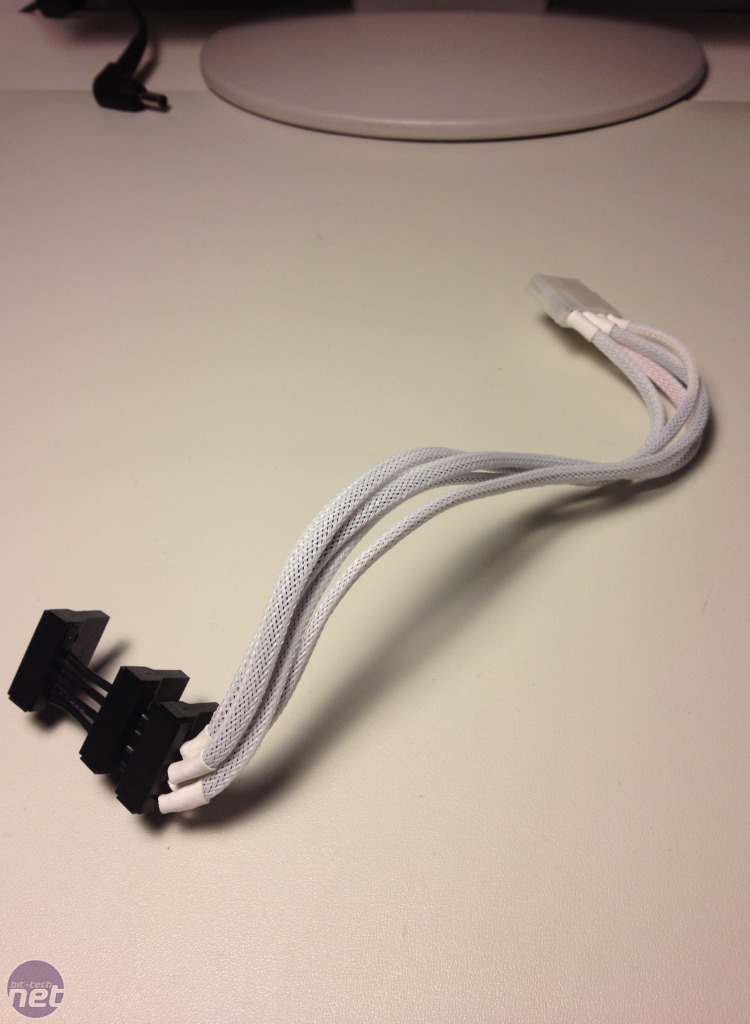
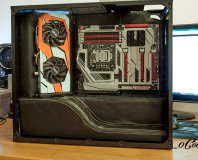
Because I didn’t need an internal PSU there isn’t a lot of cables in this little case, but still, I always want to make all the small details as good as possible. So I started to try out how to get the cable management as good looking and functional as possible.
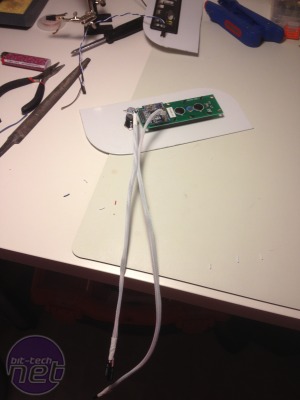
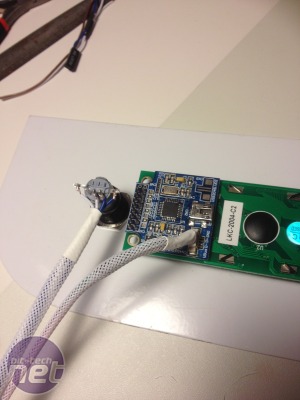

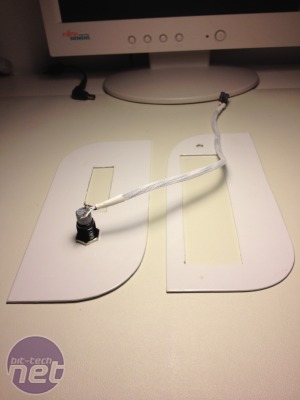
First of all I sleeved every cable except the sata-cables and the reset switch. I hid the fan and reset switch cables under the motherboard.
The front and back panel is made out of 2mm steel that was also left over from Cold Winter. I started by cutting out two rectangular pieces, 230mm x 105mm. Then I made the rounded the corners so that they would fit the shape of the acrylic. In the front-panel I made a hole for the power switch and also for a 4x20 LCD.

Click to enlarge
I had a friend powdercoat them white and then I installed the LCD and power/reset switch. At the same time I changed to some smaller more discreet feet.
Click to enlarge
Click to enlarge
Cable Management
Because I didn’t need an internal PSU there isn’t a lot of cables in this little case, but still, I always want to make all the small details as good as possible. So I started to try out how to get the cable management as good looking and functional as possible.
Click to enlarge
Click to enlarge
First of all I sleeved every cable except the sata-cables and the reset switch. I hid the fan and reset switch cables under the motherboard.
RELATED ARTICLES


MSI MPG Velox 100R Chassis Review
October 14 2021 | 15:04

Want to comment? Please log in.