Scratchbuilt PC: More water-cooling and the roof section
November 2, 2012 | 11:04
Companies: #bit-tech
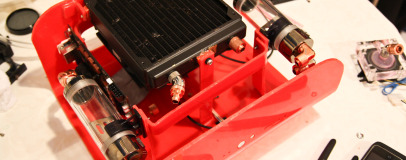
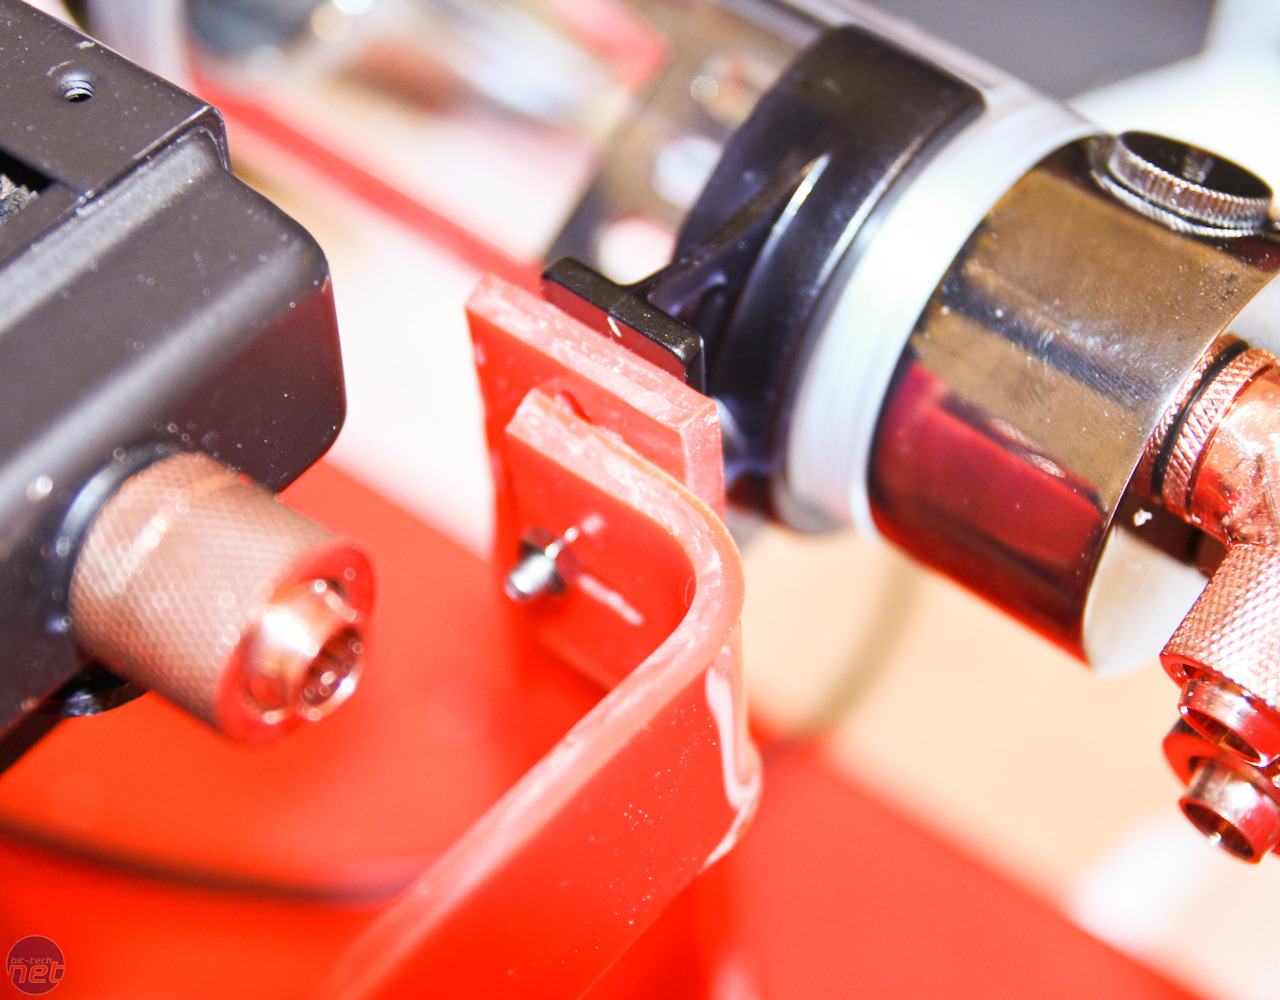
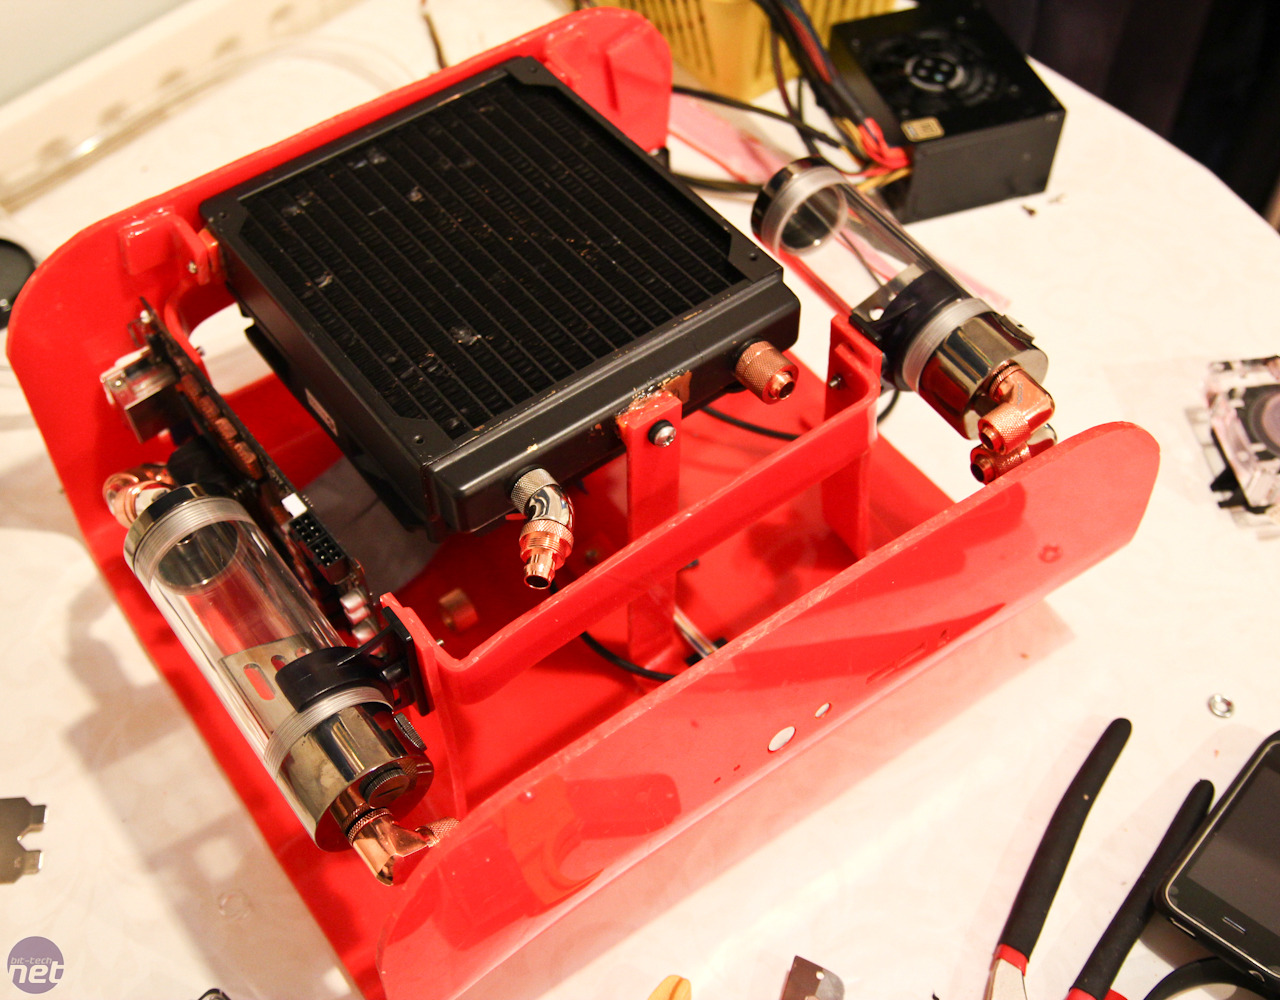
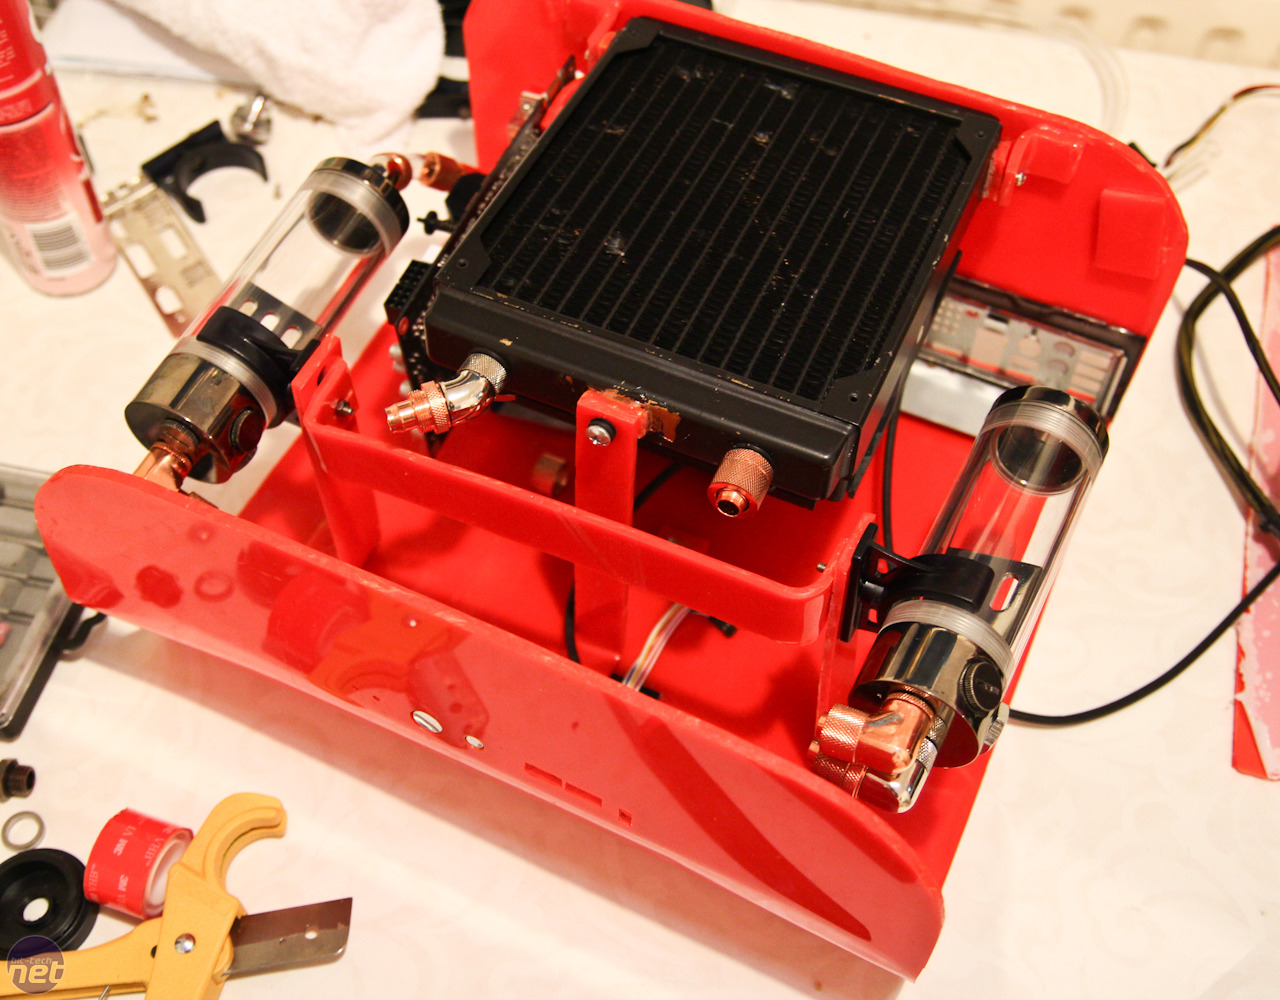
As we'll need to adjust the reservoirs into position, we've cut out small sections in the mounts to allow the reservoir to be raised up to meet the roof of the case. One of the threaded holes will serve as a fillport - it should be interesting to see how easy it is to bleed.

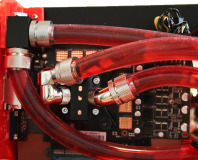
Due to the weight of the reservoirs, we had to create a brace between them else the individual mounts started to sag slightly outwards. We simply bent another section of acrylic to shape to fit between the two mounts and used longer screws to pass through the bracket, mount and brace before being secured on the other side by a nut.
The brace too is adjustable and can be moved forwards or backwards in the case to make way for whatever barbs we decide to use. With both reservoirs weighing in at over a kilogram, the brace appears to be doing its job. All we need to make now is the storage cage then we'll be ready to dismantle the whole acrylic contraption, sand everything smooth then paint it, ready for the final assembly.
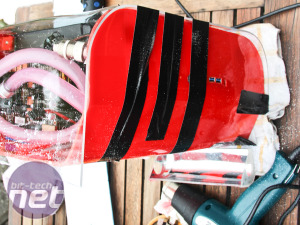
Bending acrylic has been a major feature with this project and while the two-bend front section was certainly trying, the roof section will also need some careful attention. We haven't decided how we'll mount it yet, but it's going to be a single piece of acrylic, wrapping around the case.

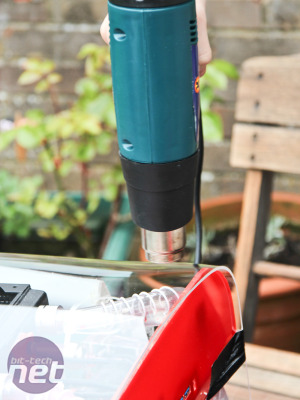
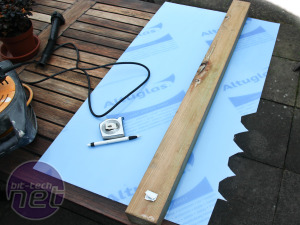
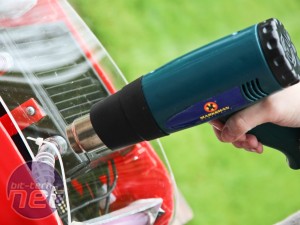
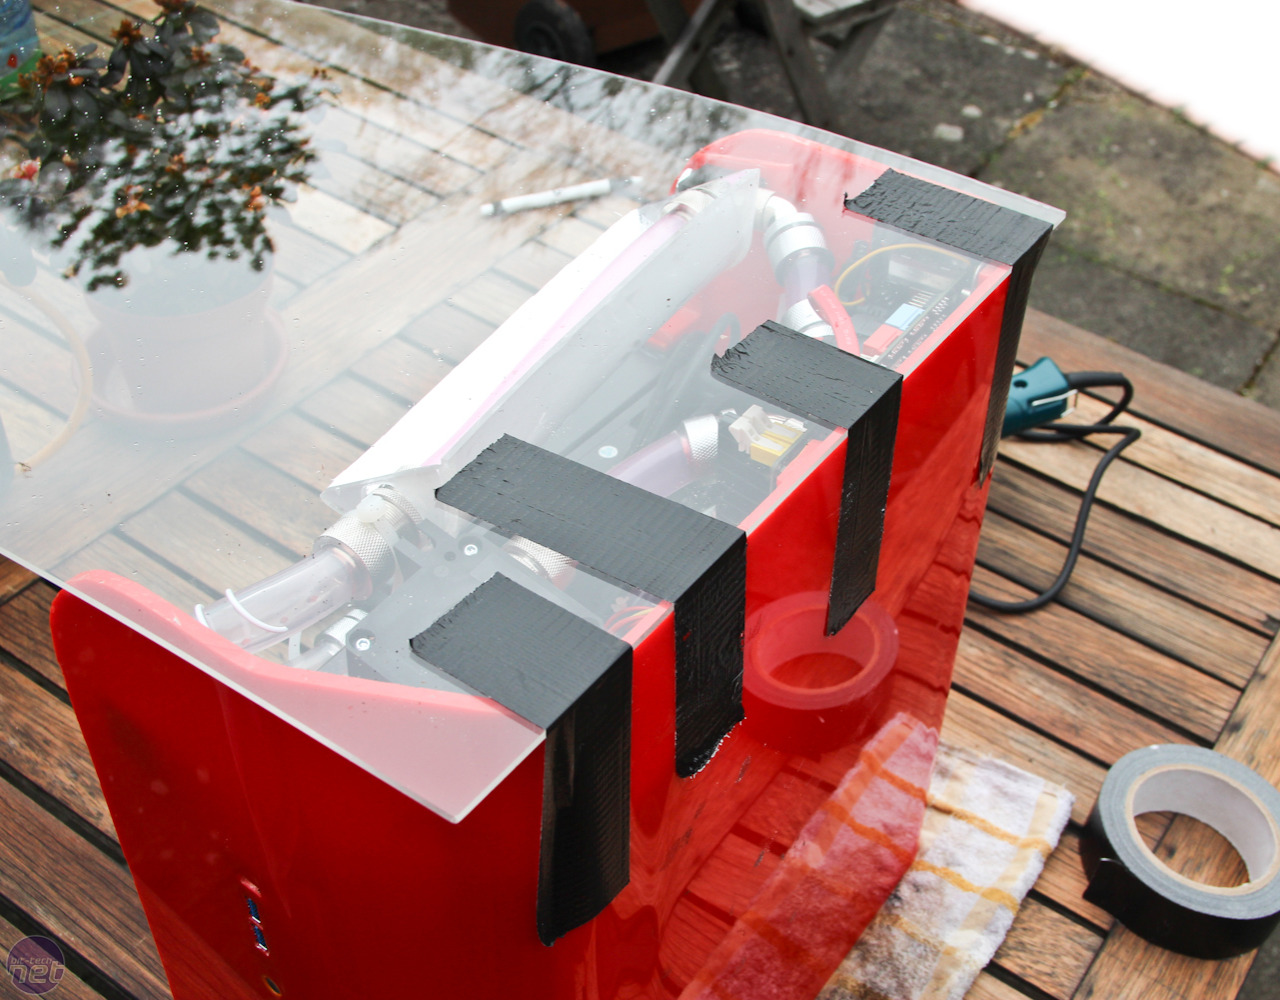
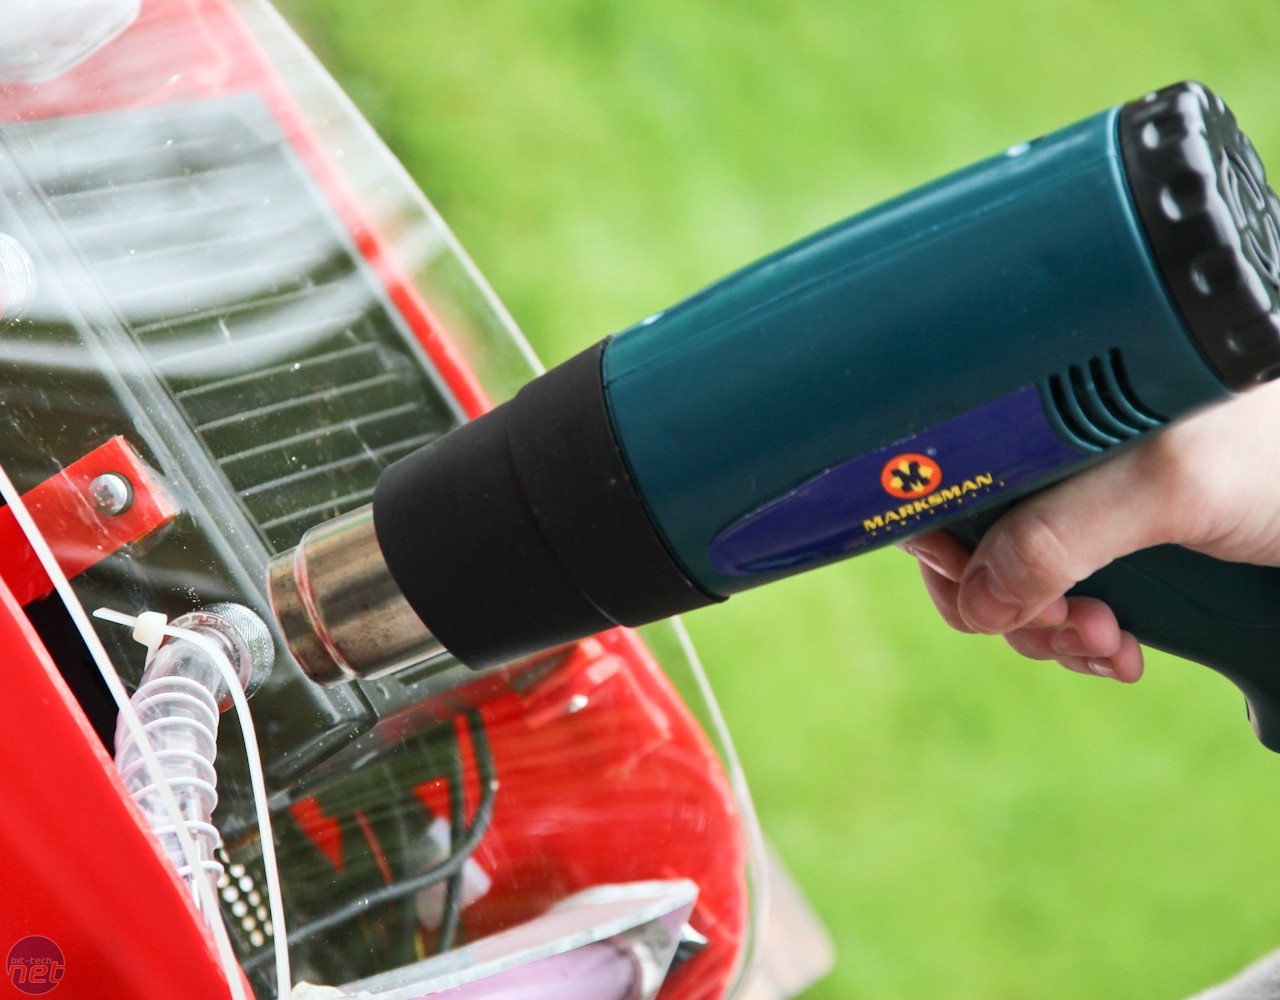
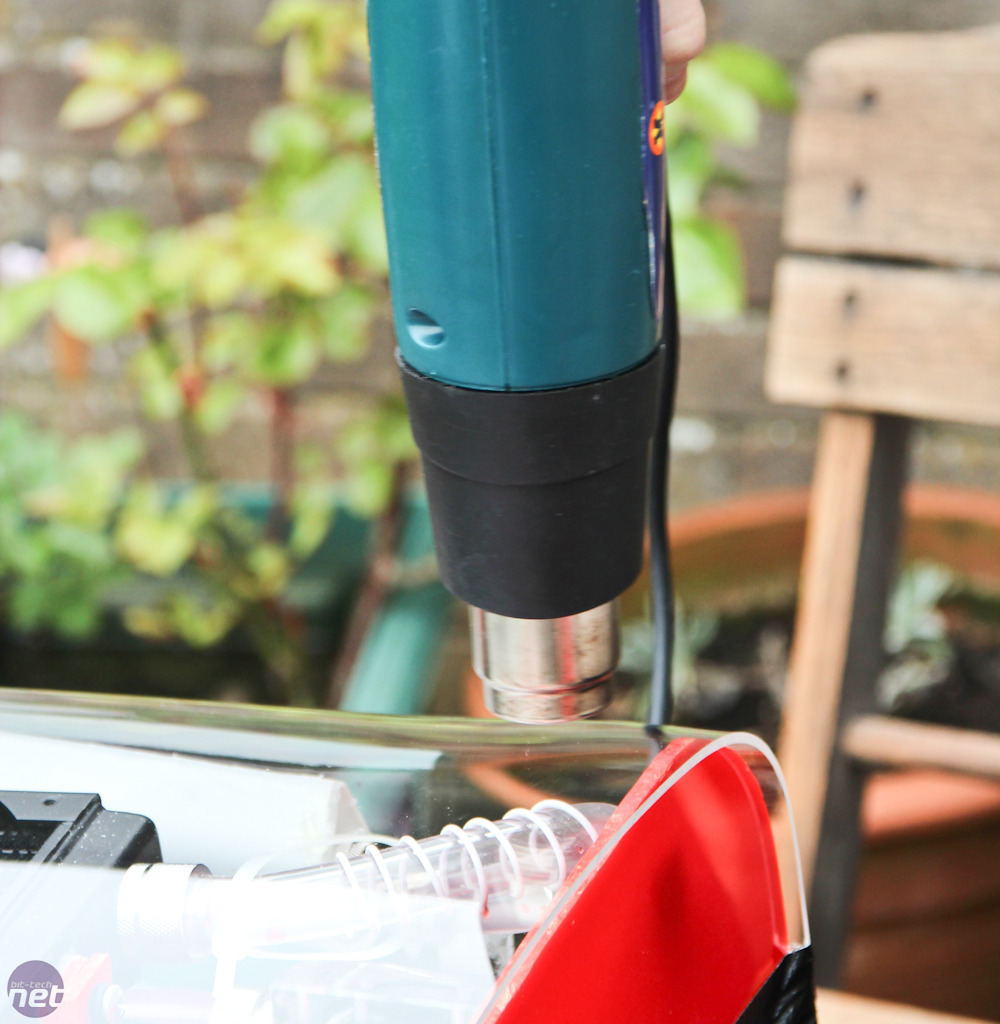
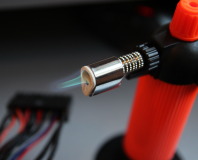
We started by trimming our large section of acrylic to shape before securing it tightly to the case and readying our heat gun. This took a good 15 minutes, heating the large section of acrylic to begin bending then taping each area to the case as we went.
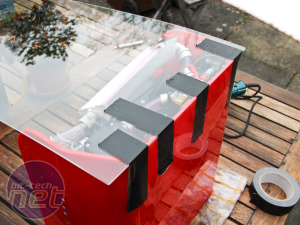
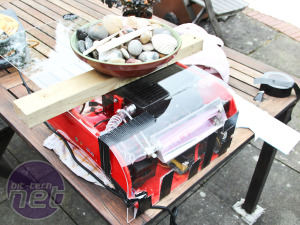
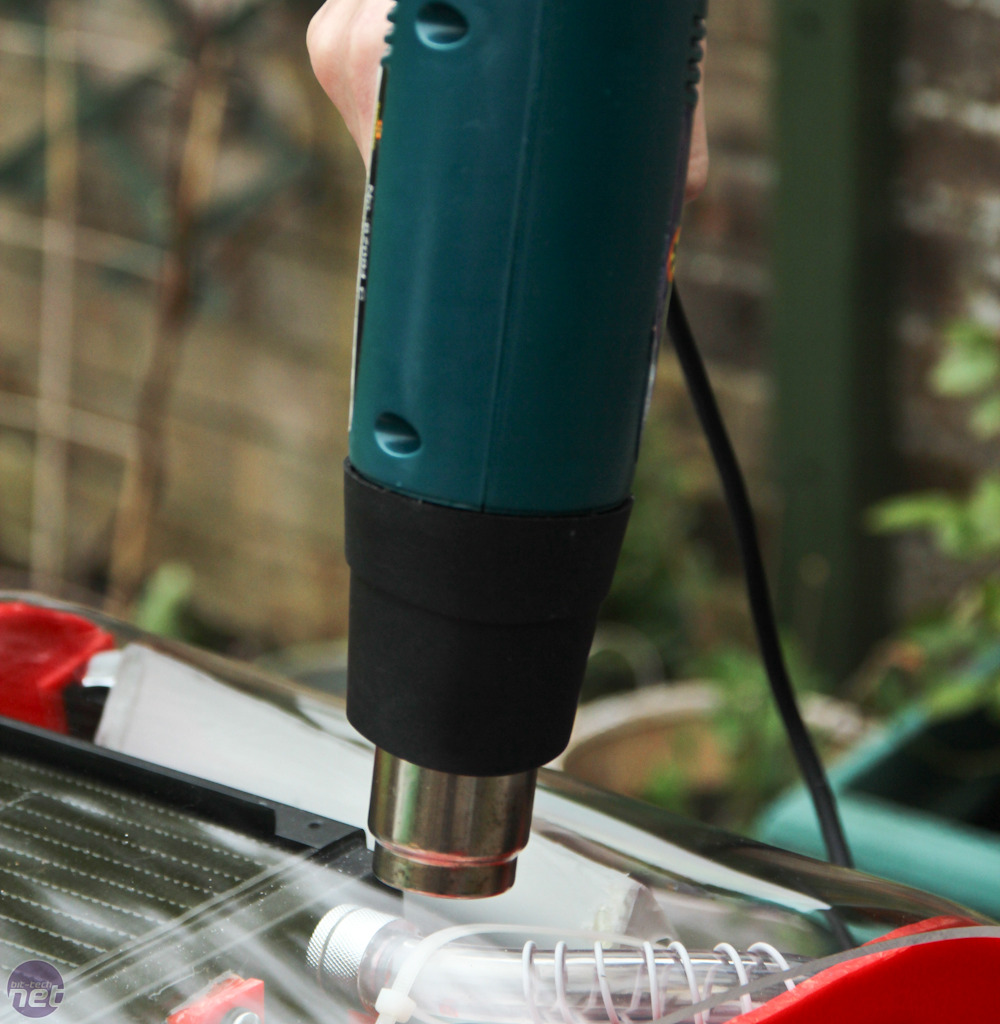
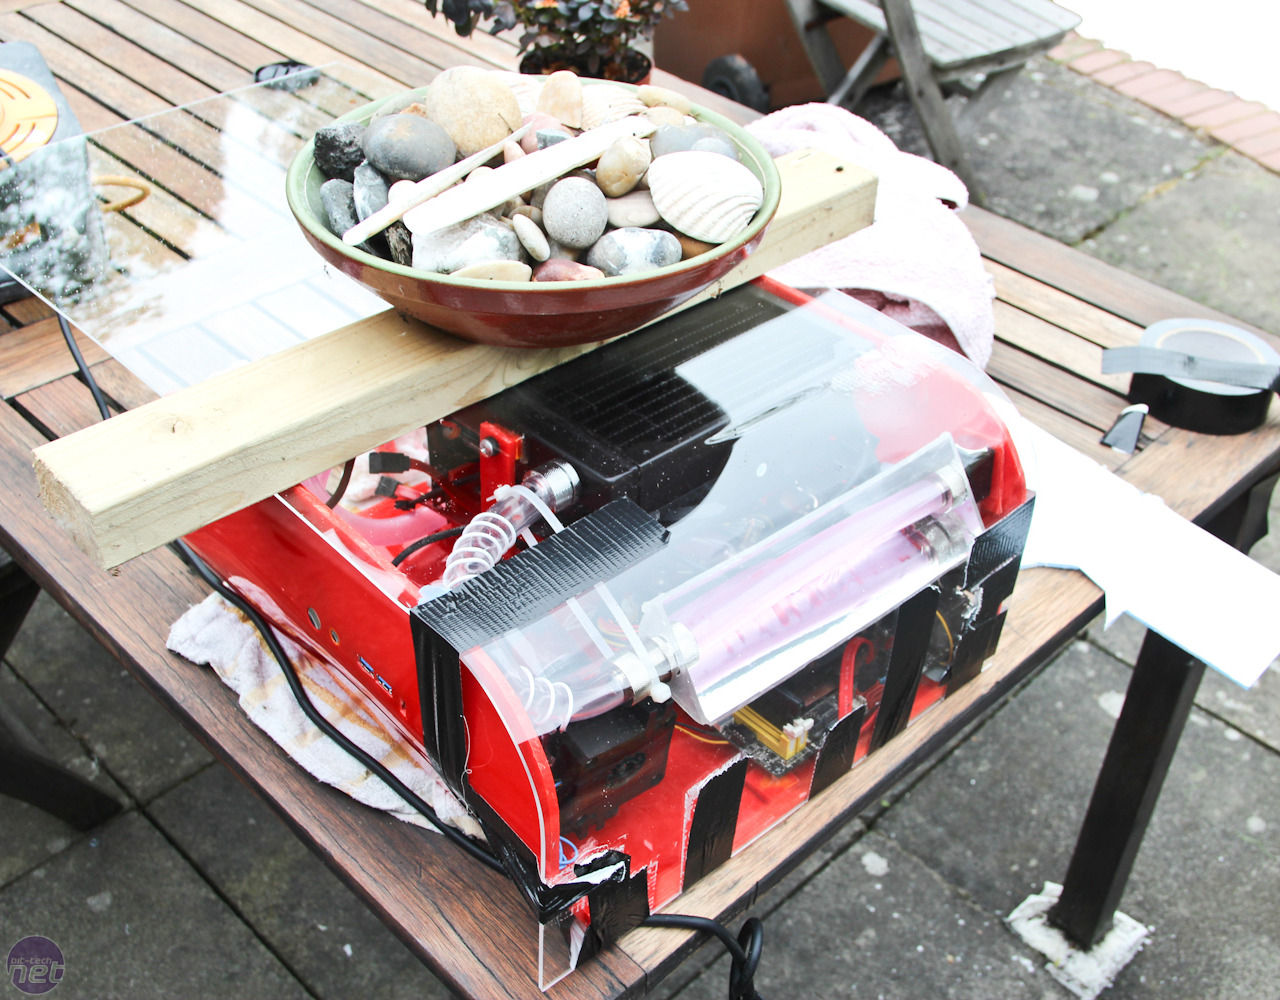
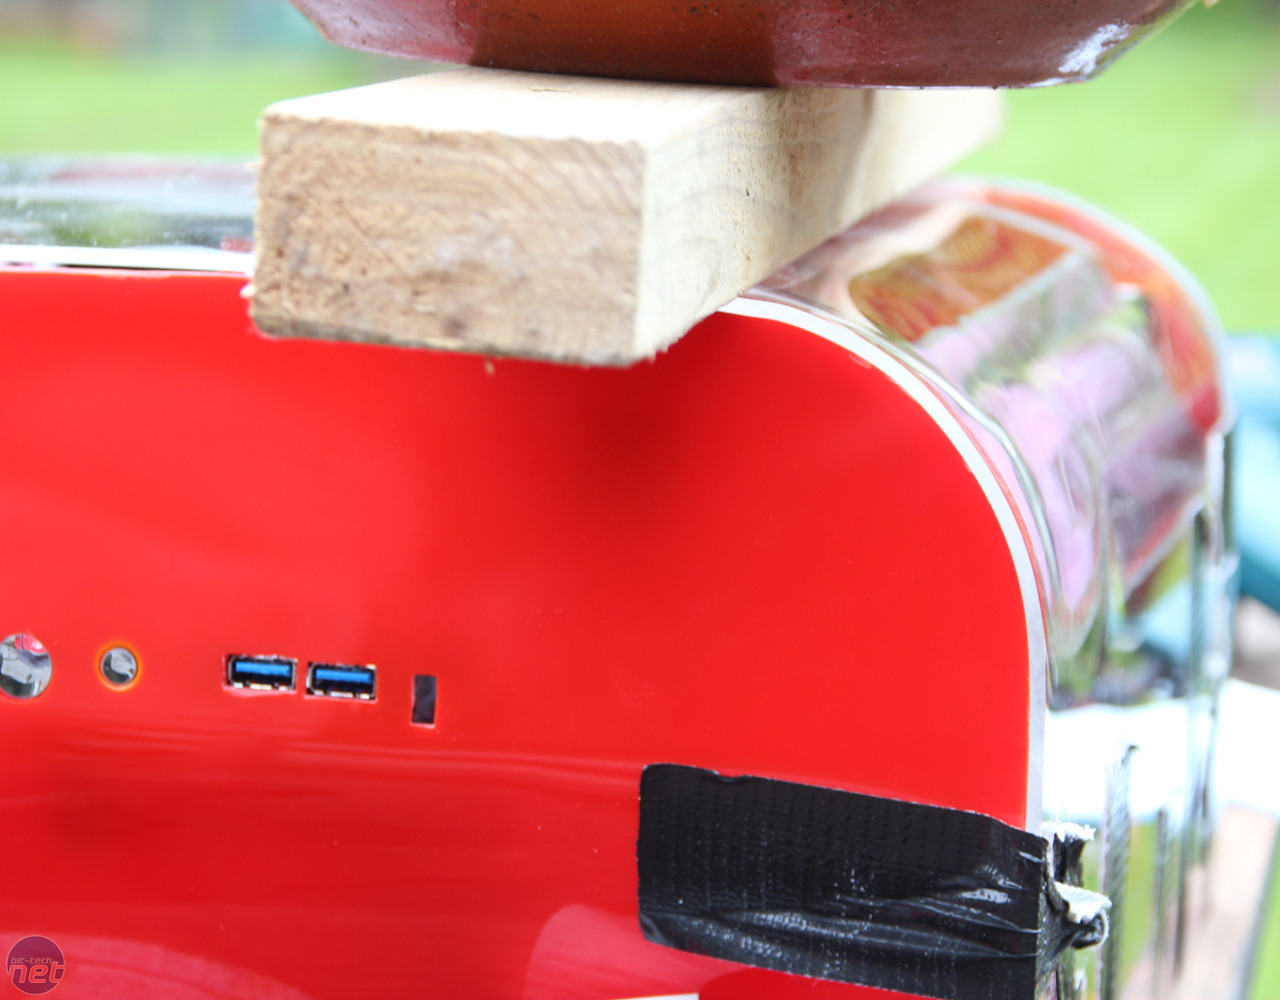
We used a weight (actually a pot of stones and a section of timber) to flatten the roof section while we heated it. This persuaded it to flop right into position. We may have a nother run at this as some areas weren't completely flat - the acrylic we used was a little thick and as we did have a mould of the case to work with, the centre section didn't have a lot of support as we bent the acrylic sheet round the case.
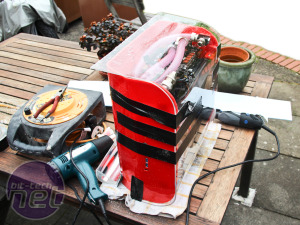
This should hopefully be fixable by laying it on a flat surface and ironing out the bends - the great thing about acrylic is that it returns to its original shape if you lay it flat so we can work on the same piece several times if need be.
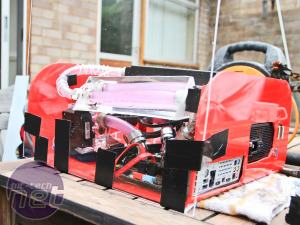
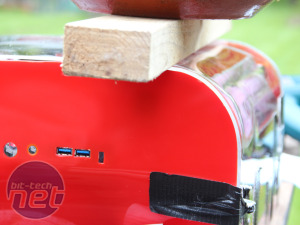
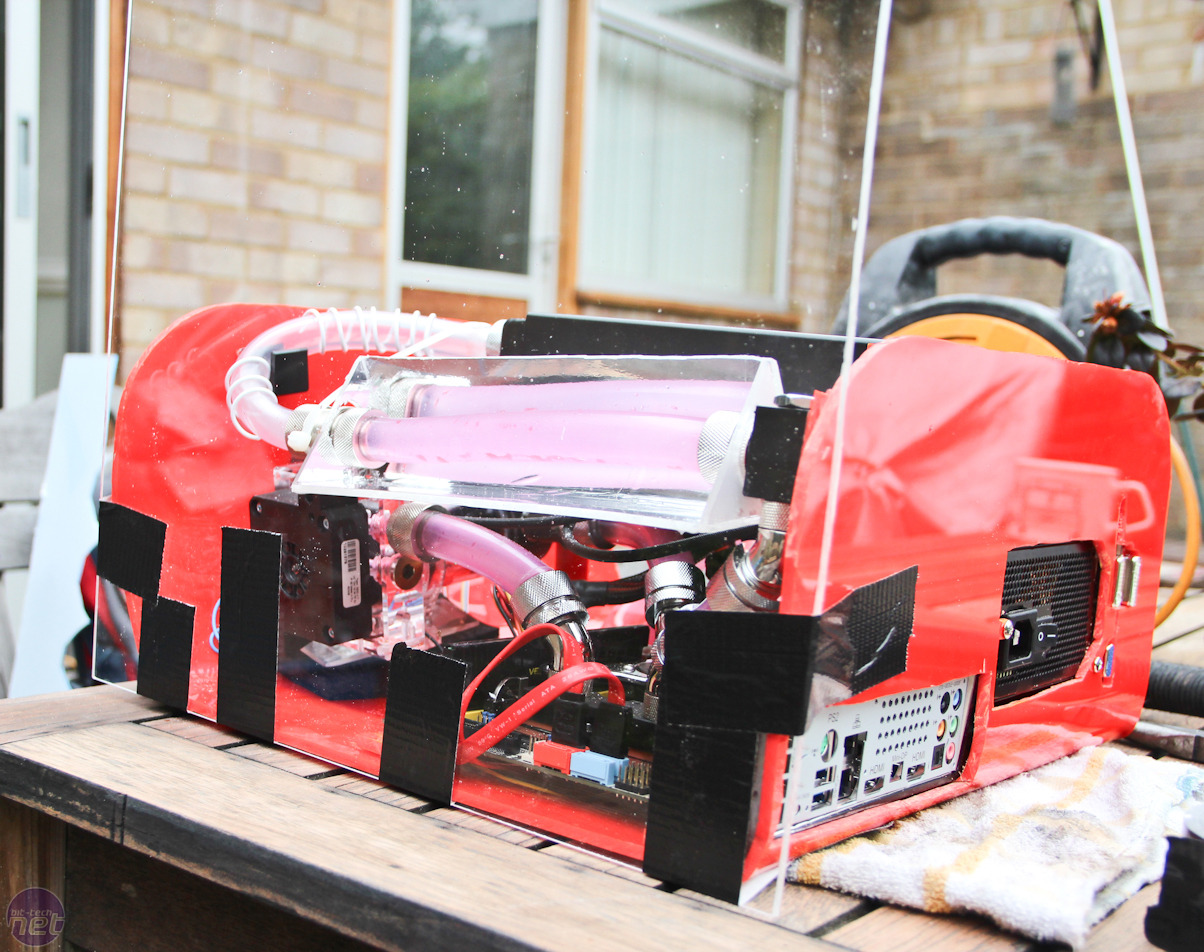
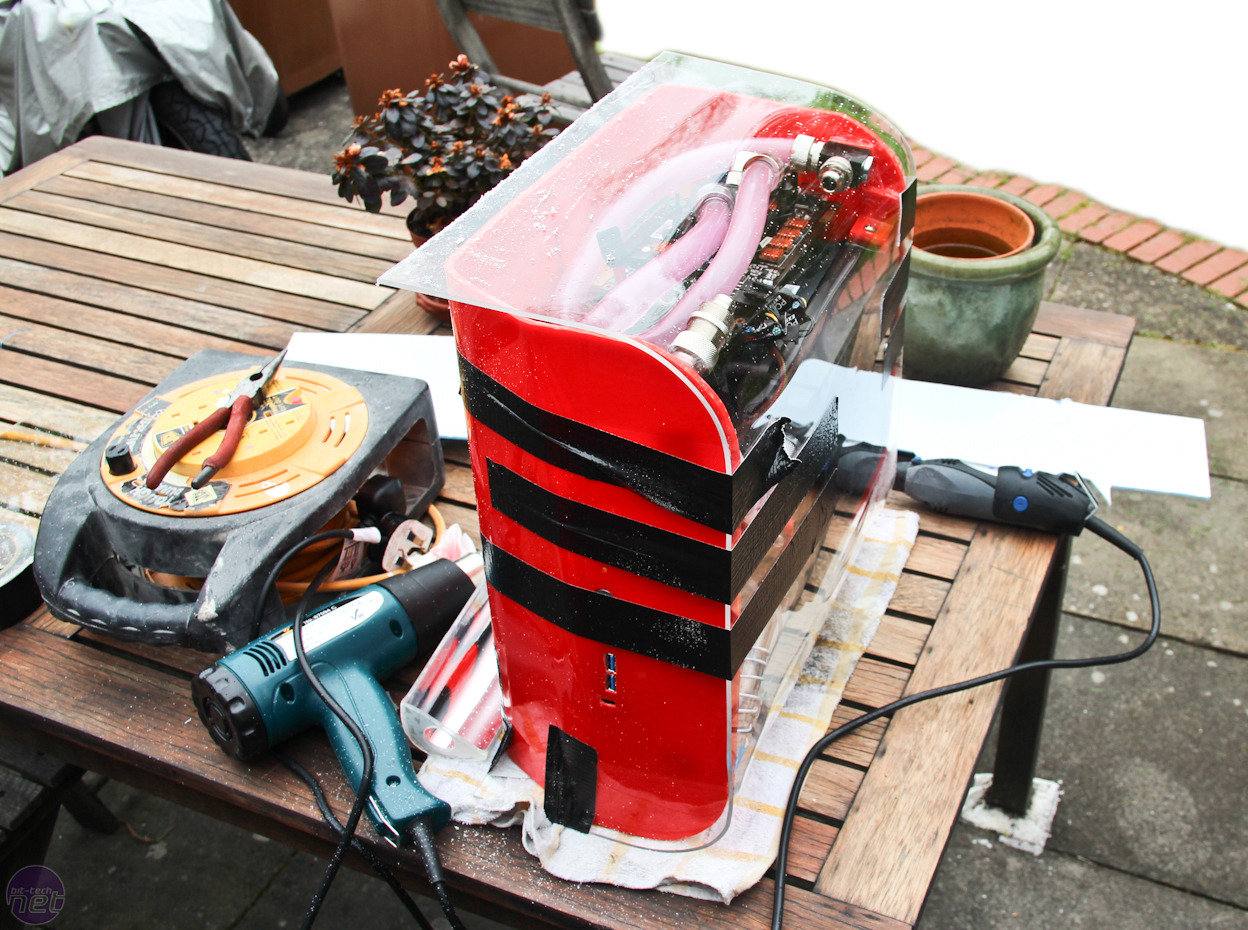
The end result isn't too bad for a first effort. Minus a bit of touching up and finishing, the only issues are a few bumps in the acrylic, which can hopefully be bent flat later. If you have any suggestions do let us know! We'll be back soon with the next part in our scratchbuild guide.

Click to enlarge
Click to enlarge
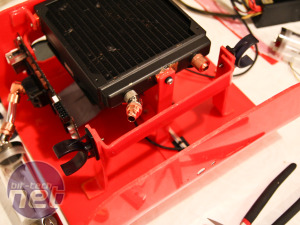
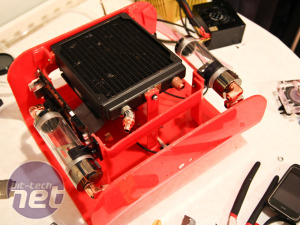
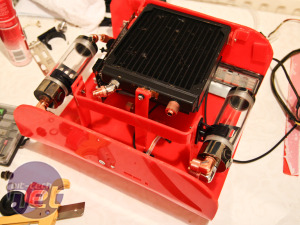
Due to the weight of the reservoirs, we had to create a brace between them else the individual mounts started to sag slightly outwards. We simply bent another section of acrylic to shape to fit between the two mounts and used longer screws to pass through the bracket, mount and brace before being secured on the other side by a nut.
The brace too is adjustable and can be moved forwards or backwards in the case to make way for whatever barbs we decide to use. With both reservoirs weighing in at over a kilogram, the brace appears to be doing its job. All we need to make now is the storage cage then we'll be ready to dismantle the whole acrylic contraption, sand everything smooth then paint it, ready for the final assembly.

Click to enlarge
Click to enlarge
Bending acrylic has been a major feature with this project and while the two-bend front section was certainly trying, the roof section will also need some careful attention. We haven't decided how we'll mount it yet, but it's going to be a single piece of acrylic, wrapping around the case.
Click to enlarge
We started by trimming our large section of acrylic to shape before securing it tightly to the case and readying our heat gun. This took a good 15 minutes, heating the large section of acrylic to begin bending then taping each area to the case as we went.
We used a weight (actually a pot of stones and a section of timber) to flatten the roof section while we heated it. This persuaded it to flop right into position. We may have a nother run at this as some areas weren't completely flat - the acrylic we used was a little thick and as we did have a mould of the case to work with, the centre section didn't have a lot of support as we bent the acrylic sheet round the case.
Click to enlarge
This should hopefully be fixable by laying it on a flat surface and ironing out the bends - the great thing about acrylic is that it returns to its original shape if you lay it flat so we can work on the same piece several times if need be.

Click to enlarge
The end result isn't too bad for a first effort. Minus a bit of touching up and finishing, the only issues are a few bumps in the acrylic, which can hopefully be bent flat later. If you have any suggestions do let us know! We'll be back soon with the next part in our scratchbuild guide.
RELATED ARTICLES


MSI MPG Velox 100R Chassis Review
October 14 2021 | 15:04

Want to comment? Please log in.