
Acrylic mid-section
Creating a custom mid-section is one of the
 best-looking mods you can make to your PC. While adding lighting and acrylic sections can be done generally without removing your hardware, a mid section is easiest to work on if your case is stripped out. It's a bit more work, but it saves covering your hardware in plastic and metal fragments.
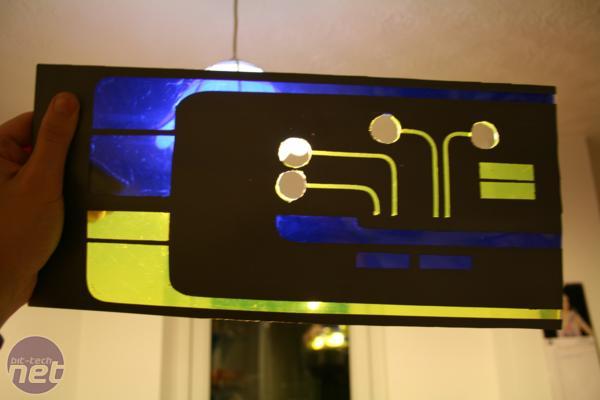
In this part of the guide, we'll be creating an acrylic mid-section cover that can simply rest on top of your existing mid-section. You can then cut holes in your mid-section to allow light to shine through from cathodes or LED lighting below, or even use LED strips between the mid-section and cover itself - we'll leave that up to you, but we'll be taking a look at one method of actually illuminating your mid-section in Part 3.
Design your panel
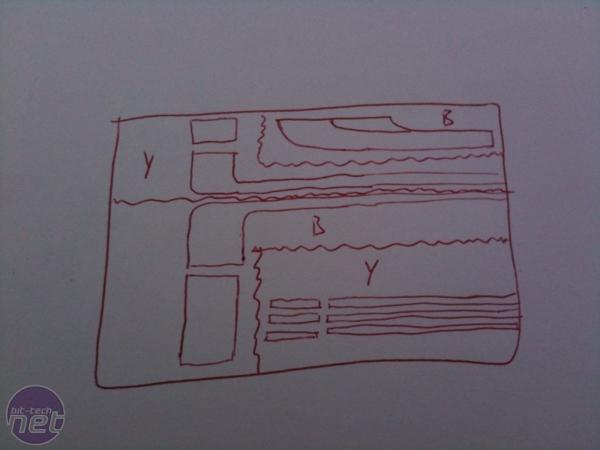
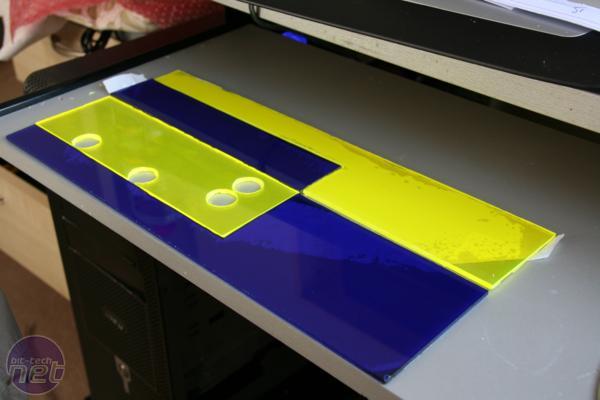
Whether you use SketchUp or pen and paper (the latter works just as well, as shown here), it's essential to work out what design your want to achieve first. We've opted for a two-colour panel made up of four sections of acrylic. It may help to create paper mock-ups of your design and transfer these dimensions straight to your acrylic.
It's also critical that you accurately measure the area you want to cover - another good reason to remove all your hardware first. However, be sure to take note of motherboard heatsinks and other gubbins that might foul the acrylic section - remember it will add between 5-8 mm to the height of your current mid-section.
Click to enlarge
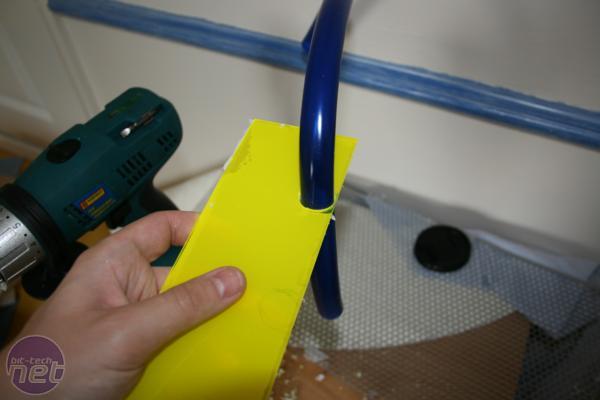
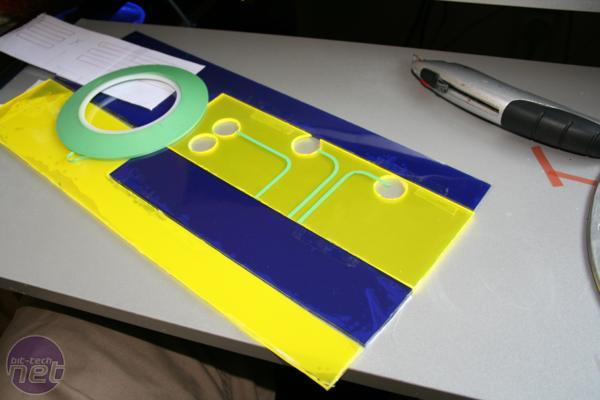
We've also made room for water-cooling pass-throughs - a popular feature with this type of mod. Go ahead and cut out the acrylic, then line the sections up, sanding if necessary to make sure they fit snugly together.
Click to enlarge
In this mod, we wanted a specific design to show through the acrylic. Because we wanted a flat mid-section with no joins on show but had several sections to fit together, we used clear acrylic film top layer. This also allows you to make mistakes - if the masking and spray painting doesn't go right the first time, you won't have to clean the paint off the acrylic - simply get another piece of film, mask it up and try again.
Click to enlarge

Click to enlarge
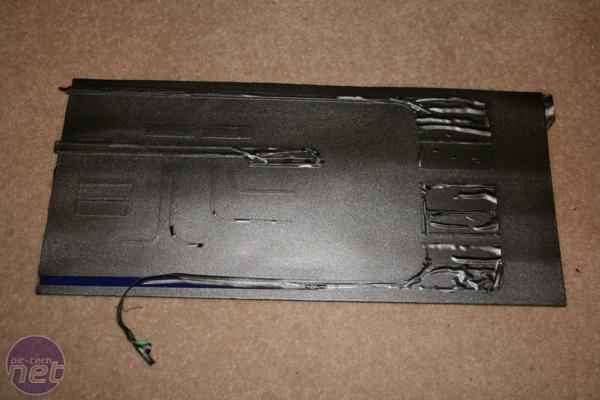
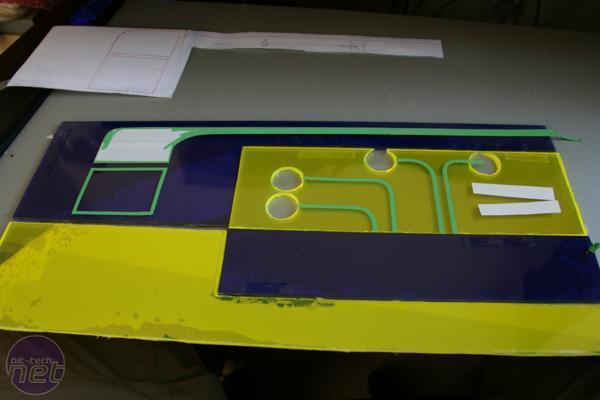
We placed this over our acrylic sections, then masked out our design using fine line masking tape - this bends easily while you're applying it so it's really versatile, if you have steady hands of course. To mask out larger areas, fill these in with paper.
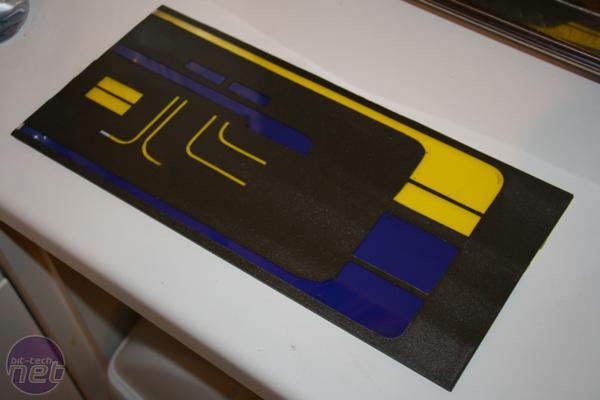
Click to enlarge
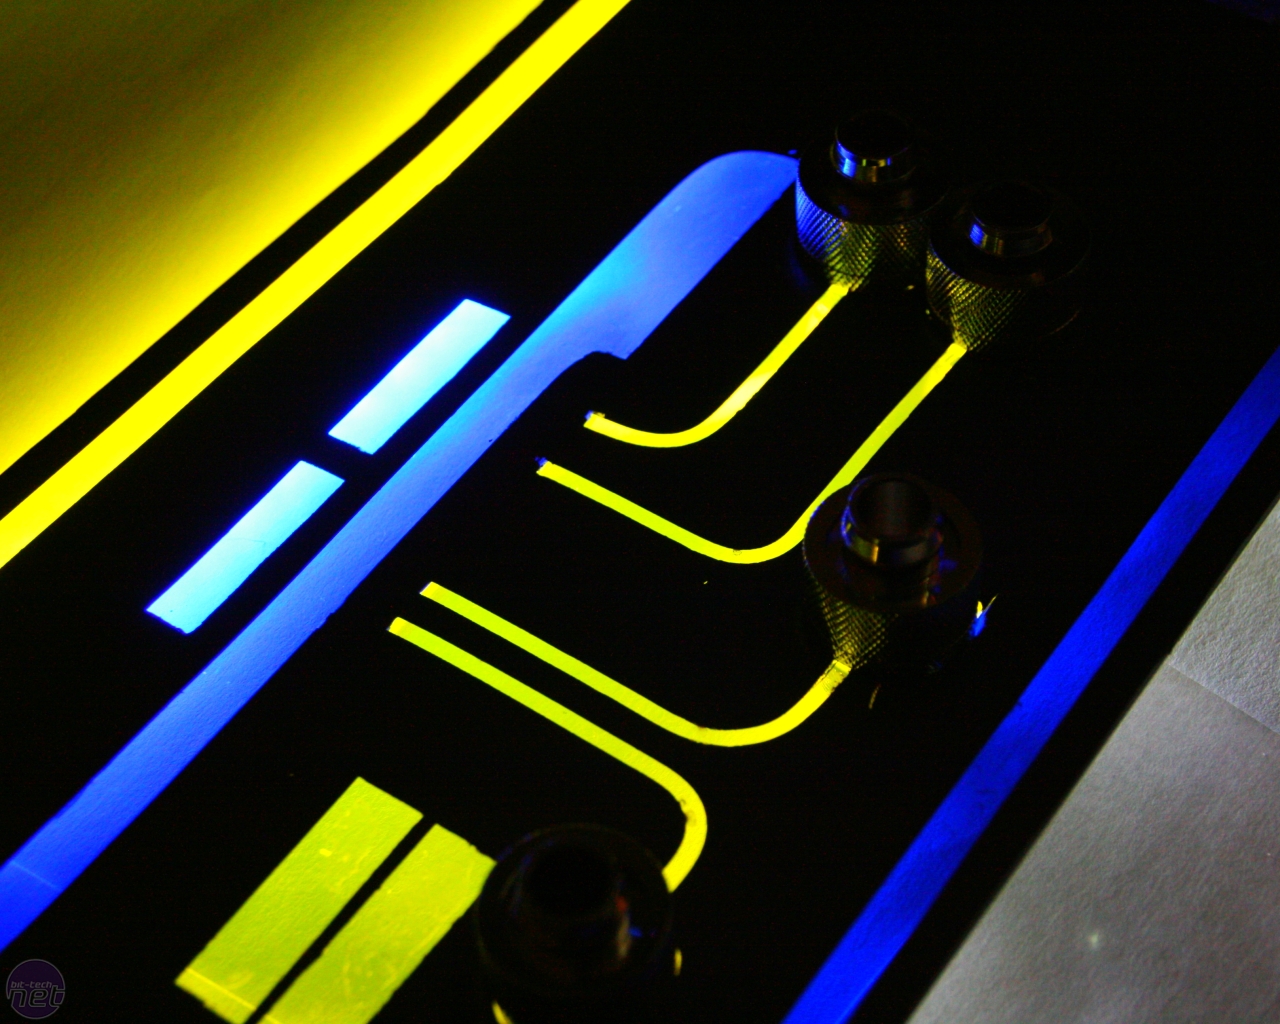
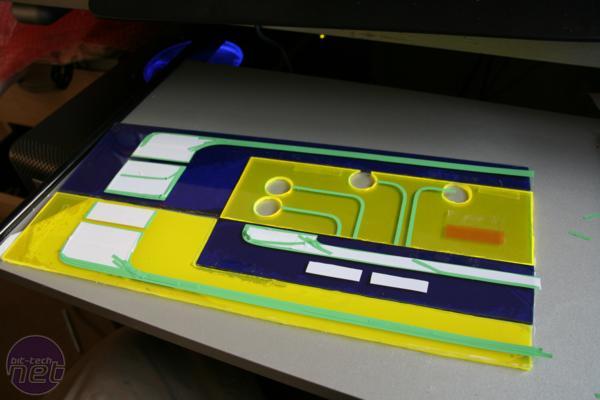
Go ahead and spray over the acrylic, and finish with a few coats of lacquer. Once the paint is dry, proceed to remove all the masking revealing your design underneath. You can use a light or spotlamp to check for imperfections, which can normally be removed using a cotton bud. You can see another great example of using this method to created illuminated designs with acrylic
That's it! We'll be back with our final part of Illuminate your PC soon.


MSI MPG Velox 100R Chassis Review
October 14 2021 | 15:04

Want to comment? Please log in.