
Illuminate your PC - Part 2
In part one of our three-part case lighting guide, we looked at the basics of when it comes to adding some illumination to your PC. In part two we'll be looking at ways to use our old friend, acrylic, to add some colour, including an illuminated mid-section, and ways to add other glowing features to your case.
Acrylic is easy to cut and shape to your specifications and double-sided tape is all that's required to install it to your PC. Add some standard cathodes or LED lighting and you can create some fantastic glowing features that will make your PC stand out from the rest.
Decide on the feature
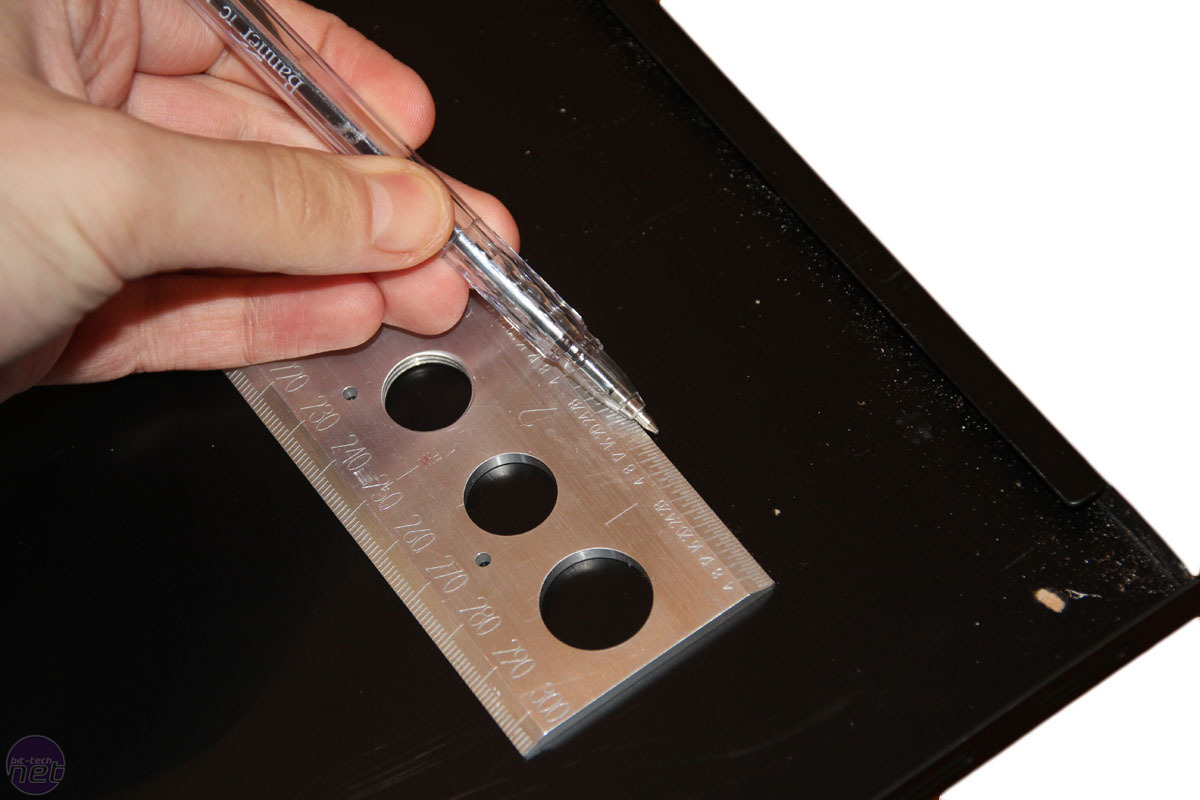
In this part of the guide we've done a simple backlit cut out to add some character to an otherwise bland-looking case - cutting out some acrylic to cover a hole in our side panel then illuminating it from behind. This is a great mod to do if you're not keen on side windows and prefer modest but no less mean-looking features. The same method can of course be applied to much larger features. Start by marking up the area you need to cut out to make way for the acrylic.
Click to enlarge
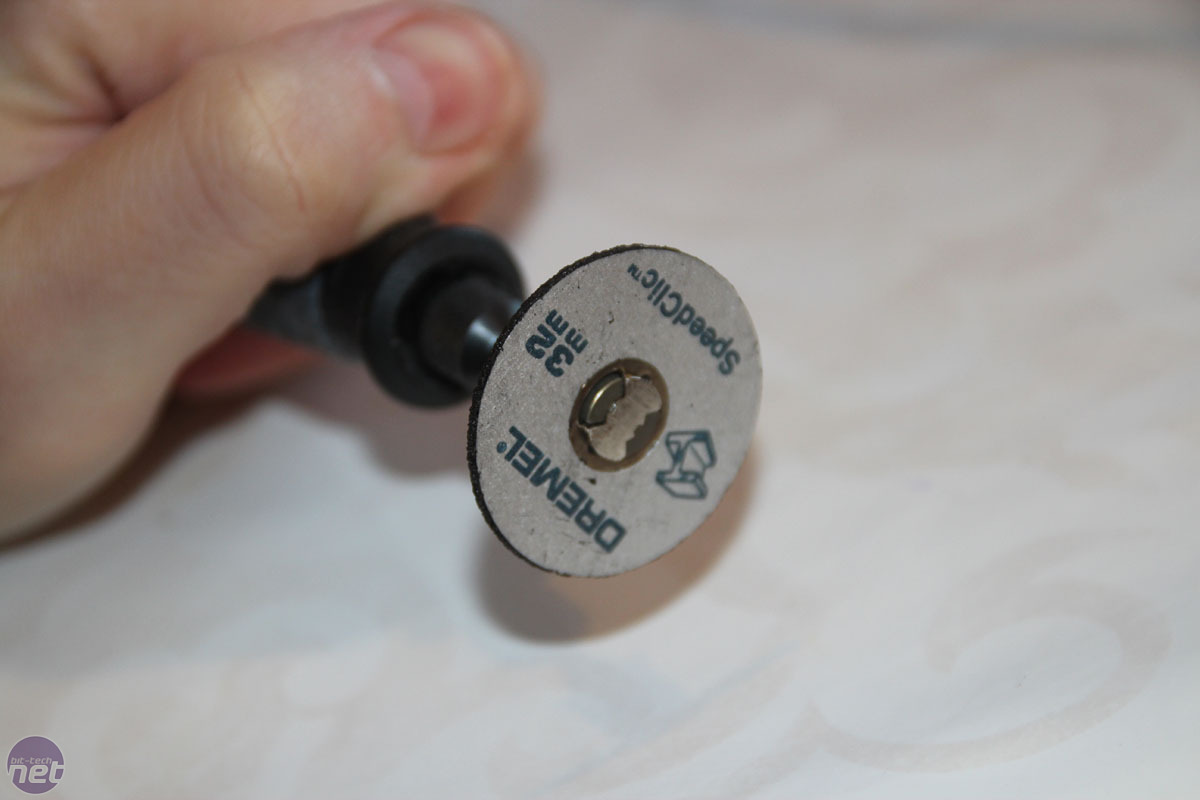
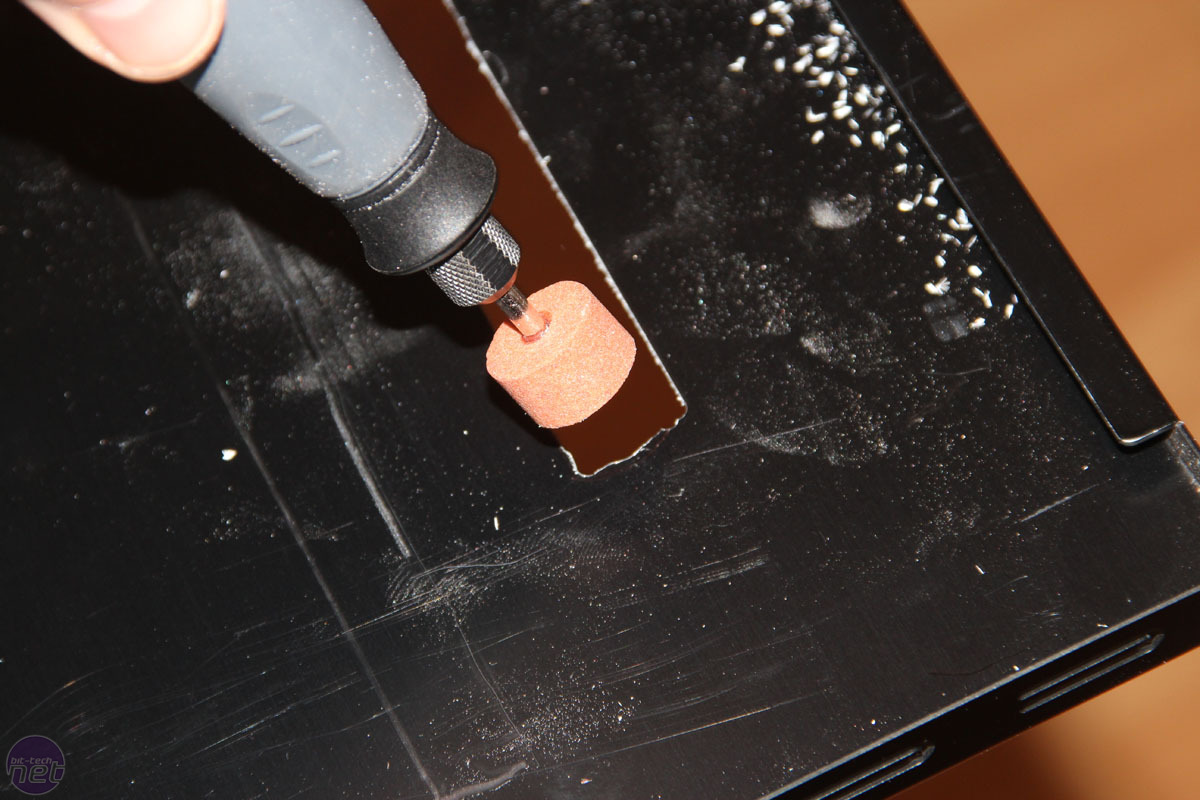
A Dremel and cutting disc can usually do the job, however we had a Dremel Trio to hand so used this as it's a little quicker when dealing with metals, and is much more likely to result in a straight line. Once you're done, sand the corners to shape and don't forget to file the edges too.

Click to enlarge
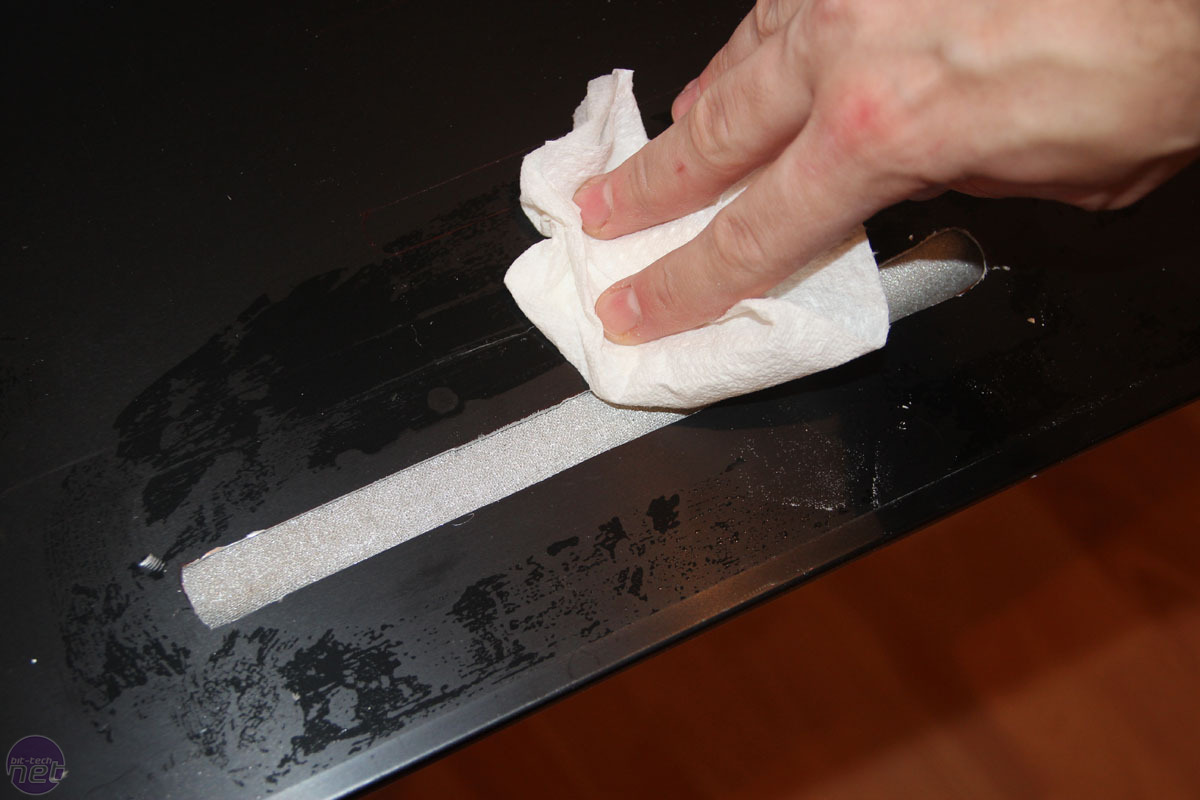
Clean the area thoroughly and make sure you clean up all metal particles off the floor - they love to lodge themselves in your feet. Having cut your acrylic to size, apply some double sided adhesive tape to the side panel, either side of the hole you've just cut. This needs to be as thin as possible to keep the gap between the side panel and acrylic as small as possible.
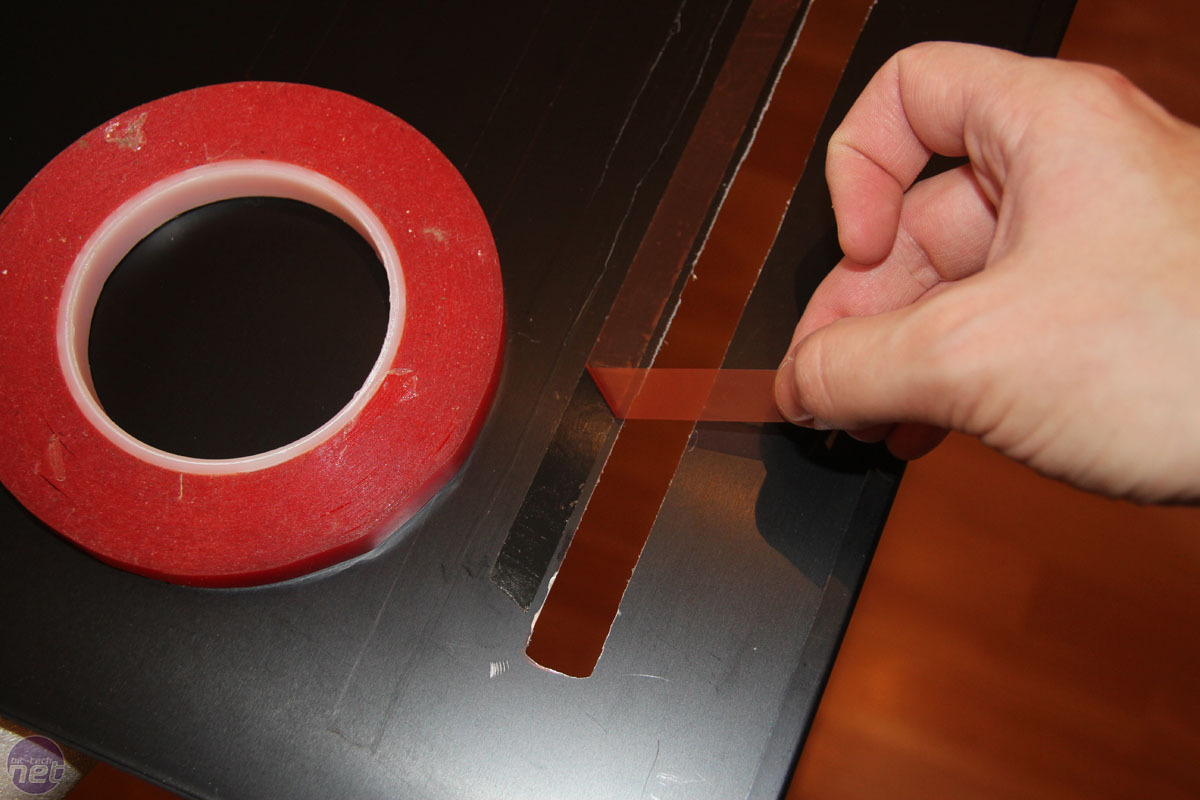
Click to enlarge
Remove any protective film from the acrylic and mount it onto the tape with a firm press. Now it's time to install the lighting - we used two white 12in cathodes above and below the hole, mounted to the case, but you may find it easier to use LED strips or string lights.
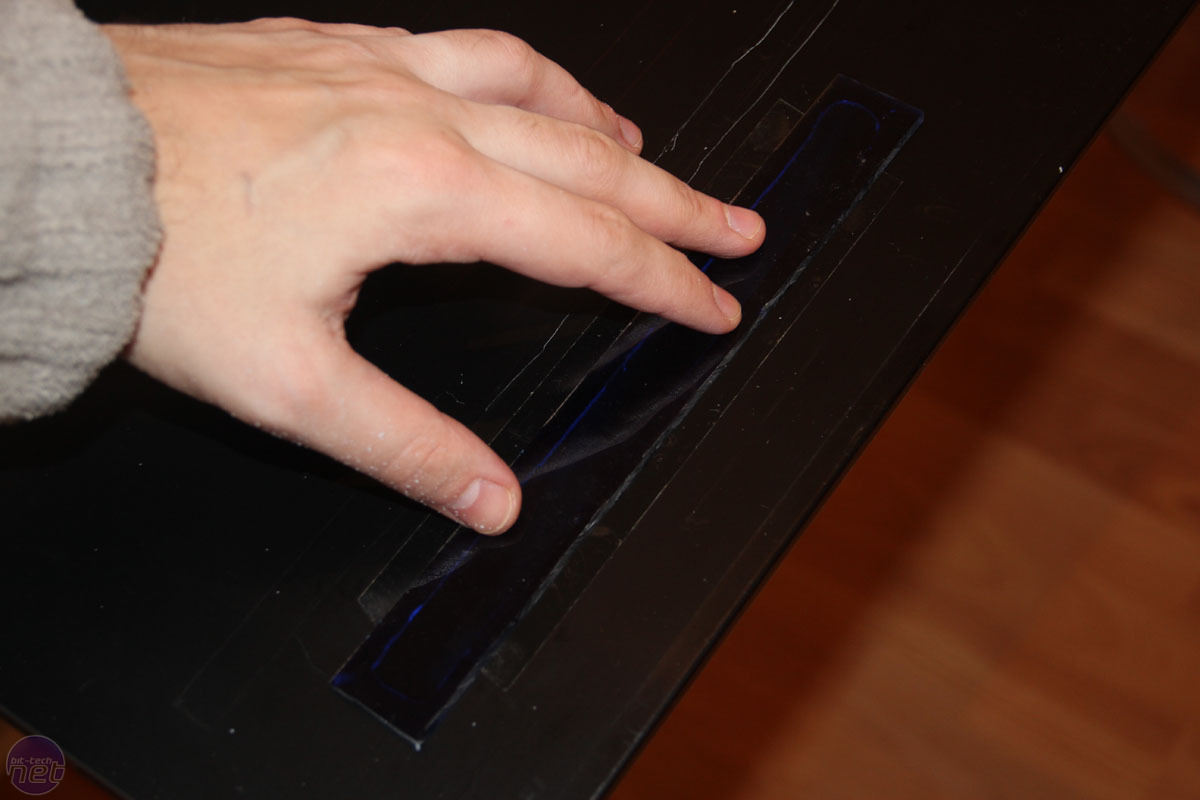

Click to enlarge

Click to enlarge
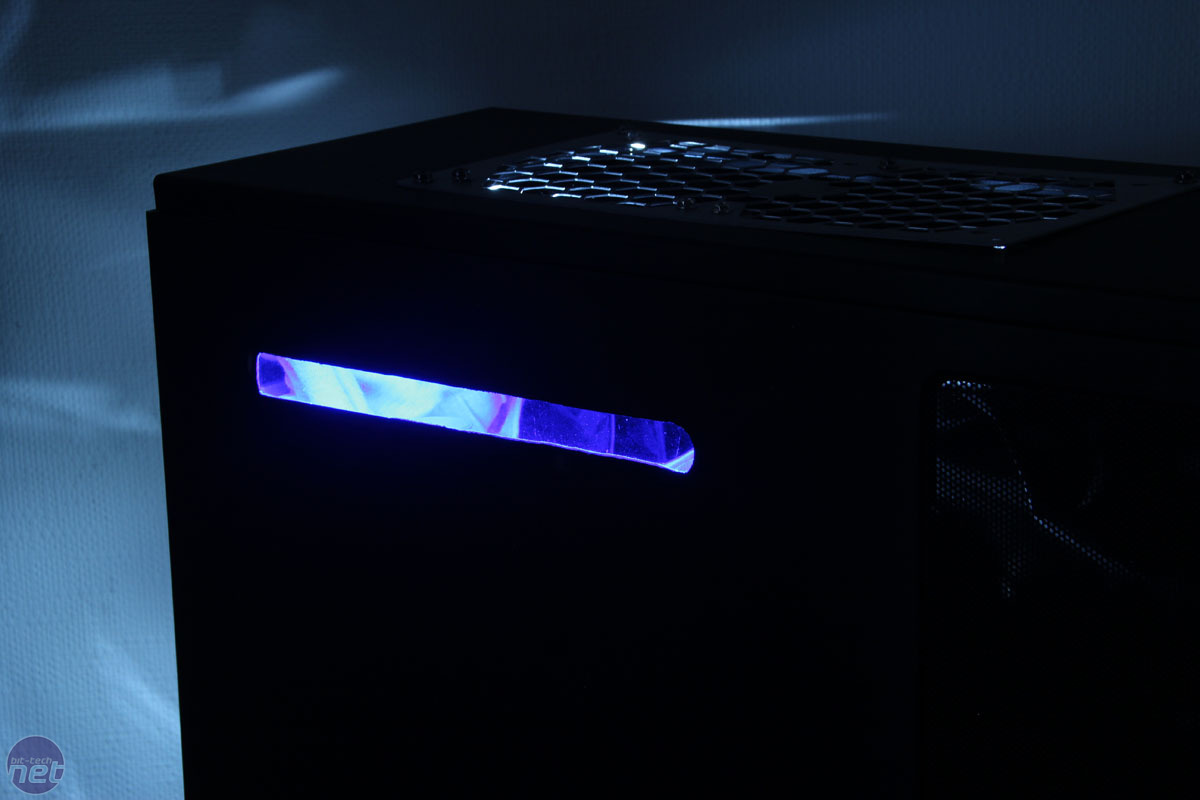
You're done! Sit back and admire your work. You could cut all sorts of patterns into your case, applying acrylic each time. It's a great feature to add, it's simple to do and your case will be looking mean in no time.


MSI MPG Velox 100R Chassis Review
October 14 2021 | 15:04

Want to comment? Please log in.