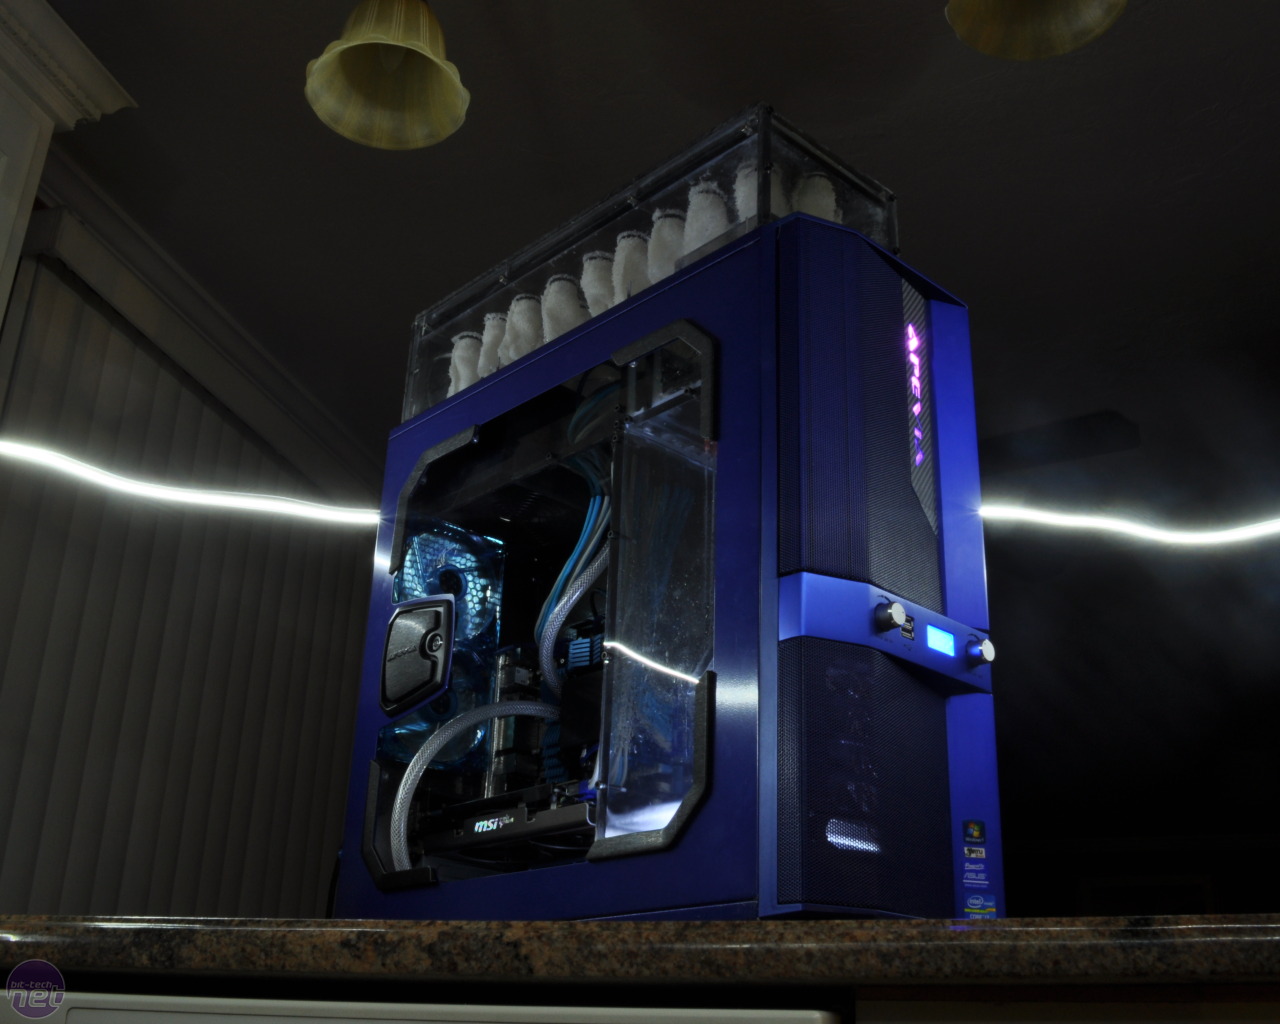
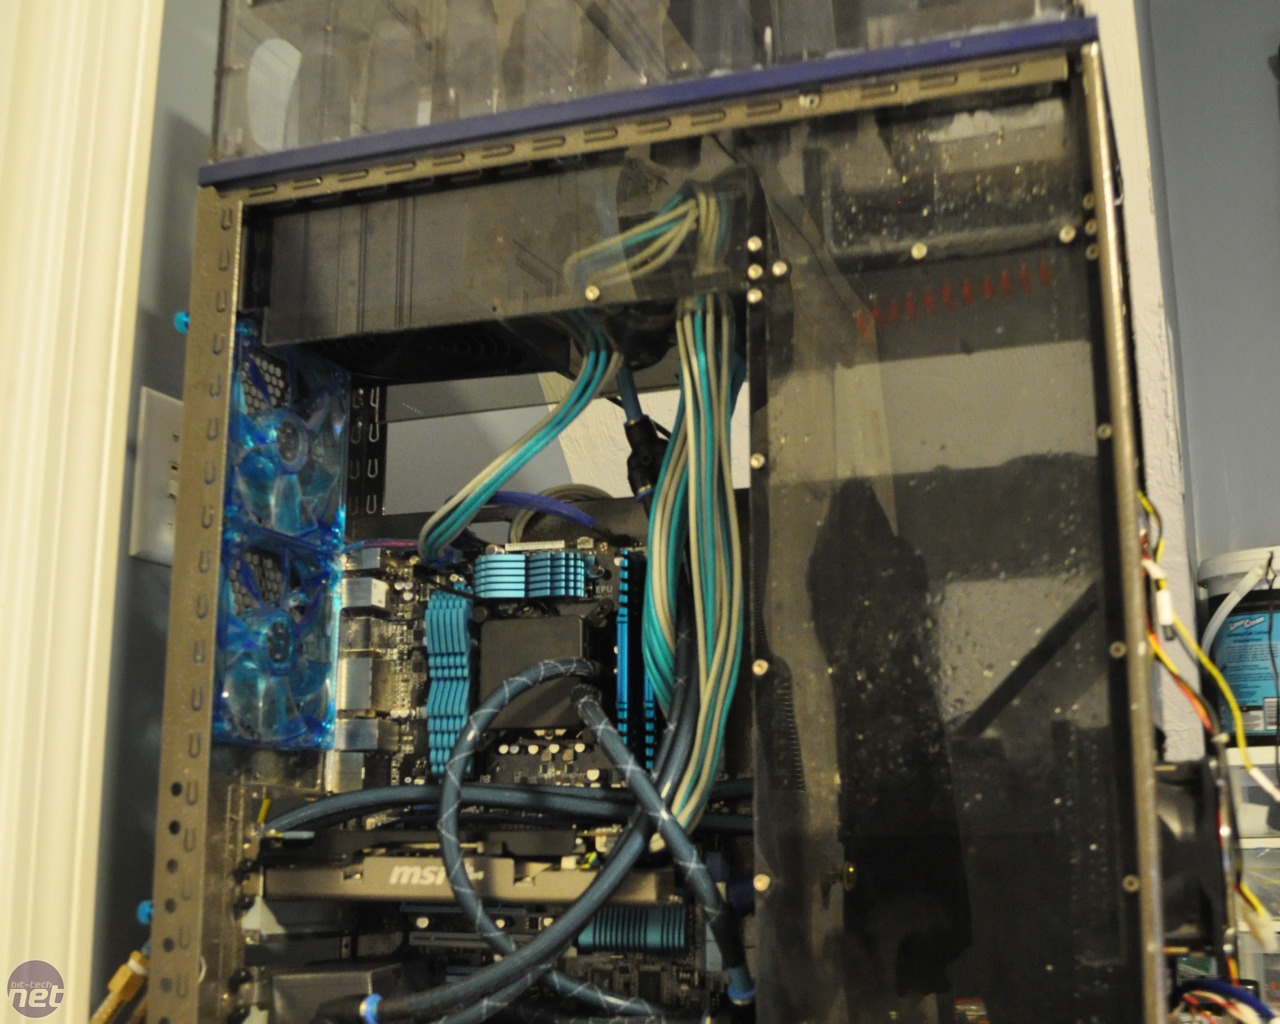
I realized the waterfall reservoir I had just made was functionally similar to how a evaporative cooler worked, and I was just missing a fan. After that, it’s all history, and that build log for Project Rainfall can be found over on overclock.net
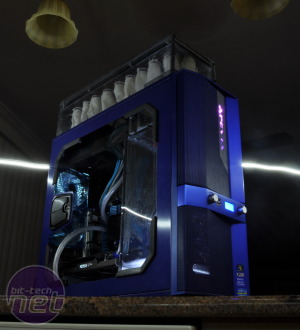
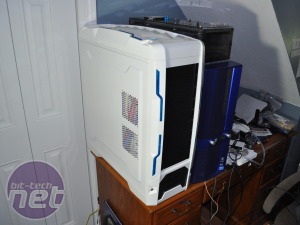
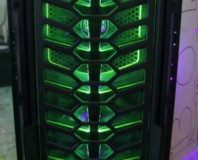
Project Rainfall was a great learning experience. I learned a lot about how to seal the coolers, methods for flowing the air, as well as how effective evaporative coolers can be, but Project Rainfall was just a prototype for my next project, Arctic Rain. I was on Newegg, and I saw that they had just gotten a new case, the Azza Genesis 9000 in white, and fell in love. It had everything I was looking for in a case. So I bought it, and started planning my next evaporative cooler setup. The only issue I had was a deadline. I needed it done by time I left for school in September, leaving me with roughly two months to complete the build.
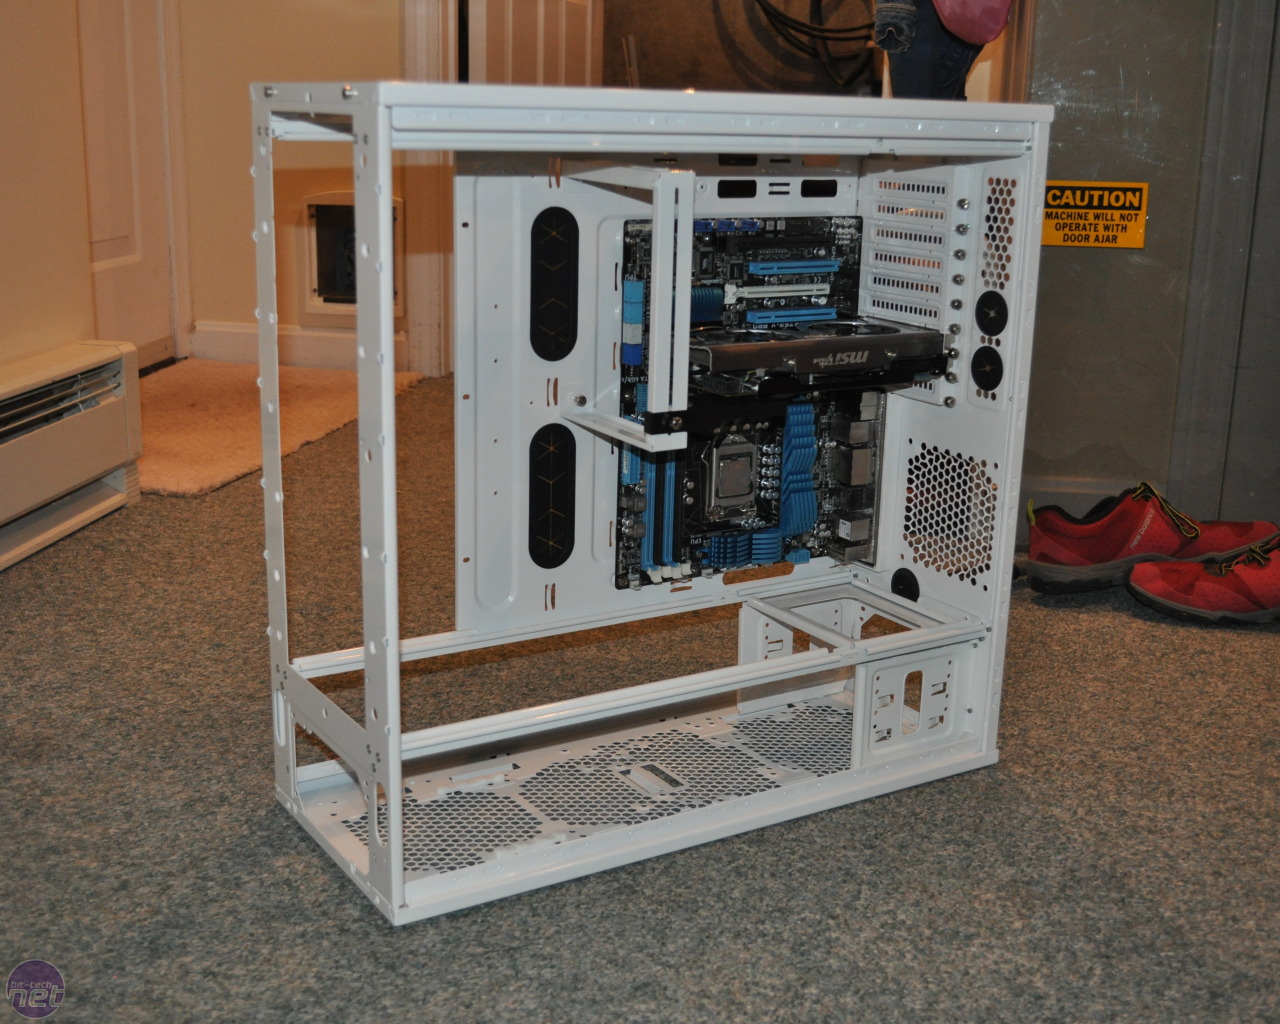
I have lots of polycarbonate. My work trashed an assembly line and was throwing out a lot of large polycarbonate sheets. This stuff is clear like acrylic, but it’s much stronger, and anti-corrosive. I use a table saw and a drill press for all my work, with the occasional help from my band saw for the styling that came later in the build. I learned how to use Google Skecthup back when I was originally modeling parts for Project Rainfall, so I decided to continue that route. With the new case still being shipped, I started modeling a general design that could later on have the dimensions adjusted to the case once I had it in. I decided to not use any visible tubing for the coolers, and I wanted the motherboard tray to remain modular, and easily removable.


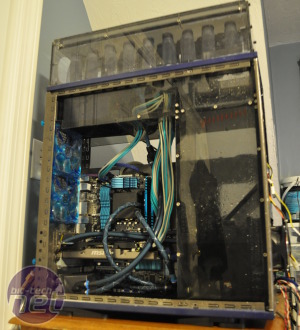
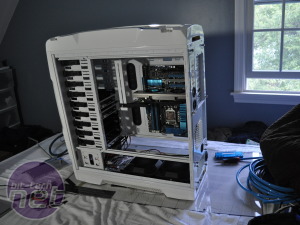
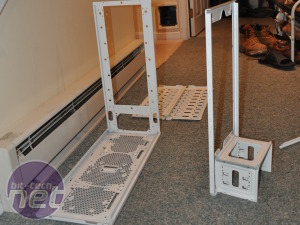
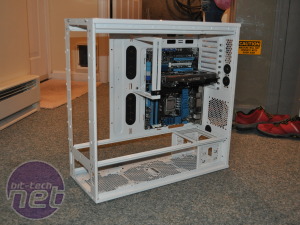
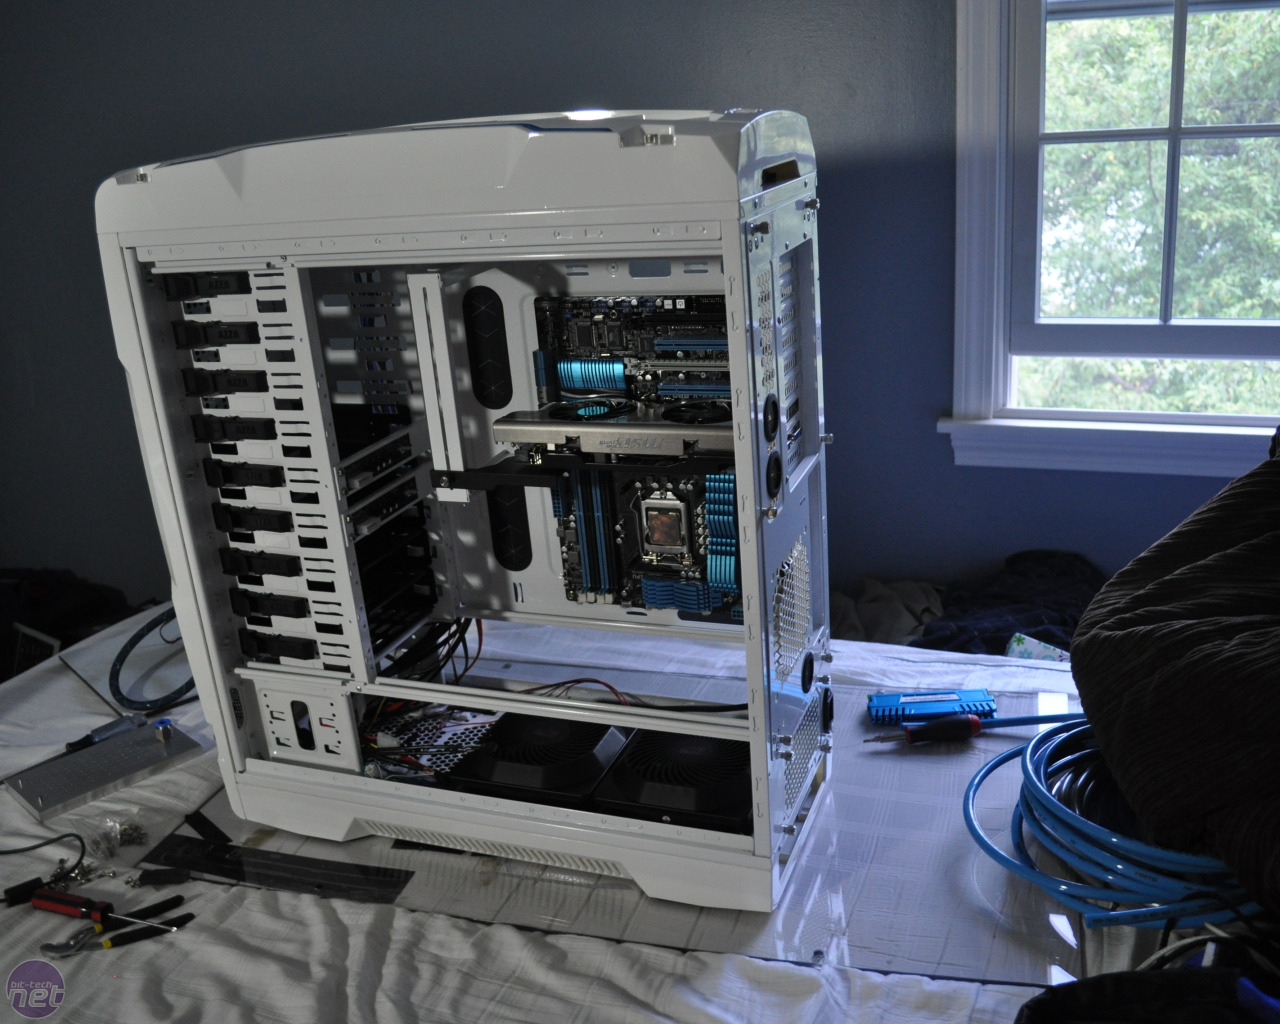
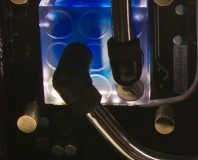
Once I had the case in, I got to work on removing the 5.25in drive bays, and moving the front HDD cage to the rear. This Azza Genesis 9000 has mounting for a front PSU, so I decided to use that instead of the traditional rear mounted PSU.
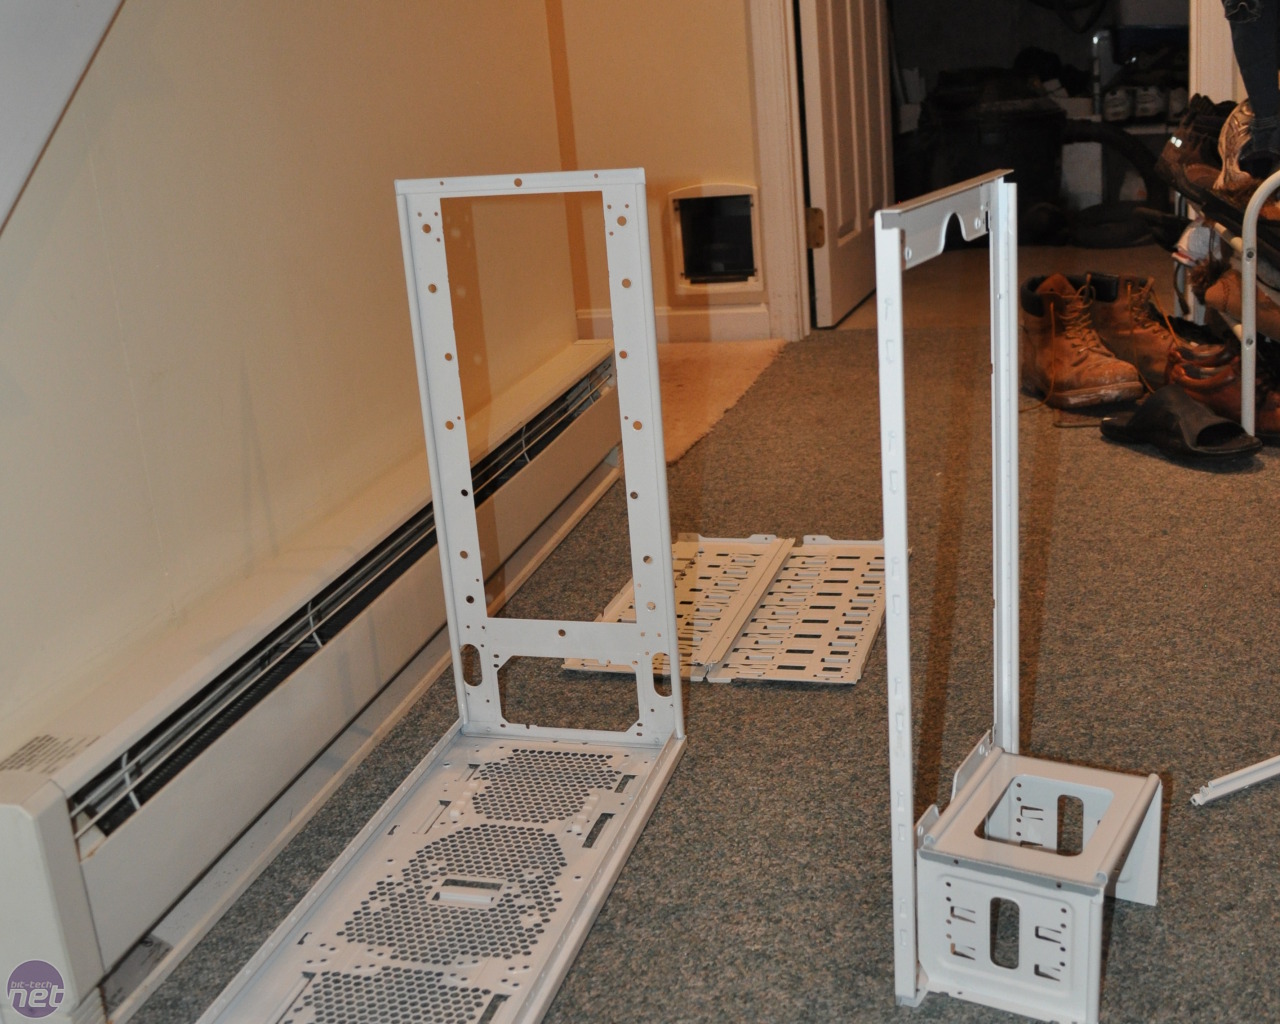
The next night I started building the bottom cooler. 1/2in plastic was used to secure the 1/4in sheets together, and one by one I drilled and tapped all the holes to assemble the bottom cooler.
Click to enlarge
Project Rainfall was a great learning experience. I learned a lot about how to seal the coolers, methods for flowing the air, as well as how effective evaporative coolers can be, but Project Rainfall was just a prototype for my next project, Arctic Rain. I was on Newegg, and I saw that they had just gotten a new case, the Azza Genesis 9000 in white, and fell in love. It had everything I was looking for in a case. So I bought it, and started planning my next evaporative cooler setup. The only issue I had was a deadline. I needed it done by time I left for school in September, leaving me with roughly two months to complete the build.

Click to enlarge
I have lots of polycarbonate. My work trashed an assembly line and was throwing out a lot of large polycarbonate sheets. This stuff is clear like acrylic, but it’s much stronger, and anti-corrosive. I use a table saw and a drill press for all my work, with the occasional help from my band saw for the styling that came later in the build. I learned how to use Google Skecthup back when I was originally modeling parts for Project Rainfall, so I decided to continue that route. With the new case still being shipped, I started modeling a general design that could later on have the dimensions adjusted to the case once I had it in. I decided to not use any visible tubing for the coolers, and I wanted the motherboard tray to remain modular, and easily removable.


Click to enlarge
Once I had the case in, I got to work on removing the 5.25in drive bays, and moving the front HDD cage to the rear. This Azza Genesis 9000 has mounting for a front PSU, so I decided to use that instead of the traditional rear mounted PSU.
Click to enlarge
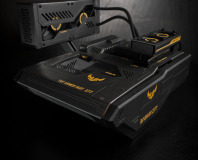
The next night I started building the bottom cooler. 1/2in plastic was used to secure the 1/4in sheets together, and one by one I drilled and tapped all the holes to assemble the bottom cooler.


MSI MPG Velox 100R Chassis Review
October 14 2021 | 15:04

Want to comment? Please log in.