Phinix Nano Tower by Mike Krysztofiak
Project Log: HereIt might be a while since Nano Tower was completed, but we've been working hard behind the scenes with forum user Phinix, aka Mike Krysztofiak, to bring you an in-depth look at how this most excellent of mini-ITX scratchbuilds came into being. Gaining a top ten spot in 2011's Mod of the Year competition, Phinix Nano Tower is an insane mix of miniaturisation and attention to detail.
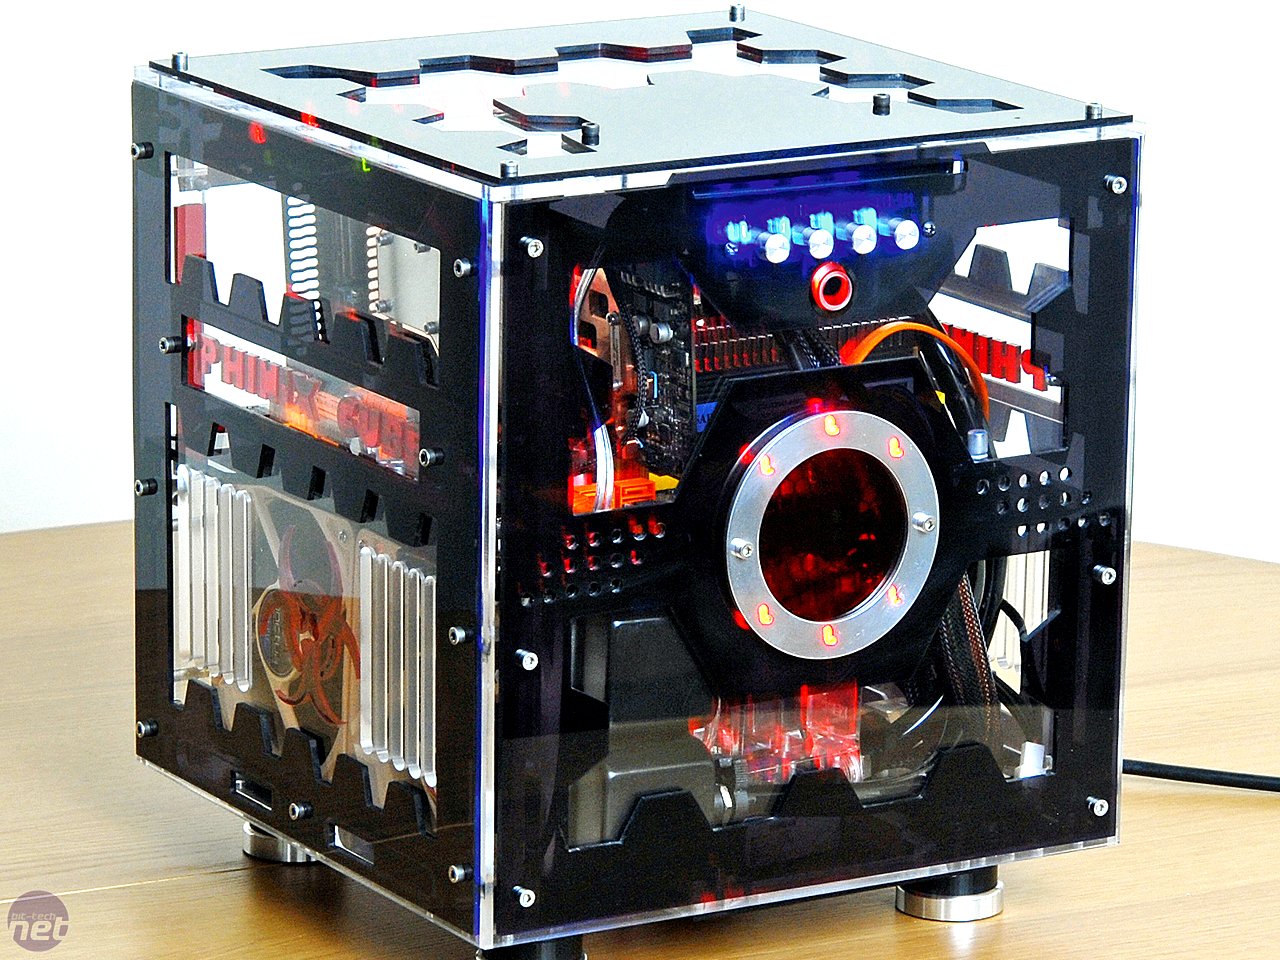
Click to enlarge - Phinix Cube
After I finished my first scratch build - Phinix Cube - I was pretty much settled with my PC.
I haven’t even expected that “the need for modding” would come back so soon:)
The idea of Nano Tower came up after almost an year of using Cube. I just had that feeling inside that I need to build something else, something that hadn’t been built before.
What I wanted to make is a case that will be as small as possible, with a small footprint so it won’t take much space on my desk.
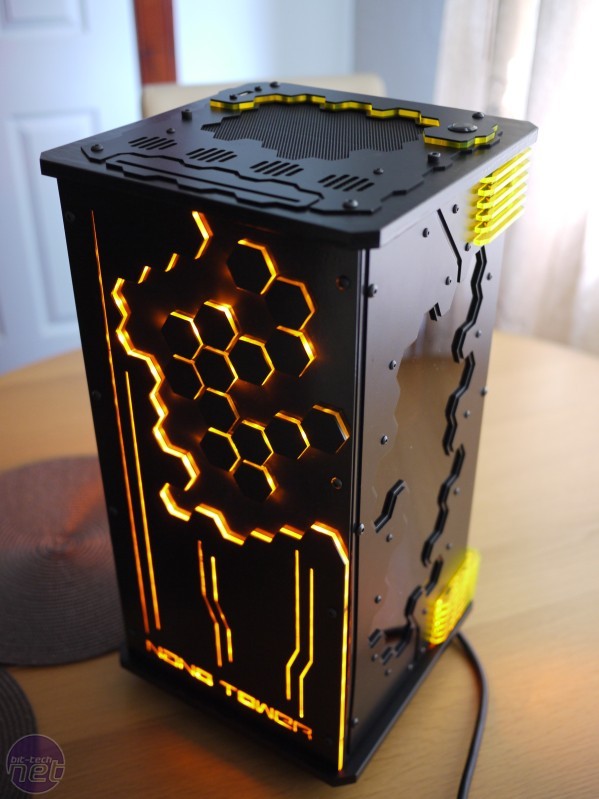
Click to enlarge - Phinix Nano Tower
Not just one simple loop, but two! Two separated loops, one for CPU, one for GPU. Of course the whole system would have to be flexible enough to take any hardware on market, any CPU, any graphics card. That was the last condition - no compromise on performance!
So, here are main ideas, general plans and hardware that was used to create Nano-Tower:
Main ideas :
- install motherboard in vertical position, so I/O panel will be on top
- water cooling system installation, two loops, one for CPU (Antec 620), one for GPU
- vertical PSU installation, power cable goes outside through the bottom panel
- mesh-radiator grill for top
- some nice CNC-cut front panel, windows on both sides
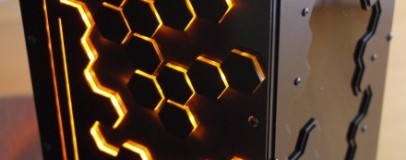
- LED-lighting system installation, hex shapes lit up on front panel
Hardware:
- Core i5-750
- DFI MI P55-T36 mITX motherboard
- GTX580 graphic card
- 4GB dual channel DDR3 CRUCIAL Ballistix Tracer memory
- SSD as OS drive + 2.5" HDD as games drive
- full size modular PSU
Water cooling system:
- Antec 620 watercooling kit for CPU
- EK pump + reservoir
- triple EK-CoolStream RAD XT (360) radiator for GPU loop
- Bitspower GPU water block
- Bitspower silver compression fittings
- Feser tubing (orange)
- 3x 120mm YateLoon SL slim fans for triple radiator


MSI MPG Velox 100R Chassis Review
October 14 2021 | 15:04

Want to comment? Please log in.