
Let the scrounging begin

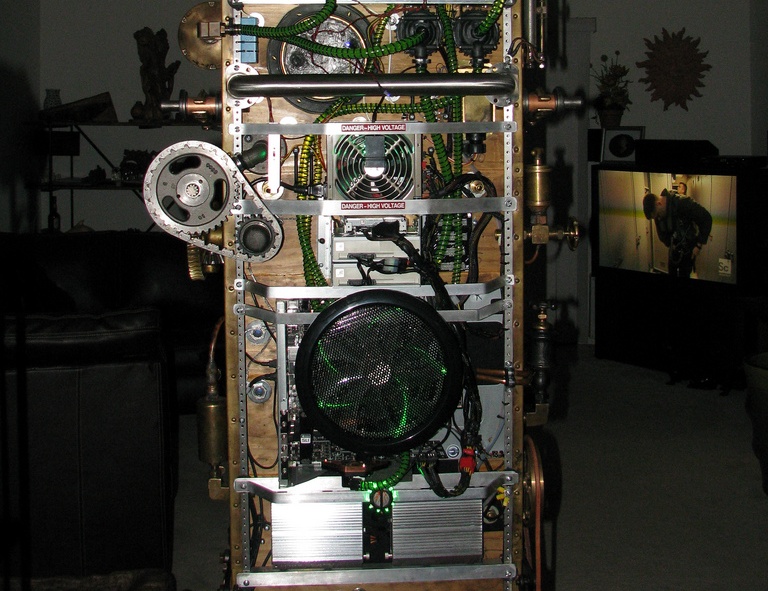
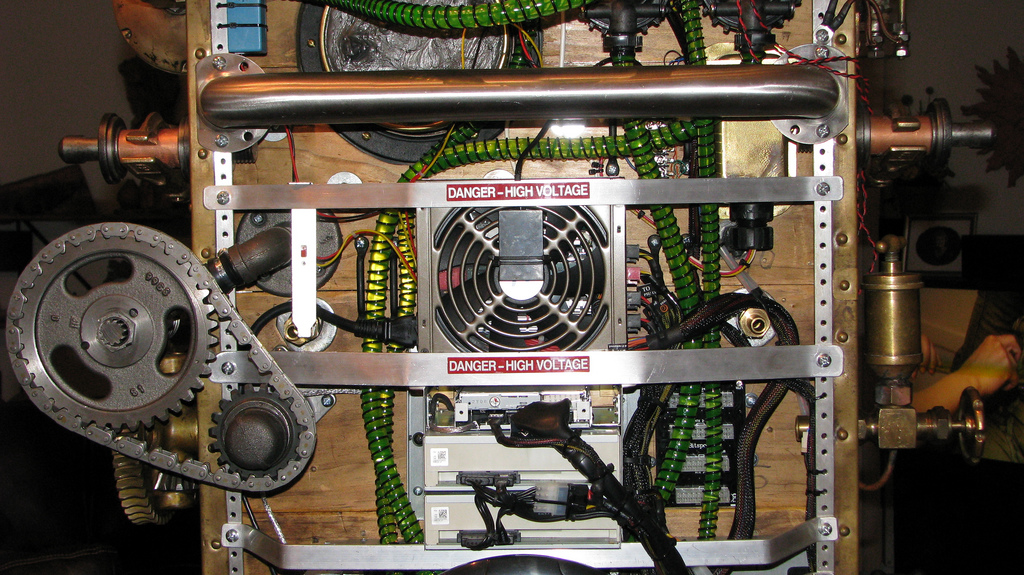
To construct the PC, I began with 3/4in thick white pine boards which I distressed with clusters of nail holes, hammer blows and file chips that would leave unique depressions, before applying a rich stain and a clear satin finish. I then cut 1/8in grooves in each of the board’s side edges at a 1/4in depth before sliding planks into place in a stacked formation. To top it off, I added a couple of metal lizards on the front for fun to surround the faceplates of the optical drives.
Details and consistency were an important part of the project to me so I only used actual brass screws, rivets, bolts, nuts and fasteners. In fact, everything had to be mounted with brass. The only place for me to find such an assortment of brass hardware was a local store called Ace Hardware – every time I walked out of the shop I was eighty to a hundred dollars poorer.
Click to enlarge
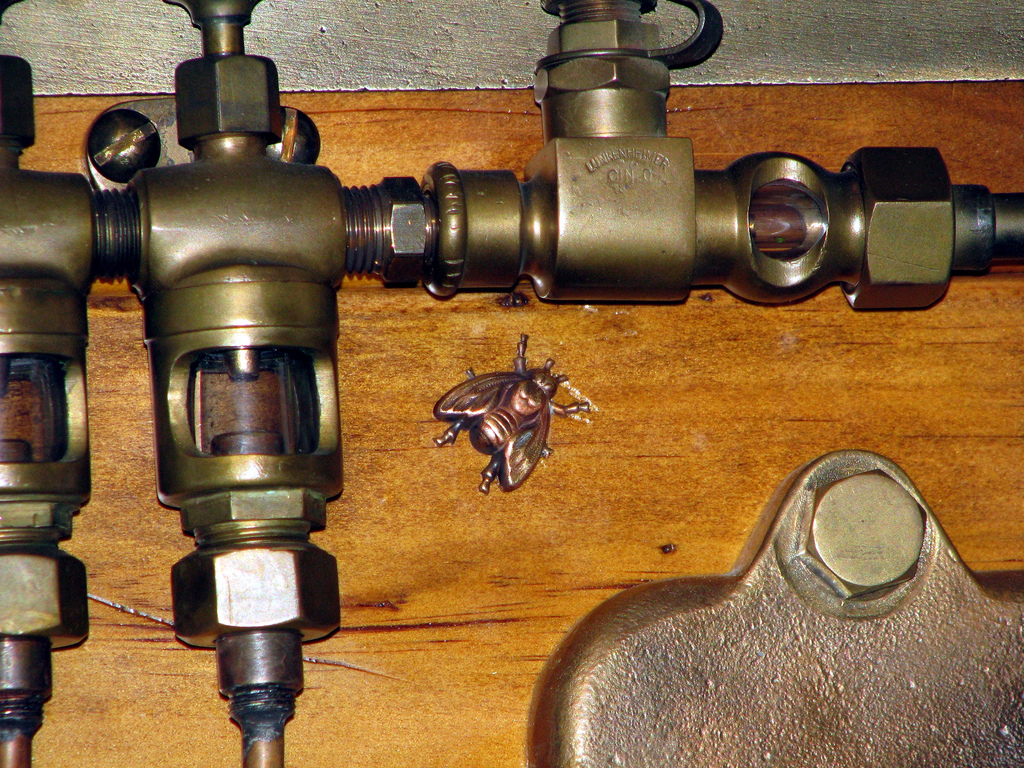
I also started searching for the basics such as ‘brass valves’ and ‘brass gears’. Initially it was easy finding things I was looking for, but while eBay made it easy to find items, one problem I started to run in to was that I simply had no idea what the names of many of these fascinating brass items were. I realised as time went on that it was important to find out the actual names of specific vintage components in order to make sure I got what I actually wanted.
It became very frustrating, time consuming and it made my head hurt at times. While some of the parts were cheap, some were more costly, and because I was buying individual items, postage costs really started to add to the overall amount the project was costing.

Click to enlarge
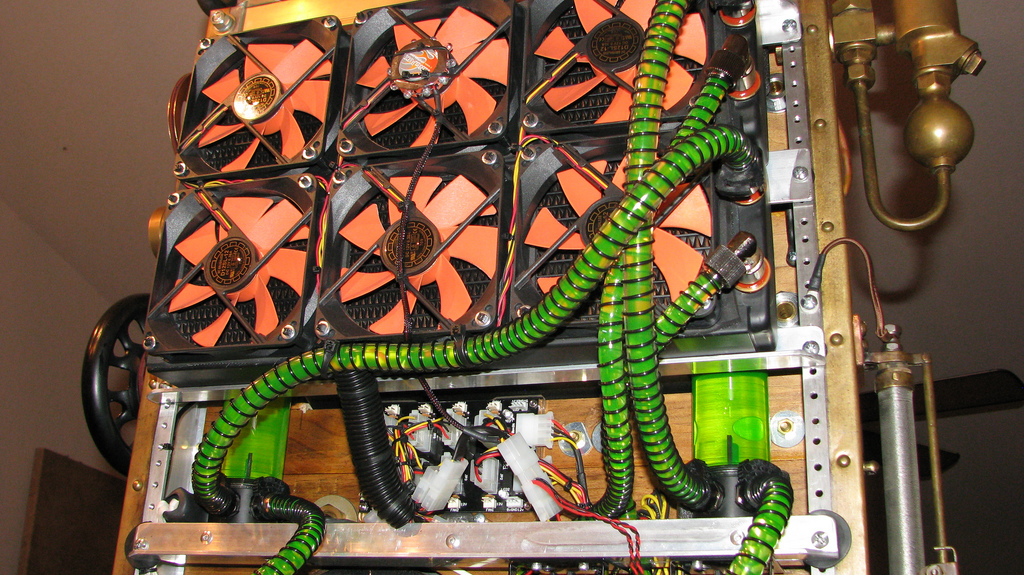
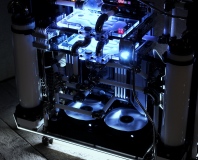
I also wanted to incorporate water-cooling into the PC but I had no idea how to do it. The water-cooling idea was introduced to me by my twin brother but I was reluctant at first as it seemed rather expensive. However, we’re very competitive so I felt I just had to keep up.
He had already proven his point with his own water-cooled computer he built six months earlier. I was very fortunate to have someone who had already spent many months researching water-cooling technology and I wanted to buy parts he felt were proven to perform well.
Click to enlarge
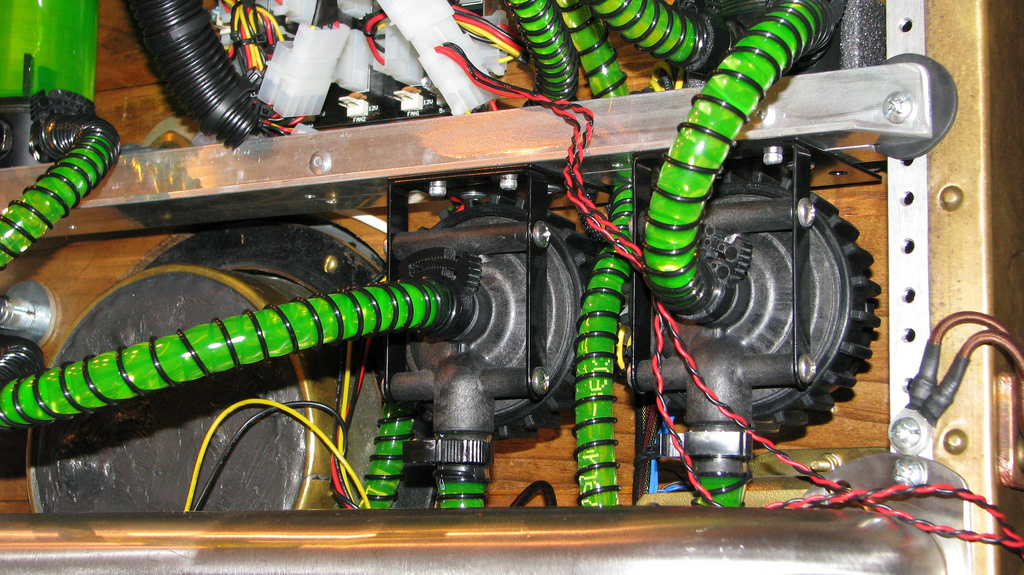
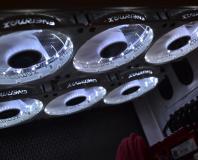
I eventually decided upon two water-cooling loops, one cooling the CPU and Northbridge, the other the GPU and Southbridge. Each has its own Swiftech MCP655-B pump, ThermoChill PA120.3 radiator and EK Multioption reservoir. I used 120mm Yate Loon fans and Fluid XP Ultra Green coolant.
RELATED ARTICLES


MSI MPG Velox 100R Chassis Review
October 14 2021 | 15:04

Want to comment? Please log in.