Corsair 460X Build for BoMenzzz: Part Three
It has happened! The build for Twitch Streamer BoMenzzz is finished. With support from Corsair and Alphacool, we have managed to spruce up her tatty looking nest of cables into something far more suitable for an up-and-coming Twitch streamer!I have a feeling there will be some hardware updates in the future for it, but for now, it is done. BoMenzzz had very few requests: white and pink and maybe a panda. That was it. There have been a few limitations, and it has been a bit of a learning curve for me too - it has been a while since I have had to build a PC that actually has a HDD, for instance. I am now so used to only using SSDs, I didn't even think about where I was going to put a HDD - lesson learned.
You can see part one and part two of the build by following the links. But without further ado, let's get on with the final part!
Click to enlarge
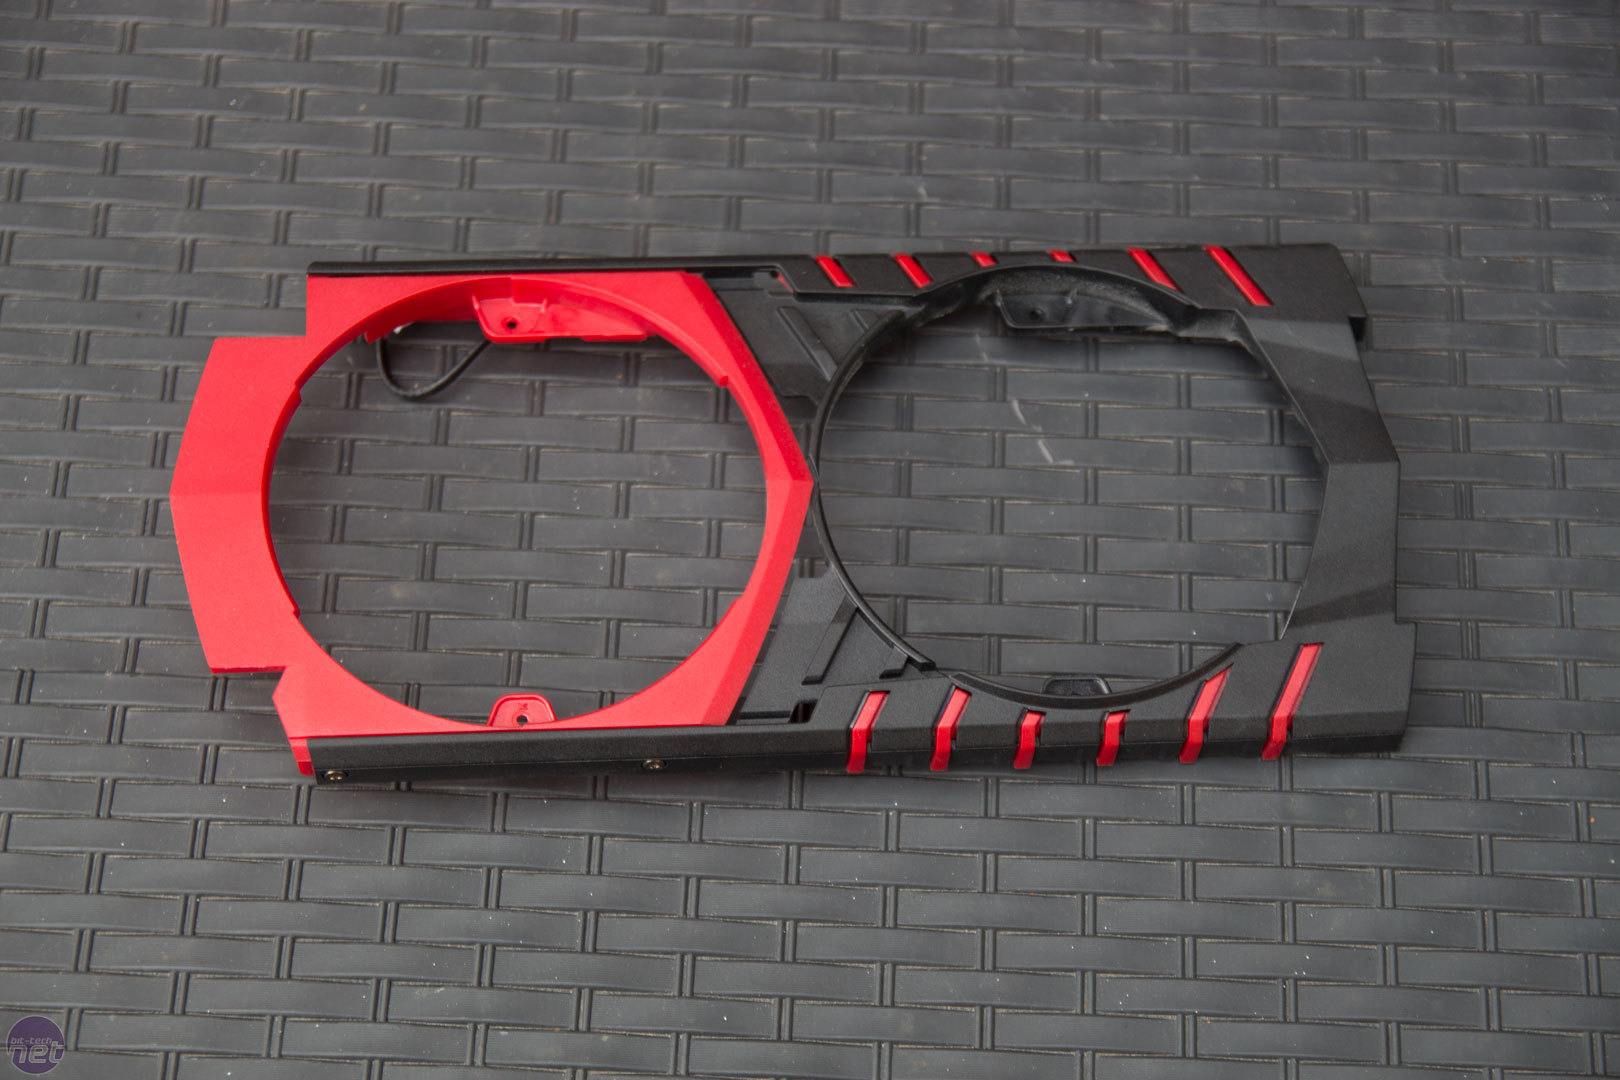
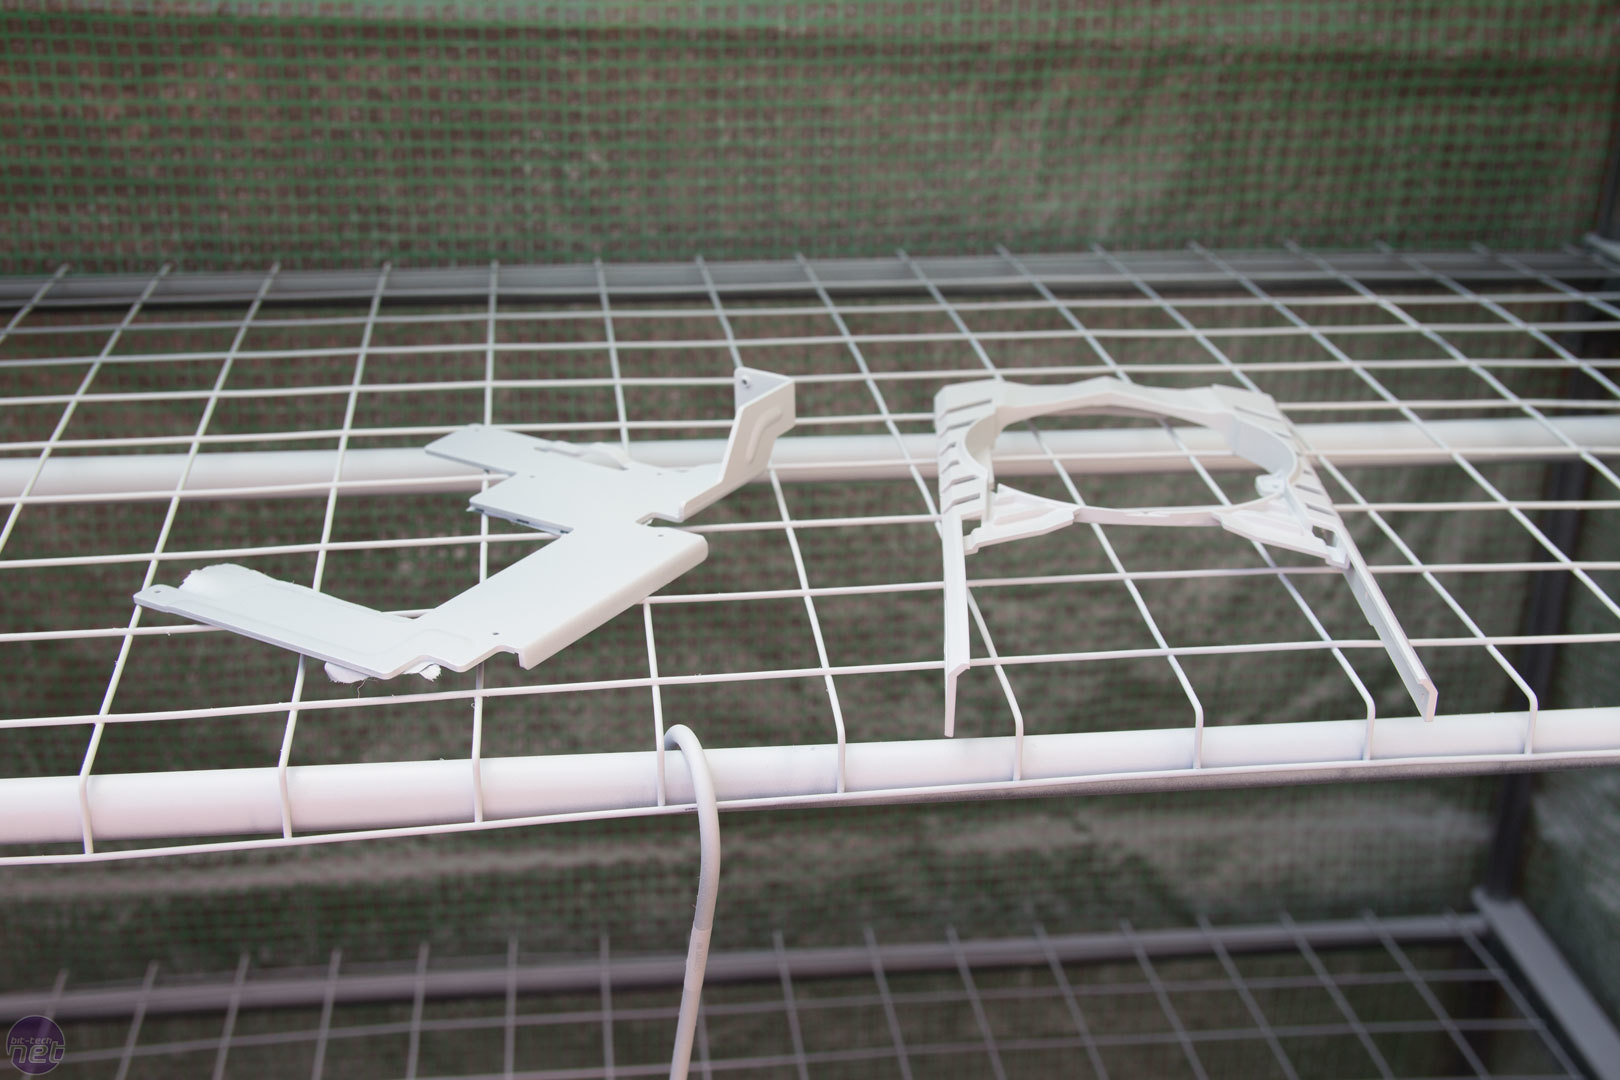
The first job was to make the GPU fit in with the build a little better. I initially was going to leave the GPU alone along with the motherboard. I didn't want to do too much to parts that BoMenzzz had purchased, as I didn't know what warranty status these had. After a quick chat with Bo, though, she was happy for me to change the colour of the GPU! First job is to take the plastic surround off the GPU.
Click to enlarge
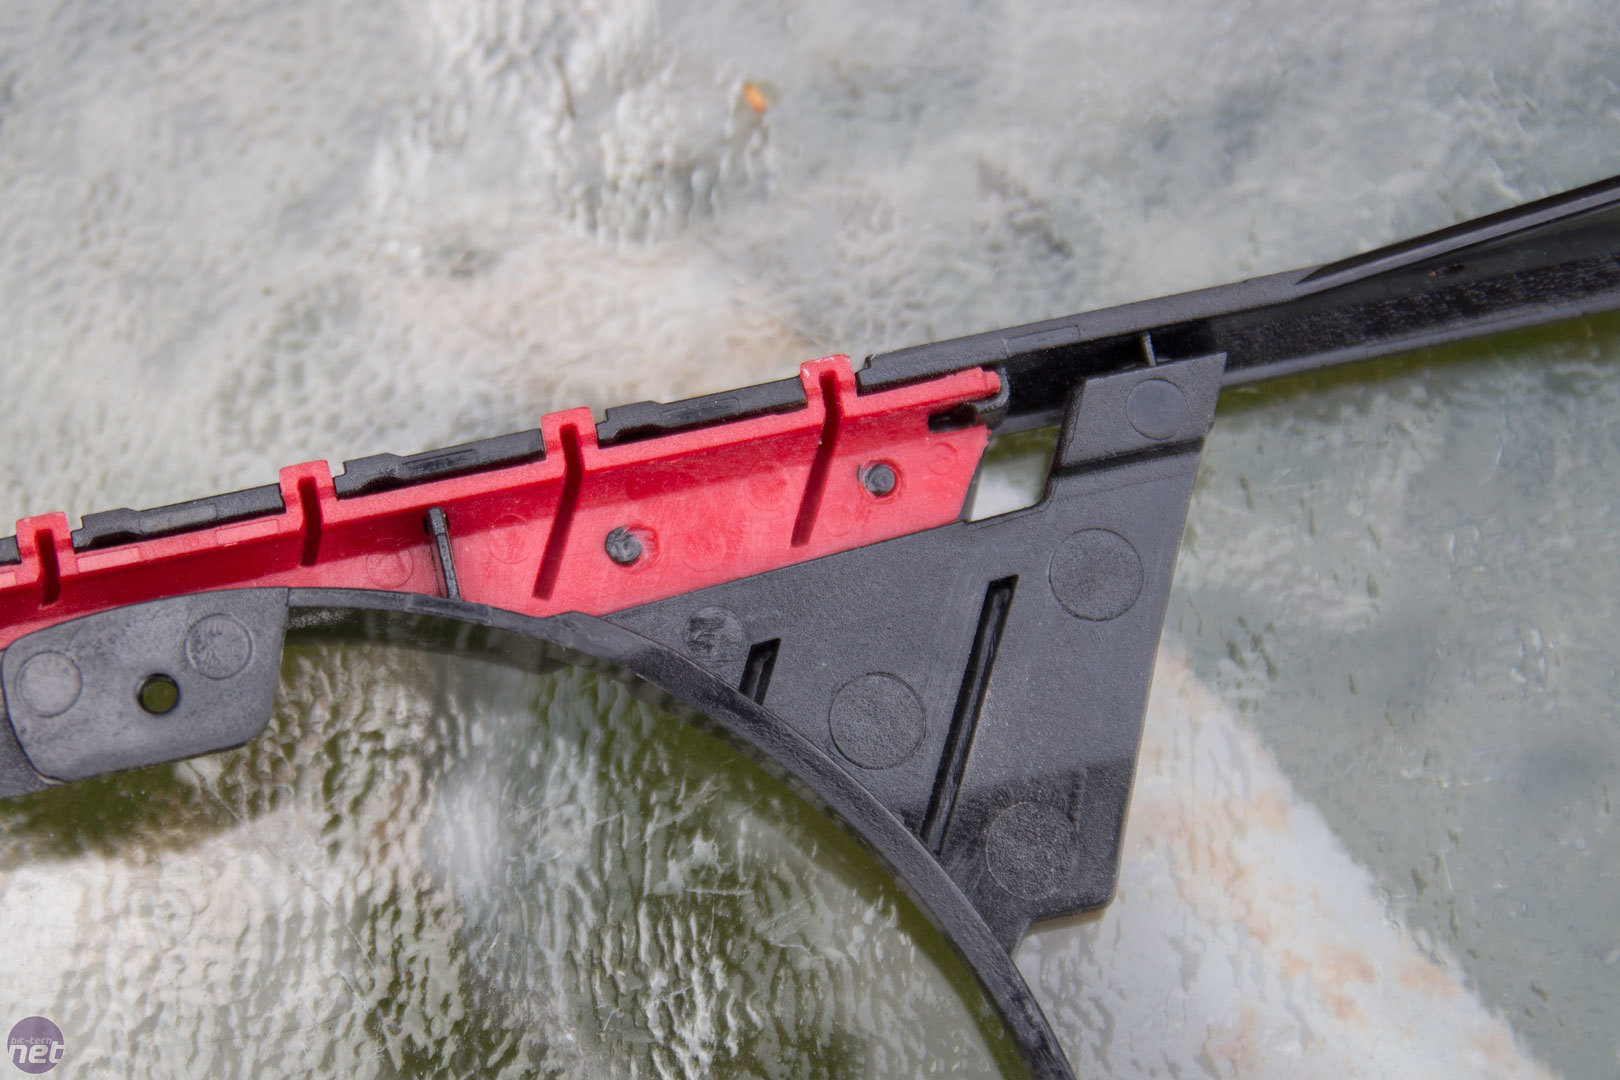
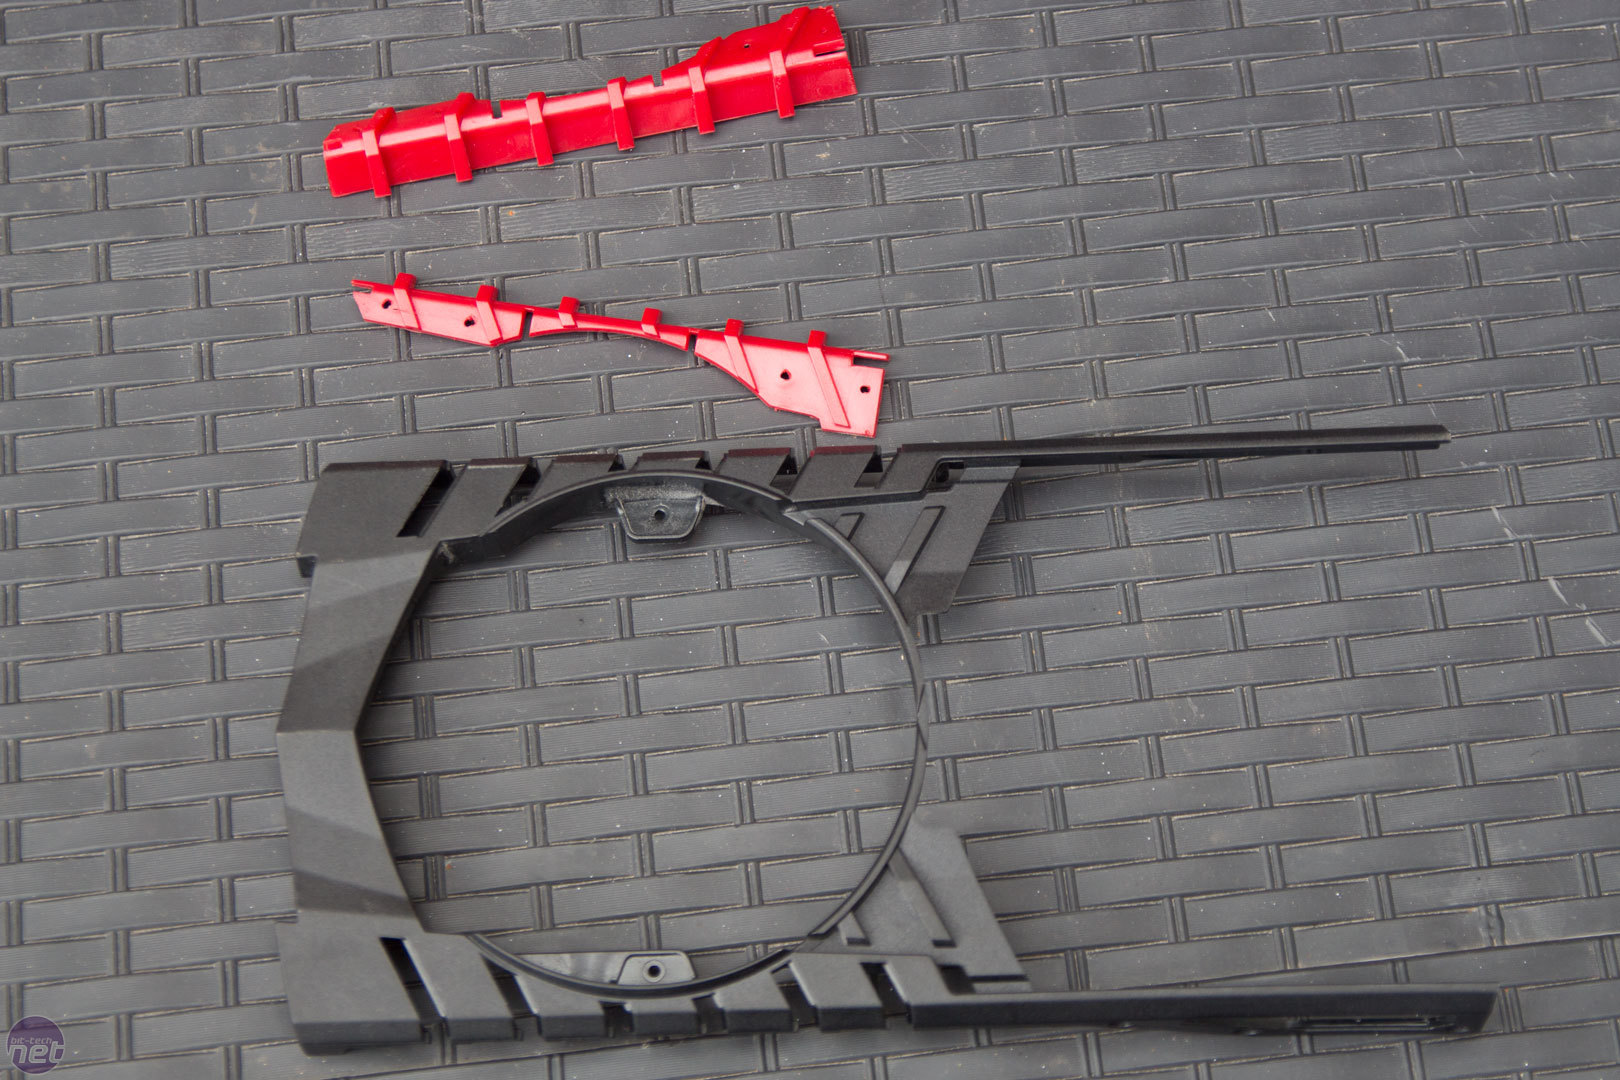
I wanted to take the red parts out from the black surround. These have been held into place by melting plastic tabs; it is pretty permanent. You could probably drill these out if you are careful, but when I run into this attachment method I heat up a soldering iron to around 400°C and just tap each tab to melt it slightly. Obviously don't push too hard, you don't want to melt the plastic anywhere viewable. Once you have done this, they just pop off with a little help from a prising tool.
Click to enlarge
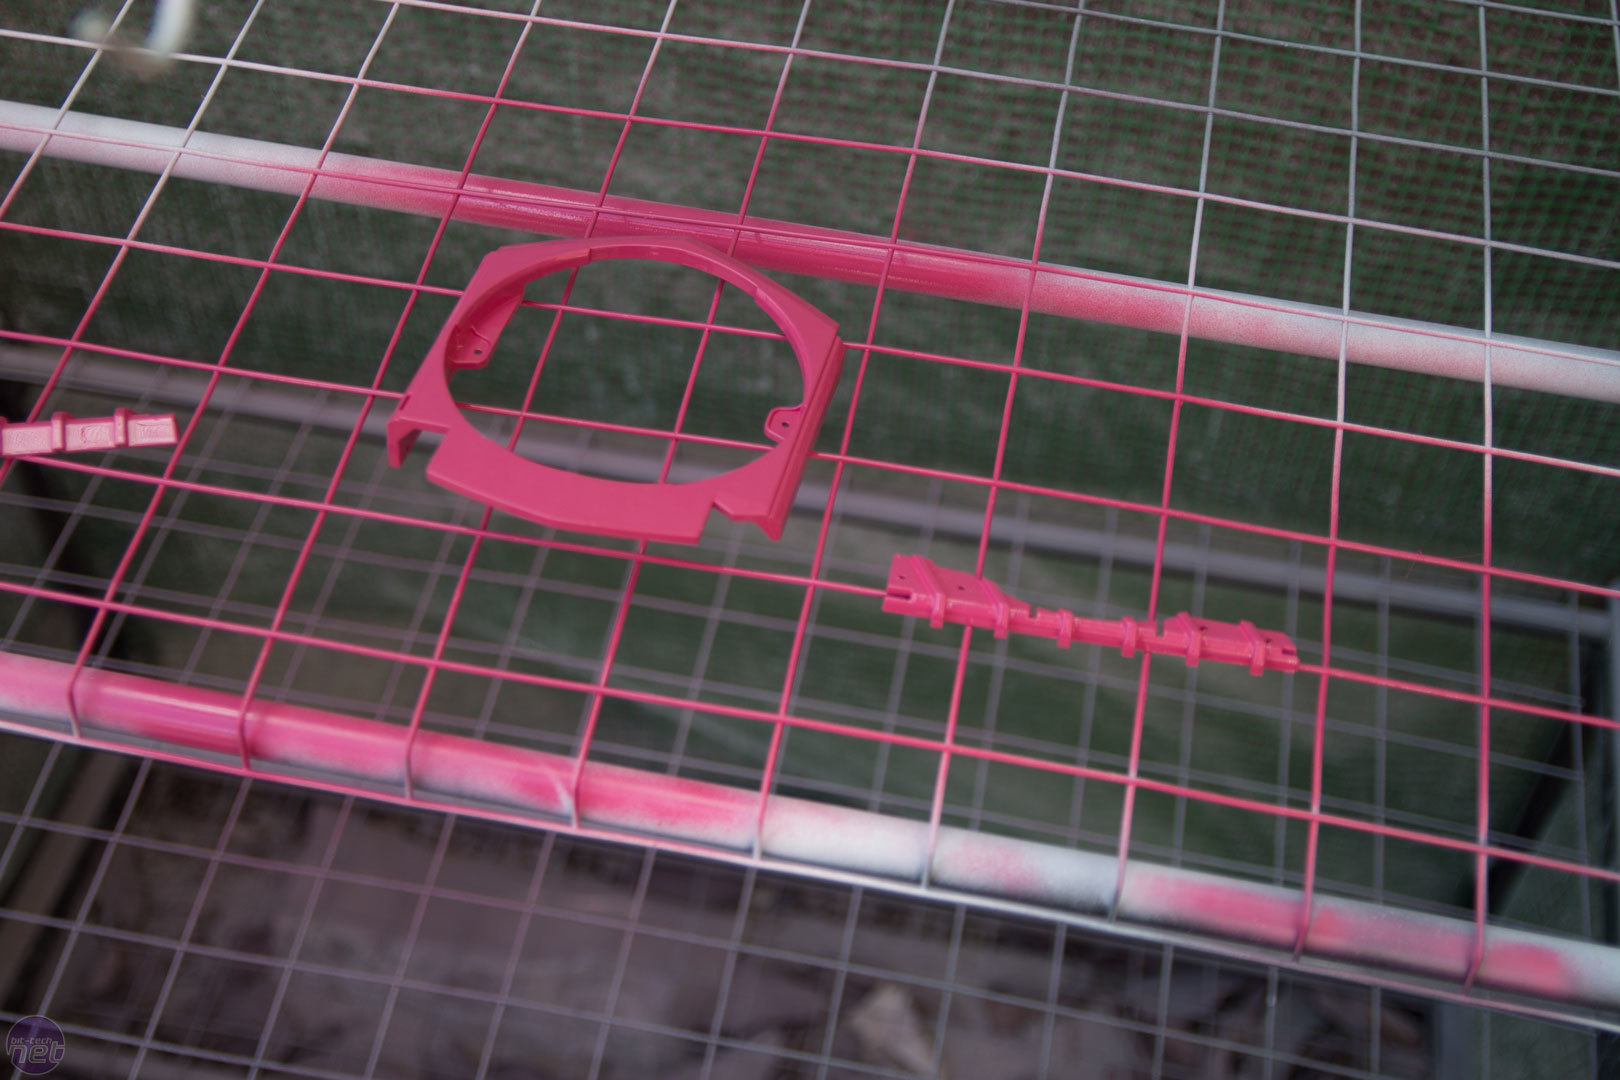
After some coats of white primer, I hit everything that was red with pink paint and anything black with white. This should make the GPU fit in with the rest of the build far better.

Click to enlarge
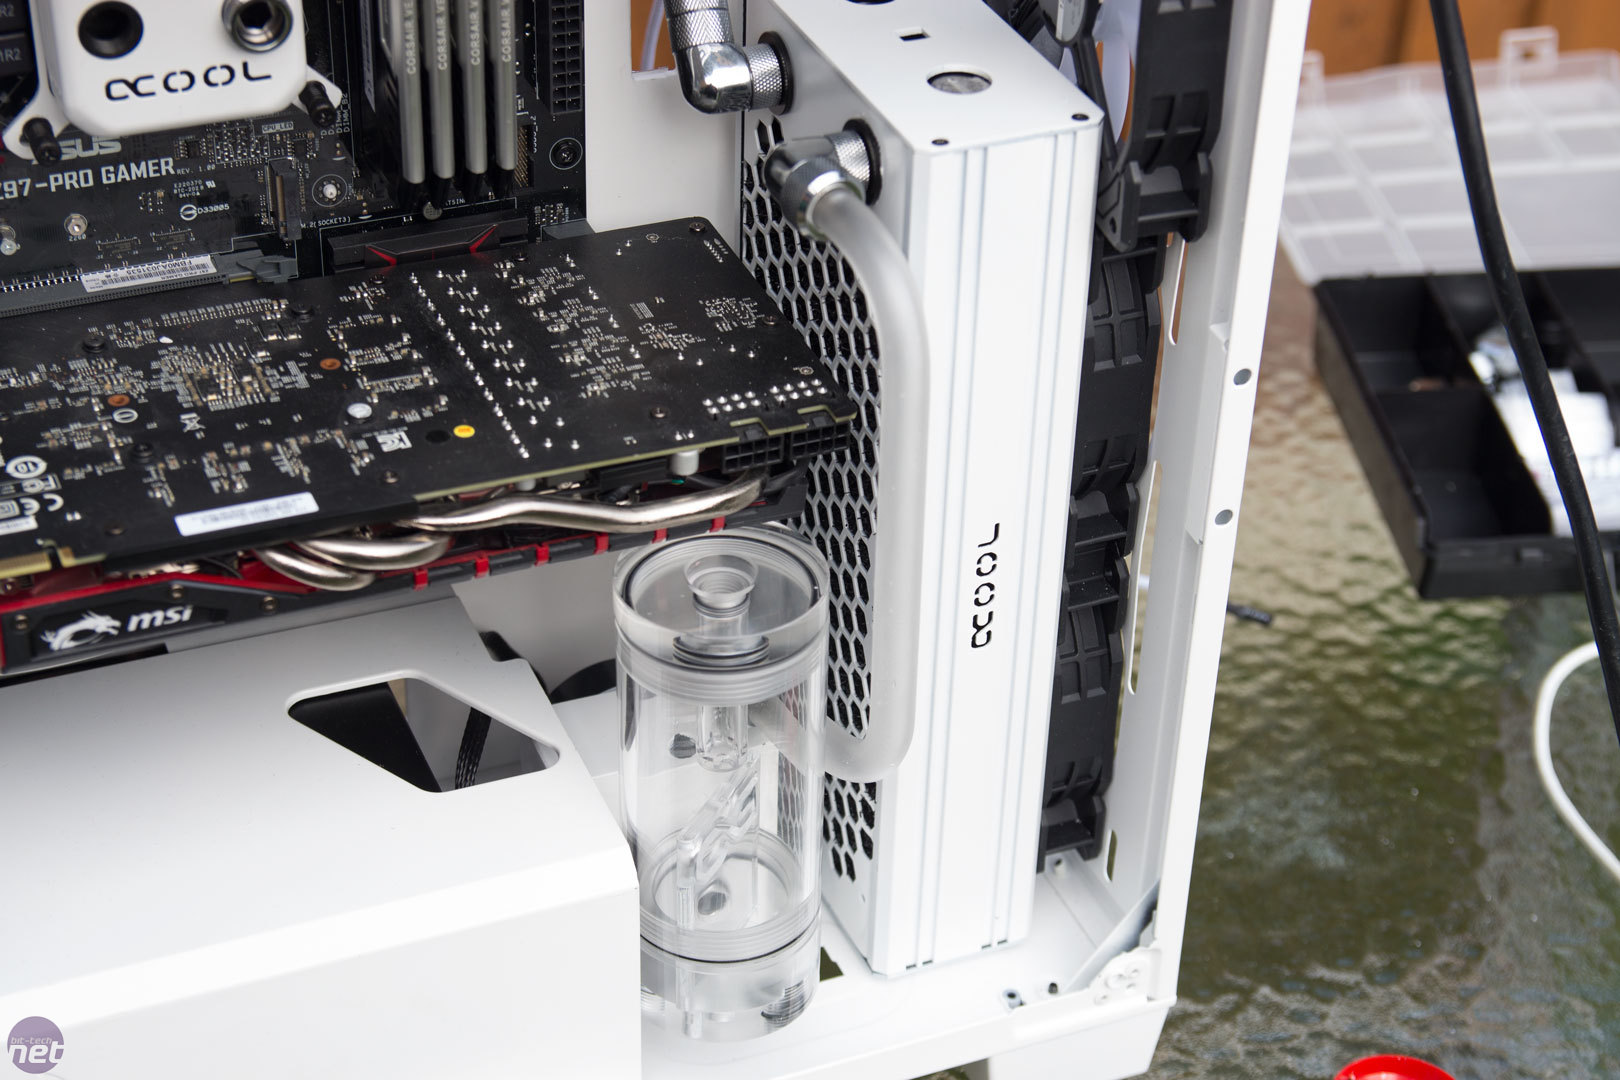
I started to test-fit the cooling also. It is going to be quite a tight loop, and with the GPU not being cooled we needed to go around that without it looking too crazy. I wasn't really happy with the tubing like this, as some of it was slightly too long, so it made the angles look strange. This is fine, though, as it's better for them to be too long than too short, especially when you have a long way to go with the build.
Click to enlarge
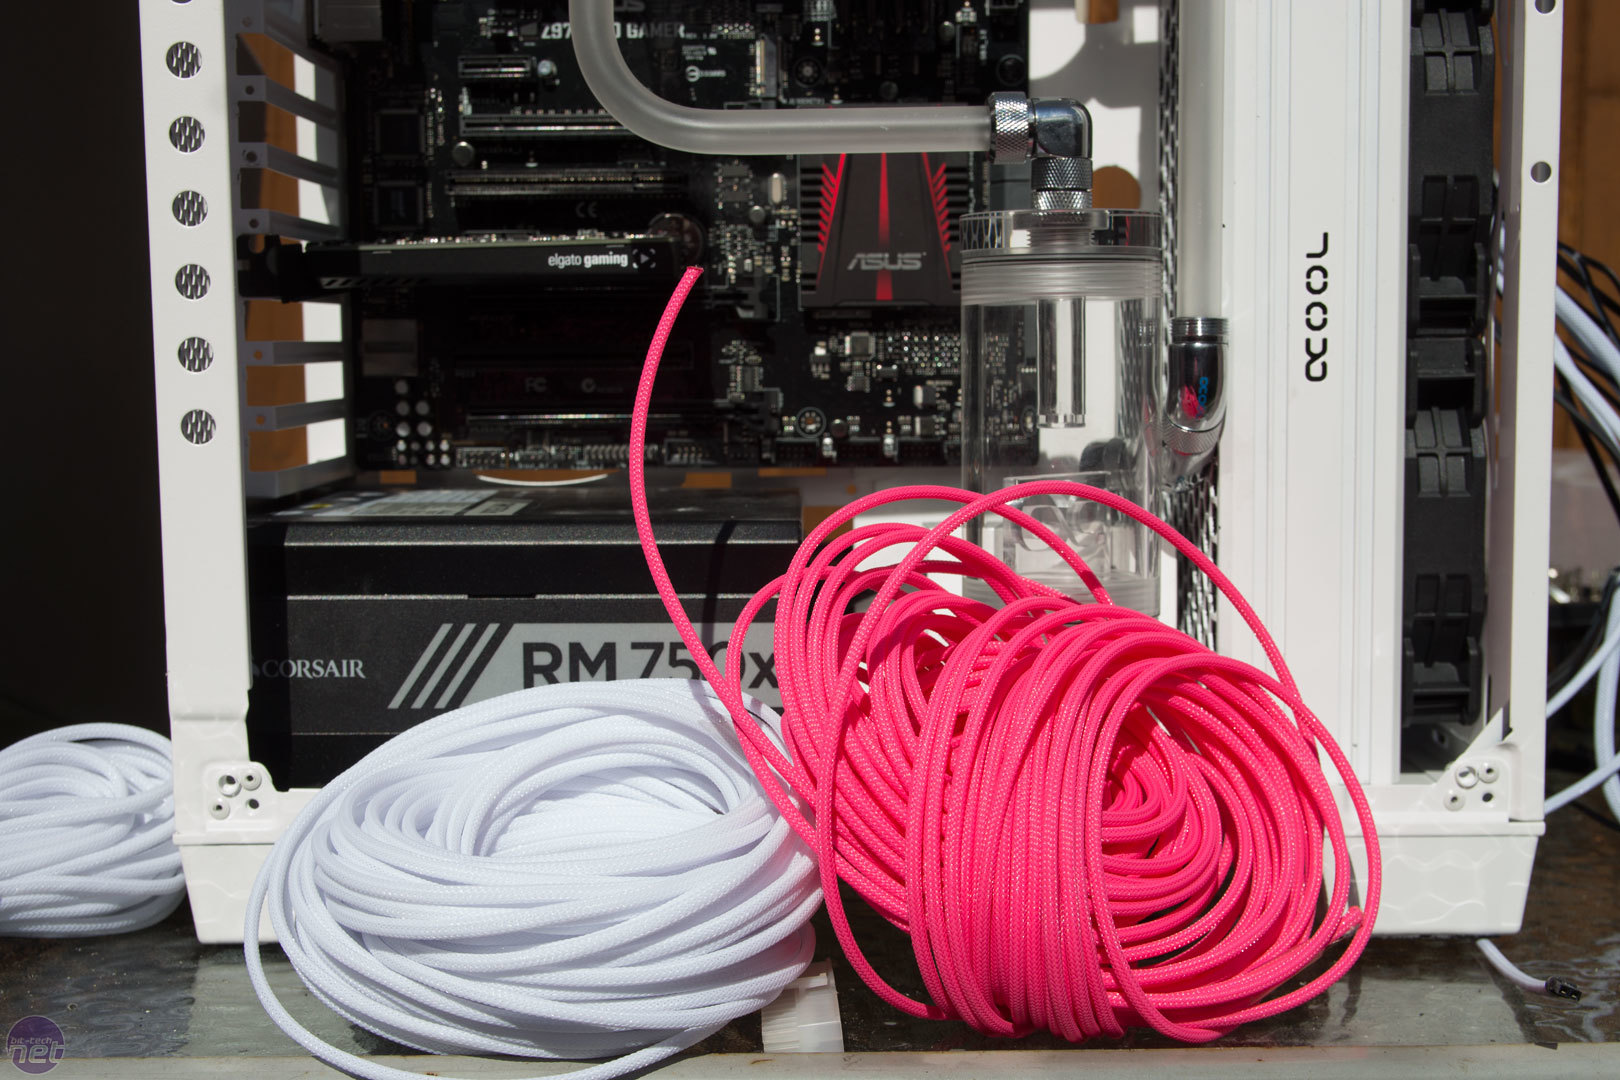
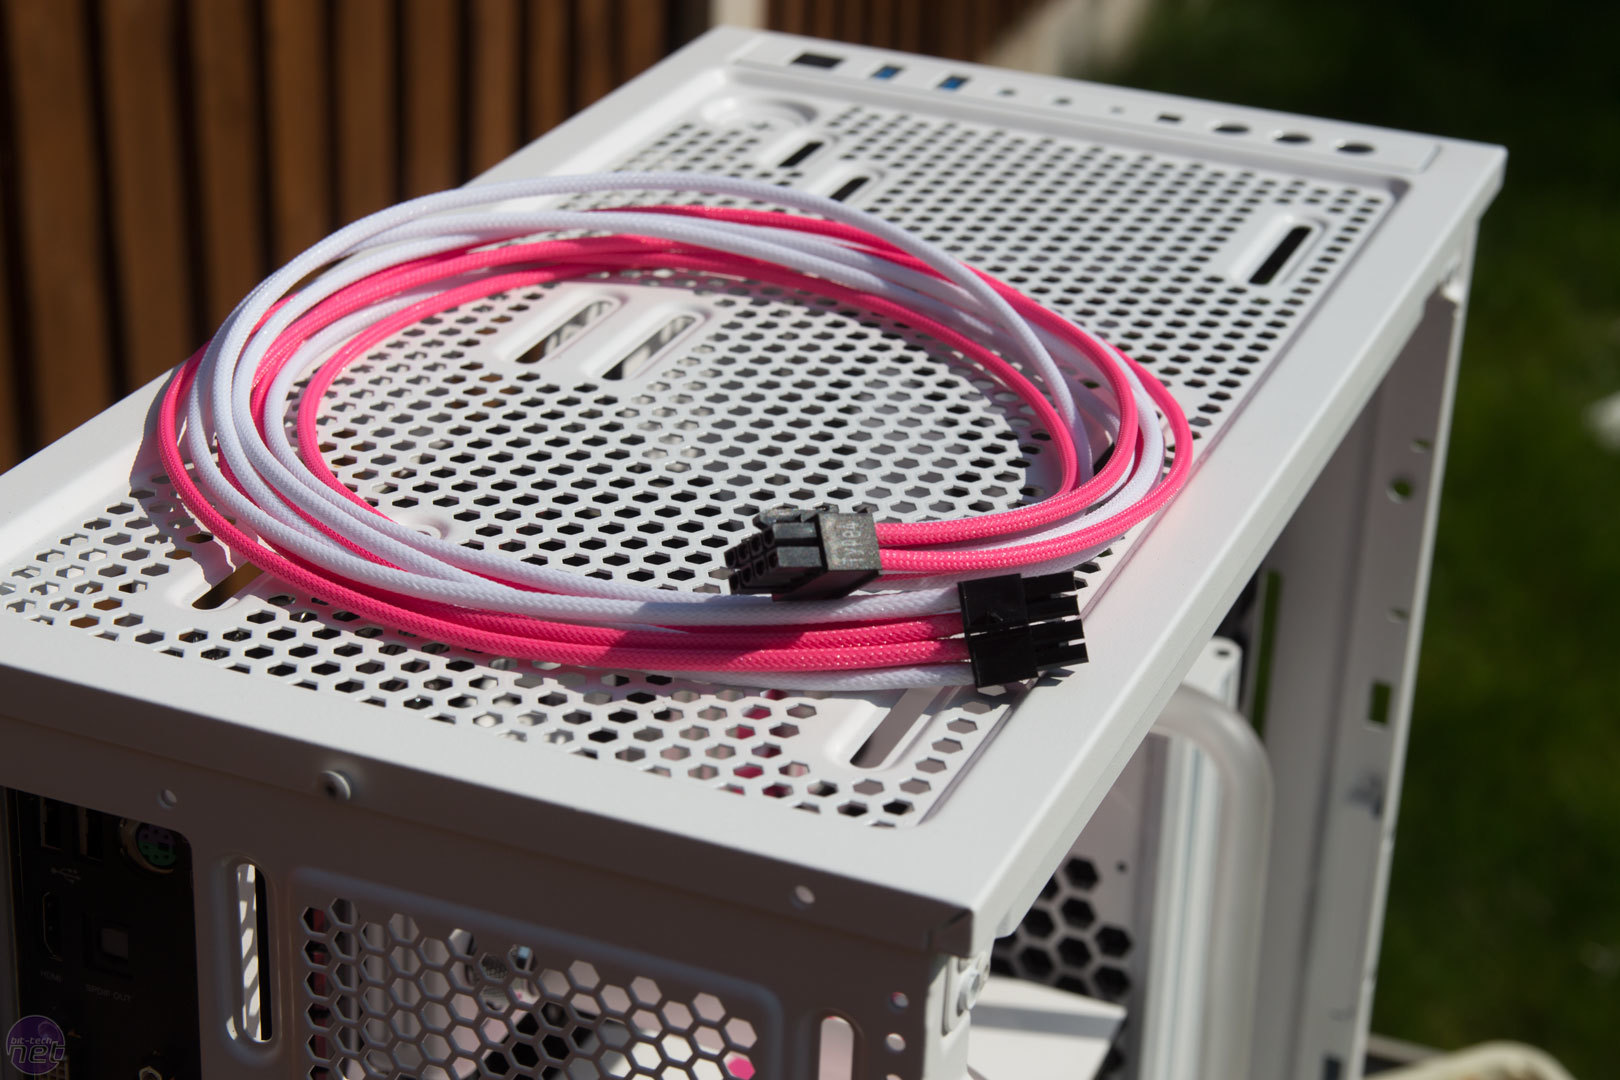
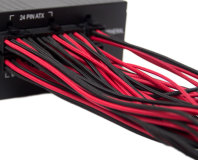
Next up on the agenda is sorting the cables. I was going to sleeve the original Corsair PSU cables, but I decided to do things properly and break out my cable-making gear. As you may already have guessed, we are using the same Teleios sleeving that we used in part two of this little build log.
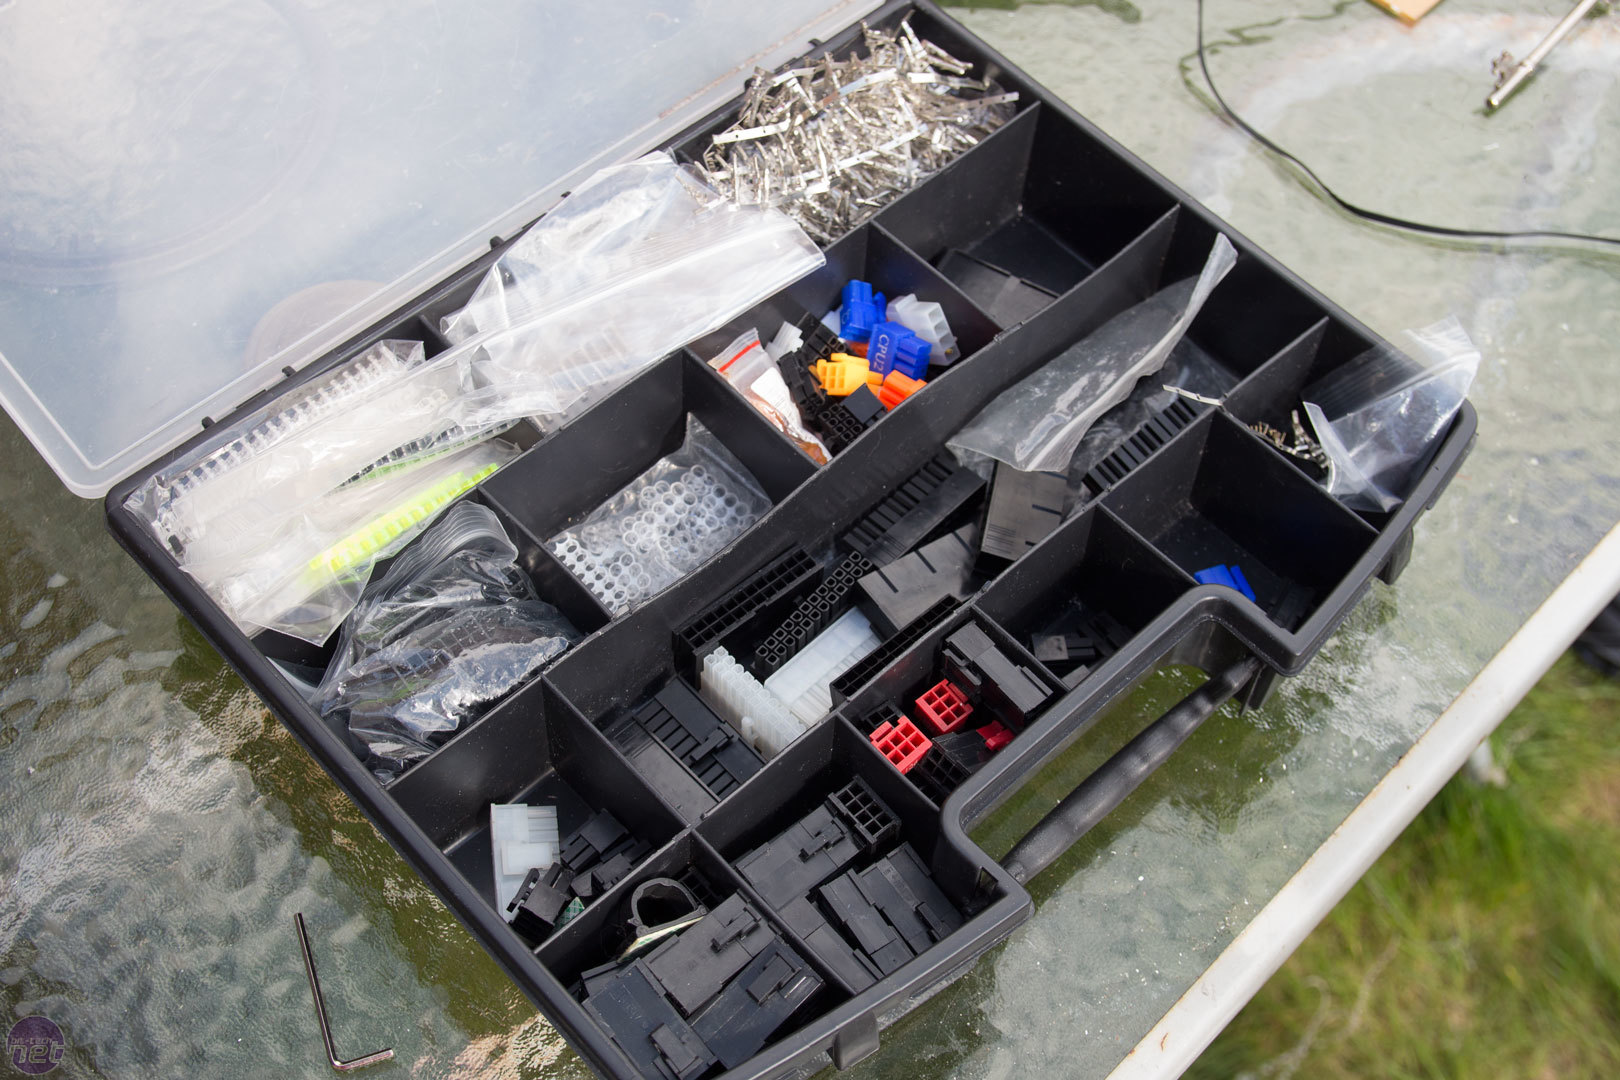
If you make a lot of custom-sleeved PCs, I suggest you get a box of supplies like above. This little box of tricks has got me out of a lot of situations in the past. Just have plenty of spare connectors and fittings, and you should be good to go.

Click to enlarge
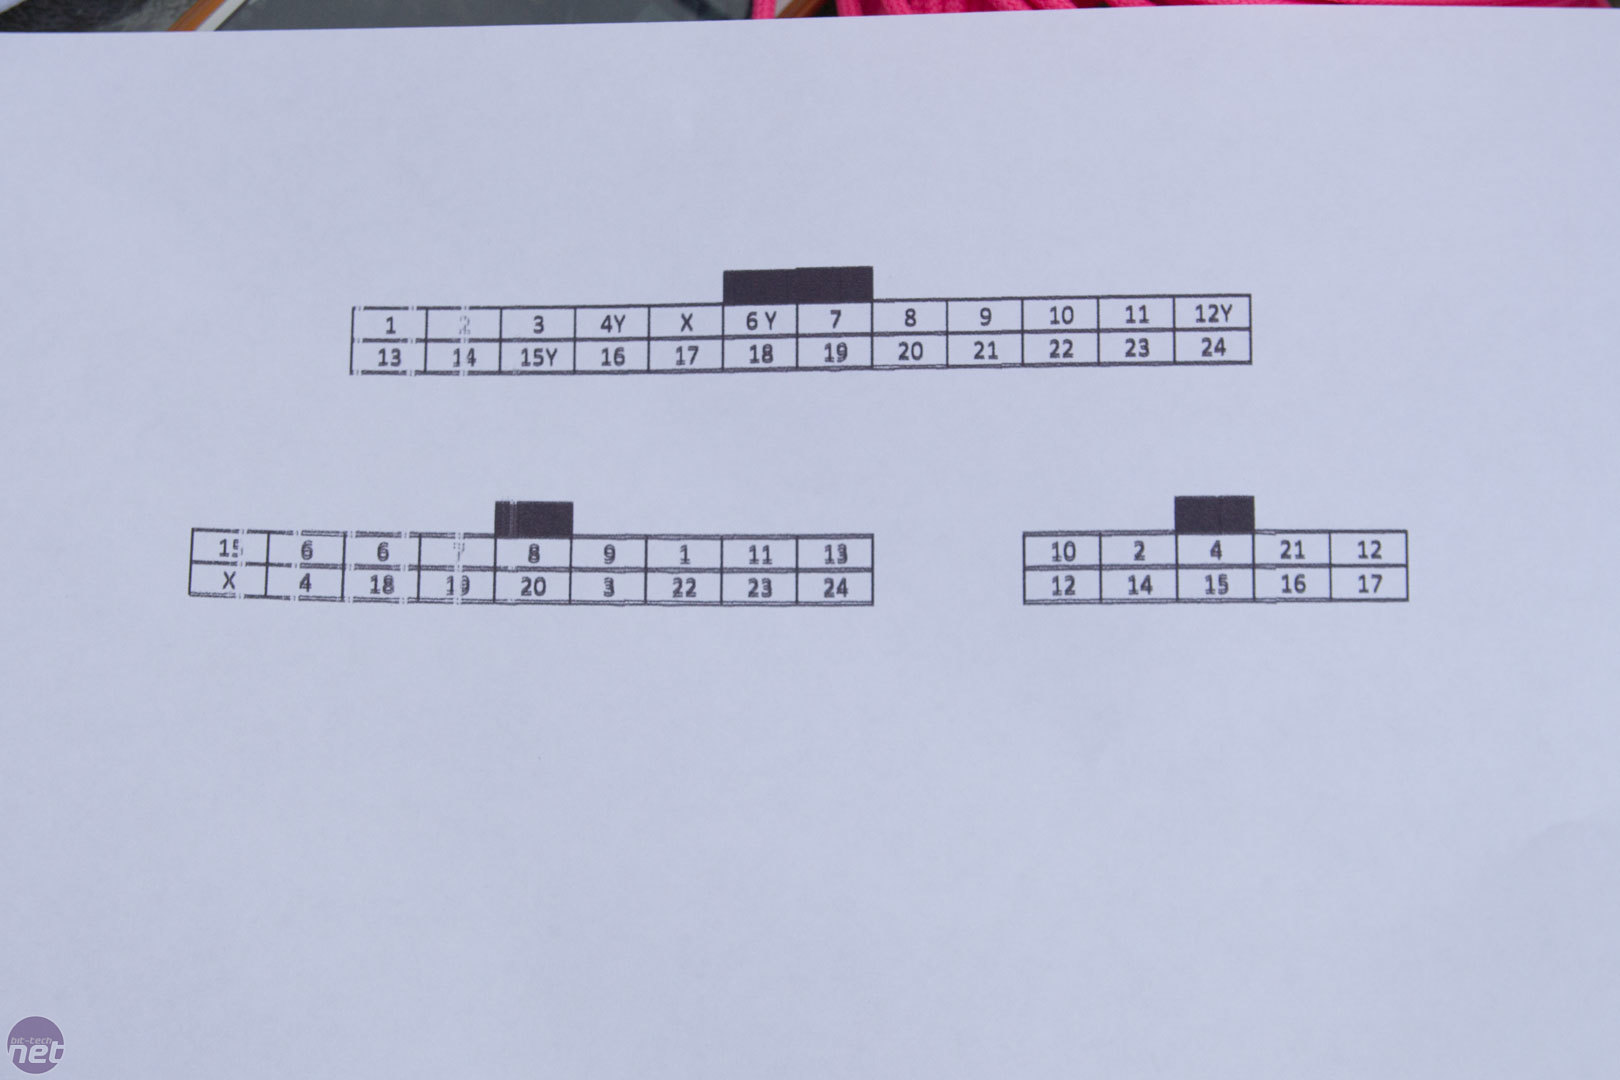
For the 24-pin cable, it is a good idea to make a pinout diagram. It only takes a few minutes and can save you hours in trying to research where each pin goes. There are some online resources to help you with pinouts, but unless they are a trusted source, be careful using them. I always make my own, and I have never had a problem with a PSU after sleeving. The diagram is pretty self explanatory; it is the view from the rear of the connector, with the tabs on the top. Any time there is a 'Y' next to a number, I know that the cable splits off into two cables and that I'll need to make a Y-cable.


Click to enlarge
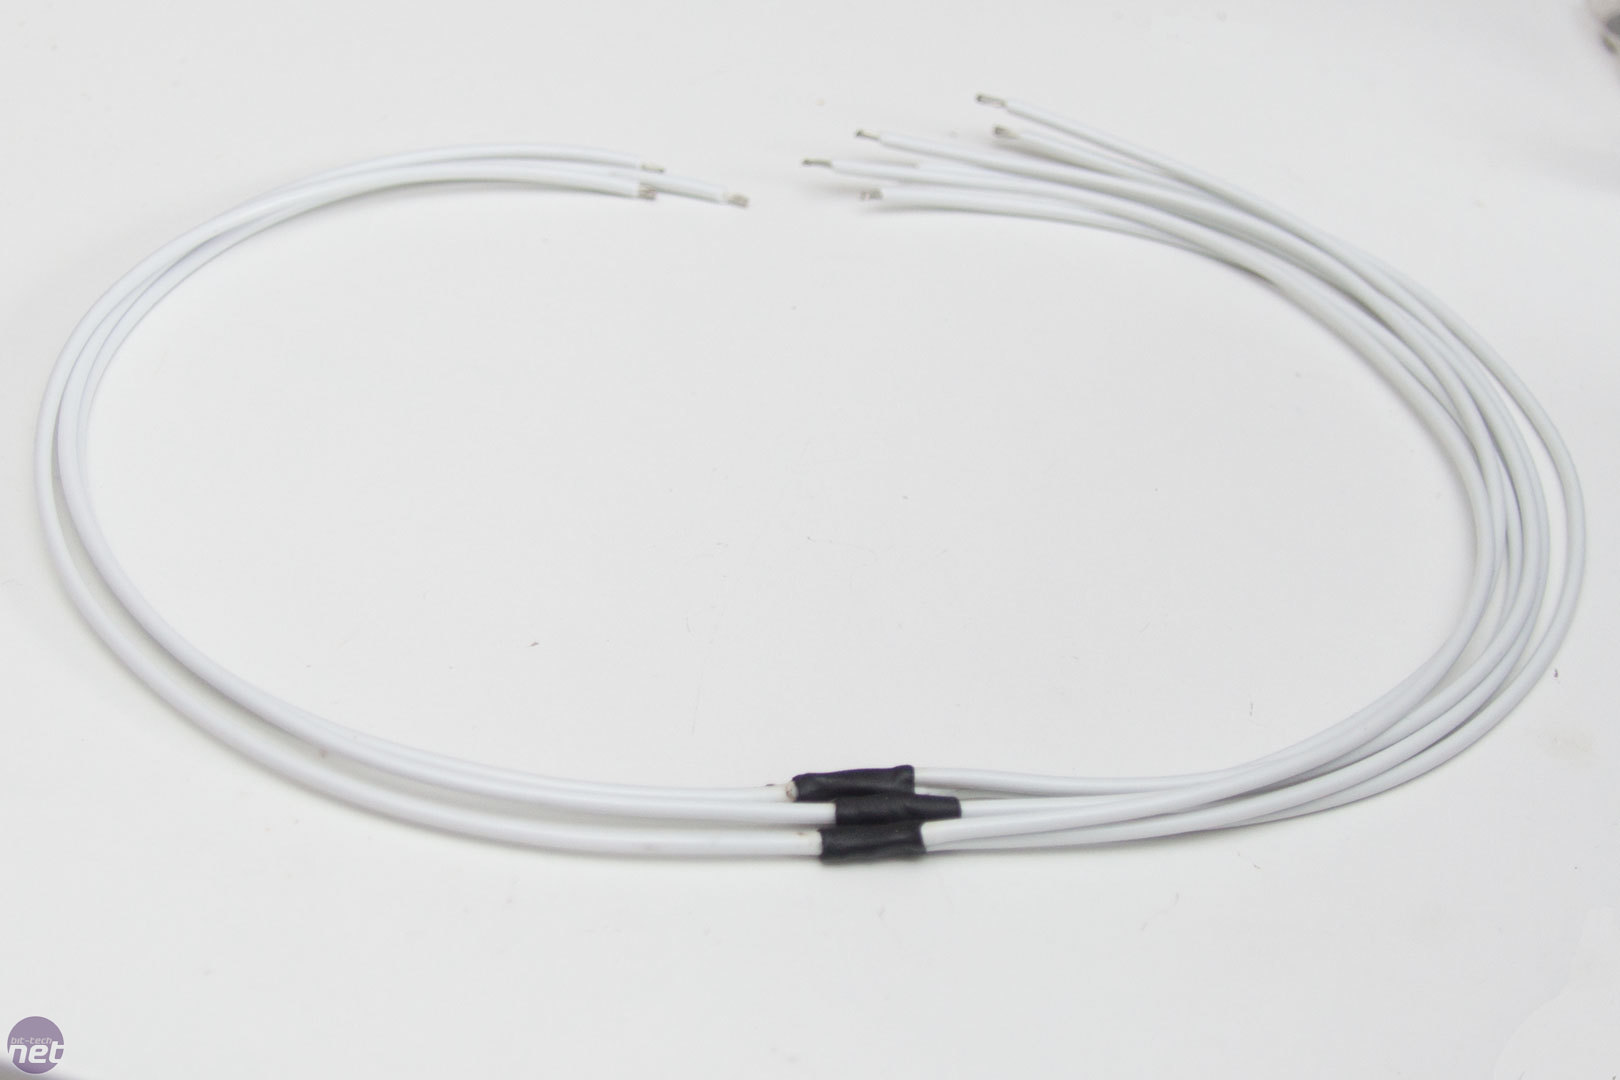
As always, when making cables with a light coloured sleeve, ensure you use a light coloured wire. If the wire is black, it makes the sleeving look darker. I will be doing some video tutorials for sleeving soon, as it is something that is quite simple (although time-consuming), but there are some little tips and tricks that are worth knowing.
For the Y-cables, I strip a little wire insulation back and solder another bit of wire to it to create the Y-shape.
Click to enlarge
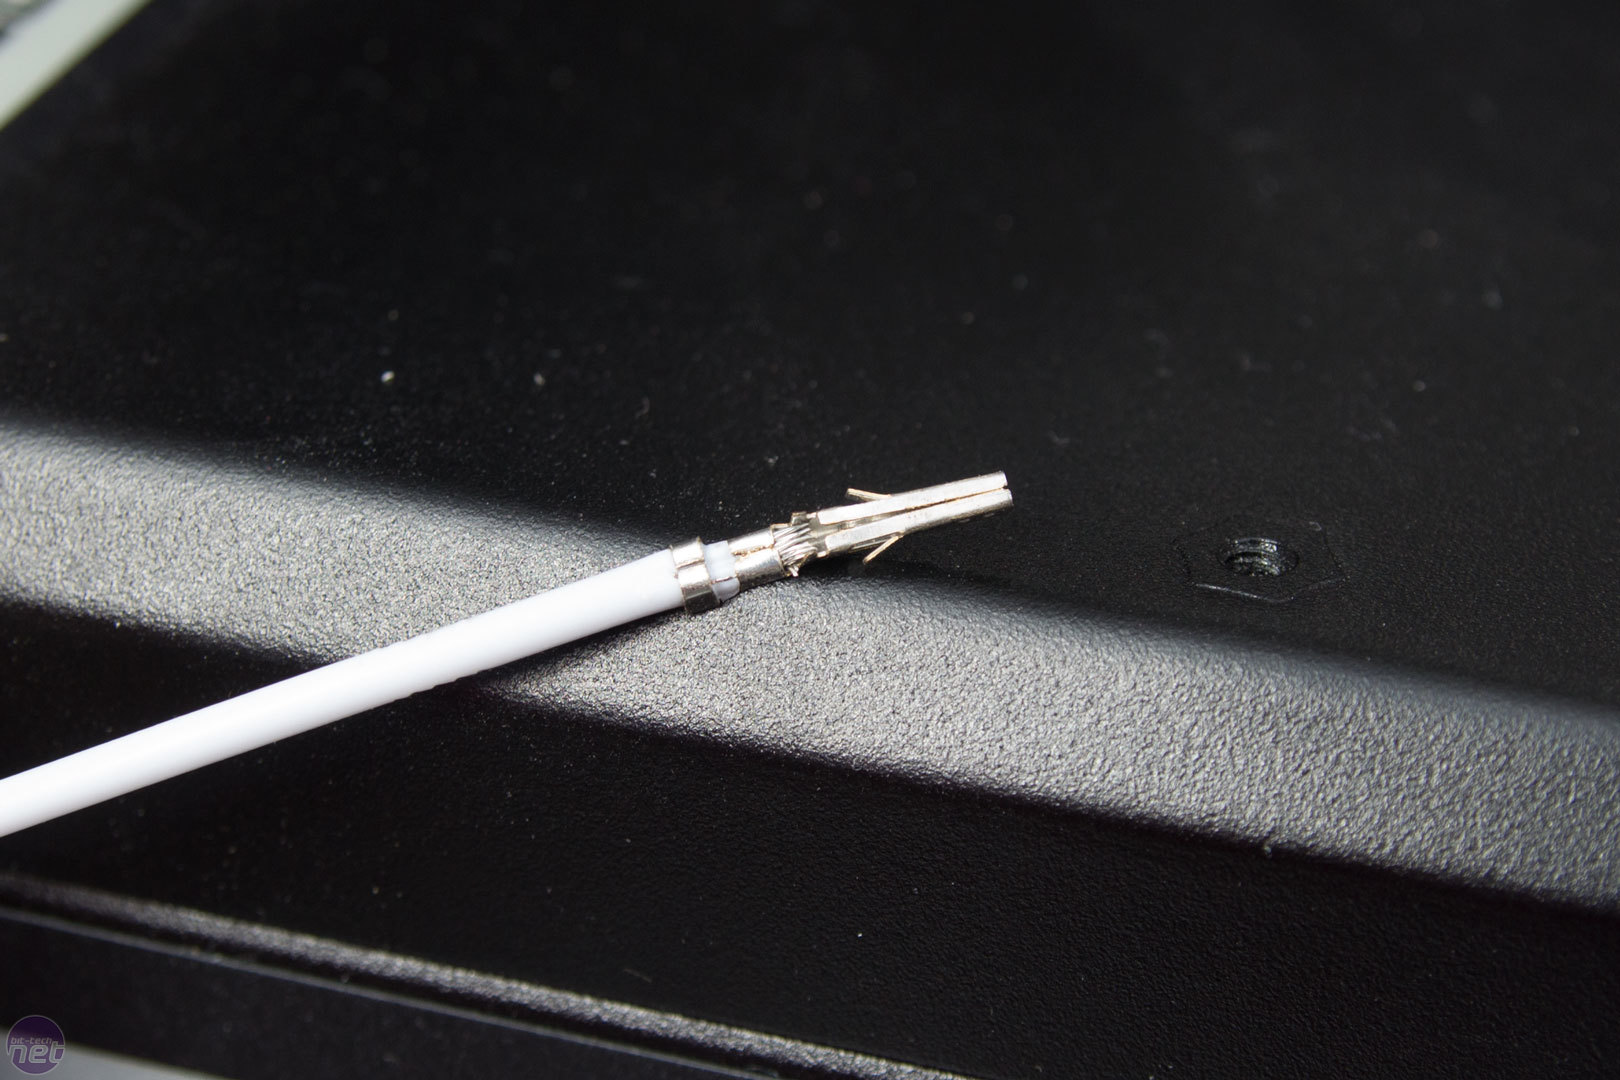
Once you have the Y-shape, just pop a little bit of heatshrink over the solder. When you sleeve the wires, you'll need a second piece here to hold the three bits of sleeve in place, but I like to have this inner one here just in case. When you crimp your wires, make sure that they look similar to this; this is pretty much a perfect crimp. The rear part of the terminal is gripping the insulation, and the second part of the terminal is gripping the metal of the wire to ensure a good connection.
Click to enlarge
When the wires are completed they will look something like this. You can barely see the heatshrink that makes up the Y-cable. You can solder the wire anywhere you like, so make sure you do it somewhere where it will be hidden and no one will ever know.
Click to enlarge
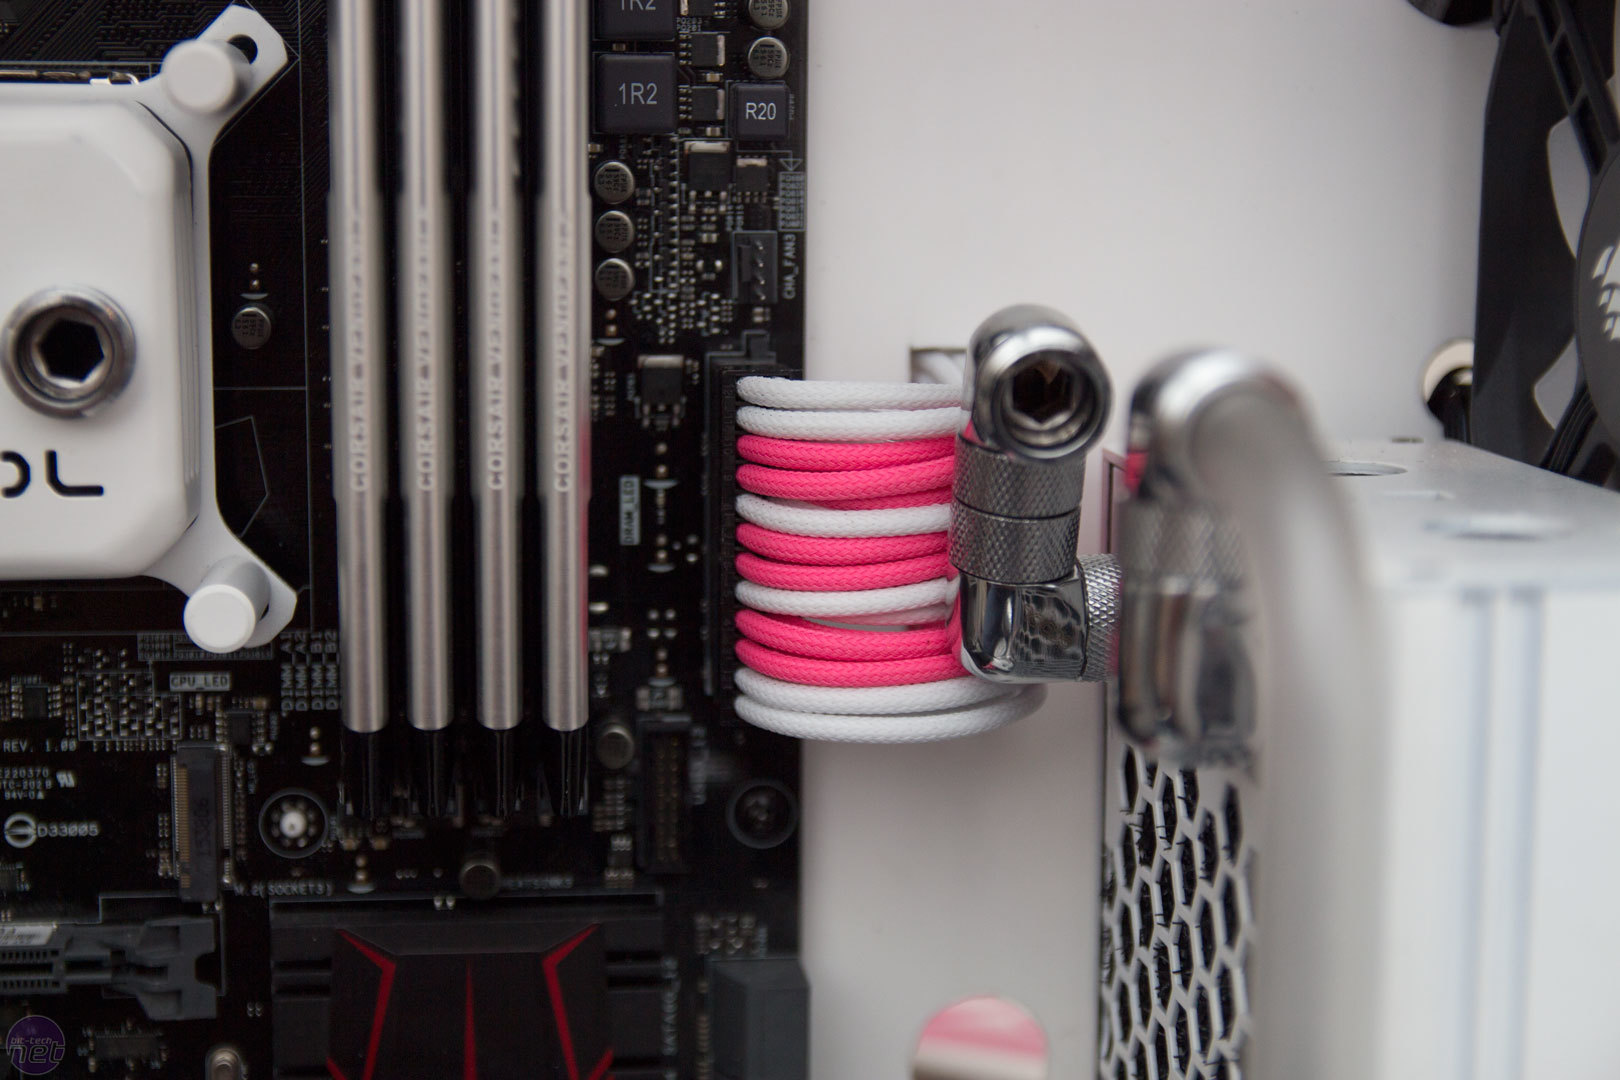
You can get a great look when you sleeve your own cables, and I prefer them to off-the-shelf extensions or manufacturer replacements, but it is very time-consuming and there is an element of risk if you rush it.
Click to enlarge
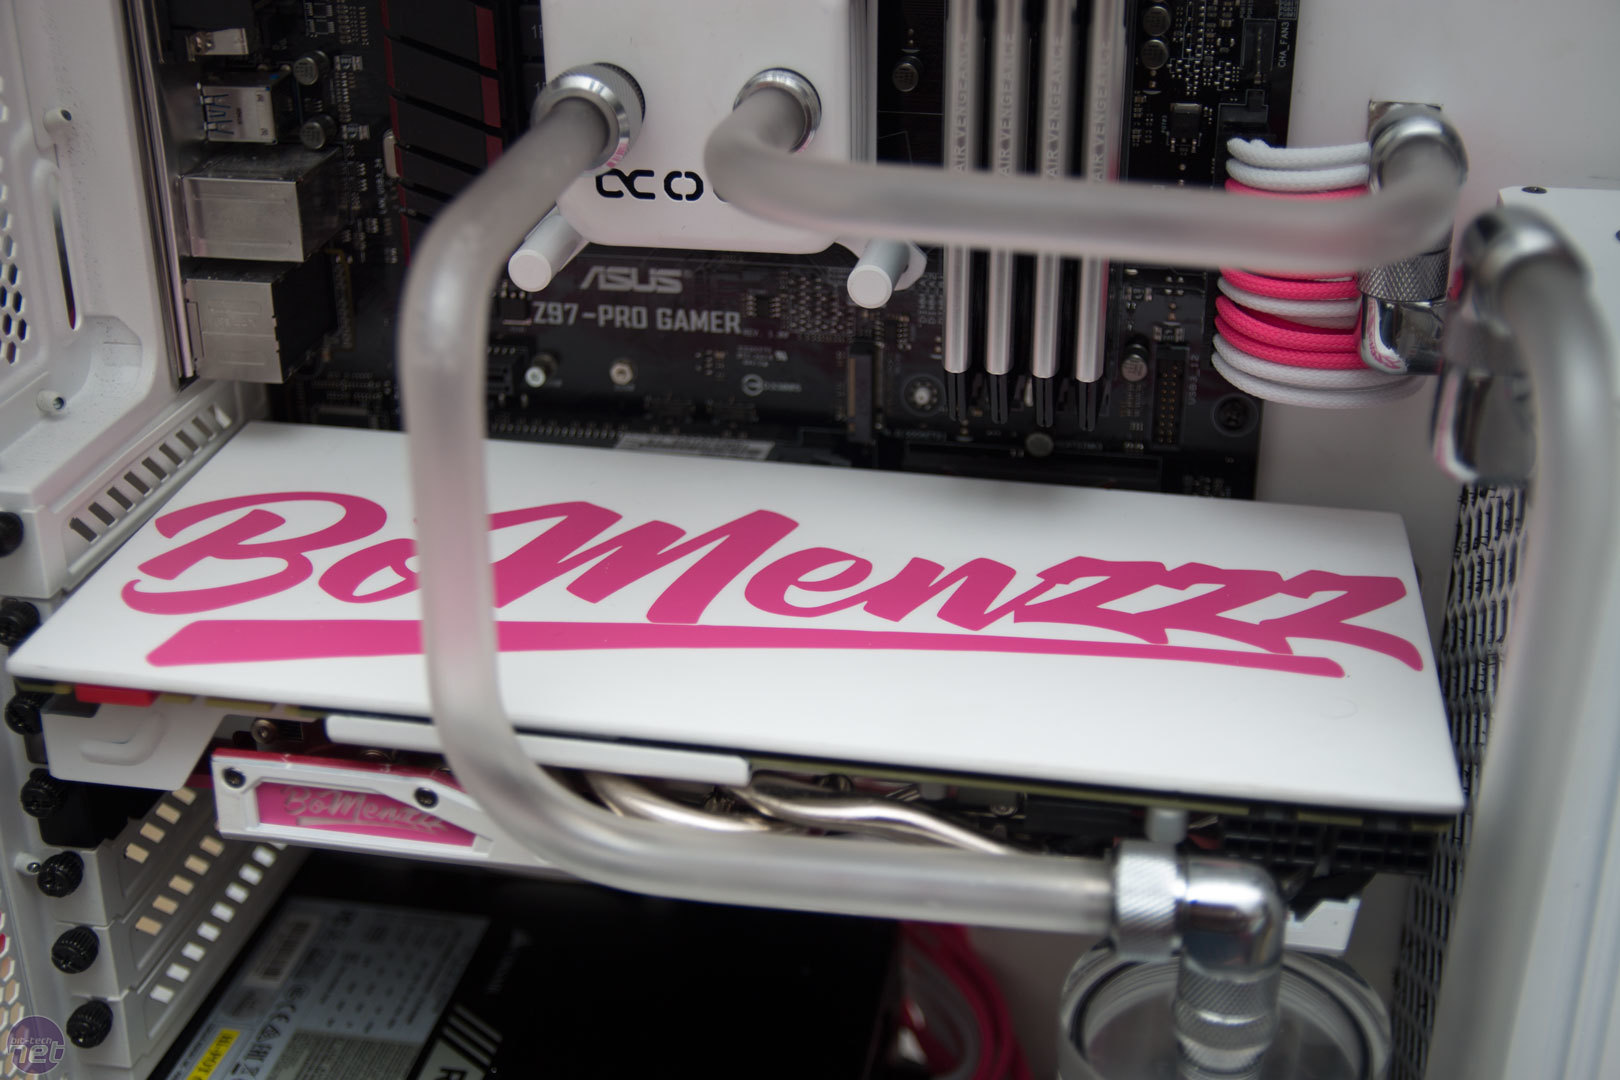
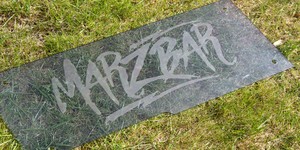
The final part of the puzzle in unifying the colours is making a quick backplate. To do this, I just cut up a bit of white matte acrylic and used my vinyl cutter to create a sticker with BoMenzzz' logo. Whilst doing this, I noticed that I had a HDD on my desk that needed to go in...
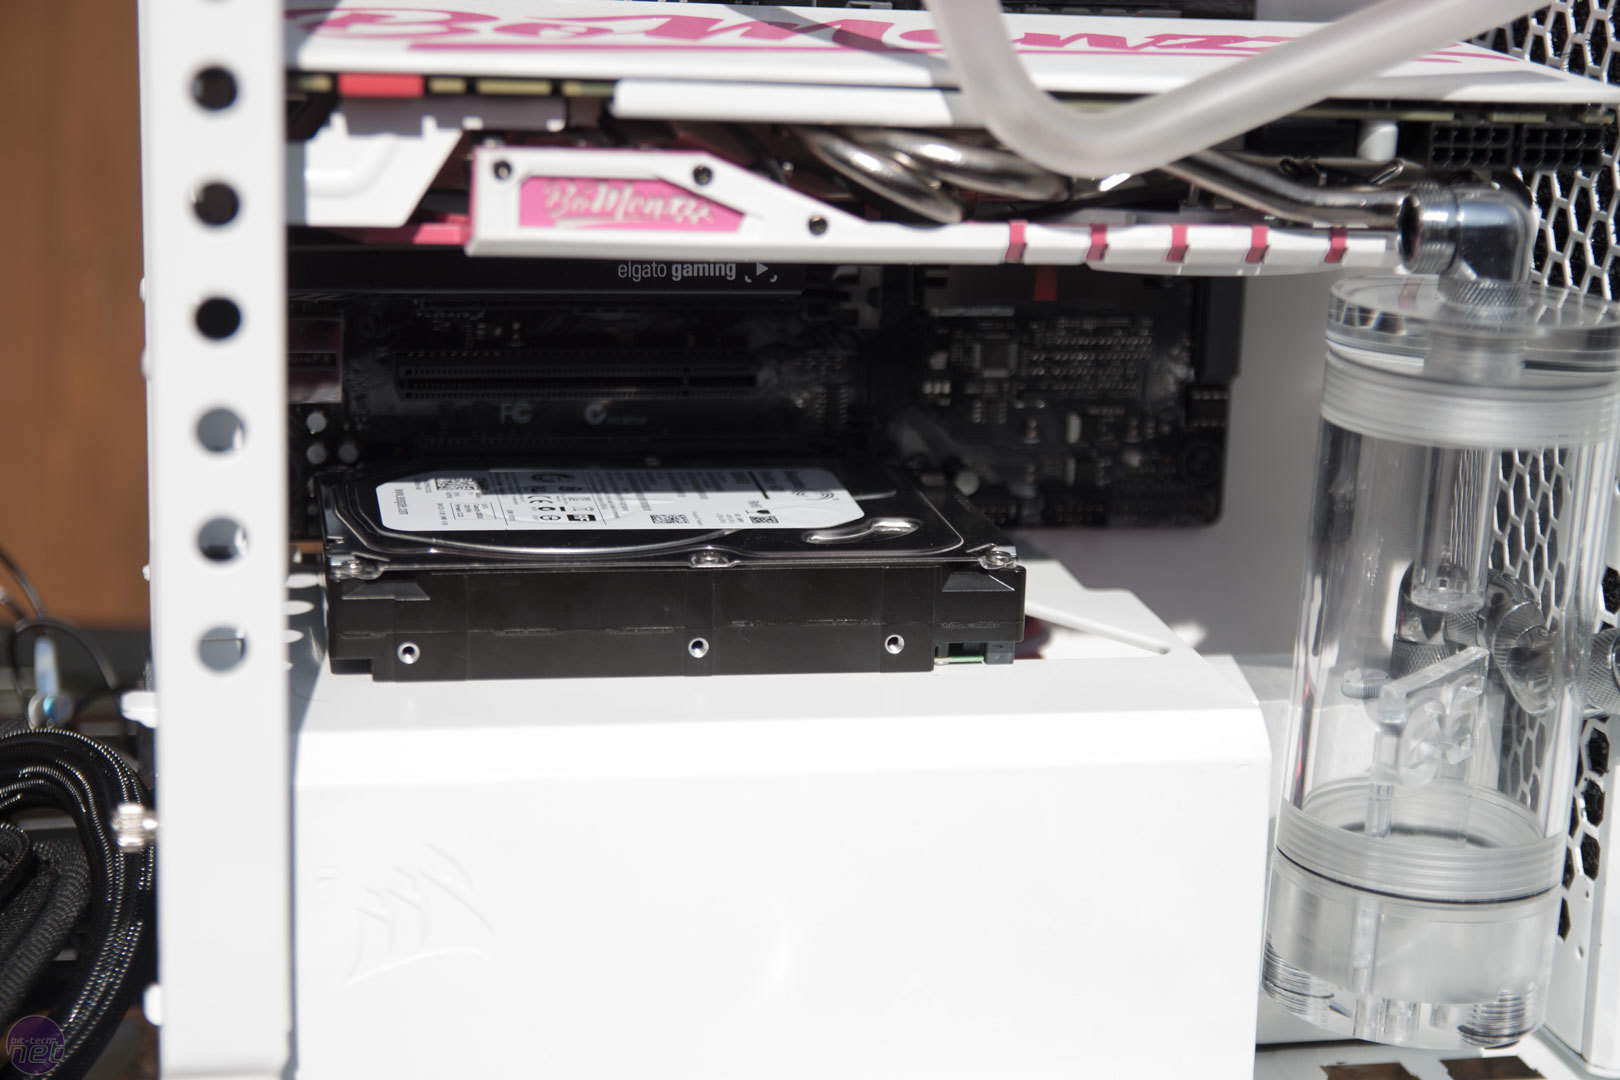
There was no room to put this at all; I had already filled it! I just plonked it here. I made a little cover for it to hide it, and in the above picture you can also see a second BoMenzzz logo that I made. I hoped this would light up when the GPU was turned on, but I wasn't 100% sure it would work, as sometimes the vinyl is too thin or the LEDs are too bright.
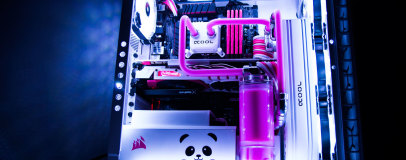
Well, that's pretty much it. Let's fill the loop and see the final pics, shall we?
RELATED ARTICLES


MSI MPG Velox 100R Chassis Review
October 14 2021 | 15:04

Want to comment? Please log in.