The Reflection HTPC by Wolverine

Written by Magnus Persson

June 2, 2008 | 03:12

Tags: #magnus #wolverine

Companies: #ac-ryan #msi #seagate

The Reflection HTPC

So now its time again for me, the crazy Swede, to build a HTPC case - but this time, I have strayed a bit from my usual path. I'm trying to go a bit more clean and stylish in my design than before.

My casemods usually have some skulls, flames or pentagrams in them, but this one has none of that at all. Even I get tired of the same old thing eventually, so now it's time for me to boldly go where I haven’t gone before. My past projects like the Pentagram HTPC and the Weighted Companion PC were a lot of fun to build and I'm very happy with them, but fitting the pentagram beneath my TV turned out to be a bit of a problem. So, this time I'm going small sleek and stylish...or at least I think so.

The aim here is to build a case that could be used in any living room without scaring your grandma out of her socks. For me that is a bit of a challenge since I have no experience in this type of design. But, enough with the small talk - lets get to it and do some case building.

The Beginning

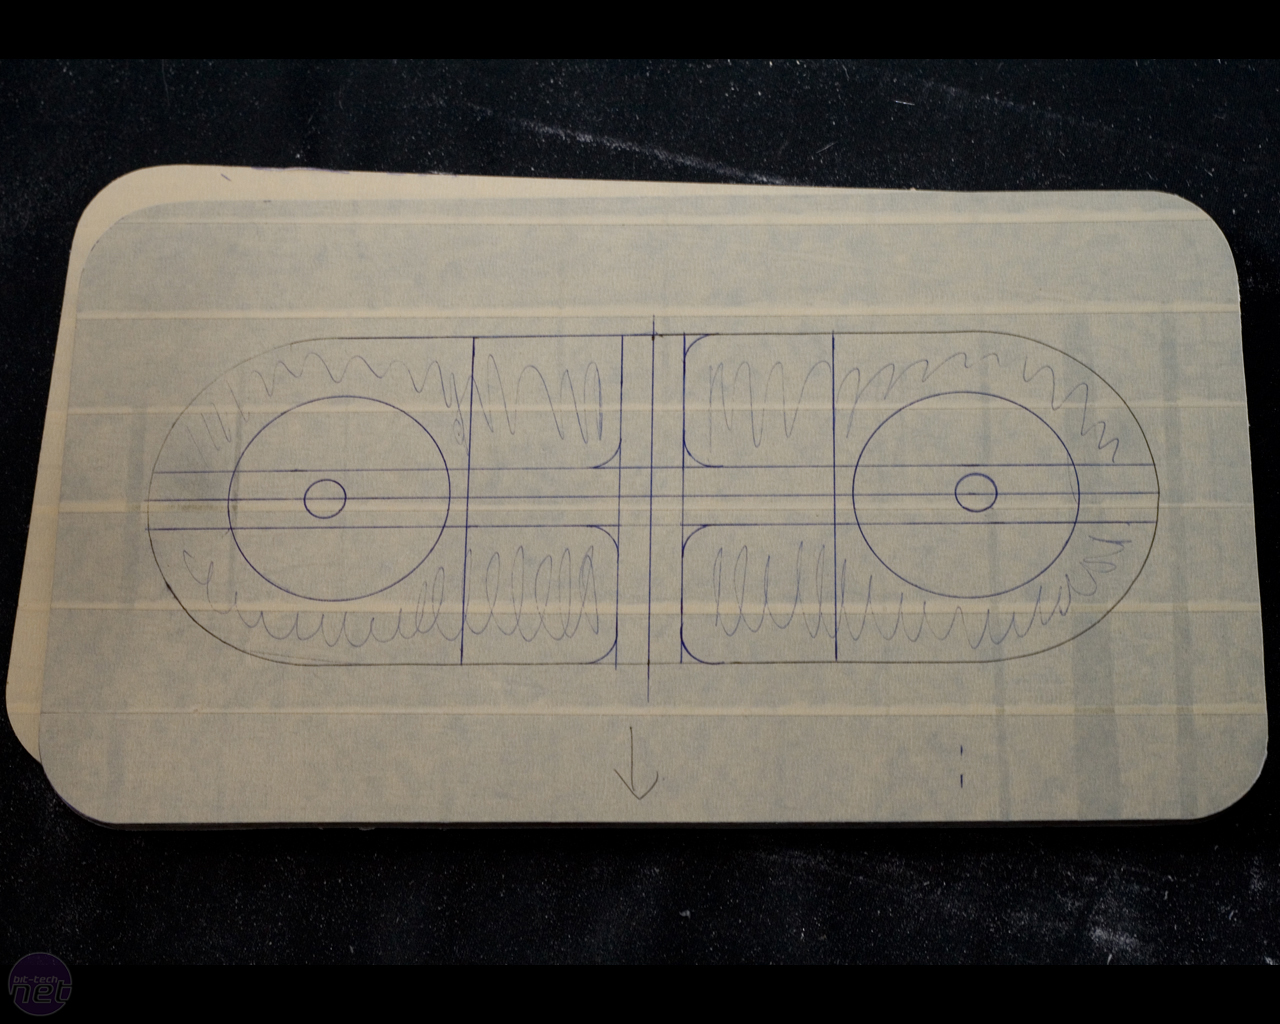
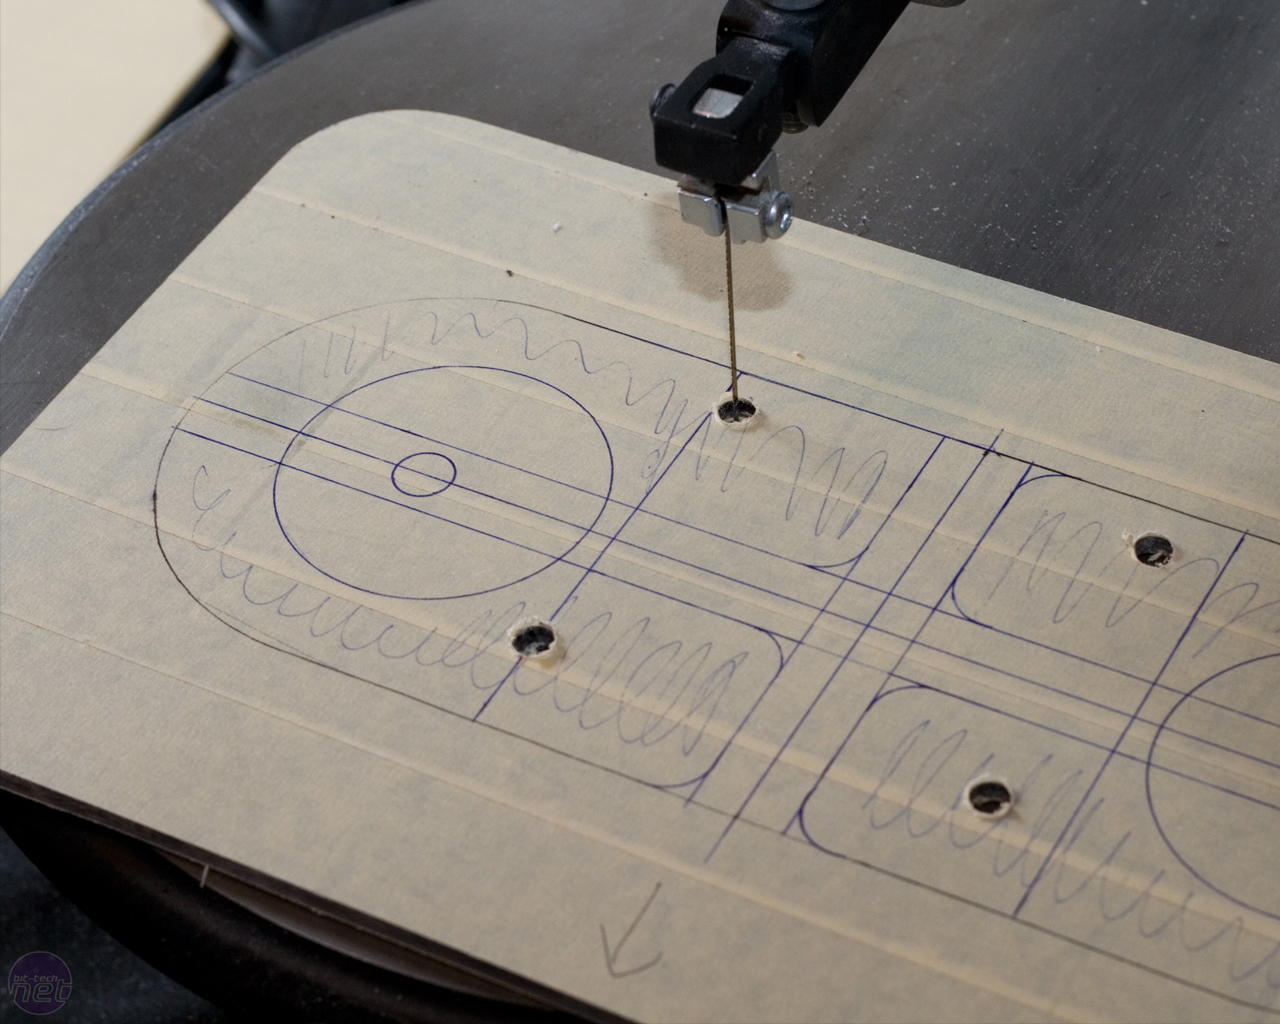
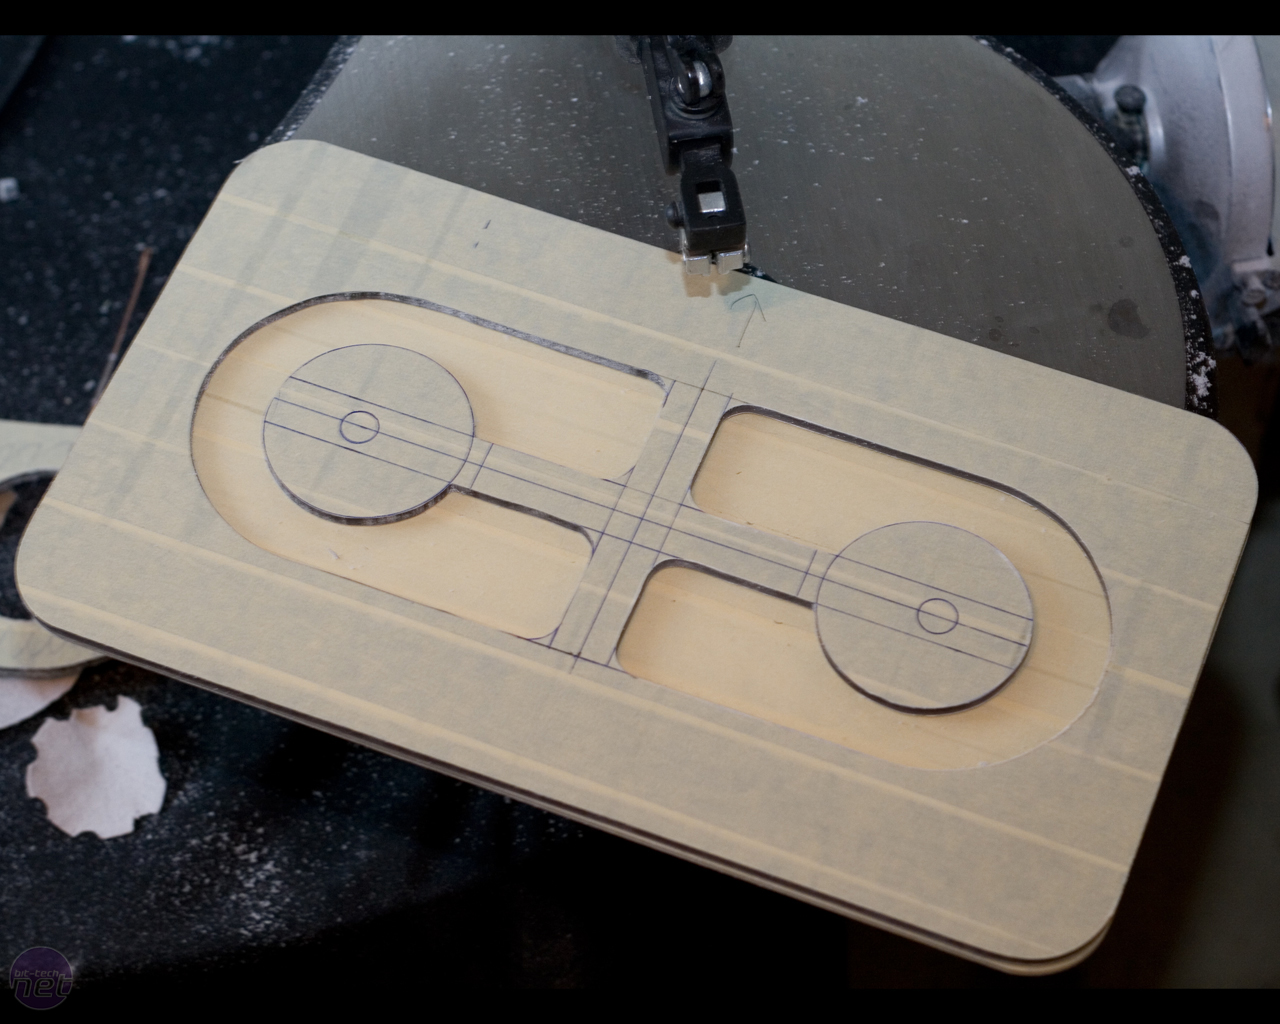
The first thing I needed to do was to decide the basic shape of the case, which I had chosen to be a very rounded rectangle. I started to cut several layers of acrylic and aluminum in to the shape I wanted.

The Reflection HTPC by Wolverine Introduction The Reflection HTPC by Wolverine Introduction
My aim was to get a window in the top with several layers of different materials and colors. For a little art deco flair, I also wanted some basic shapes that would make it a bit more visually interesting. I cut 5 sheets of black anodized aluminium, mirror acrylic, UV-blue acrylic and transparent black acrylic to make the top and bottom pieces.

The Reflection HTPC by Wolverine Introduction The Reflection HTPC by Wolverine Introduction
I just cut a basic window shape in the aluminium which was used for the outer layer, and then fitted one sheet of mirror acrylic beneath that. Below that, I added the transparent black acrylic that I'd cut into a pattern. Finally, I added a sheet of UV-blue at the bottom.

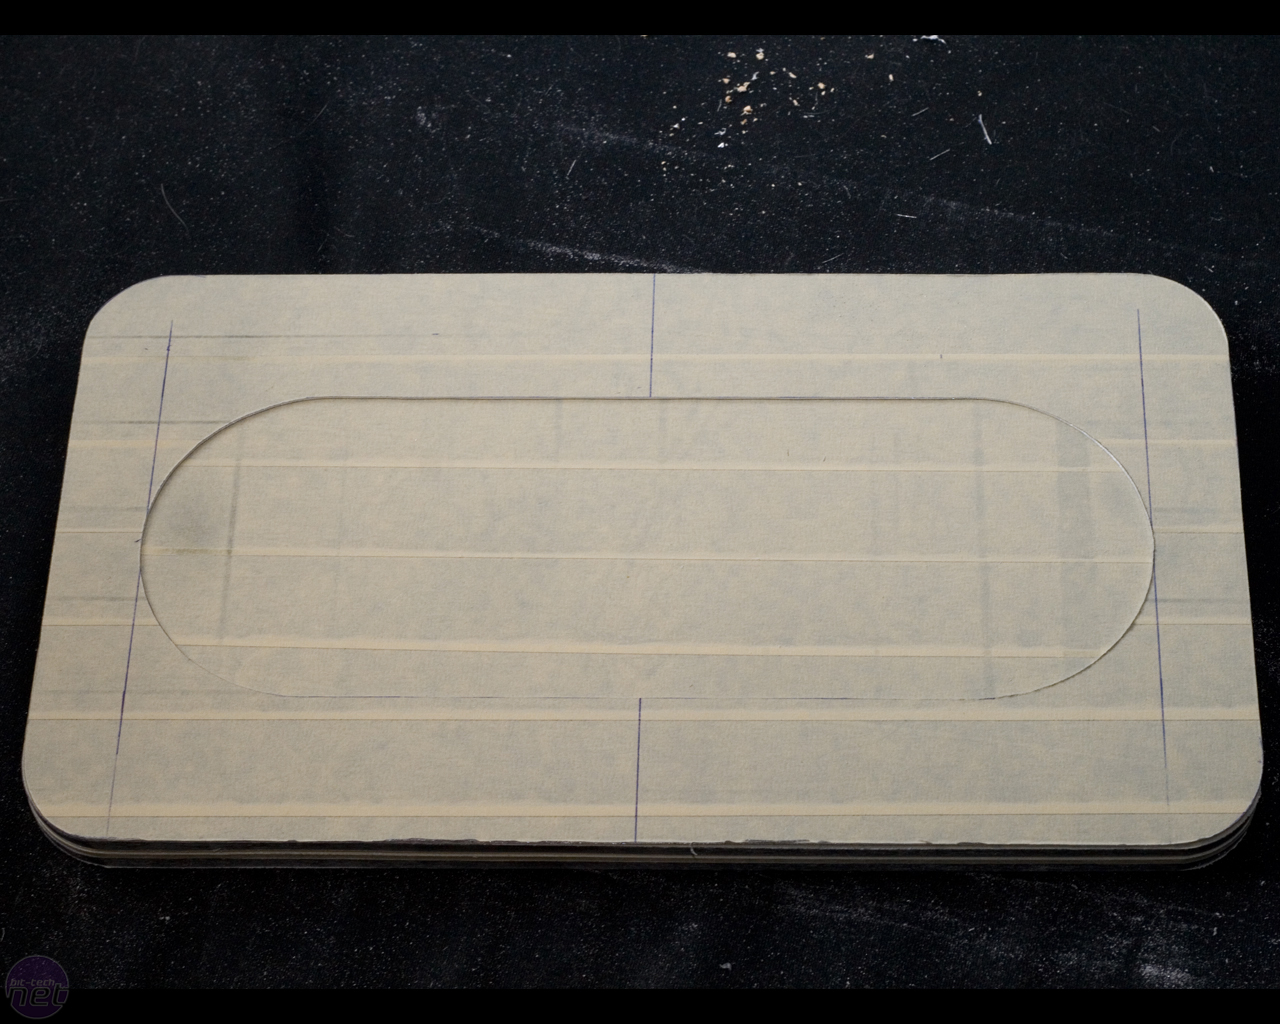
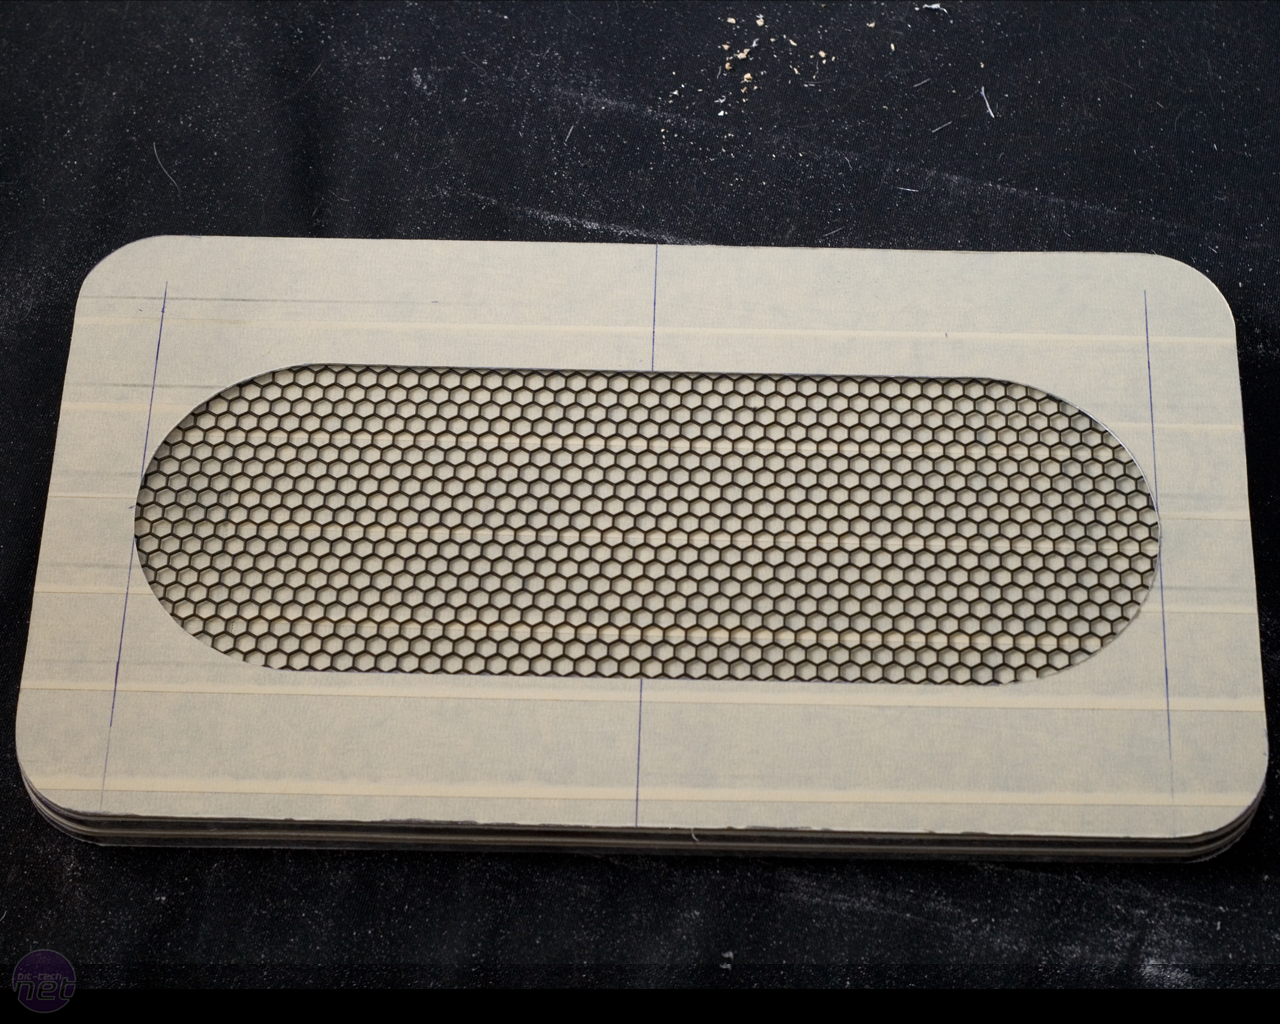
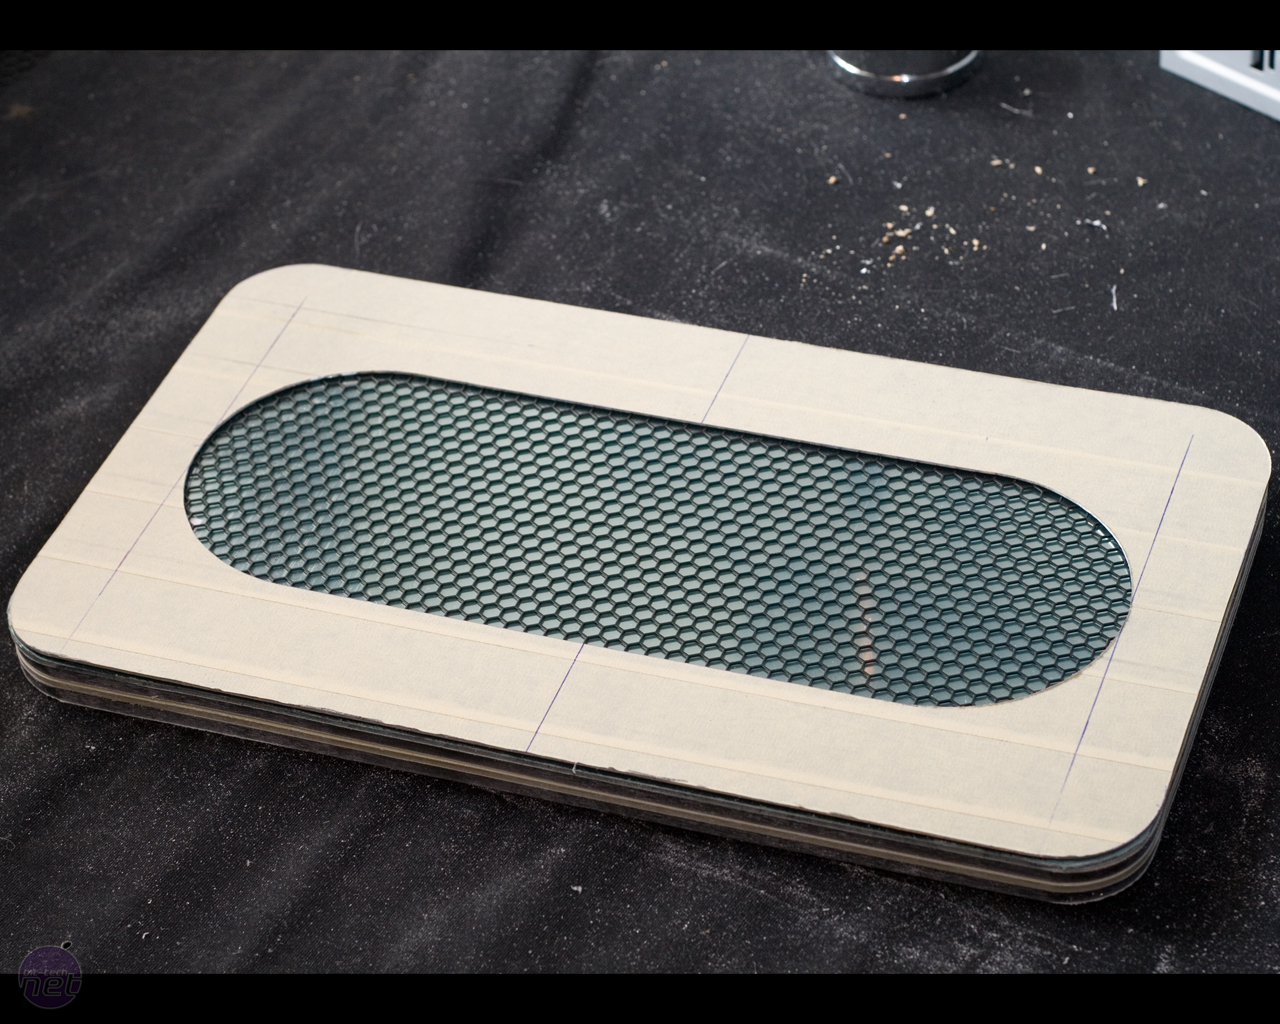
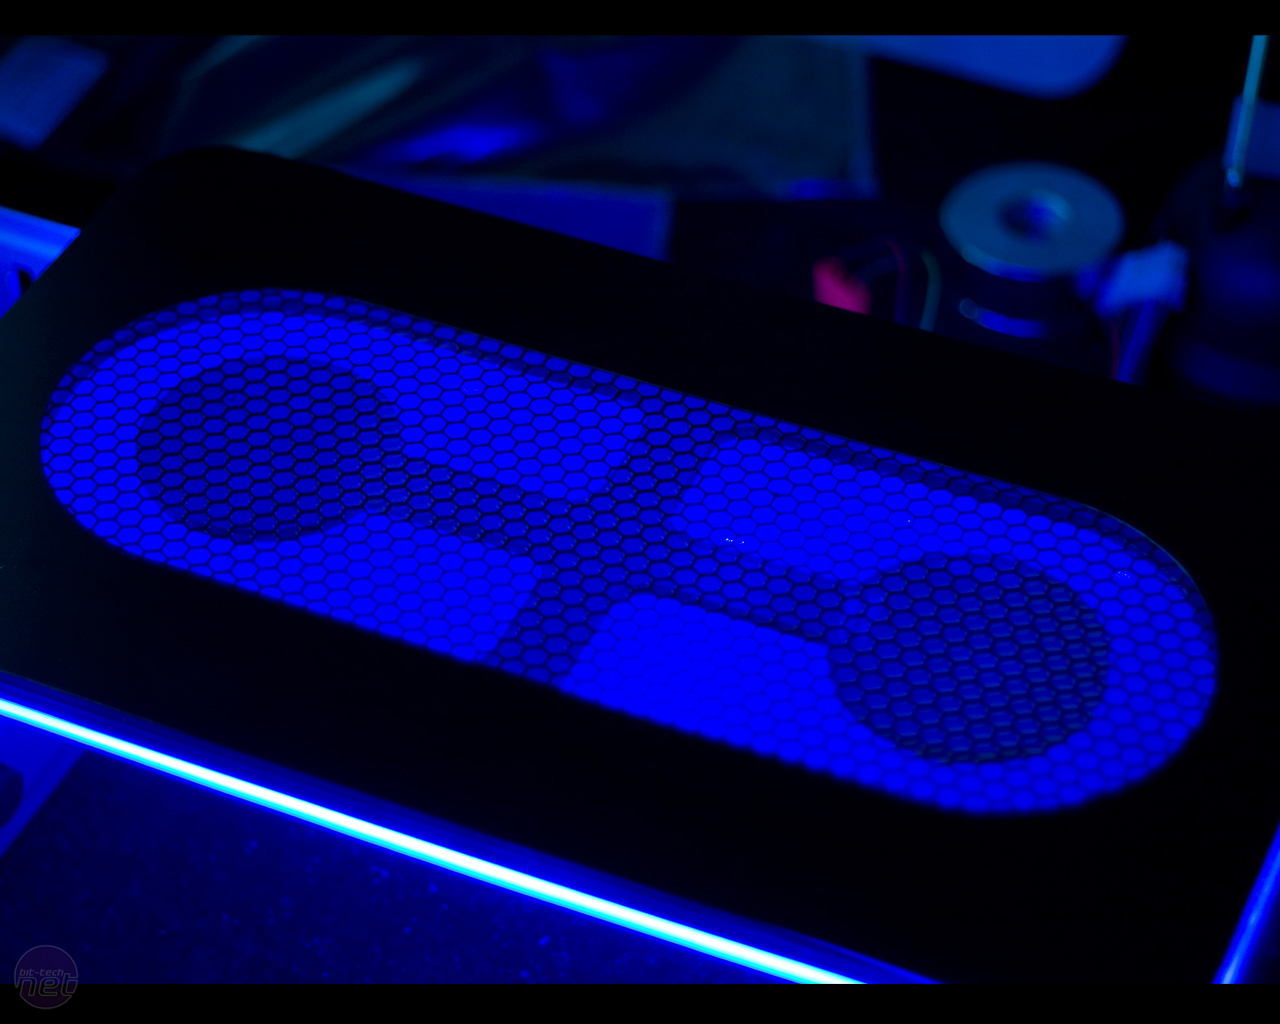
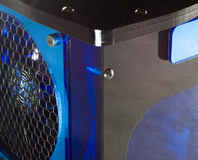
At this stage I also tried adding a layer of Hexagonal mesh, although this was removed in the final version.

The Reflection HTPC by Wolverine Introduction The Reflection HTPC by Wolverine Introduction
After removing all the masking tape, this is what I ended up with. As you can see, the mirror hides everything inside until it is back-lit. Then, the black acrylic shape becomes visible. The effect of this becomes much more clear when a bit of UV lighting is added

The Reflection HTPC by Wolverine Introduction The Reflection HTPC by Wolverine Introduction
The bottom piece was made in the exact same way as the top. I scavenged a couple of case feet from an old HTPC case that I didn’t use to give the case something to stand on.
Discuss this in the forums
YouTube logo
MSI MPG Velox 100R Chassis Review

October 14 2021 | 15:04

TOP STORIES

SUGGESTED FOR YOU