
The Practice Run
As I mentioned, I started with the Backspace key for a test-run. My plan of attack was as follows:- Dremel a notch into the side of the key.
- Sand edges smooth.
- Place the USB drive into the key.
- Pour clear silicone into the key to secure USB drive into place and to allow the back side to be see-thru. However, for the practice run, I actually skipped steps 1 thru 3 because I was mainly concerned with how well the silicone would work as a filler material.
Debrief
I was really glad I did a practice run. The day after I finished applying it, I was not happy with the clarity of the silicone; it was too cloudy. It was also a bit softer than I wanted.So, I decided to use something else for the real thing: an industrial strength adhesive called E6000, which my friend Brian has used in the past and recommended. That being said, about a week later I checked the silicone again and found it to be much harder. Apparently, it just needed more time to set. Still, the clarity wasn't quite as good as I wanted, so I still planned to use E6000 in place of the silicone for the real thing.
The Real Run
After the practice run, my plan of attack remained mostly the same, except for the first and last steps:1. Remove clutter from inside the Enter key.
2. Dremel a notch into the side of the key.
3. Sand edges smooth.
4. Place the USB drive into the key.
5. Pour E6000 industrial strength epoxy into the key to secure USB drive into place and allow the back side to be see-thru.

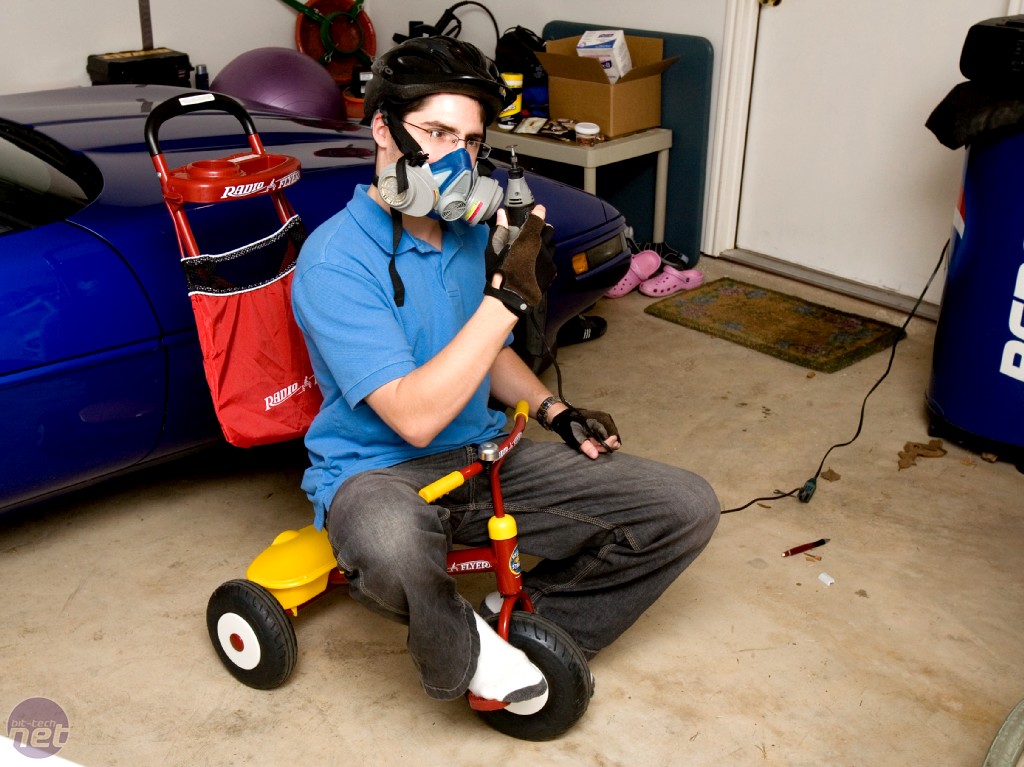
Standard attire for any serious modder. Click to enlarge.
Before pulling out the Dremel, I donned my protective gear. Kids, don't try this at home. I'm a trained, erm... heh... professional. Yeah.
Step 1:
The first thing I needed to do was get the little stub in the middle of the enter key out of my way, as well as the little pieces of plastic jutting out that supported that bar I removed earlier. For the stub, I bashed the key with a large stone. No... why would I do that? Safety in mind, I proceeded with my Dremel and fingerless gloves.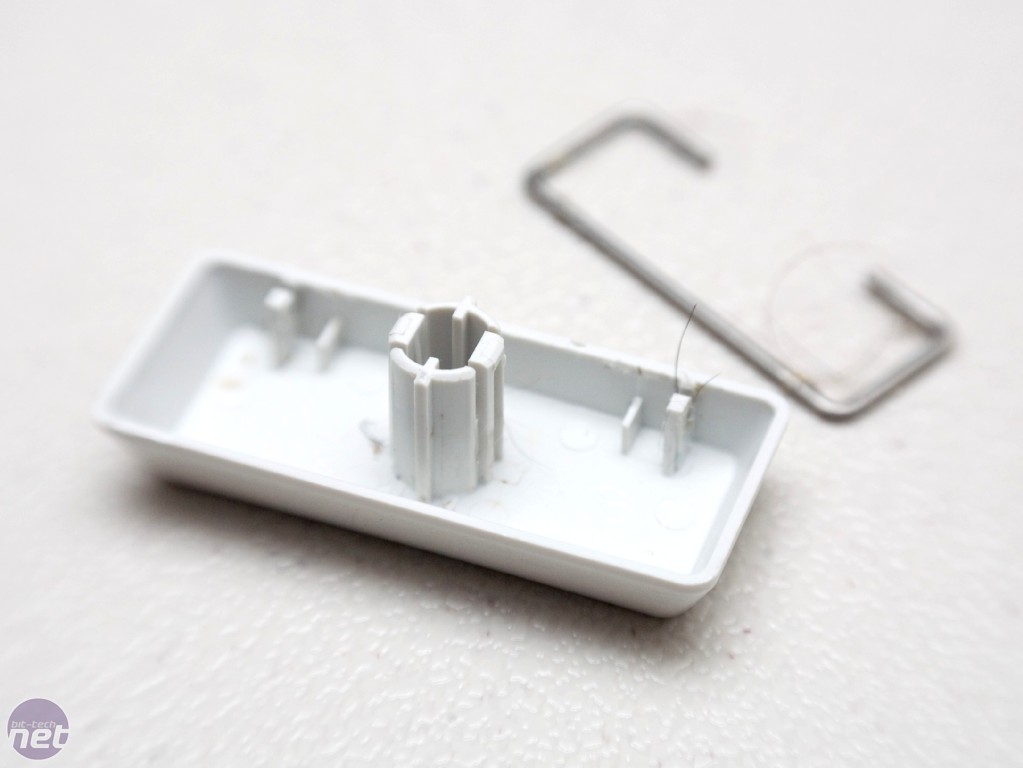
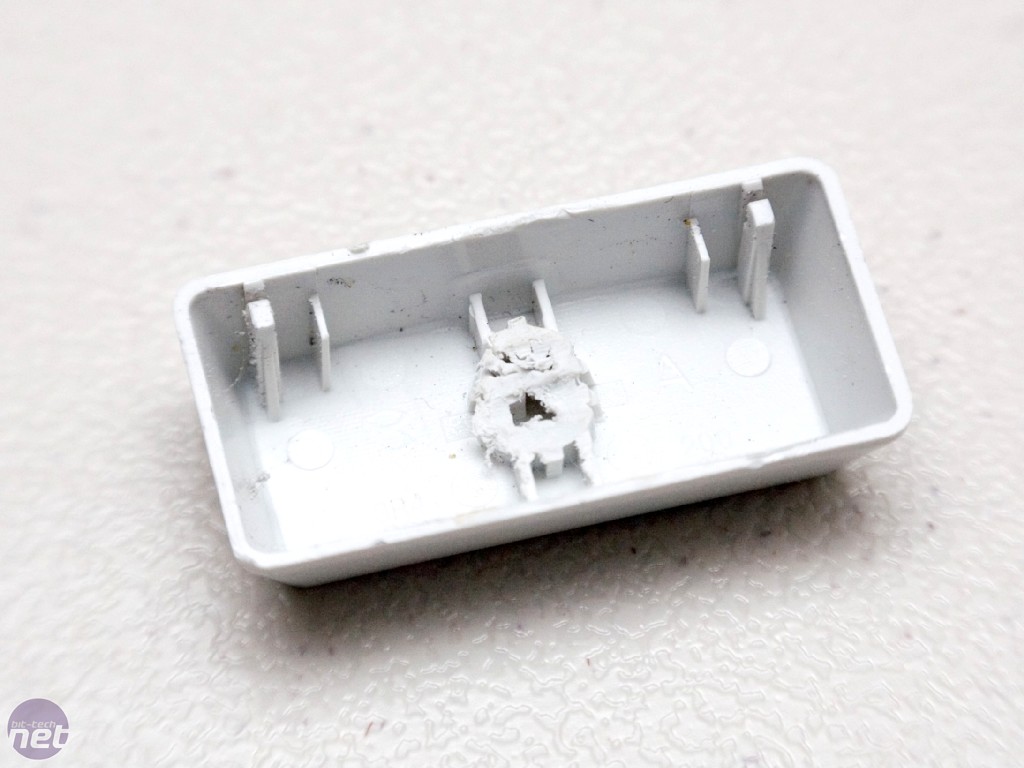
This is where the USB drive will sit. Click to enlarge
The cutting wheel was used to cut in some notches first and then the grinding stone was used to actually remove pieces. Using only the grinding stone on plastic tends to melt it all into one big sticky mess. By cutting notches first, I was able to use the grinding stone pretty much exclusively to remove the little plastic pieces that supported the bar.
RELATED ARTICLES


MSI MPG Velox 100R Chassis Review
October 14 2021 | 15:04

Want to comment? Please log in.