
Foreword
by Brett ThomasIt wasn't long ago that a poll came up in our forums asking what everyone would like to see on bit-tech, and there was a resounding cry for more modding guides from some of our pros. Along with the request for new guides came an interesting one - several of you wanted to see some of our older guides revisited, be it because they were out of date or just not as helpful as they could have been.
It's in the spirit of that last point that I tapped the shoulder of Magnus, aka Wolverine. He is one of our two resident engraving experts, along with his partner in crime Mikael "GoTaLL" Gustafsson. Some of you may remember Micke's article a couple years back explaining some basic engraving, but quite a few of you wanted a bit more of a how-to.
So, I'll leave this to Magnus now, who can give you a bit of a different take on how to get your feet wet with engraving. Of course, if you have any questions, make sure to drop them in the forums when you're done!
Introduction
Do you think engravings look cool, and want to take a try at it yourself ? Well if that's the case, you might find the following pages interesting. I have been doing engravings for a couple of years now and I thought that I might pass on a few things that I've learned along the way.Engraving is a fairly simple and yet effective way to make your rig a bit more personal - and if it's done right, it can really lift that ordinary case out of the shadows. I'm going to try and cover all the basic things you need to know as a beginner in this article. Whenever someone starts engraving, there are several common questions, like: What machine do I need? What bits should I buy? Should I engrave aluminium, steel or plexi? And, most importantly, How do I go about getting the result I want?
I hope to answer all of these and more as we go on. But to start off, you need something to engrave with - so, let's take a look at some hardware.
Hardware
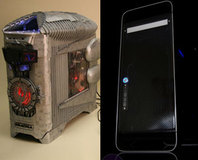
Now, there are a lot of brands and tons of different machines out there, but I'm going to focus mainly on the Dremel. That’s what I've been using from the start. I won't lie, I've tried a lot of different brands - but to be honest, none of them have stood up to the torture that I have bestowed upon them except for the Dremel. So, take it for what it's worth - but it may save you some hassle.My weapon of choice is the Dremel 400 digital; or, as its called in the US, the Dremel 400 XPR.
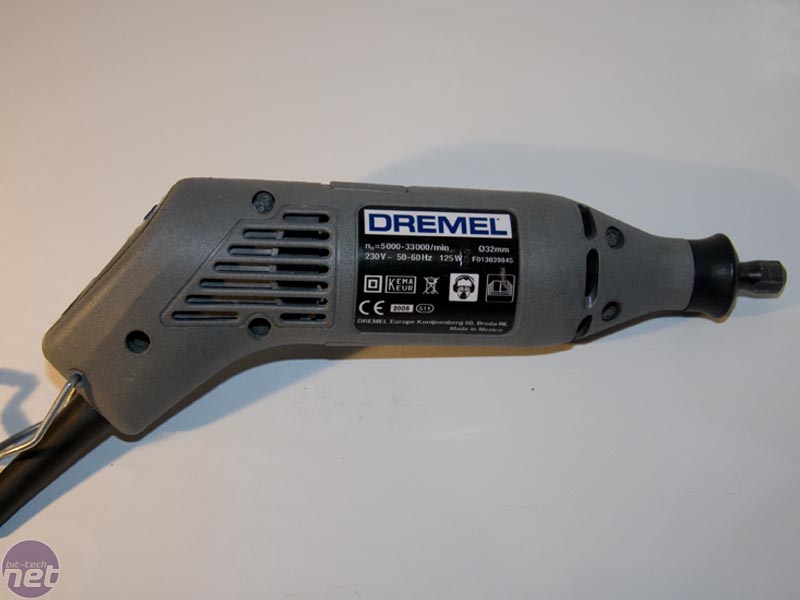

Left -A shot of my battle-hardened 400; Right - The back piece has a small LCD that shows you what speed you are currently at.
Choosing the right machine can make all the difference, and there are quite a few models to choose from. I've personally gone with the 400 since its very sturdy and can take all the punishment I throw at it. There are also cordless versions, which work fine for smaller things. However, I myself need the corded ones since I do a lot of engraving and don’t want to stop in the middle of everything just to charge batteries.
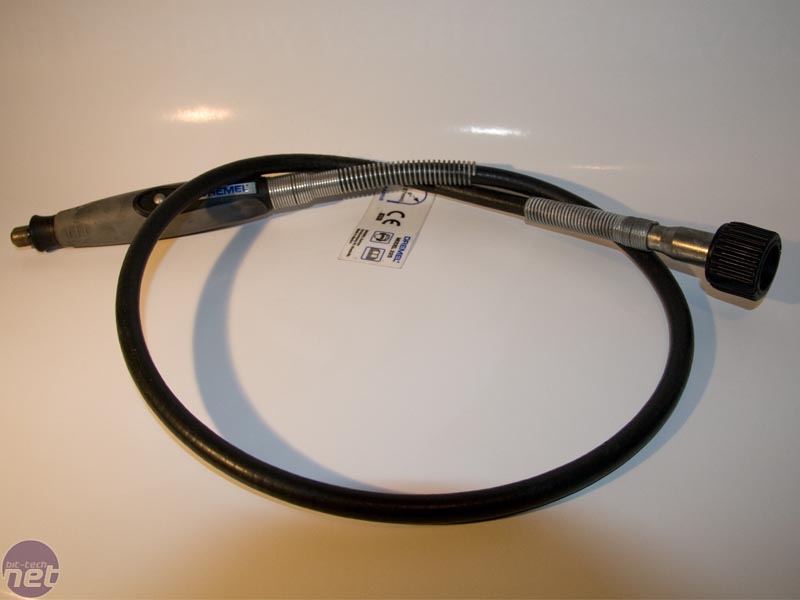
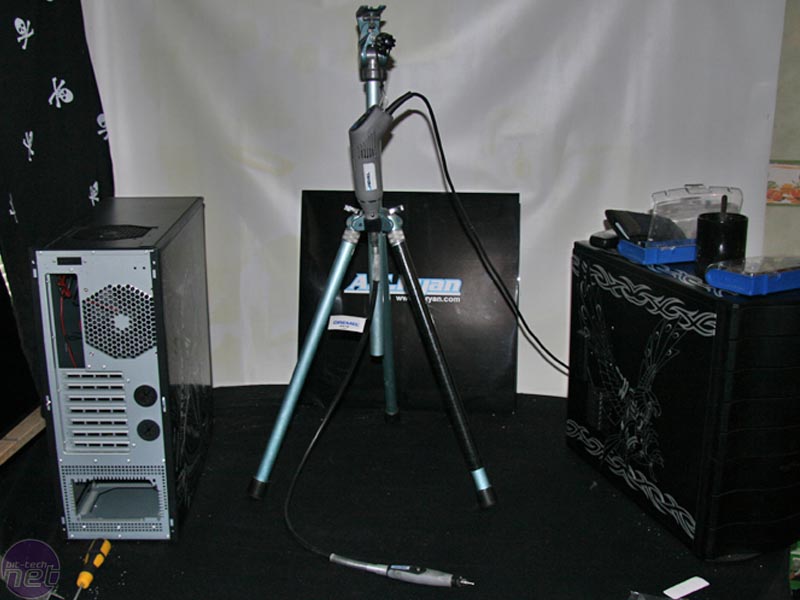
Left - the Dremel 225 Flexshaft; Right - My homemade version of the 2222 Tool Holder.
There are a few add-ons to the Dremel that you might consider, one of which is the Flexshaft - this is the thing you just must have. This extension makes engraving a lot easier. Instead of holding the entire machine, you have just a little pen that’s a lot easier to work with (it also greatly reduces the amount of vibration). A very good thing to have is also the 2222 Flexshaft Tool Holder - this helps you to get the machine itself out of the way and makes your life even easier.
RELATED ARTICLES


MSI MPG Velox 100R Chassis Review
October 14 2021 | 15:04

Want to comment? Please log in.