Cutting up
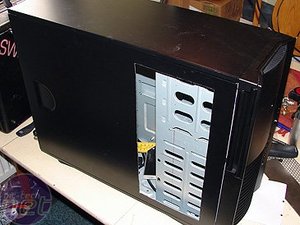
I began, as so many case mods before me, with a big hole in the left sidepanel.
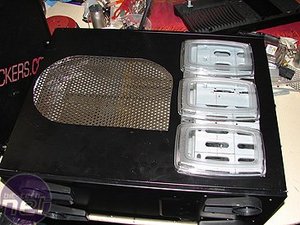
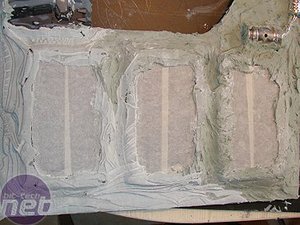
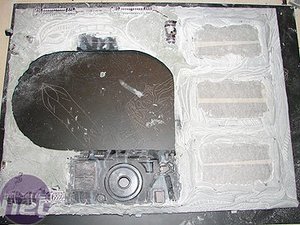
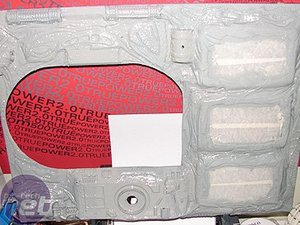
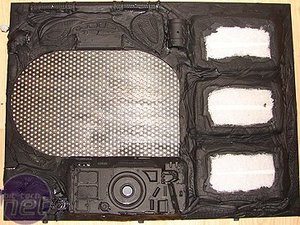
This will not be the usual plexi-covered window, as you'll find out later. The next step was to make a second hole, which I covered with metal mesh. As you can see I mounted three domes over the front window. These will be used to show a set of window-modded Raptor-X Drives.
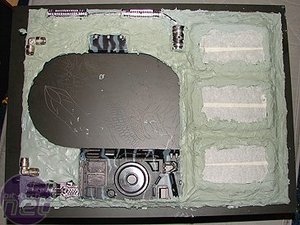
Now the work of turning the side into a part of a biomechanical machinery. As there are no biomech kits to buy out there(!), I had to use my imagination. After raiding a pile of old toys I found a lot of stuff that could work. Here you can see some of the parts glued on to the side. There are pieces from a tank, a truck, a Ferrari F40 and a motorcycle on there. It doesn't look biomechanical yet, but that is about to change.
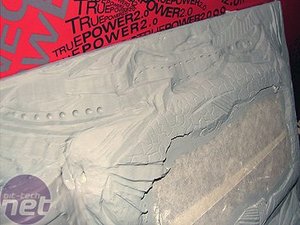
The next step was to use large amounts of putty to mould it all together - I used 1.6kg of putty on this side alone.
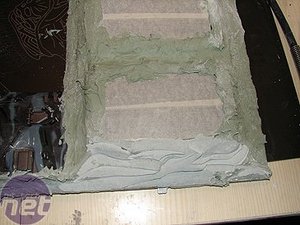
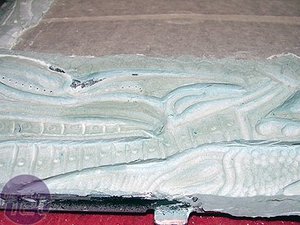
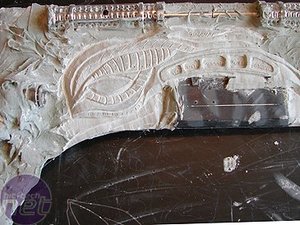
After a couple of hours of basic sanding, I started working on some of the finer details. I used all kinds of bits for my dremel to sculpt the details into the hardened putty.
Here we see the details starting to appear.
This part of the build was very messy, with huge amouts of dust flying everywhere as a result of the intense dremel action. It was also very time consuming but the result made it all worth while. After I was happy with the level of detail, I painted the side with a thick layer of grey primer. Then I did a layer of matte black paint, and as you can see now it looks more like all of the parts actually fit together.


Want to comment? Please log in.