
Motherboard Tray I
When I designed the case, I wanted easy access to the components, especially the ones I was likely to change, or fiddle about with more often. These are mainly the motherboard components, cables (with the motherboard ports being inside the case) and the water blocks. To enable me to get at all of these, I designed a slide-out motherboard tray.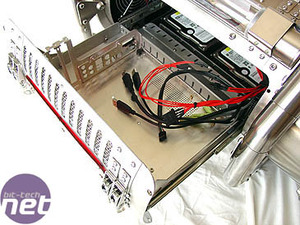
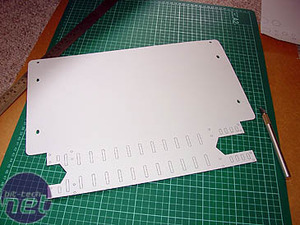
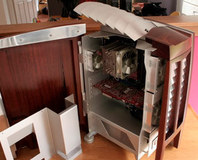
Here is a picture of the finished tray. I would have preferred to adapt a standard sliding tray, like the Lian-Li or CoolerMaster trays, but they were far too big. Instead, I was forced to scratch-build one. As the tray had to support not only the weight of the components and water blocks, but also the heavy steel back cover, it needed to be strong; also, because of the way the curve of the back of the case bulges out, I needed the tray to extend past this. Smooth and silent operation and the ability to lock open and closed would be a bonus. I hunted around and managed to find a set of steel, ball bearing drawer slides which fulfilled all these wants.
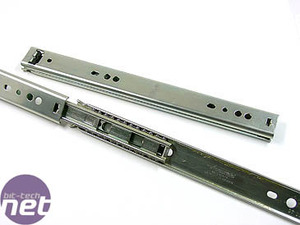
The ball bearings meant the slides are smooth and quiet. They are also strong (support up to 45kg), and the real beauty is they use three sliding sections which enables them to extend to more than twice their length when closed. I don't know what the locking method is called, but they slide smoothly until almost fully closed or open, then lock in place - casual shaking or tilting won't move them: positive pressure is needed.

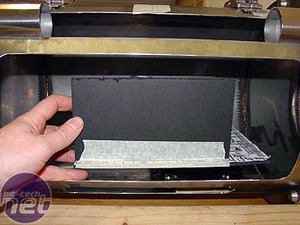
Like most of the parts, I made a cardboard model first - In this case a 1:1 scale Shuttle motherboard, X800XT PE and Audigy 2ZS. This was to confirm fit and clearances. I say 'confirm' because I had already used this particular model when working out the dimensions of the case way back in the planning stages. The top of the graphics card water block had to clear the top of the opening, while the bottom had to allow for the motherboard standoffs, thickness of the tray and the heads of screws.
The prospective motherboard tray had to clear the two Hard Drives I would be mounting in the bottom of the case. KustomPCs sent me two, antivibration, HDD racks, which used a terrific system of rubber straps to suspend the HDDs in space; however, these ultimately proved too large and had to be retired for something smaller.
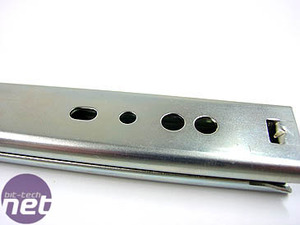
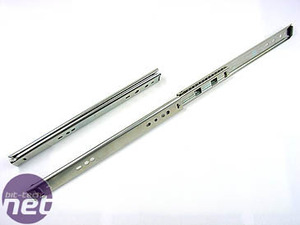
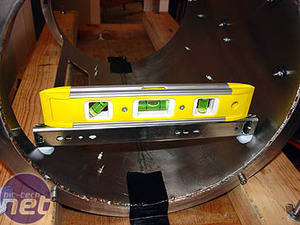
Designing the tray proved no easy task, with the both slides....
...and case having to be levelled. Much measuring and drawing and scratching my head later, and I had a cardboard prototype.
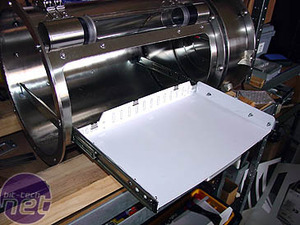
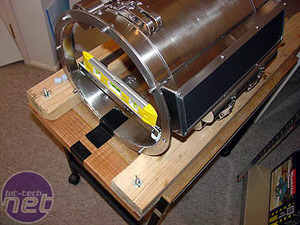
I scored the folds and bolted the model to the slides.
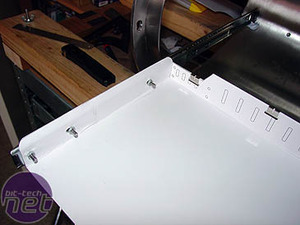
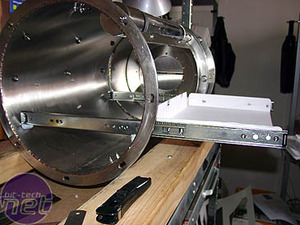
Big wads of Blu-tack kept the slides level and stopped the whole lot from ending on the floor.
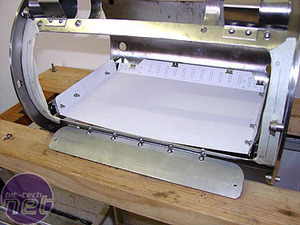
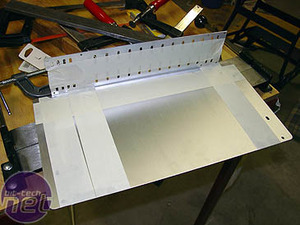
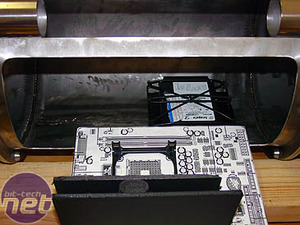
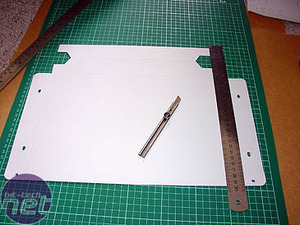
Sliding it in was the real test - woot! At this point, I started to feel a little more confident the whole thing would work. I have to admit the tray was the trickiest part of the mod for me. The right-hand image, above, leaps forward a month or two and shows the tray once it had been cut out of aluminium. I had started to fold the front up, intending to then fold it over again, when I changed my mind and decided to cut the back and bolt the pieces together instead. I wasn't confident that a 180-degree fold in that thickness of metal wouldn't crack or split it at the join.
RELATED ARTICLES


MSI MPG Velox 100R Chassis Review
October 14 2021 | 15:04

Want to comment? Please log in.