

Braiding
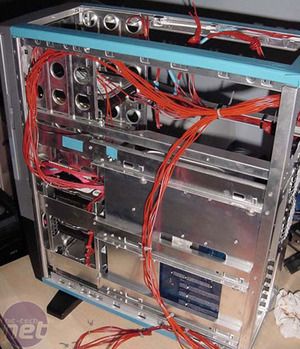
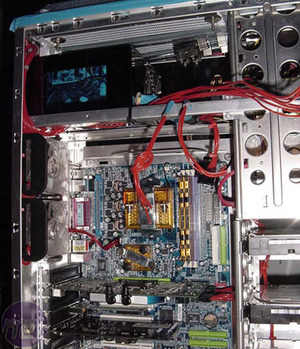
Time to create the red wiring to match the original image. The first step was relatively simple, though still important to execute neatly: cable braiding. Each of the tiny wired leading from the front bezel - power & reset switches, power LED etc - were all braided in red.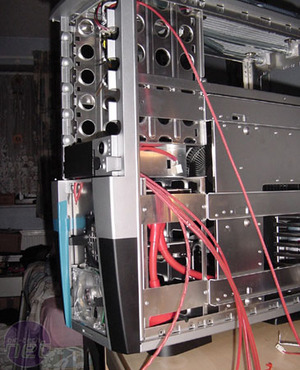
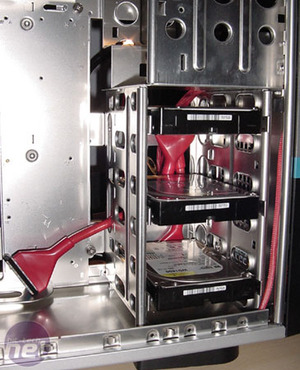
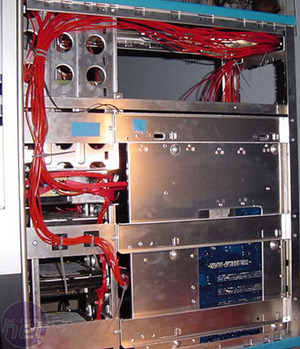
I also used red rounded IDE cables and tucked everything away neatly for now.
Rewiring
Stage 2 was somewhat more challenging. The original plan was to replace EVERY wire coming from the PSU with a red one, so that all the lines were matching red. Not an easy task by any means, as one slip up could mean me sending the wrong voltage to the wrong pin and bye bye motherboard / CPU / graphics card / hard drive...First stop was my local Maplin Electronics store - I have been there so often that they all recognise me now. I picked up two packs of 10m wire and started making up the lines. Except then I ran out! Off back to Maplin to pick up another 10m pack. Can you tell what happened next? Yep - even that wasn't enough. Sick of all the mucking about, I bought another 20m of wire. All up, I used a total of 38.6m of wire - nearly double my original estimate.
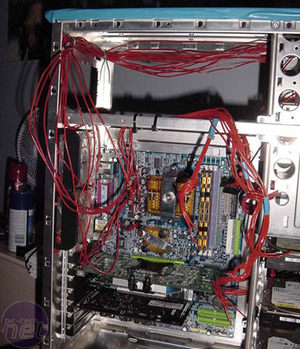
With the lines complete I paid a visit to an old techie friend of mine who I used to work with several years ago. He's a bit of a sparky and offered to help out with me installing the lines into the PSU - I've never mucked about inside a PSU before and I sure as hell wasn't going to kill myself starting.
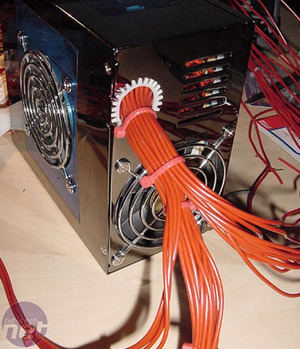
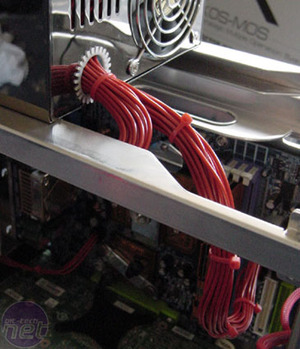
We worked late removing the old lines and replacing them with the new. It took a two pronged attack with two soldering irons to remove the main ATX line from the board but we eventually got it done. Luckily for me it ALL fit and we had no problems.


MSI MPG Velox 100R Chassis Review
October 14 2021 | 15:04

Want to comment? Please log in.