
Fanbus Frontage
Firstly, I must apologise for the quality of these first pictures. I have had to lighten them to show the detail and this has made them very grainy.Before spraying the inside of the front panel I inserted small pieces of the fibre optic cable into the 1mm holes to stop the paint from filling them. Once the paint dries they will be pulled out leaving a perfect clear hole for the "proper" fibre cable.
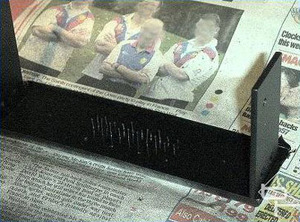
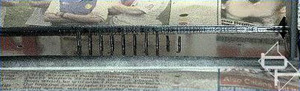
You can just about make them out the in these two pictures.
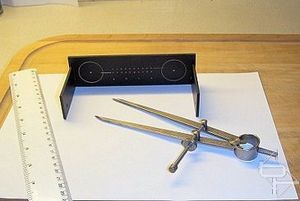
With the paint dried, the small fibres were pulled out leaving clear holes as expected. I scribed a circle and a line to link the LED bargraph to its relevant control knob. The holes for the control knobs and the four push button switches were now drilled using the small pilot holes as centres.
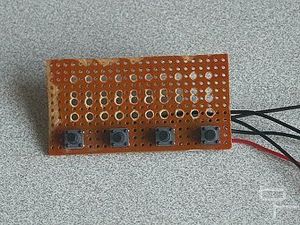
I decided to mount the push buttons on a small stripboard. This board would also act as a retaining bracket for the fibre optic cables passing through to the front panel. The fibre cables will each pass through the larger holes in the board. There are more rows of larger holes than needed because I was playing with different spacings although only two rows will actually be used.
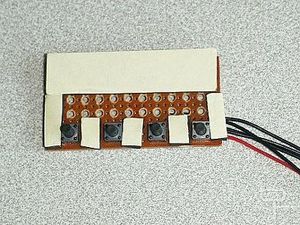
The board is mounted using double sided sticky pads. These pads are made from the same stuff used to fix "mouse houses" to monitors and their adhesive becomes permanent after several hours. Don't confuse these with the cheap stuff bought from many stationers which falls off after a while.
Time to join up the dots...
RELATED ARTICLES


MSI MPG Velox 100R Chassis Review
October 14 2021 | 15:04

Want to comment? Please log in.