
Knobs with Lights
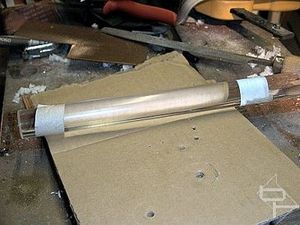
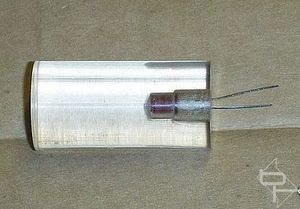
The lighty-up control knobs were made using the same method as the power button. That is, they were cut from a piece of 25 mm Plexi rod, shown here.
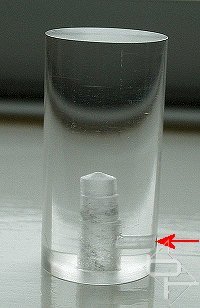
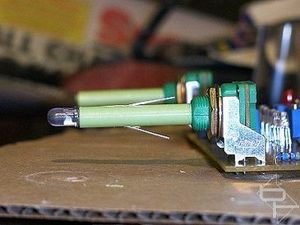
The rod was cut to length and faced on a lathe. A 6 mm hole was drilled at one end for the control shaft with a smaller hole at the side for a grub screw to stop the knob from turning on the shaft. (Just like many commercial knobs have). These two holes can be clearly seen in the first photo.
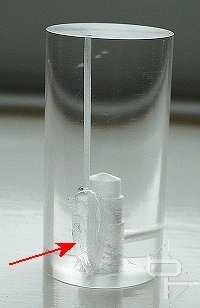
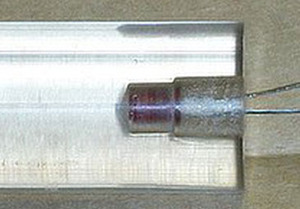
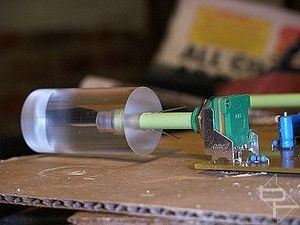
The second photo shows a 1mm hole which had been drilled through most of the length of the knob. Where the 1 mm hole finished, a rotary tool was used to make an opening to accommodate the insertion of the fibre optic cable to be used as the position marker. (red arrow).
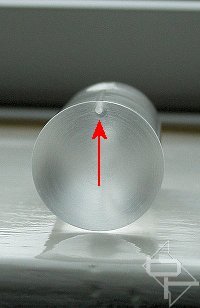
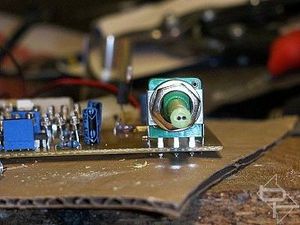
The third photo shows the front face of the knob with the 1mm hole. This is not easy to explain but hopefully the photos tell the story.
You probably noticed that the 6mm hole for the control shaft is not straight but actually has a 5mm step at the end. This stepped end has a 5mm LED inserted to light the knob. Although the final design uses blue LED's to light the knobs, the picture shows a red LED for clarity of the picture; the blue LED's are clear!
So how to fit the knob and light the LED?... these next few pictures should explain it.
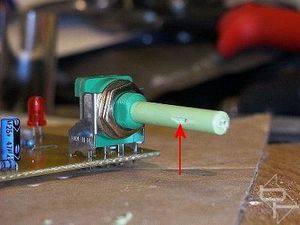
The ends of the control shafts had a pair of 1mm holes drilled in the end to accommodate the LED wires. The holes were drilled at a slight angle so they would "burst" out of the shaft sides. (Red arrow).

Get the idea?...
I guess this shot explains it all.
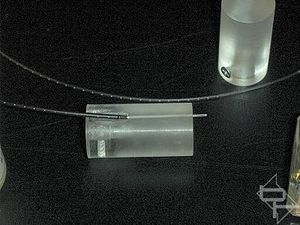
Here the fibre optic cable used for the position marker is being fitted. Enough outer sheath was stripped back to allow the fibre core to run the length of the knob. Superglue was used on the outer sheath to hold it in place. The excess fibre protruding through the knob front was trimmed with wire cutters and then polished perfectly flat with 1200 grit wet and dry paper. This produced a virtually invisible finish on the knob face.
Here comes the fanbus chassis...
RELATED ARTICLES


MSI MPG Velox 100R Chassis Review
October 14 2021 | 15:04

Want to comment? Please log in.