
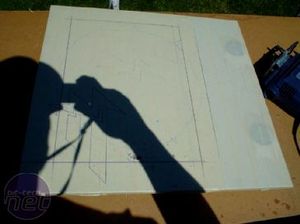
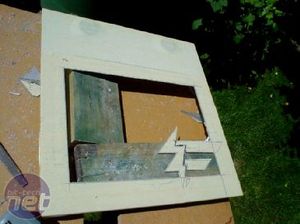
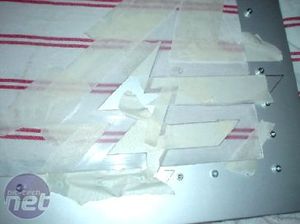
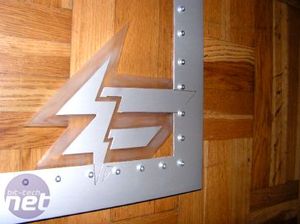
The most important step is to fully mask the surface you are working with, otherwise you will get scratches that spoil the final result. My plan was for a regular square window with a Fatal1ty "F" logo in the bottom right corner. After some time sawing and lots of cursing it is starting to take shape.
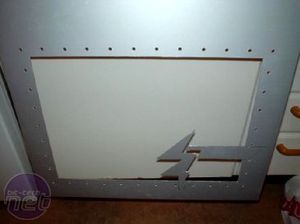
I am going to pop rivet a sheet of clear polycarbonate (plexi) for the side window, so having carefully measured and drawn a straight line, I drilled holes in the side panel as well as the polycarbonate sheet.

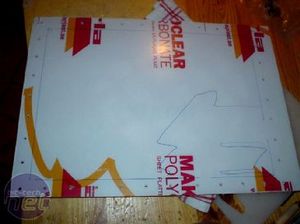
With the plexi rivetted in place, I wanted to create a frosted glass effect around the "F" logo. The first step was to mask off an area around the metal cut-out, making sure that the spacing was even all the way around. I then used some 180 grit sandpaper to roughen up the surface of the plexi to create the desired effect.
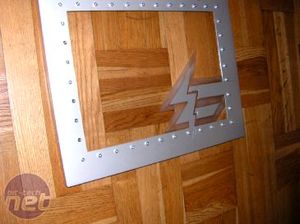
With the masking removed, this is what it looks like: nice, sharp edges and the opaque area helps add depth to the logo.
RELATED ARTICLES


MSI MPG Velox 100R Chassis Review
October 14 2021 | 15:04

Want to comment? Please log in.