H&D2 Ammo Box Shuttles
February 14, 2005 | 00:00
Companies: #ati #corsair #creative #shuttle #western-digital

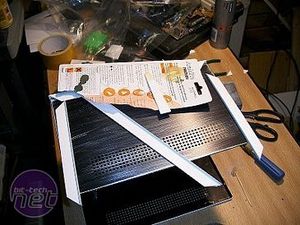
It was now time to permanently attach the plastic edging to the case sleeves using an epoxy adhesive. At this point I should mention that the pictures used here are of both units during construction, so do not let the disappearance and reappearance of the checker plate confuse. Both Shuttles received the same treatment, but just one was decked with the checker plate.

The glue used was an epoxy resin of which two types were employed for different reasons. The epoxy with the blue coloured plunger sets in 24Hrs is incredibly strong and was used for permanently affixing the plastic edging. The stuff in the orange plunger tubes sets in 90 seconds and was used to produce "weld" effects at the edging seams. Whilst it is strong it is not as strong as the blue but since it is only used for effect then it does not need to be.
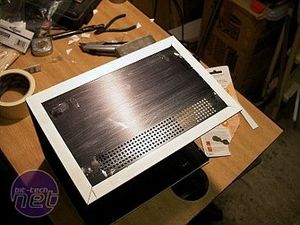
The edge strips were glued in place, held down with sticky tape to ensure good adhesion and left 24 Hrs for the adhesive to fully cure.
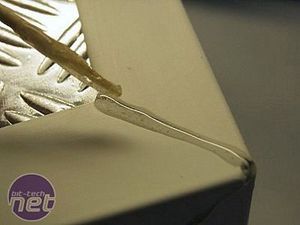
Once the epoxy was cured the sticky tape was removed and the 90 second epoxy, with the aid of a toothpick, was used to create a welded effect at all of the joints. Due to the 90 second working time only enough epoxy was mixed to make two welds at a time.
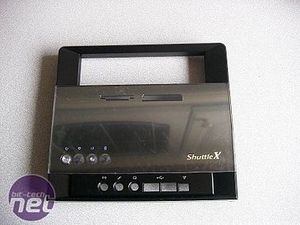
With all the "welding" finished it was time to turn my attention to the front facia and optical drive front. The mirrored front looks good even with its protective film on. The protective plastic was left in place for as long as possible to prevent it being damaged during surgery.
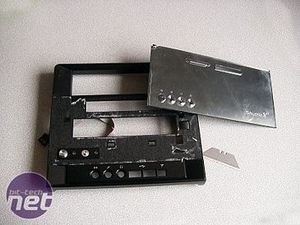
The mirrored front is actually a piece of plastic held in place with strong double sided sticky tape. Removing it without damage is a doable but delicate operation. The mirror was removed by sliding an extremely sharp blade in-between the mirrored plastic and the case front and gently cutting away at the sticky tape until I could get a finger in between to carefully prise it away. CAUTION: It is the back of the plastic which is mirrored so extreme care is needed to not scratch it with the blade. Oh, and sharp blades are dangerous!
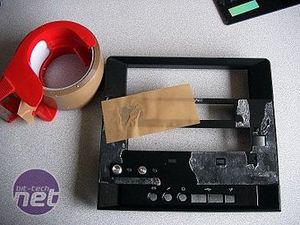
Since the double sided sticky tape seemed to stick better to the case front rather than to the mirror, most of it was left clinging for dear life to the case front. Using parcel tape to pull off the sticky residue proved effective and non-damaging to the facia.
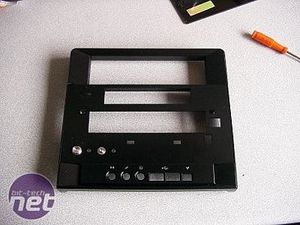
Finally all the sticky gunk was removed. A rub down with fine glass paper followed with a quick degreasing with surgical spirit...
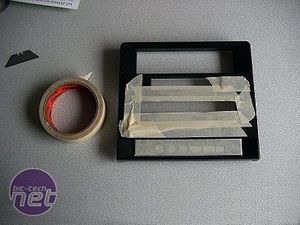
...followed by the appropriate sections being covered with masking tape before painting.
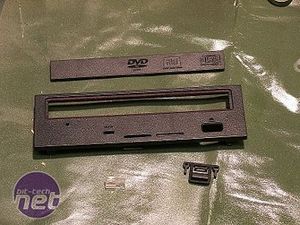
The DVD drive facias were also removed and stripped down for painting.
RELATED ARTICLES


MSI MPG Velox 100R Chassis Review
October 14 2021 | 15:04

Want to comment? Please log in.