

REAR PANEL DVD BRACKET
The rear panel for the DVD drive was the hardest thing to design in the whole mod - I spend hours thinking and discussing about it. How was I going to get the power to the DVD drive in a way that fits the case? The solution was easier than the problem.
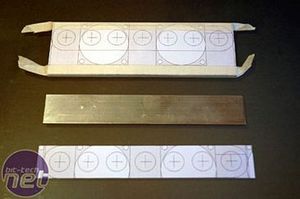
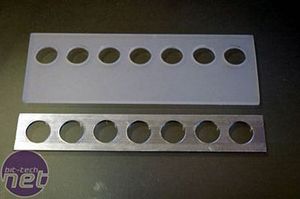
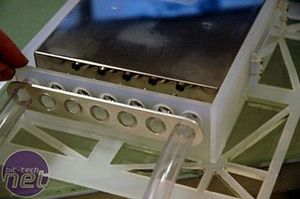
Drawing on my earlier experience with the fans, I designed a new bracket comprising of a piece of plexi (top) and a piece of aluminium (bottom)

I drilled seven equally-spaced holes, with the materials overlapped so they would line up exactly
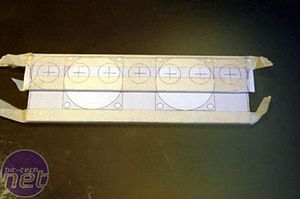
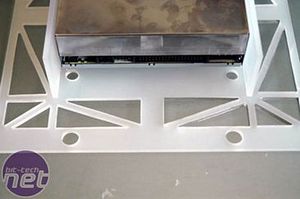
Strip away all the masking and templates, and the solution is already taking shape
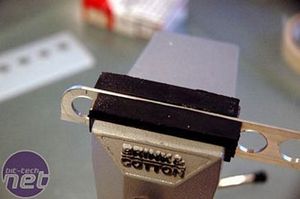
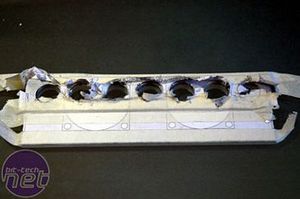
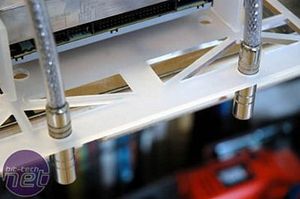
Each hole needed filing to achieve clean edges, and I also rounded the ends of the Alu plate.
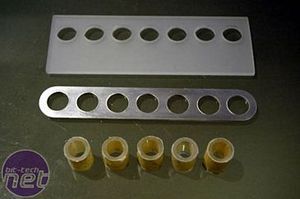

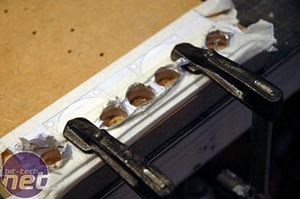
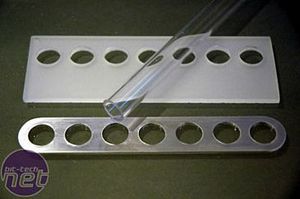
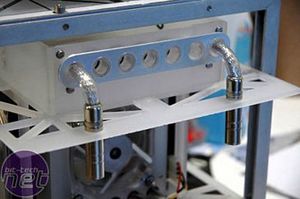
I cut five small pieces of the clear tubing and mounted them as spacers; the power cables will go through the two plastic tubes, one at either end.
Next was the cable management. Because I wanted to be able to remove the DVD bracket out of the case on its own, I needed a method to disconnect the power cables; I choose some stereo phono plugs, and they will do the job.
Drilling some holes in the plexi and test-fitting the phono plugs.

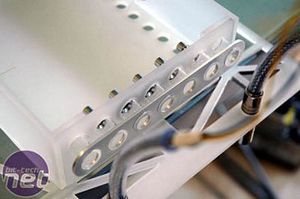

I\'m very happy with the end result


MSI MPG Velox 100R Chassis Review
October 14 2021 | 15:04

Want to comment? Please log in.