

HYPERSCREEN: CONSTRUCTION
First a little word on the display itself: it\'s a 12.1 inch open frame chassis, model LK 1212NOFV with touchscreen, made by a German company called ACT Kern - I haven\'t heard of them before, but it appears they make LCDs for industrial use and medicial applications etc. What a shame my budget could stretch to their kick-ass 3D Reality LCD displays!
The viewing angle is pretty rubbish, as the spec sheet confirmed: 40 degrees left & right of centre, and just +15 / -30 degrees vertical, and it\'s only 800x600... however, I\'m not hugely fussed, as I have plans for a custom GUI designed for the system, where its touchscreen capabilities will come into play.
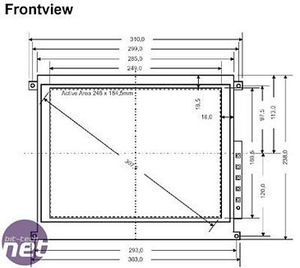
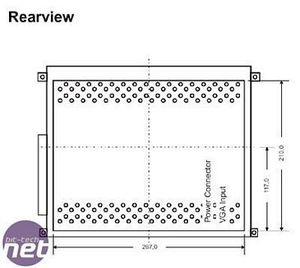
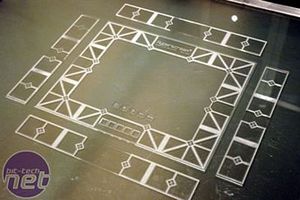
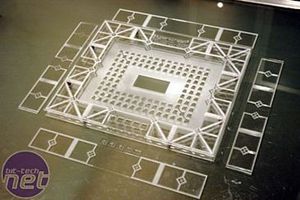
These are some of the tech drawings I got with the display -they came in very handy when I was drawing the CAD files: I used them as templates and just drew over them.
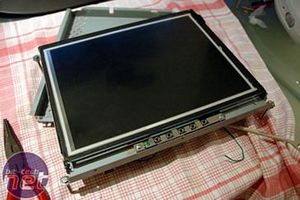
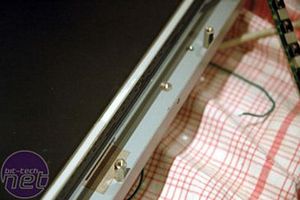
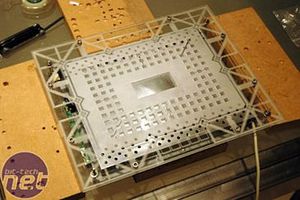
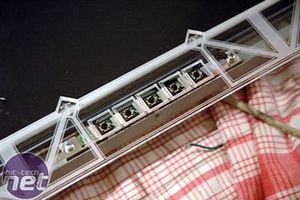
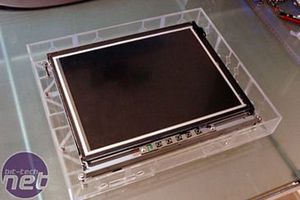
Here is the panel, as I received it. Well, OK, that\'s not completely true: I have already moved the buttons to the bottom of edge; if you look at the plans, the buttons were originally located on the right side of the screen. I\'ll show you how I did this:
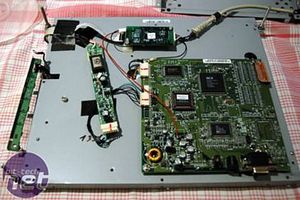
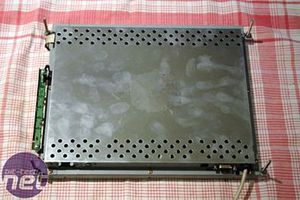
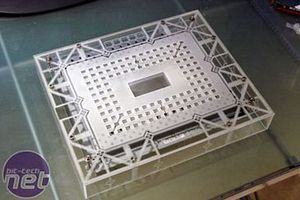
Here is the panel in pieces: note the button PCB on the left. This is what I want to move, and after examining the wiring, it appeared to be possible.
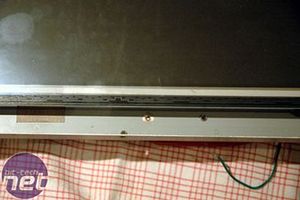
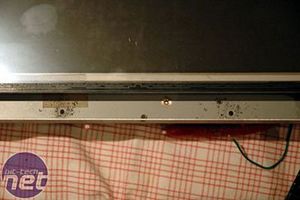
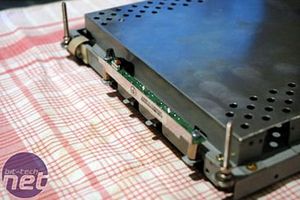
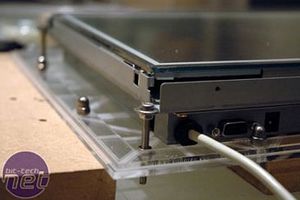
I drilled two holes along the bottom edge, where I planned to mount the button PCB.
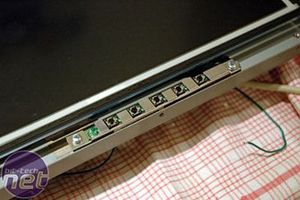
A pair of motherboard standoffs proved perfect for the job, and the PCB was screwed in place.
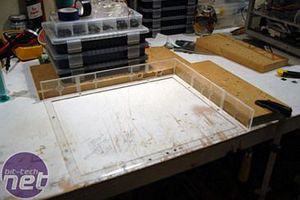
The plexi panels returned from the shop, and they looked excellent, as usual. Now it was time to put it all together.

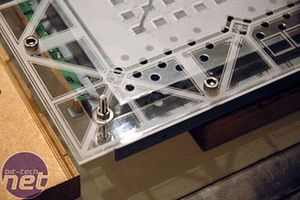
The first step was to attach the LCD to the rear plexi panel, using four large bolts securing it in place. The excess length of bolt will be cut off for a flush finish. You can also see the first bit of construction for the front part: I want to be able to open up the cover if I ever need to, therefore I made a plexi piece that goes all the way round the base plate, attached with bolts. The front will be glued on this piece, and this way I can always remove the front. I hope you followed all that, since it isn\'t that easy to explain.
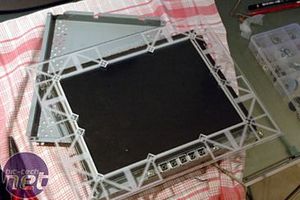
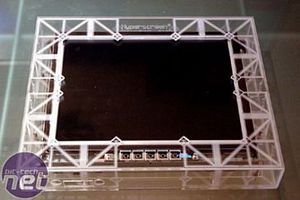
Here is my first test-fitting of the front panel - the buttons align perfectly!
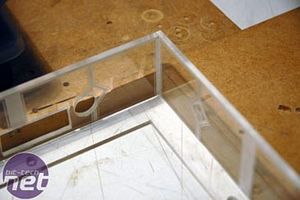

This is my gluing jig, gluing the side pieces as described above
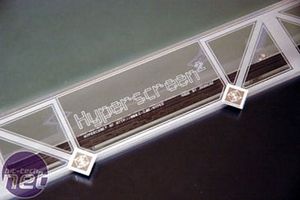
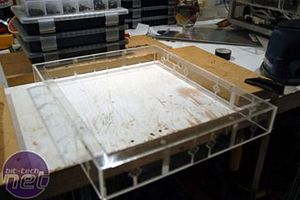
The finished cover after a few hours of work; I also put a mirror film behind the little Hyperscreen logos as a final detail.
The result is good, but would it be good in the dark? Find out in the next part.


MSI MPG Velox 100R Chassis Review
October 14 2021 | 15:04

Want to comment? Please log in.