

CORE FRONT PLATE
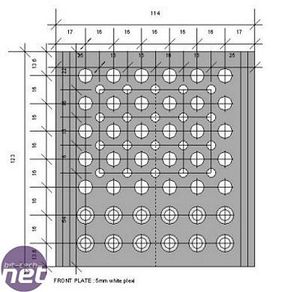
The front plate has 62 holes, and most of them are for a good airflow through the core. The bottom 10 (in the end I only used 8) are in and out for cabling. It is a hard task to drill all the holes and make them straight.
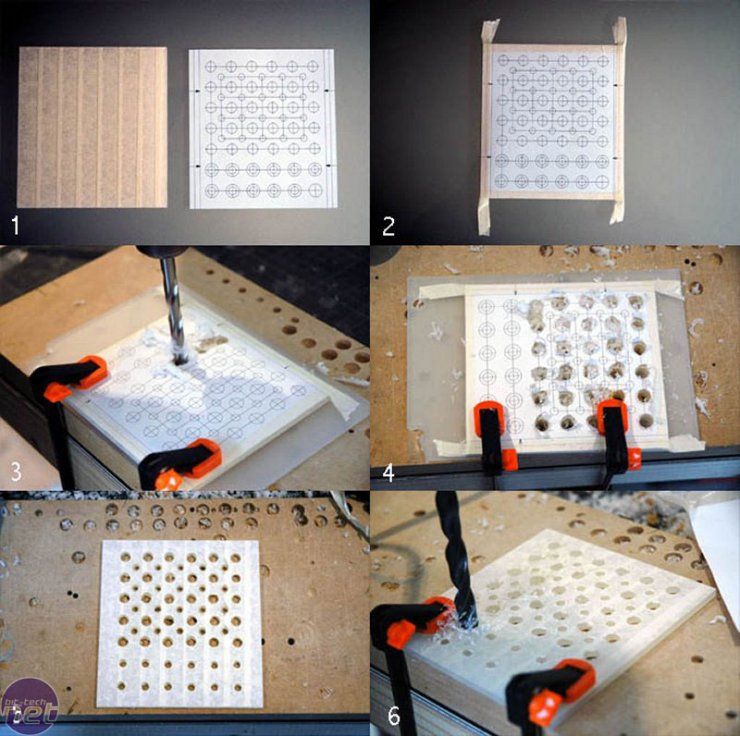
<ol><li> Print-out and plexi plate ready. </li><li> Taped them together. </li><li> Drilling the first holes. </li><li> It gets quite messy, but underneath it should be ok, I guess.</li><li> All the holes are drilled.</li><li> Drilling some more holes to fit the 3.5mm jacks, using a 10mm drillbit.</li></ol>

The result looks very pleasing - I got it right the first time!
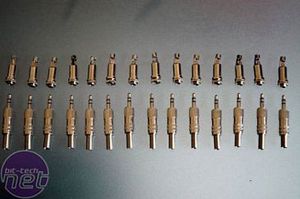
The 3.5 stereo jacks I\'m going to use for attaching fans and leds to the core.
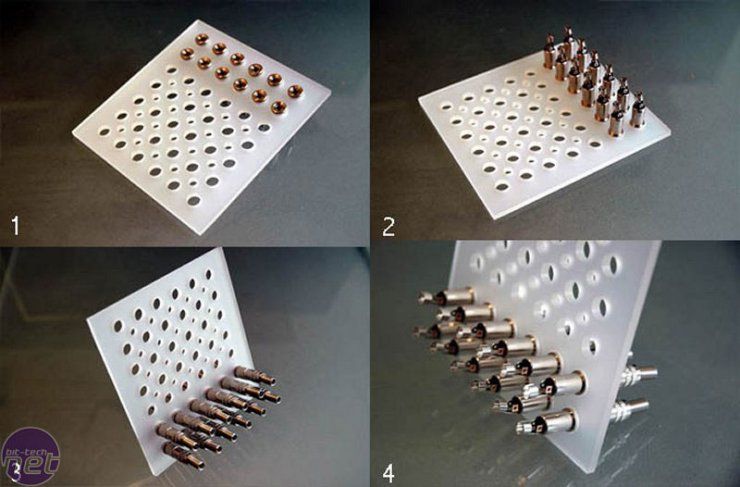
This is where the 3.5mm jacks are coming in there place. The idea is that I can remove every outsidepanel of the cube. Every panel has something with a cable attached to it (toggle switches, fans, powerbuttons, LCD,...) and with these stereo jacks I can hook them up and detach them when I want to remove a panel. And it is going to be a little nicer then the most cable messes you see inside an average case.I ended up using only 8 of 12 jacks because of some miscalculations.
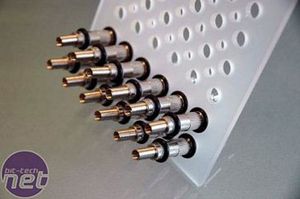
The rubber rings give a nice touch to the jacks. The rings are something I found in a local hardware store for a few euros - I had them in all sorts of sizes. I used a lot throughout the whole project.
RELATED ARTICLES


MSI MPG Velox 100R Chassis Review
October 14 2021 | 15:04

Want to comment? Please log in.