

PLEXI BACKPANEL, INSIDE AND OUTSIDE LAYER
The back plexi panel is a little special: I wanted to incorporate the sleeving of the 4 back fans into the panel. Therefore I needed a simple solution: 4 holes :-)
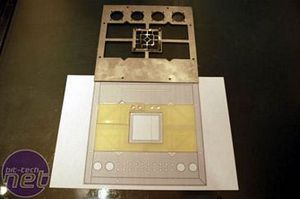
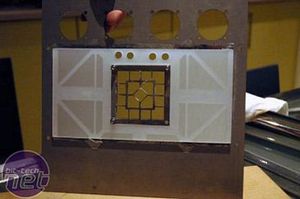
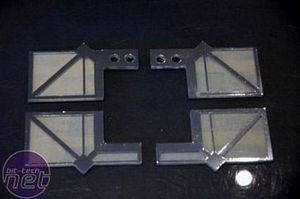
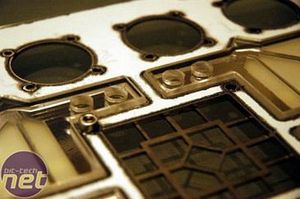
This is the inside backplate. It is a little smaller than the sidepanels because it has to fit between the baseplates of the core. In the middle there is an opening for the fan of the PSU that is in the core, and I made four 8mm holes on top to get some sleeving through. I\'ll discuss this more thouroughly in Part 2. The idea of the mirror film is the same as the sidepanels, so I won\'t bore you with that again.
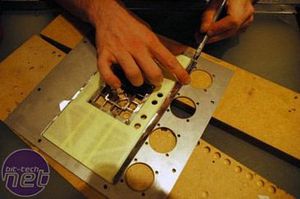
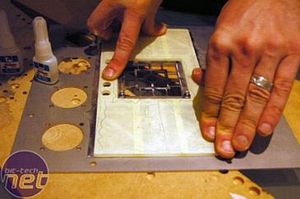
Here I am removing the excess film and gluing the piece onto the stainless steel with extra strong instant glue. The markings on the piece are the places I had to apply pressure because thats where it makes contact with the panel.
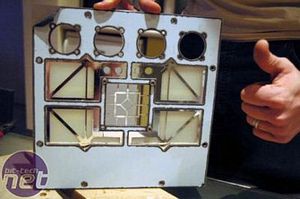
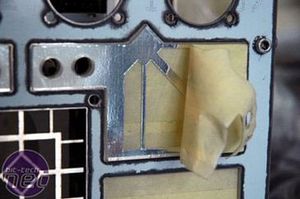
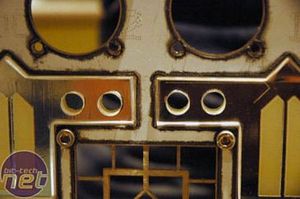
Front and back, everything looks OK - my drilling is slightly off, but it will have to do, as I don\'t have a spare plexi plate anyway. Next is the front layer of plexi.
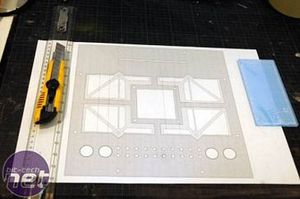
Things needed : cutter, ruler, print-out of the front (the shapes are the same as the back), some masking tape and of course, a plexi plate.
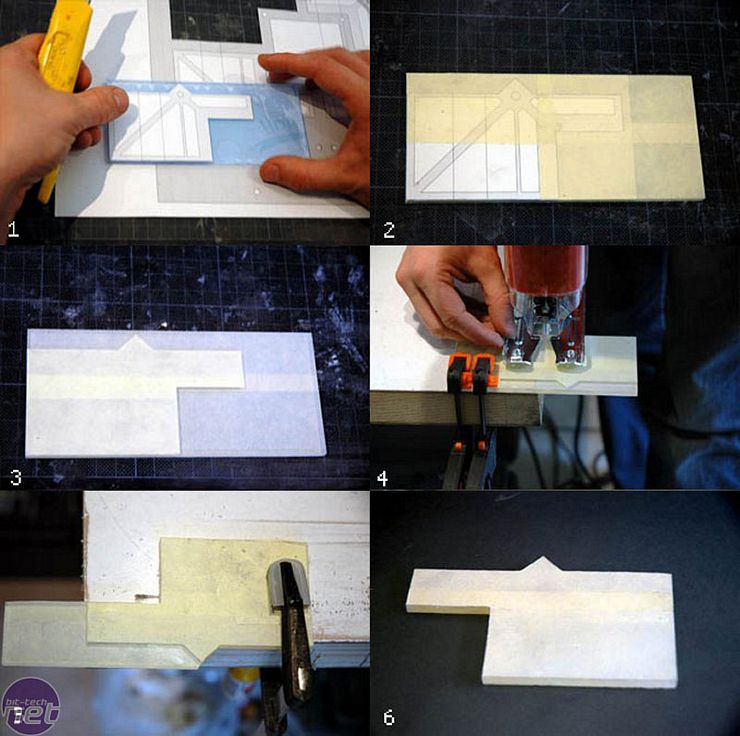
<ol><li>Cut-out of the shape out of the print-out </li><li>Taped the shape onto the plexi plate </li><li> Cut around the shape </li><li> Time for the jigsaw (these were actually quite hard to do because they are pretty small) </li><li> Little close-up </li><li> Finished cutout, it still has to be sanded down. </li></ol>
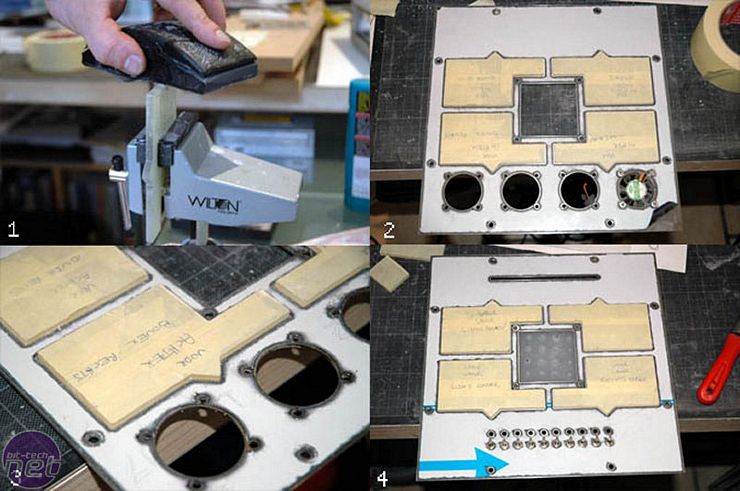
<ol><li> Sanding down the plate </li><li> Backside panel totally done </li><li> Close-up of the rear panel (again with a lot of markings, they fell on the ground when I was working on them, and I had a hard time finding the exact piece for every opening) </li><li> Frontside panel totally done</li></ol>
It took me about 8 hours do to 8 little shapes, but it was necessary they fitted very good to the stainless steel panels - it had to be 1 line. There are still 4 panels to go: top, bottom, left and right, meaning 16 shapes = 16 hours, OUCH! I\'m not really looking forward to that. Don\'t even remind me all these edges have to be polished...
Sorry for the bad quality, guess the camera wasnt set up right.
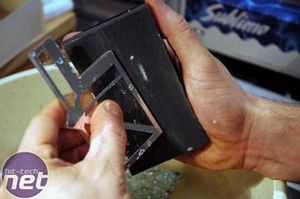
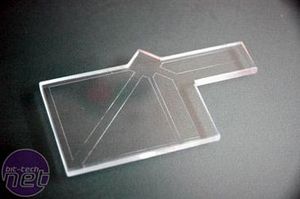
These are the rear transparent plexi panels that will go in front of the other plexi into the stainless panels. I wasn\'t sure where to put the film on. I had two options: on the rear plexi or on these panels. I choose the latter. (seemed to be a wrong choice afterwards)... you\'ll find out why in a minute.
One plate in its place. It fits ok, but the plexi is a bit hacked up on the backside. Also the look of the back of the film isn\'t the same as the front side - I wasn\'t happy about this so the film has to go and has to be done again on the back plexi. I also have to sand down the edges of the panels to get rid of the bumps and little holes in the plexi.
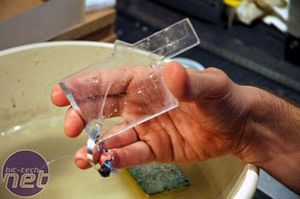
Sanding down the edges with 1200 wetgrid and removing the film (Easy to do with acetone and it doesn\'t eat into the plexi)
A finished piece: because I had to remove the film and I cut it on the plexi, you can see these lines on it. Hopefully when the case is lit these lines will light up :-)
The two panels together - inside and outside views.
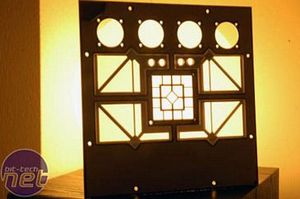
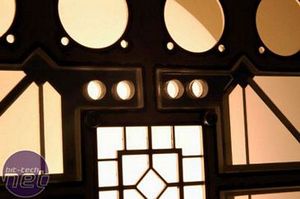
This will be the effect when the case is lit, only the light will be a little colder & whiter, rather than the \"warm\" ie yellow light from my lamp.
RELATED ARTICLES


MSI MPG Velox 100R Chassis Review
October 14 2021 | 15:04

Want to comment? Please log in.