
Stage 4
Now it was time to install the hard disk drive mounts. I came across a rather large problem with this - the original plan was to mount them as shown below:
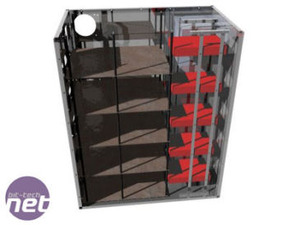
However, with this method a lot of 'L' section was needed which I did not have. So some quick thinking on the part of my brother suggested that we mount them turned through 90 degrees requiring half the amount of materials.

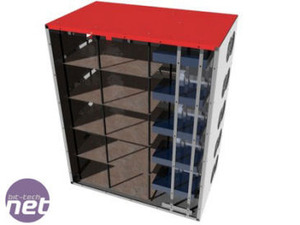
The hard drives also had all their stickers removed which made them look a little funkier. In order to mount the hard drives on their sides, two holes had to be drilled into the top and bottom panels. Once this was done the hard drive rack was put to one side until the top was to be attached, otherwise the weight of all those hard drives risked bending the floor plate.
Stage 5
The top and right hand side panels were attached by gluing the nuts to the back of the mild steel ‘L’ sections using epoxy resin. They were clamped in place whilst the resin cured by screwing in bolts. These were left to set and then the bolts removed, leaving the nuts attached to the 'L' section ready to accept a bolt that would secure the top and side on.
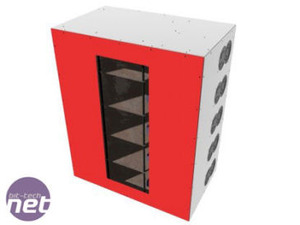
The final plate to be secured was the back panel cover - this was done in the same way, but with some funky look brass screws I acquired.
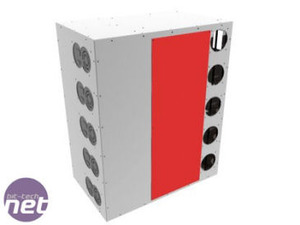
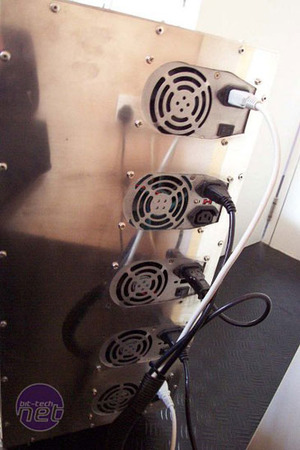
Finally, it was a case of making the back of the case nice and shiny with some wet and dry treatment - much polishing.
Now it was time to install the hard disk drive mounts. I came across a rather large problem with this - the original plan was to mount them as shown below:
However, with this method a lot of 'L' section was needed which I did not have. So some quick thinking on the part of my brother suggested that we mount them turned through 90 degrees requiring half the amount of materials.
The hard drives also had all their stickers removed which made them look a little funkier. In order to mount the hard drives on their sides, two holes had to be drilled into the top and bottom panels. Once this was done the hard drive rack was put to one side until the top was to be attached, otherwise the weight of all those hard drives risked bending the floor plate.
Stage 5
The top and right hand side panels were attached by gluing the nuts to the back of the mild steel ‘L’ sections using epoxy resin. They were clamped in place whilst the resin cured by screwing in bolts. These were left to set and then the bolts removed, leaving the nuts attached to the 'L' section ready to accept a bolt that would secure the top and side on.
The final plate to be secured was the back panel cover - this was done in the same way, but with some funky look brass screws I acquired.
Finally, it was a case of making the back of the case nice and shiny with some wet and dry treatment - much polishing.


MSI MPG Velox 100R Chassis Review
October 14 2021 | 15:04

Want to comment? Please log in.