
Water Cooling in Detail...
The following pics were taken both before and after the watercooling system was filled, hence the absence of liquid in the tubes in some shots.
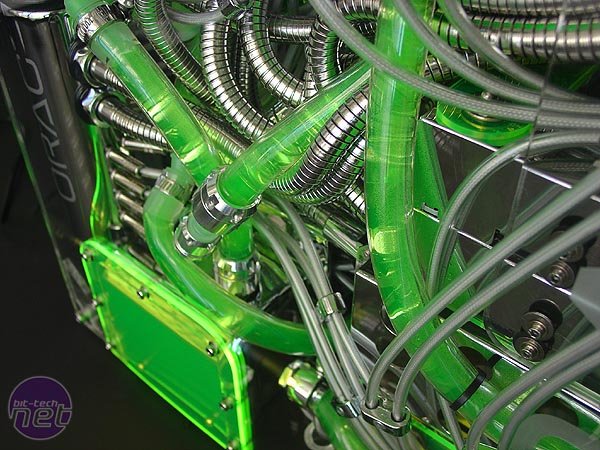
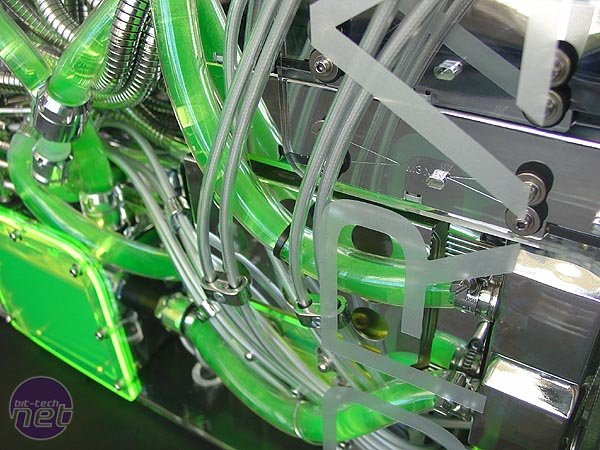
The water cooling setup - 1/2" ID Tygon tube, Pi-Thon and Norma hoseclamps, DangerDen 'Y's and elbows. The Eheim pump in it's modified chromed cover sits flush with the sidepanel in a hole specially cut for it, and covered by a neon perspex removable panel. All the wiring is run inside stainless steel shower hoses and techflex/aquarium air-hose (see previous Orac³ articles for details).
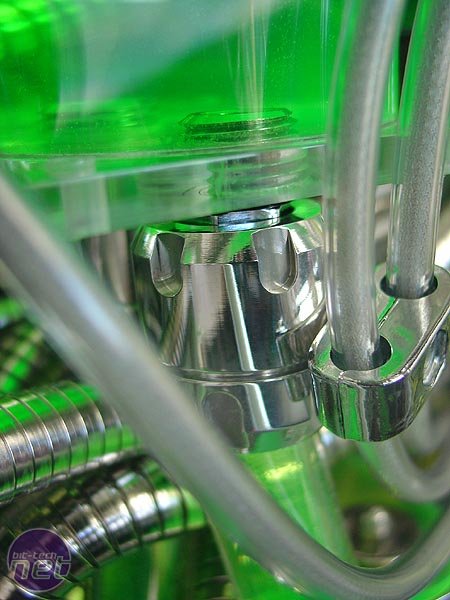
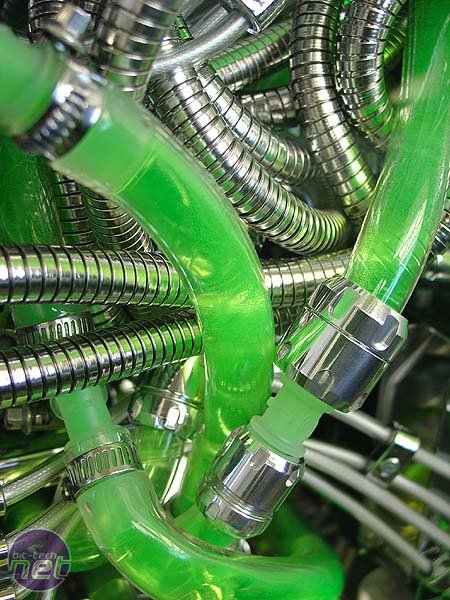
A closer shot of the polished Pi-Thon hose fittings. Also visible is one of the chrome plug-wire separators I used throughout (thanks go to Nexxo of the bit-tech forums for originally showing me both of these).
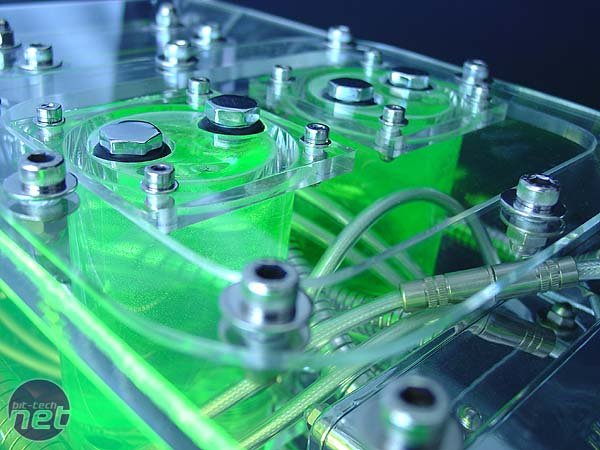
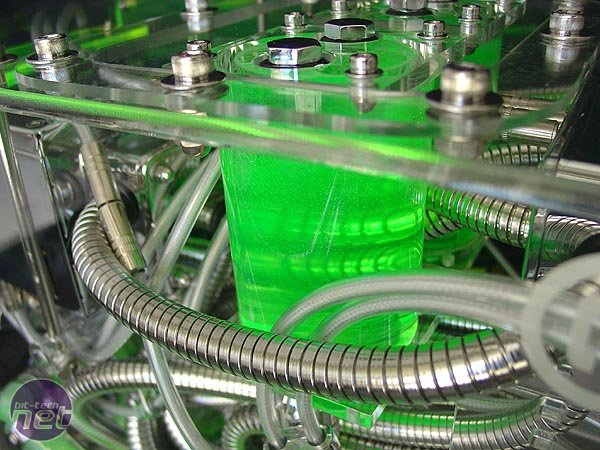
Twin Criticool reservoirs hang suspended from the removable top plate I fabricated after cutting out a large section of the case top.
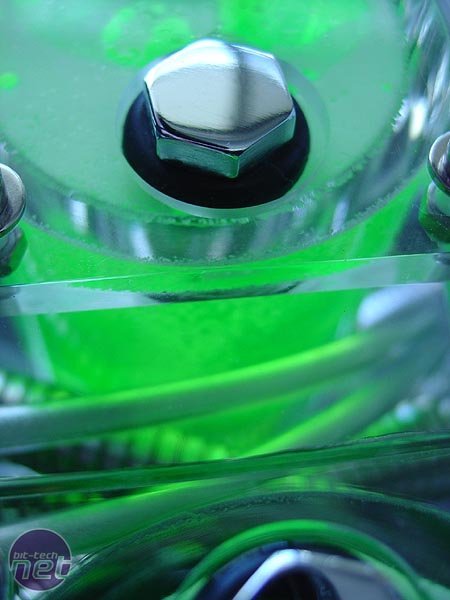
A closer look at the hex screw plugs at the top of the reservoirs. These were originally brass and were chromed, fitted with extra rubber seals and now protrude through specially drilled holes in the top plate. This enables me to fill the reservoirs without having to open the case.
The chrome radiator sits at the front of the case, an evercool fan (polished aluminium which was later chromed) sits behind. The pump sucks water straight out of the radiator and pushes it out into a 'Y' splitter that takes it to both the CPU and Chipset waterblocks simultaneously, before re-combining the flows with another 'Y' fitting, passing through reservoir 1, passing through the Graphics card waterblock, and then passing through reservoir 2 back into the radiator...got all that?
For ease of setting up, I used narrower tube (3/8"ID) on the Graphics card waterblock, as it had a tighter bend radius. I then used a fitting to join the two sizes of tubing together - shown with a couple of Pi-Thon clamps. I reasoned that with the Eheim 1250 pump pushing a solid 1200 litres/h, the reduced flow from the change in diameter won't make much difference to the temperature in the system. I can live with a degree or two.
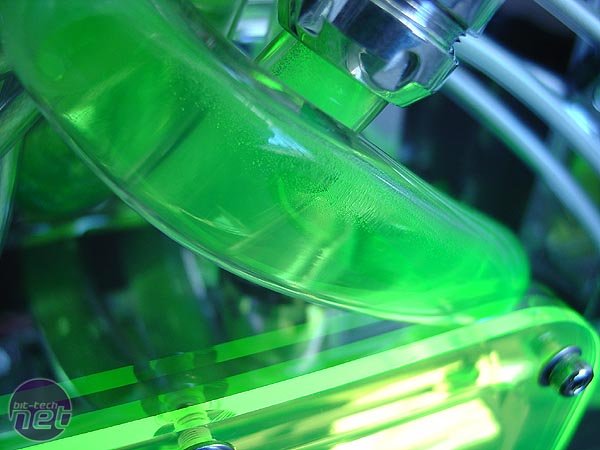
The reservoirs filled. The coolant is a pre-mixed radiator coolant, made and available over-the-counter here in Australia. The colour is a very close match to the colour of my neon green perspex!

Side-panel cutout and cover. Threaded tapped holes secure the screws. The pump cord is encased in shower-hose and the chrome fitting screws into a threaded insert in the pump cover.
The Tygon tube is crystal clear. Really shows the colour of the coolant and is very kink-resistant. I was in the process of bleeding the water cooling system when I took this pic - you can still see the tiny air-bubbles.
The following pics were taken both before and after the watercooling system was filled, hence the absence of liquid in the tubes in some shots.
The water cooling setup - 1/2" ID Tygon tube, Pi-Thon and Norma hoseclamps, DangerDen 'Y's and elbows. The Eheim pump in it's modified chromed cover sits flush with the sidepanel in a hole specially cut for it, and covered by a neon perspex removable panel. All the wiring is run inside stainless steel shower hoses and techflex/aquarium air-hose (see previous Orac³ articles for details).
A closer shot of the polished Pi-Thon hose fittings. Also visible is one of the chrome plug-wire separators I used throughout (thanks go to Nexxo of the bit-tech forums for originally showing me both of these).
Twin Criticool reservoirs hang suspended from the removable top plate I fabricated after cutting out a large section of the case top.
A closer look at the hex screw plugs at the top of the reservoirs. These were originally brass and were chromed, fitted with extra rubber seals and now protrude through specially drilled holes in the top plate. This enables me to fill the reservoirs without having to open the case.
The chrome radiator sits at the front of the case, an evercool fan (polished aluminium which was later chromed) sits behind. The pump sucks water straight out of the radiator and pushes it out into a 'Y' splitter that takes it to both the CPU and Chipset waterblocks simultaneously, before re-combining the flows with another 'Y' fitting, passing through reservoir 1, passing through the Graphics card waterblock, and then passing through reservoir 2 back into the radiator...got all that?
For ease of setting up, I used narrower tube (3/8"ID) on the Graphics card waterblock, as it had a tighter bend radius. I then used a fitting to join the two sizes of tubing together - shown with a couple of Pi-Thon clamps. I reasoned that with the Eheim 1250 pump pushing a solid 1200 litres/h, the reduced flow from the change in diameter won't make much difference to the temperature in the system. I can live with a degree or two.
The reservoirs filled. The coolant is a pre-mixed radiator coolant, made and available over-the-counter here in Australia. The colour is a very close match to the colour of my neon green perspex!
Side-panel cutout and cover. Threaded tapped holes secure the screws. The pump cord is encased in shower-hose and the chrome fitting screws into a threaded insert in the pump cover.
The Tygon tube is crystal clear. Really shows the colour of the coolant and is very kink-resistant. I was in the process of bleeding the water cooling system when I took this pic - you can still see the tiny air-bubbles.
RELATED ARTICLES


MSI MPG Velox 100R Chassis Review
October 14 2021 | 15:04

Want to comment? Please log in.