
First step - clean my case. Adhesive doesn't stick well to grime, so I gave the case the once over with some soapy water and a cloth.

Laying everything out : At this point, I realised that the skin was slightly too big to fit properly over the case. I had ordered it big, thinking I could do with a little extra material - but, being the nonce I am, failed to think that this would distort the design. So, rather than apply the whole skin at once and then cut grooves for the individual panels (as PolyGFX recommend) I applied the skin a panel at a time.
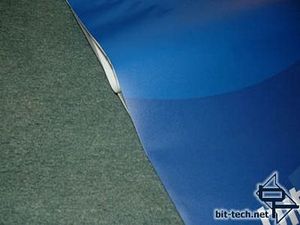
I lined up the bottom edge of the skin with the bottom edge of my panel, and left a little overlap on the two sides. I peeled the paper off and slowly let the skin stick down, from the bottom to the top.
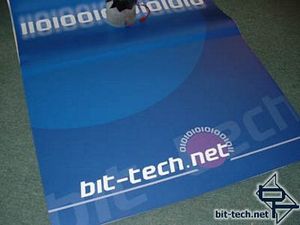
Here you can see the skin applied to the first side panel, pre-trimming.
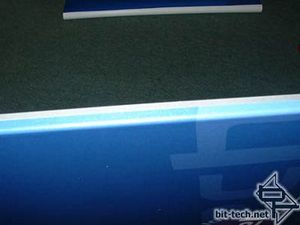
For the back edge of the case, I folded the skin over and then trimmed it so I could still access the screw slots. It's far better to stick over the whole edge, and then trim half off, than it is to trim then stick - you will probably find, if you do the latter, that you don't have enough leverage to get the skin to stick properly.
Repeat for the second panel, and you will have a sexy pair of case sides!


MSI MPG Velox 100R Chassis Review
October 14 2021 | 15:04

Want to comment? Please log in.