
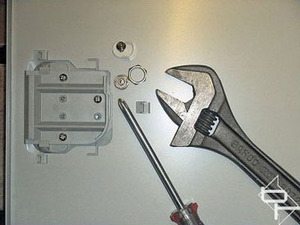
After removing the paint from one side and the top, I turned my attention to the opening side. This was going to have a window so to prevent scratching the bare metal surface I left the paint stripping until the window cut out was done.
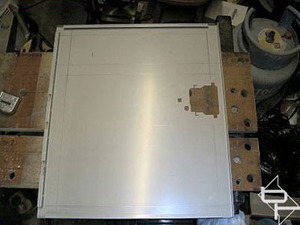
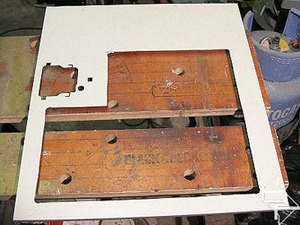
The handle was removed by undoing the barrel nut and several screws followed by measuring and drawing the window shape on the inside of the panel. If you look carefully you will see there are two windows marked on the panel. As part of the cost restraint the smaller window was omitted from the final design.
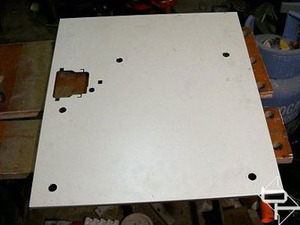
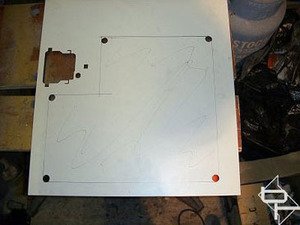
14mm holes were drilled in the window corners. This produces rounded corners, (the easy way), and gives the jigsaw a starting point. Due to the folded edges on the inside of the panel the jigsaw would not be able to cut along some of the lines, so the window was redrawn on the out side of the panel using the 14 mm holes as a guide.
 Clamped and ready to cut. I never bothered to protect the panel surface since it was already covered in almost indestructible paint which would be removed later. After the jiggin' and the sawin' was completed all those nasty rough, flesh ripping edges were shaped and smoothed with a file and fine wet/dry paper.

 My intention was to polish the steel to a mirror finish. Unfortunately the steel had patches of "grain" and no amount of polishing would remove them. Not even with an industrial polisher.
Since I could not achieve the perfect mirror I wanted and chroming was out of the question due to cost, I needed something else. So I decided to try a "brushed" look. After trying several finishes I opted to go with a "heavy" brush look to cover the imperfections in the metal.
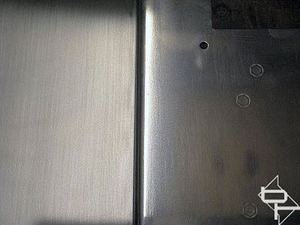
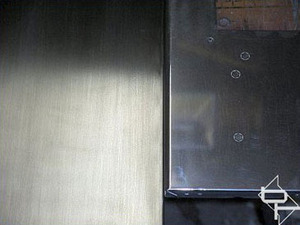 The brushed effect was done with 200 grit wet and dry. The paper was wrapped around a block of wood. Rubbing should be done from one end of the work piece to the other, in a straight line and no stopping along the way. Keep the metal wet with plenty of water when rubbing. A drop of washing up liquid in the water helps to produce a nice finish. (I mean one drop!).
The handle was removed by undoing the barrel nut and several screws followed by measuring and drawing the window shape on the inside of the panel. If you look carefully you will see there are two windows marked on the panel. As part of the cost restraint the smaller window was omitted from the final design.
14mm holes were drilled in the window corners. This produces rounded corners, (the easy way), and gives the jigsaw a starting point. Due to the folded edges on the inside of the panel the jigsaw would not be able to cut along some of the lines, so the window was redrawn on the out side of the panel using the 14 mm holes as a guide.
Since I could not achieve the perfect mirror I wanted and chroming was out of the question due to cost, I needed something else. So I decided to try a "brushed" look. After trying several finishes I opted to go with a "heavy" brush look to cover the imperfections in the metal.
RELATED ARTICLES


MSI MPG Velox 100R Chassis Review
October 14 2021 | 15:04

Want to comment? Please log in.