X58A-GD65 Overclocking
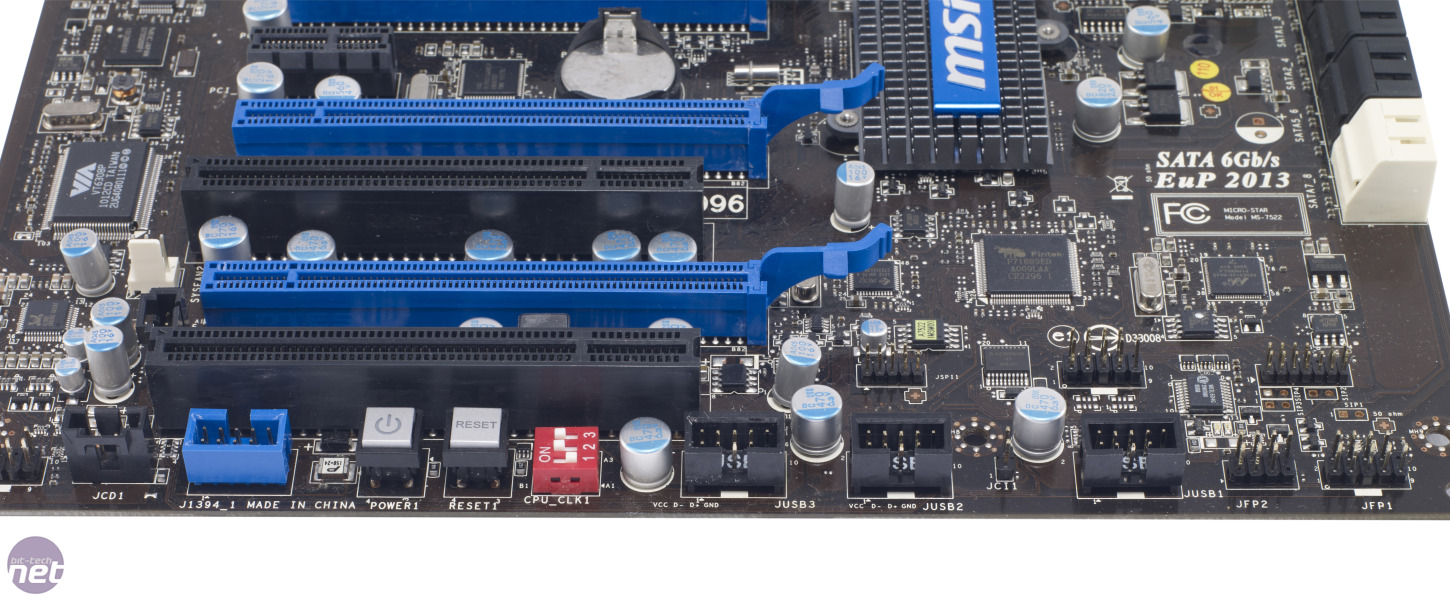
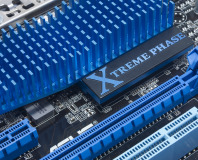
It’s no secret that Intel’s current range of CPUs are epic overclockers, so if you’ve splashed the cash on a LGA1366 processor you’ll want a board that can keep up. MSI is clearly aware of this, and has included a number of overclocking friendly touches to the GD65 to allow it to keep up with boards such as the Asus Sabertooth and the Gigabyte GA-X58A-UD3R.Most obvious of these is the bright red switch located on the bottom edge of the board which allows manual overclocking of the QPI bus without having to enter the BIOS. It’s not the most flexible tool in the world, as it only has three settings (133MHz, 166MHz and 200MHz) but it’s simple to use and well explained in the manual. Located next to the switch are power and reset buttons which are useful if you’re testing the board on a bench or desk.
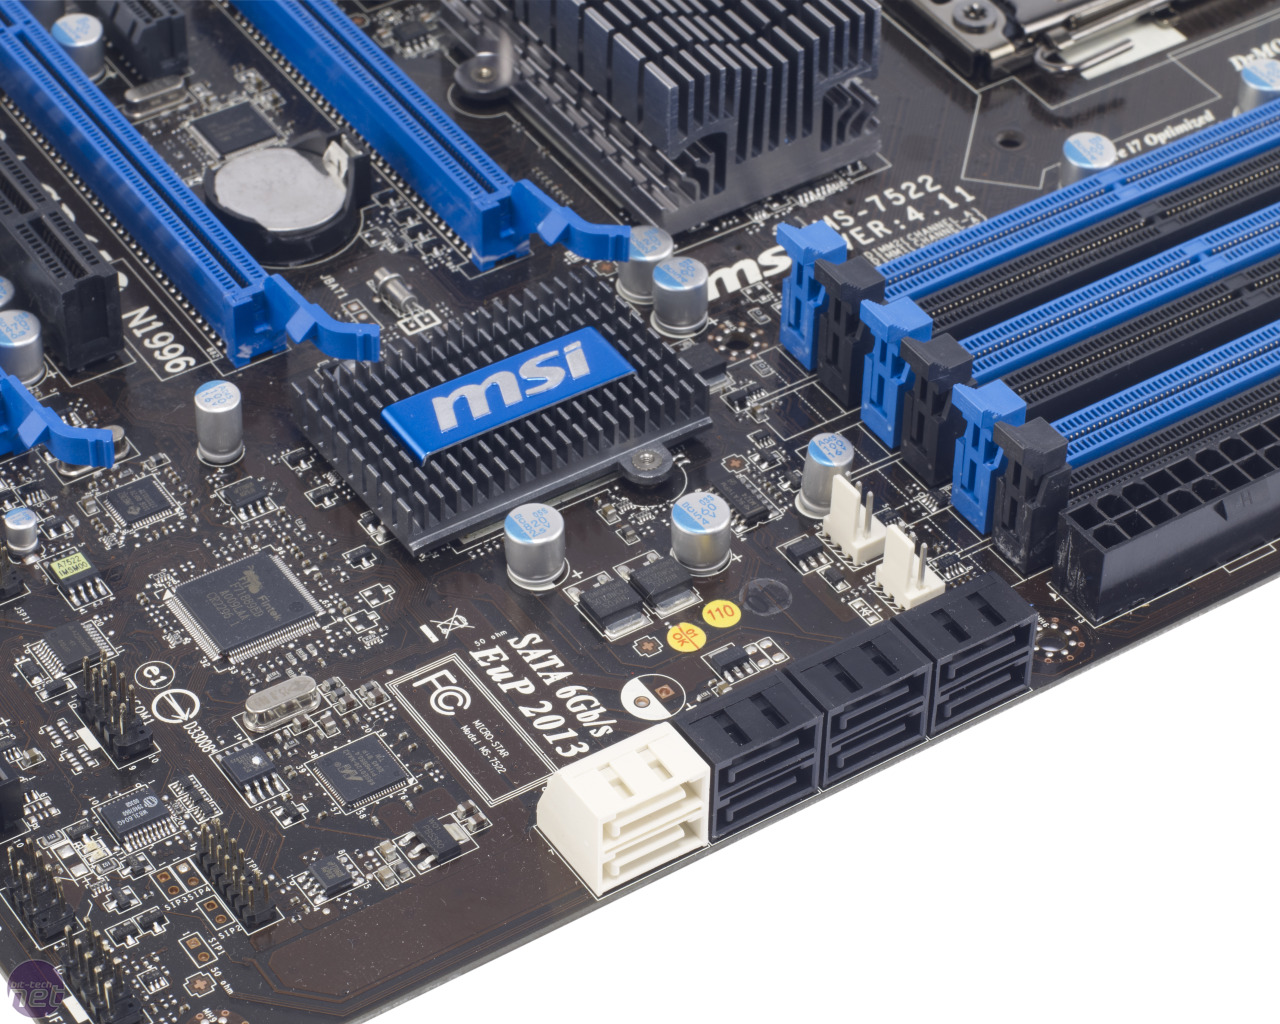
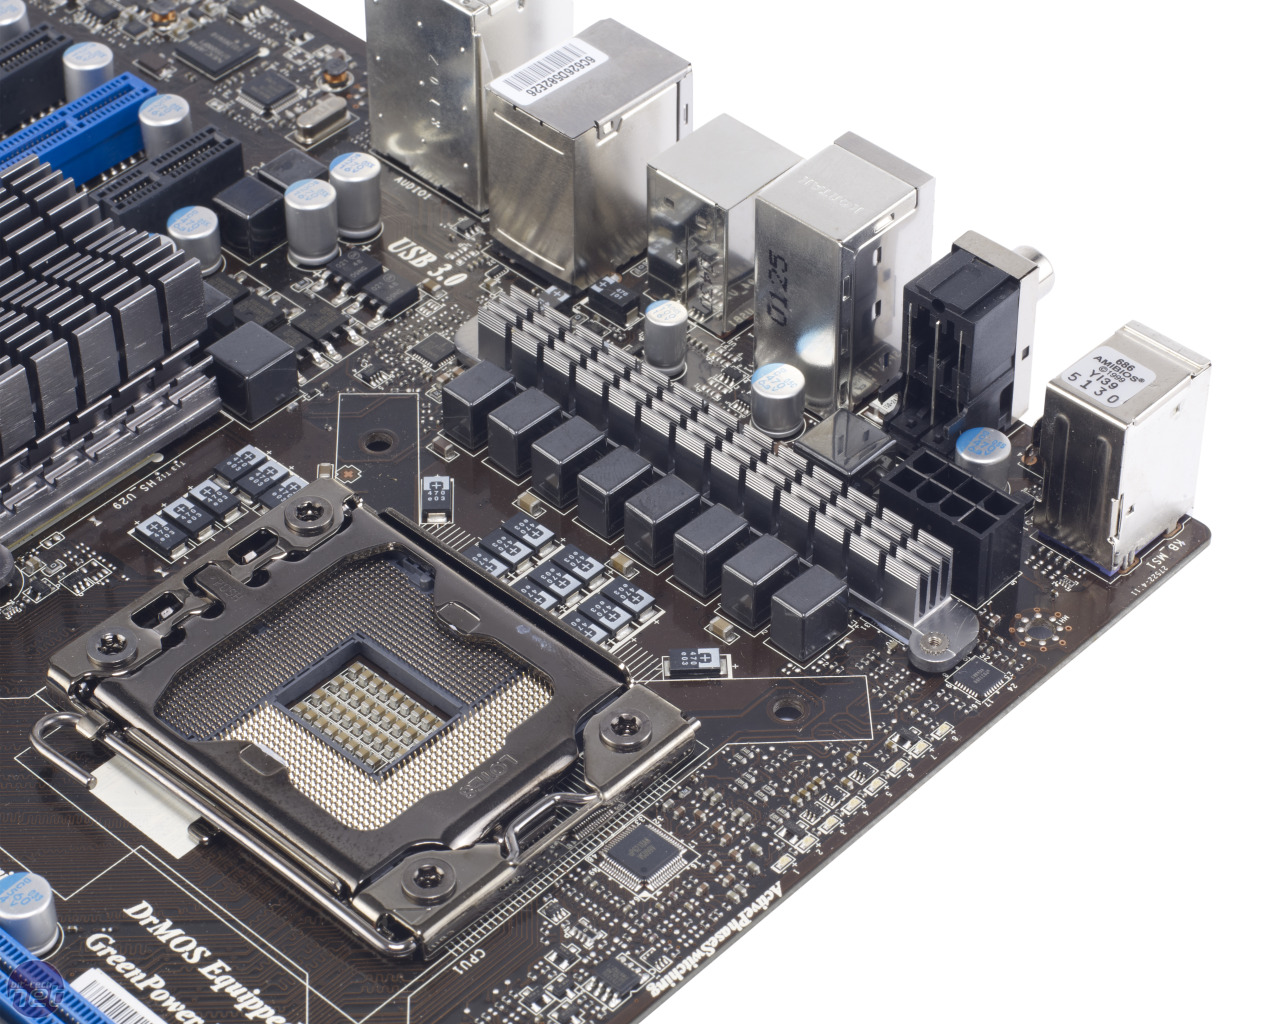
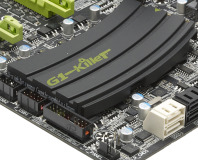
On the top edge of the board, next to the CPU socket, is the GD65’s Active Phase Switching readout. This is simply a row of LEDs that indicate how many of the board’s eight power phases are currently in use, but it’s a useful tool for judging what kind of stress the board is currently under. There was also something quite mesmerising about watching the lights rise, fall and pulse as the board worked through our Media Benchmark suite.
Click to enlarge
The BIOS of the GD65 is a little bit of a sticking point, however. All the overclocking options are collected on a single page – the grandly titled Cell Menu - which is a good thing, but they aren’t laid out particularly intuitively. The page looked more confused and cluttered than a Gigabyte or Asus BIOS, though that’s likely due to the fact that we’ve not played with an MSI BIOS for a little while.
There are a number of niggles aside from the layout, and top of this list is the fact that the BIOS doesn’t give you an absolute CPU vcore value to increase. Instead, it only allows relative increases, meaning you’ve got to go to a separate BIOS menu to see what the original vcore was, then add on the increase listed in the Cell Menu to work out what your final vcore will be. This is a pain.
Click to enlarge
Some of the voltage options were also a little peculiar. For example, the minimum ICH (Southbridge) voltage we could set was 1.5V, even though we’d only usually only put 1.3V through the chip when overclocking. Still, we set it to 1.5V and nothing melted; whether the board was actually supplying 1.5V to the chip we’re not sure.
Once we’d managed to decode the BIOS, the board handled an overvolted and overclocked CPU with aplomb. The board managed a maximum QPI of 220MHz, which is what we’ve come to expect from the best X58 boards on air cooling. Snapping the QPI back to 200MHz and the CPU multiplier up to 22x gave us our usual 4.4GHz overclock, which the GD65 handled easily. We set a vcore increase of +400mV, a PLL voltage of 1.94V a QPI voltage of 1.39V. We also put 1.3V through the IOH and the minimum available 1.5V through the ICH.


MSI MPG Velox 100R Chassis Review
October 14 2021 | 15:04

Want to comment? Please log in.